HOW TO MAKE SHOWER STEAMERS YOU WILL LOVE
Are you ready to elevate your shower to a spa experience? Learn how to make shower steamers at home you will love.
Hi, I’m Regina, welcome to Saved From Salvage. I love to share diy projects, upcycling and furniture flips, tablescapes and more. So glad you are here.
shower steamers or shower melts
Are you a bath person? Or a shower person?
I love a nice relaxing bath, give me all the things, epsom salts, bubbles, essential oils.
But I was really wanting to elevate my shower experience too. I’ve always wanted to try these and now I finally have.
I tried several different recipes and learned along the way. I’m sharing this fun and easy diy for you to try at home.
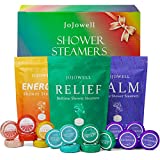
Some people call them shower melts, they bubble and melt in the shower. Some people call them shower steamers, put on that hot water, add a disc and enjoy the fragrance of essential oils throughout your shower.
what is a shower steamer?
A shower melt is a hard disc you can make from just a few ingredients. They are placed in the base of your shower, preferably in a corner, on a shelf or niche or in a cotton bag from the faucet.
The combination of ingredients fizz when introduced to water, releasing the essential oils into the air.
- what are the supplies for diy shower steamers?BAKING SODA
- CITRIC ACID
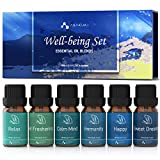
- ESSENTIAL OILS
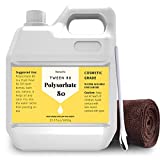
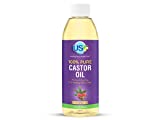
- CASTOR OIL OR POLYSORBANATE
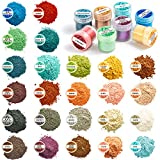
- COLORANTS
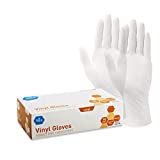
- RUBBER GLOVES
- MASK (OPTIONAL)
- NON METAL BOWLS
- WHISK
- MEASURING CUPS AND SPOONS
- MOLDS
- PLASTIC WRAP OR CELLOPHANE BAG
easiest shower melt recipe
You can find so many recipes for these, so I tried several of them and settled on one that worked the best for me. It was actually the first one I tried, with one substitution.
1 cup Baking Soda
1 cup Citric Acid
1/4 cup Castor Oil
2 1 /2 – 3 Teaspoons of Essential Oils (This is the equivalent to 250 – 300 drops)
Colorant (Powdered Pigment or Food Coloring)
how to make the shower steamers you will love
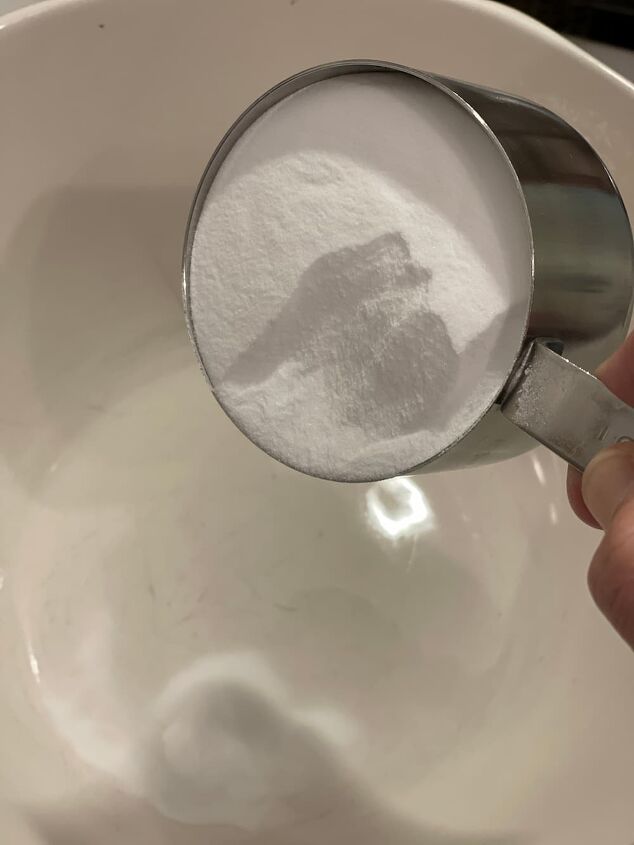
After you gather all of your supplies, the first step is to mix your citric acid and baking soda together in a non metal bowl.
Combine the two ingredients with a whisk.
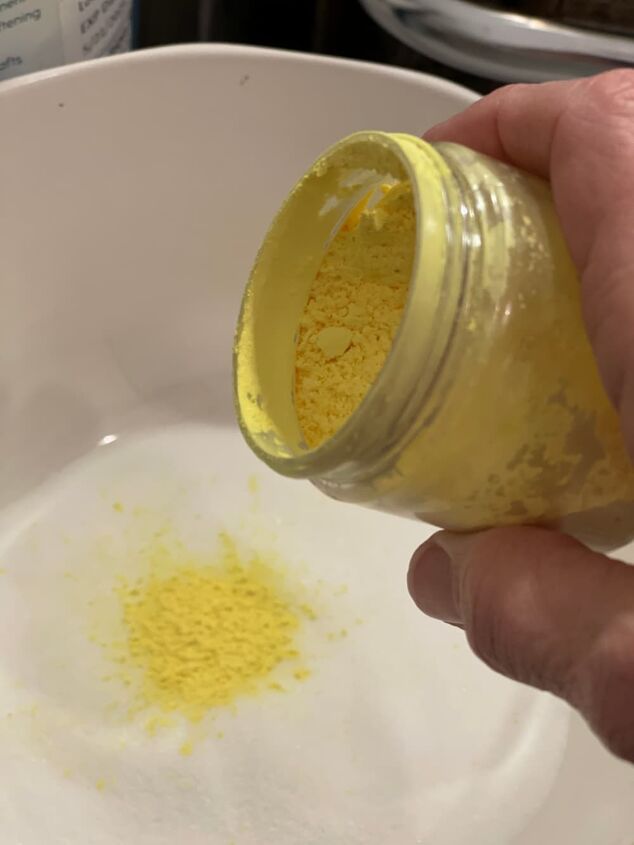
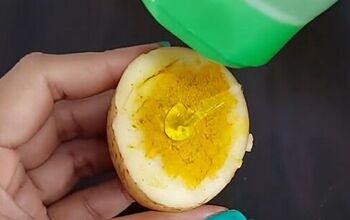
If you are adding a powdered colorant like used in cold process soaps or a mica, add that now to the mix.
I used yellow pigment in my first batch and added that here.
You can leave these white if you wish and add lavender buds, colored epsom salts or other items to the mold.
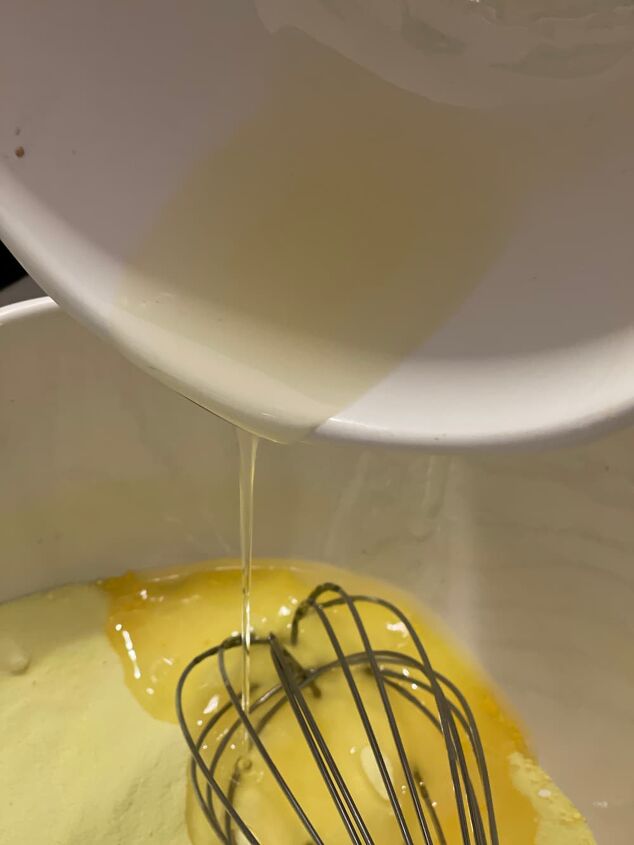
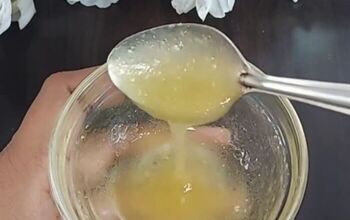
In another container, mix your castor oil with your essential oils. Stir until combined.
I like a strong scent so I add the equivalent to 300 drops of essential oils.
You can combine them if you wish for certain scents that have relaxing or energizing properties.
I used what I love. My first batch of yellow were lemongrass and orange.
My pink ones were peppermint and the last ones I made were spearmint.
In the workshop, my students combined scents, eucalyptus with spearmint.
Lavender was a big hit with the class also. Feel free to research combinations until you find ones you love.

If you want color in liquid form, this is where you would add that.
I made light pink ones and added 1 drop of red food coloring.
Now add the liquid to the dry mixture and stir. I like to use my hands here, covered in gloves for safety.
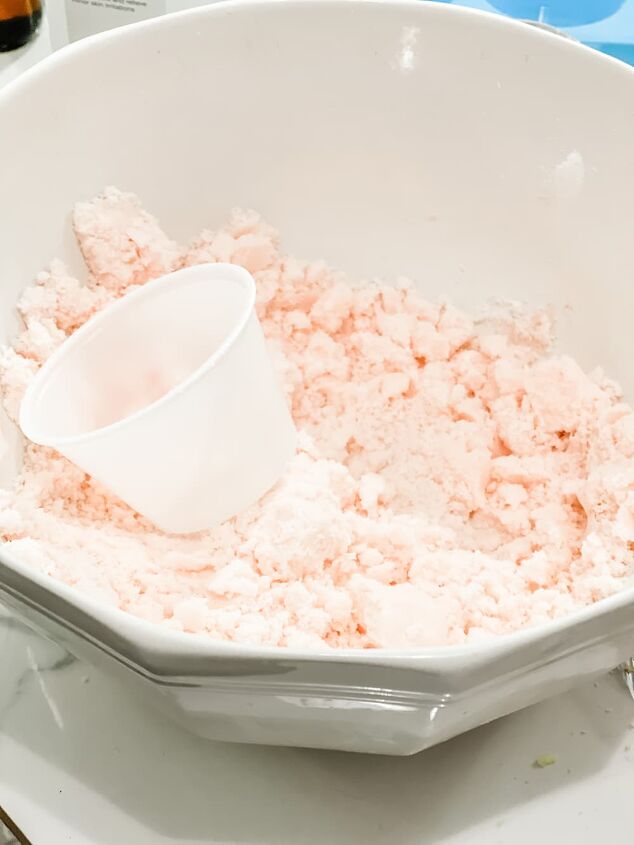
When the consistency is like wet sand, meaning when you squeeze it in your hands, it holds it’s shape.
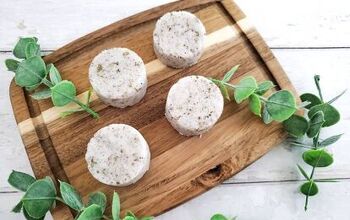
You are then ready to add to your mold.
After you fill your mold, press down with a glass or container to pack it down like you would brown sugar.
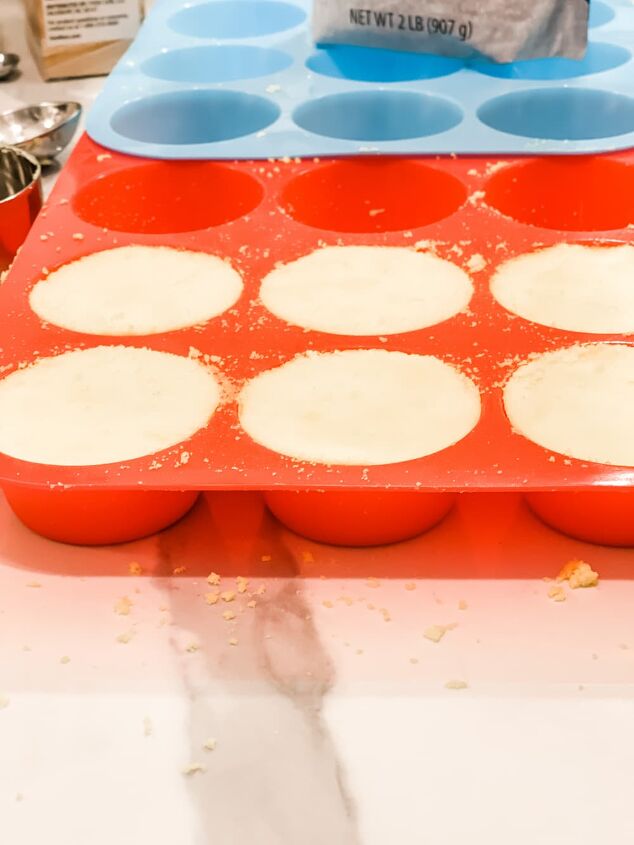
I left the steamers out to dry for 24 hours. After this they should pop easily from the cups/molds. Make sure to wrap them soon after they are un molded to protect the scent.
what can you use as a mold for shower STEAMERS
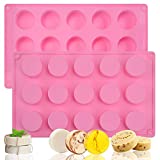
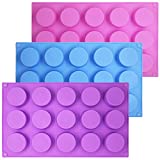
The sky is the limit for molds. I purchased these silicon molds but you don’t have to. They are definitely easy and obviously reusable.
But if you want to make some and don’t want to purchase these, you can still be successful.
I used styrofoam cups I had, disposable plastic bowls, larger styrofoam bowls. All worked well, I especially liked the cups, because they made a smaller melt that fit into the small heart topped jar.
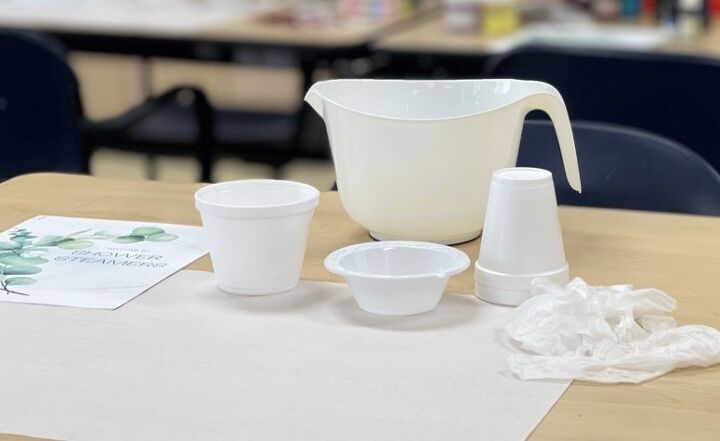
I taught a workshop at my work on these and we used disposable containers so the participants could take them home and not have to come back for them when they were dry and out of the silicon molds.
best ways to package shower STEAMERS OR MELTS
There are several cute ways to package these to give as gifts.
Because I am making these close to Valentines Day, I decided to use these little bags, my favorite jam jar and a jar I picked up from Walmart.
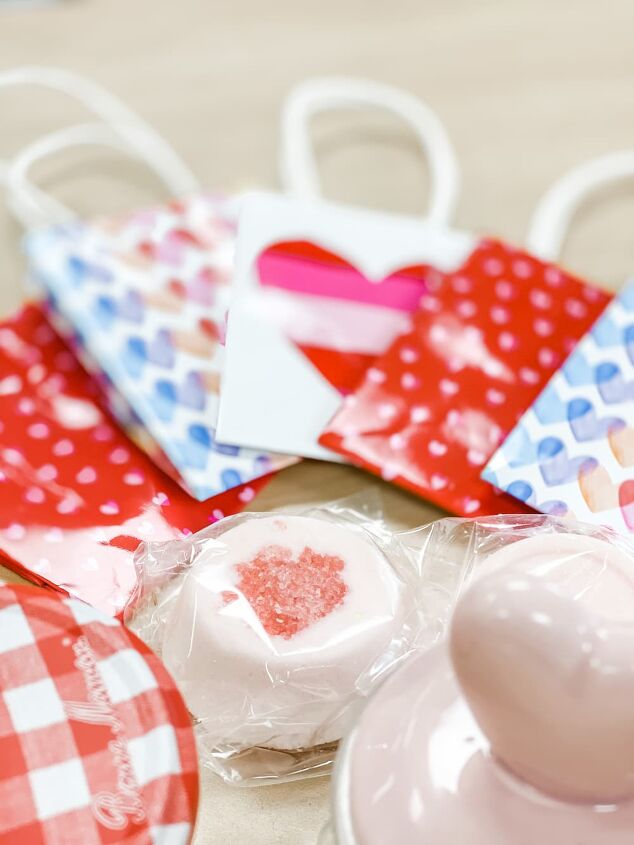
Even when they are in these containers, I still have them wrapped in a cellophane bag or plastic wrap.
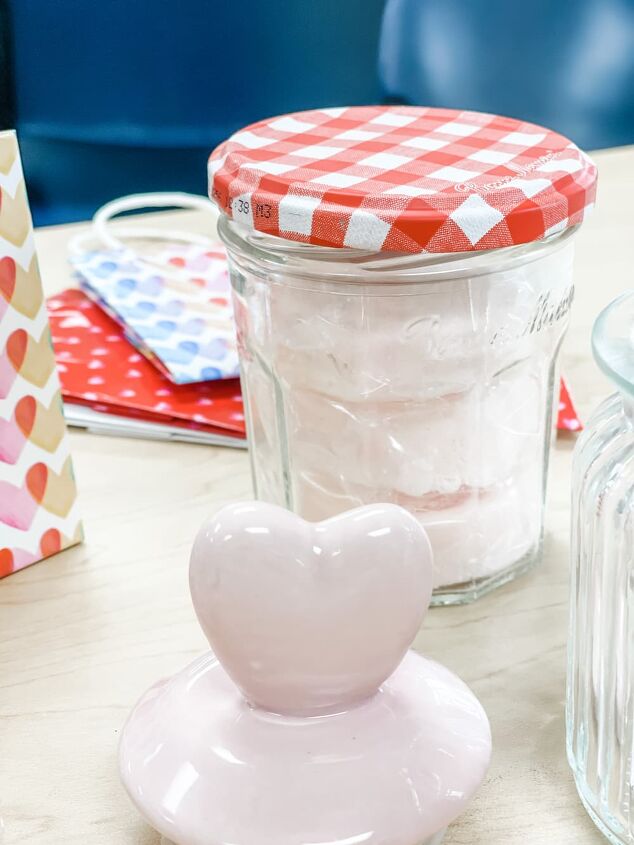
Stacked in a jar, these are super cute in the bathroom on a shelf or vanity. Pop one out for the shower and close the lid.

how do you store shower STEAMERS
After they are dry (24 hours), I like to wrap mine in either plastic wrap or in a cellophane bag.

Then they can be added to a jar with a lid or in some other type of airtight container.
See above for packaging ideas.
how long are shower STEAMERS good?
These are good for 6 months to a year. That is when they are held in a tightly sealed container.
After this time, the scent begins to diminish.
TROUBLESHOOTING
My third batch of melts were heavier than my first two, and actually expanded overnight.
Problem was they were too wet.
Solution, I chose to leave them as is and they just took longer to dry.
My second batch of melts was a little crumbly.
Problem was they were too dry.
Solution, I added a spritz of witch hazel from a spray bottle to some of them.
Second solution was for some, I crumbled them back into the bowl and added a drop or two more of castor oil.
DIY SHOWER MELT SAFETY
These are not to be used on your body or in the tub. They contain a large amount of essential oils and they are not to be used directly on your skin in these amounts.
For the best effect, place these in the corner of your shower out of direct water contact. They just need to be wet a little. If you make a large steamer, you can use it in more than one shower.
If you want a stronger scent, try placing them on a shelf, in a niche or in a bowl on the edge of your tub surround.
Do not place directly under a water source, they will disperse quickly and it might be a little bit slippery.
Another way to stay safe is to hang them in a small cotton bag from the faucet, closer to your head so you can smell the scent. Feel free to add more essential oils if you are not happy with the fragrance.
Enjoy!
final thoughts on a FUN AND EASY DIY
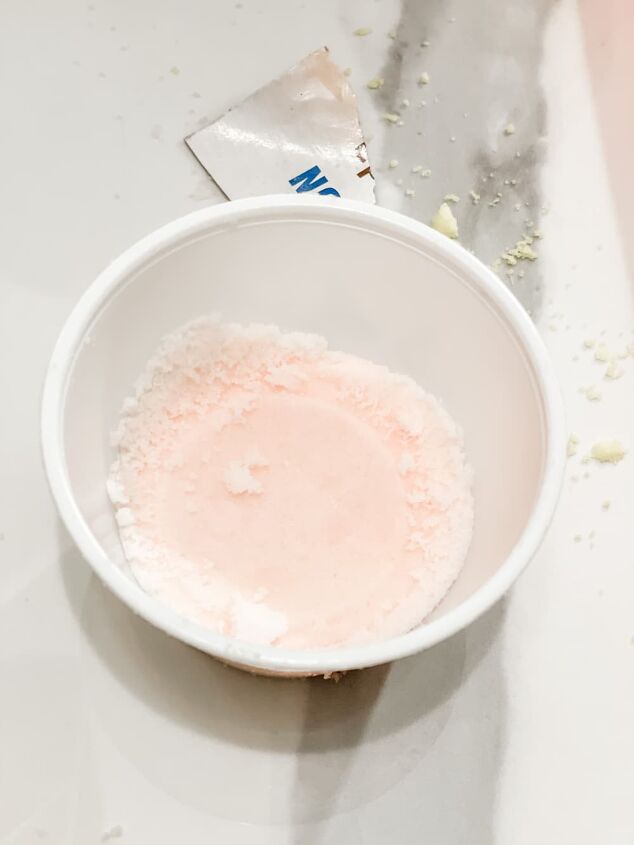
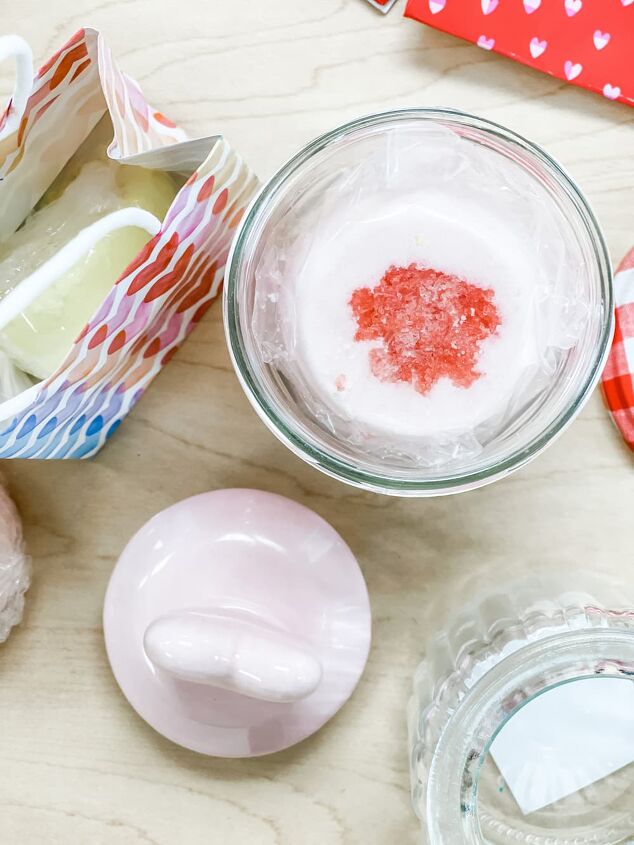
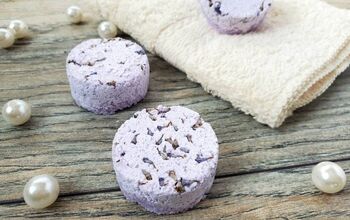
If you want to elevate your steamers, you can add things like lavender buds or colored epsom salts to the center of the mold before you add the steamer.
Sprinkle a few buds onto your purple or white steamer scented with lavender to make it even more attractive.
I colored some epsom salt by adding 1/4 cup of epsom salt to 2 tablespoons of castor oil and a few drops of red food coloring to add to the top.
They sparkle so pretty. You must add to the mold first, if. you add to the mold after filled, trust me they will fall off. Sad face.
Thanks so much for stopping by. Make sure to add your email below so you can keep up to date on what I’m creating over here at Saved From Salvage.
You can find all sorts of information about different ingredients and substitutions. I found lots of information at Bramble and Berry which is where I always buy my cold processed soap supplies.
I made some really cute fabric hearts that would look cute tucked into a bag of steamers. See them here.
Til next time,
XO,Regina
If you are looking for more Valentine related ideas, see my super easy Valentine pillows here.
Want some Valentine decor ideas? You’ve got to see these adorable hearts from scraps.
I am an amazon affiliate and I receive a small commission from qualifying purchases, at no additional cost to you.
Let’s Go Shopping
HOW TO MAKE SHOWER STEAMERS

The author may collect a small share of sales from the links on this page.


Comments
Join the conversation