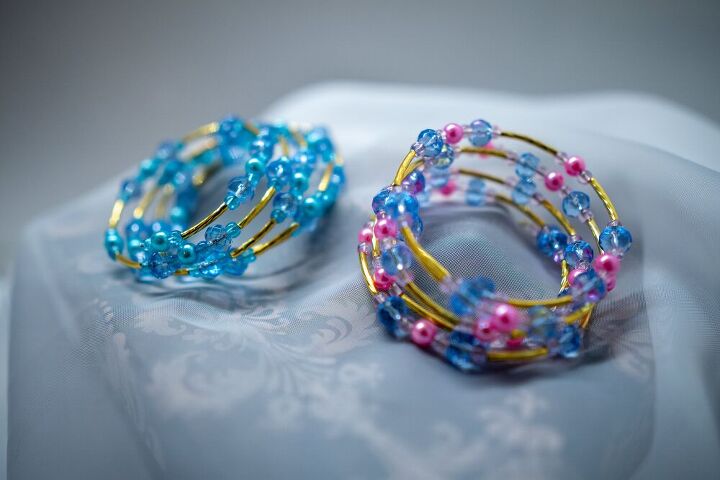
Breaking The Rules Bracelet
I’m a rule breaker! Not the serious ones, probably just more a non-conformist, especially when it comes to clothes and jewellery. I love big jewellery, that stands out. I’m not really a tiny little charm on a gold chain kind of girl.
I also love bracelets, in particular, bracelets made from memory wire, which this one is.
The reason I called this ‘breaking the rules bracelet’ is because I have paired warm gold with cool toned beads which is generally a no-no. I’ve also used sparkly glass crystal rondelles and glass crackle beads with smooth round acrylic beads.
Before we get started on the tutorial, I just wanted to talk a little about memory wire – what it is and why you would use it.
If you like this tutorial check out my other projects on the Create Section of my blog or my YouTube Channel.
Let’s Talk Memory Wire
What Is It?
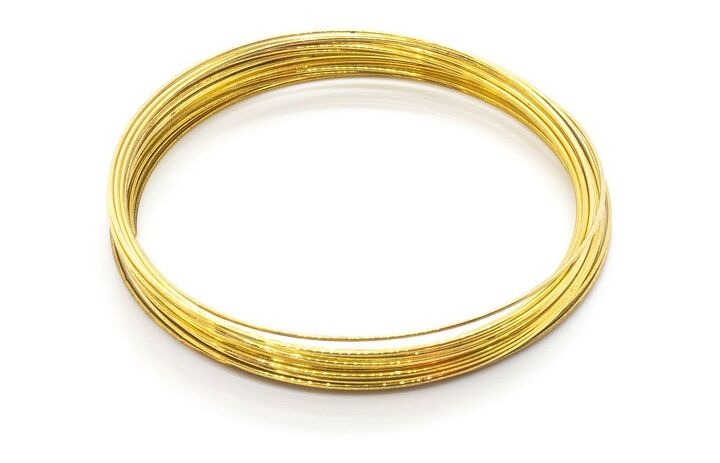
Memory wire is made of hard temper wire which means that it keeps its shape (a circle), no matter what you do to it (within reason). You can pull it and push it and it will always return to the shape it was when it was made. It’s a bit like those Slinky toys that were around in the 80s.
It’s incredibly easy to use, in fact, it’s the easiest wire for stringing as you don’t need to use a clasp. You simply use your round nose pliers to make a small loop at the ends.
It’s available in a variety of different ring, bracelet and necklace sizes.
What Can It Be Used For?
Memory wire can be used to make jewellery including bracelets, necklaces and rings.
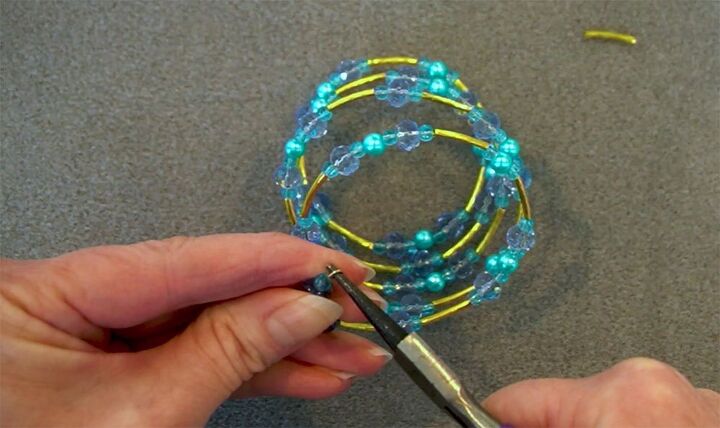
It’s great to create that stacked bracelet look by simply using multiple loops of memory wire in one bracelet.
If you plan to use large beads in your design, use a larger size wire than you would normally, just to give your beads room.
There’s so much you can do with memory wire – you can use beads, metal components and even fabric.
A Word Of Caution
Never use your good cutters with memory wire as it will blunt and damage the cutters very quickly. You can buy special Memory Wire Cutters which makes the job much easier, or just use an old pair.
Also, be very careful as it’s sharp and can spring back and bite!
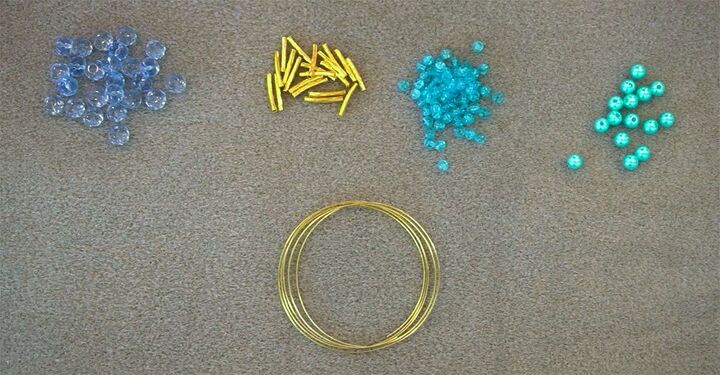
Supplies:
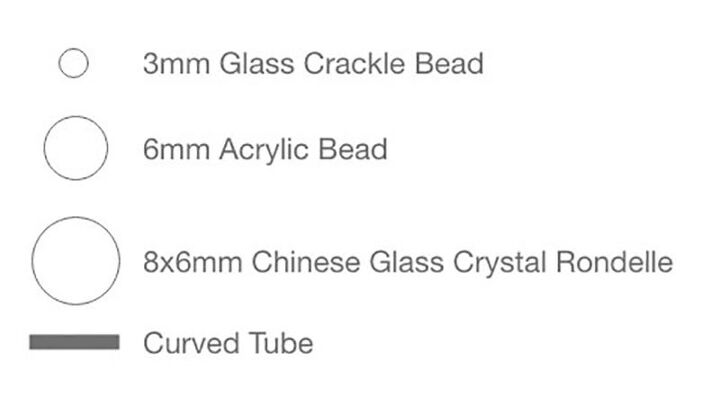
8x6mm Chinese Glass Crystal Rondelles x30
20.5x2mm Gold Curved Tubes x23
3mm Glass Crackle Beads x72
6mm Acrylic Round Beads x18
Memory Wire x5 Loops
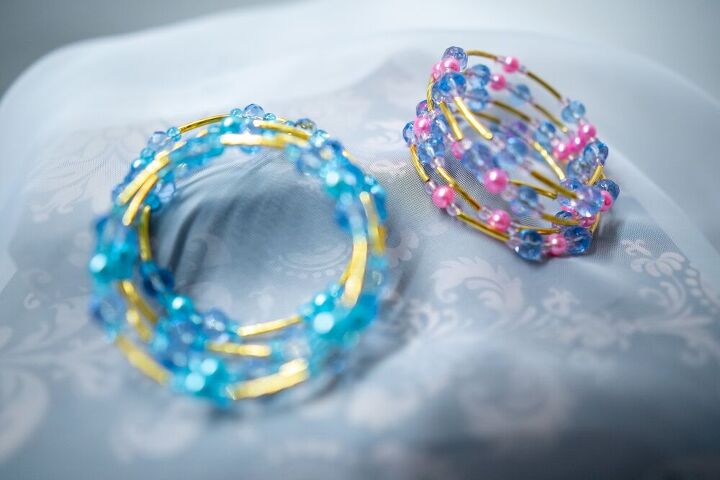
I've made this bracelet in two colours to give you some extra inspiration. The only difference between the two is the colour of the 6mm acrylic beads and the 3mm crackle beads. The links above will allow you to see both colours.
Tools:
Memory wire cutters (or old cutters)
Round nose pliers
Instructions:
If you prefer to watch a video scroll to the bottom or watch the tutorial on my YouTube Channel. It might be useful to look at both before you begin.

Step 1
Lay out the beads in the above pattern pattern.
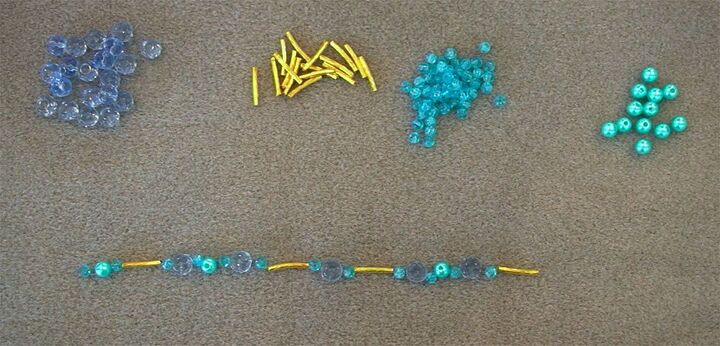
This is the pattern you will follow for the entire bracelet.
Step 2
To make the loop:
- Place the end of the wire between the jaws of your round nose pliers, making sure that the end is flush with the jaws (doesn’t poke out over the top).
- Rotate the pliers away from you until your wrist won’t go any further.
- Reposition the pliers so that the loop is on the lower jaw and rotate again until the loop is closed.
- Give the loop a little squeeze to flatten it a bit.
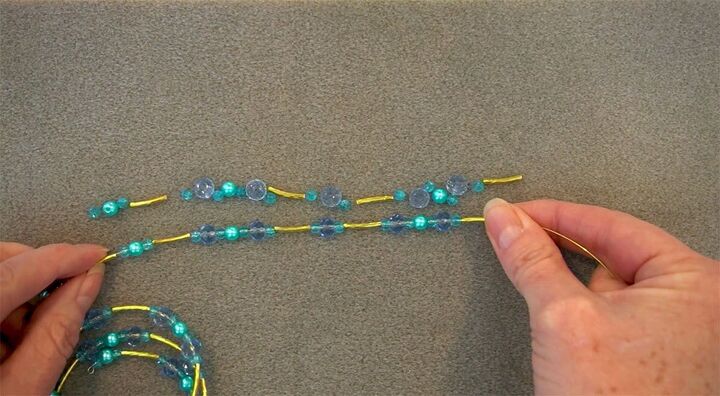
Step 3
Thread the beads onto the other end of the memory wire in the order you laid out above. After every run of the pattern, stretch the wire out to check that you have the beads on in the correct order.
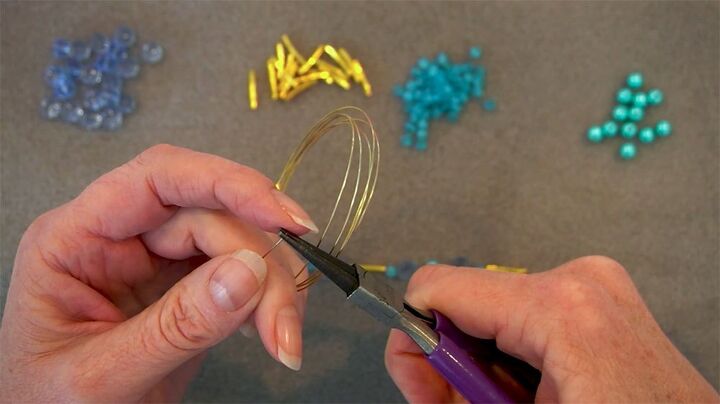
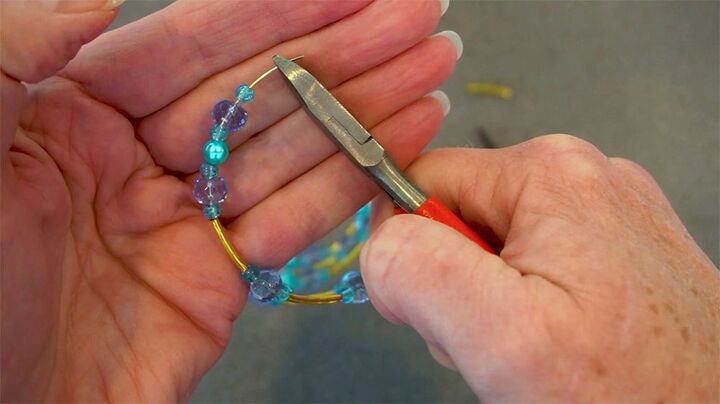
Step 4
When you have strung on all the beads and checked and double checked that they are in the correct order, trim off the excess wire to about 1cm from the end of the beads. Remember to use your memory wire cutters, not your best flush cutters.
Step 5
Ensure the beads are all pushed down to the end with the loop and there are no spaces. Make another loop as you did before facing in towards the circle, not out as it is more likely to catch if you face it the other way.
You’re done!
I hope you’ve enjoyed this really quick easy tutorial. If you would like to see more, please subscribe to my YouTube Channel and ring the bell or sign up to receive my email updates.
I’d love to hear what you think about this Breaking the Rules bracelet so please leave me a comment below.
The author may collect a small share of sales from the links on this page.


Comments
Join the conversation
Easy and fun...
I've bent the memory wire to make geometric drop earrings that don't need adding an earring wire.
Keep on breakin' them rules!