How to Make a Blue and Green Double Strand Bracelet
Blue and green should never been seen – isn’t that how the saying goes?
Actually blue and green look quite good together. They are next to each other on the colour wheel and are therefore called Analogous Colours. What I’ve learned from Imogen, is that some people can’t wear analogous colours together and others look fabulous in them. I’m one of those people who shouldn’t wear them together but today I’m breaking that rule to make this fabulous bracelet.
If you would like to see more of my jewellery making tutorials please visit my blog Living a Real Life.
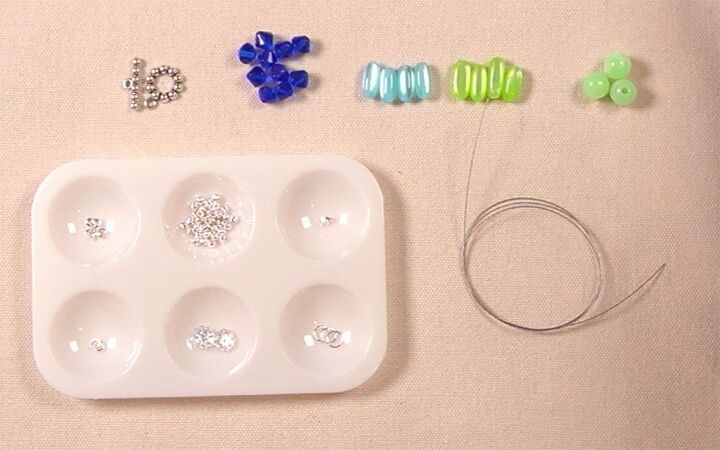
Materials
Here’s what you will need to make this bracelet:
- 8mm Silver Flower Beads Caps x2
- 3mm Silver Corrugated Balls x33
- 3mm Silver Crimp Covers x4
- 6mm Silver Jump Rings x3
- 4mm Silver Jump Rings x2
- 20mm Silver Flower Toggle Clasp x1
- 10mm Green Imitation Gemstones x3
- 14x6mm Green Resin Rectangles x4
- 14x6mm Blue Resin Rectangles x4
- 8mm Cobalt Glass Bicones x10
- Tiger Tail x 60cm
- 1.5mm Silver Crimp Beads x4
Tools
Instructions
Watch the video or read the instructions below.
Step 1
Ensure that all the jump rings are well closed. Thread one crimp bead onto the tiger tail, followed by a 6mm jump ring. Thread the tiger tail back down through the crimp bead. Squeeze the crimp bead with your pliers to squash it flat.
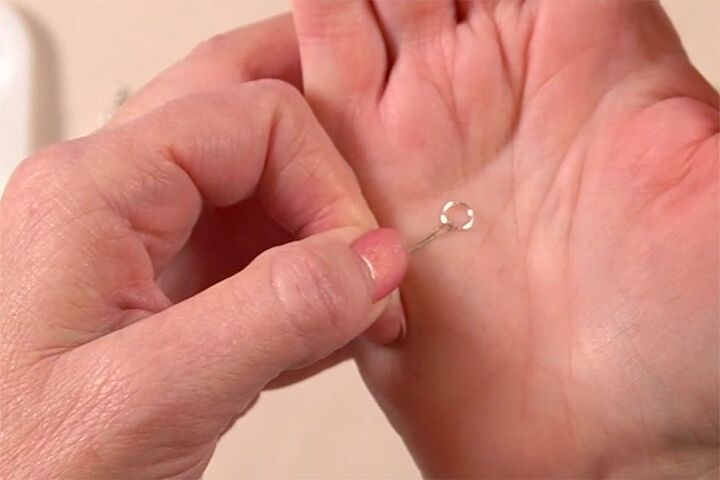
Place your crimp cover over the crimp bead and carefully squeeze it closed with your pliers. Squeeze it gently all the way around to ensure that it is still round.
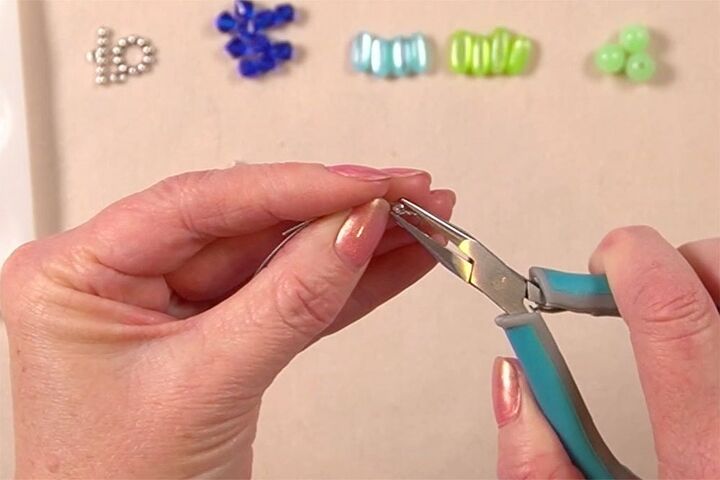
Trim short end of the tiger tail to about 1cm from the crimp cover.
Step 2
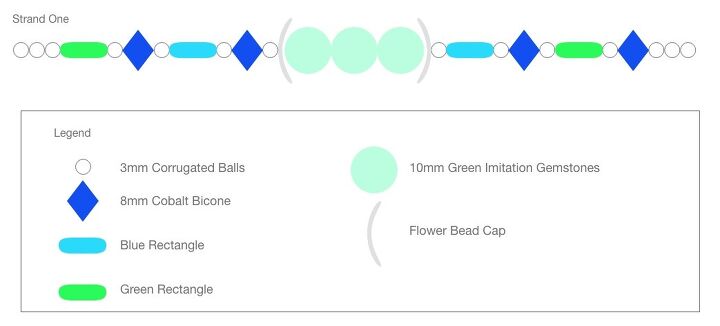
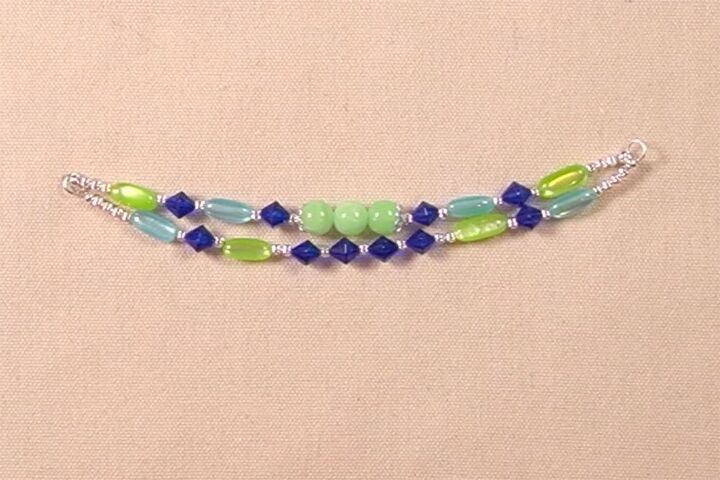
Thread on the beads using the layout diagram below.
Step 3
Once all the beads are on, repeat the crimping process as you did for the other end, this time threading the tiger tail down through the beads before you squeeze the crimp. Once you have squeezed the crimp bead closed, trim off the tail of the tiger tail.
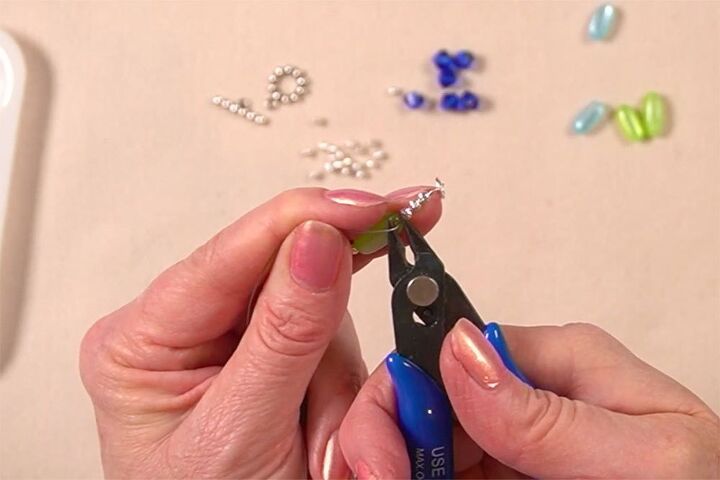
Add the crimp cover using the same process as before.

Step 4
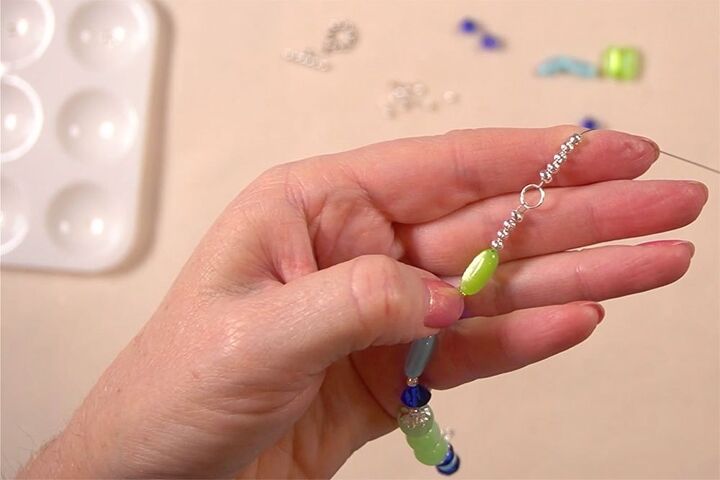
With the remaining tiger tail, thread on a crimp bead, then thread on one of the jump rings from the first strand. Crimp as before and add the crimp cover.
Note: In the picture below I have already added my 3mm corrugated balls for the second strand.
String on the beads for the second strand using the layout diagram below.

Once all the beads are on, add the crimp bead then thread through the jump ring on the opposite end.
Step 5
Open the remaining 6mm jump ring. Thread it through one of the 6mm jump rings on the end, then close it. If you have never used jump rings before you can watch this video.
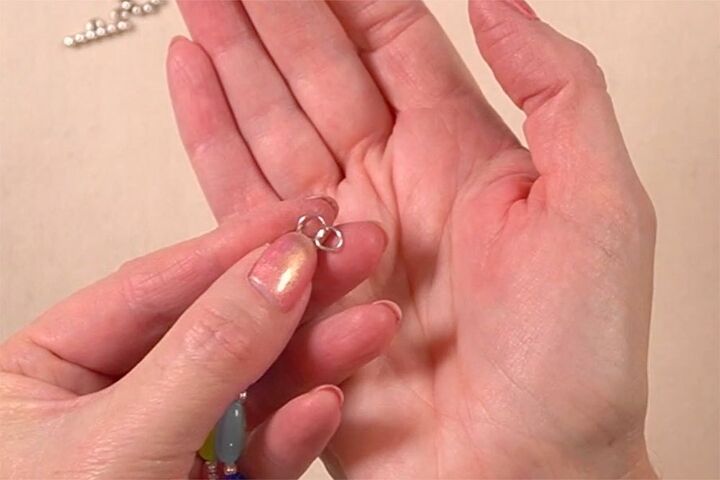
Open one of the 4mm jump rings and thread on the 6mm jump ring and the bar of the round end of the clasp. You will have two 6mm and one 4mm jump rings attached to the bar end of the clasp. The extra 6mm jump ring makes your clasp sit nice and flat when it’s done up.
Repeat the process for the other end of the bracelet. This time you will only have one 6mm jump ring and one 4mm jump ring.
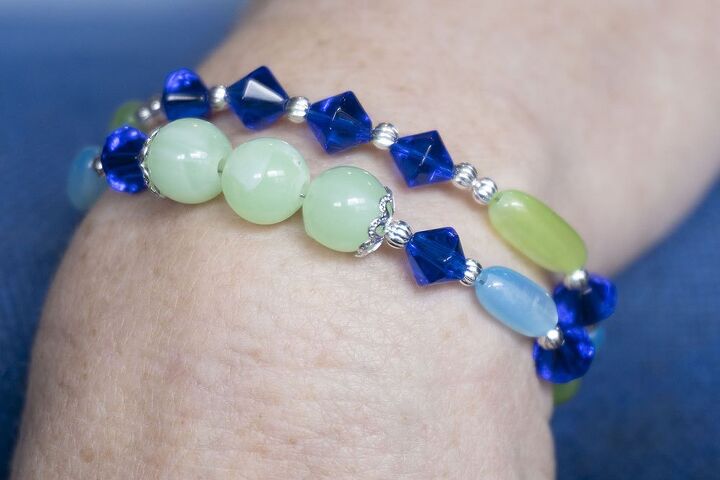
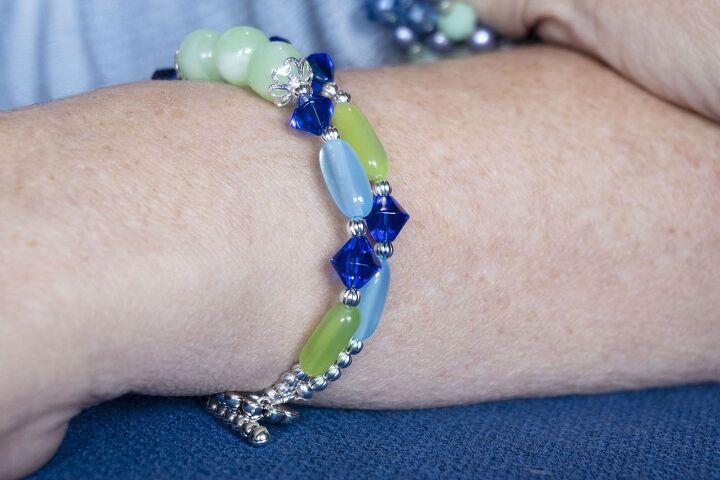
Here’s the completed bracelet. It sits really beautifully on the wrist with the bicones and the imitation gemstones lining up perfectly.
I hope you enjoyed this tutorial on how to make this double strand bracelet.
If so...
PIN FOR INSPIRATION AND SHARE WITH YOUR FRIENDS!!
⇓ PIN THIS ⇓
If you would like to see more of my jewellery making tutorials please visit my blog Living a Real Life.
Follow me on Facebook HERE, Instagram HERE and Pinterest HERE.
The author may collect a small share of sales from the links on this page.


Comments
Join the conversation