Looking for Summer Bracelet Ideas? These 4 Designs Are Colorful & Cute

I love to fill my wrist with stackable summer bracelets for a cool, fun summer look. Try out these three cute summer bracelets ideas, plus a wrap anklet. This is a chance to let your imagination run free!
Tools and materials:
- Beads
- Charms
- Braiding cord
- Embroidery string
- Scissors
- Tape
Summer bracelet 1
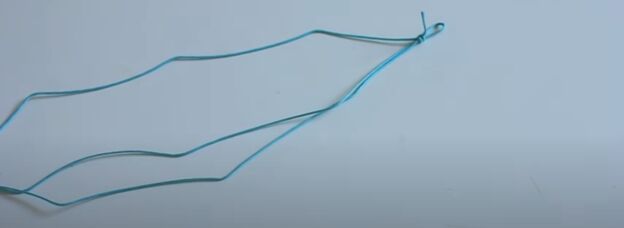
Measure out two long strands of braiding cord. Loop one strand in half to make a loop. Tie the end of one strand around the loop so you end up with three attached strands and a loop on the end.
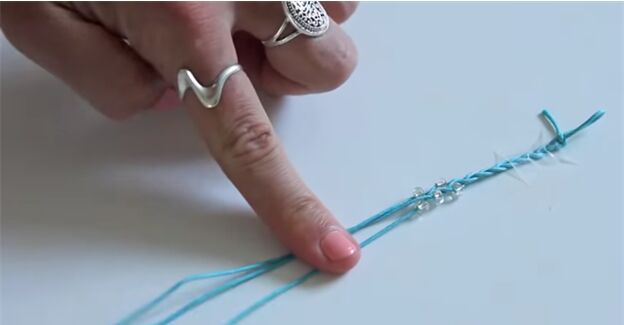
Tape the loop of the triple strand down to your work surface to make it easier to work with. Now, make a simple three-stranded braid. After a few turns of the braid, string your beads of choice onto all three strings.
Then, continue braiding, ensuring there is a bead in each braided section before you cross the strand over.
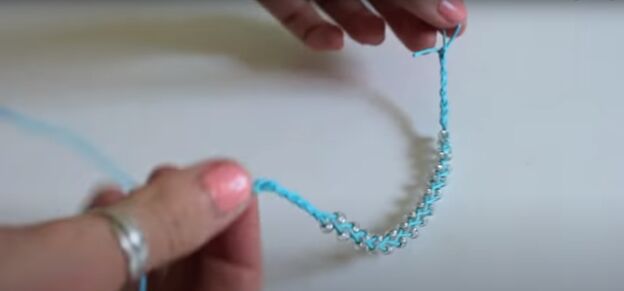
When you get close to the end, do a few simple turns of the braid with no beads.
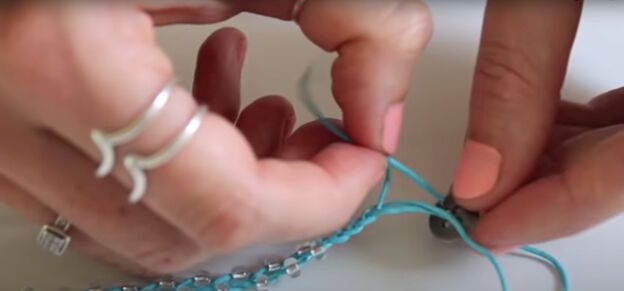
Check that the size of your summer bracelet is correct, and then create a closer with a button. Just feed each strand through a hole in the button and then tie off the strands together.
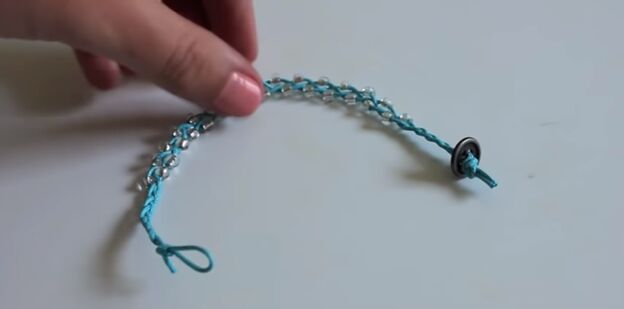
The loop you had made on the starting end of the summer bracelet will now hook around your button!
Summer bracelet 2
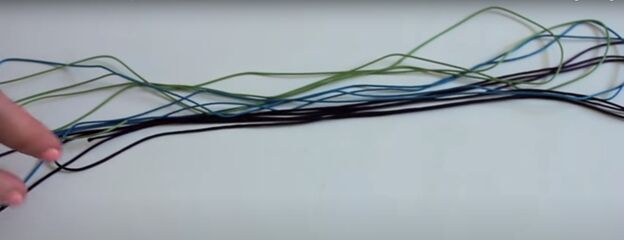
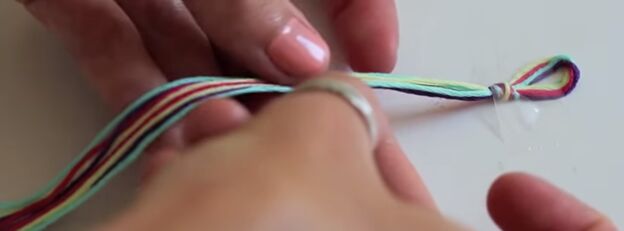
Measure several long lengths of braiding cord in different colors. Fold each length back and forth on itself so that each one has multiple strands, with the total length double your wrist circumference.
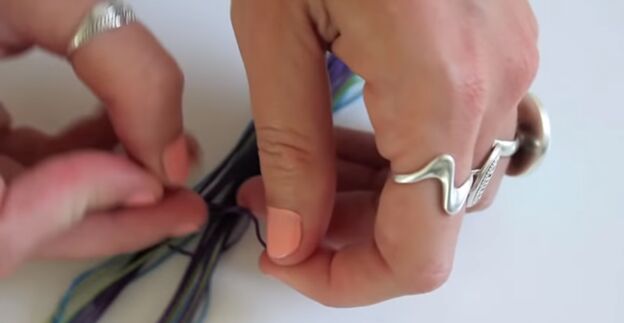
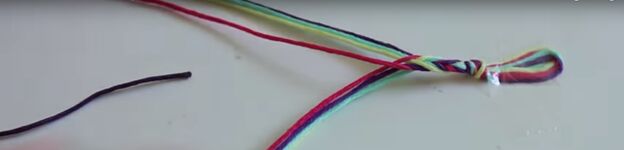
Line up all the folded braiding cord with a loop end together and tie off that end with another piece of braiding cord with a double knot. Make it as tight as you can because this will create the loop that will be part of the bracelet closure.
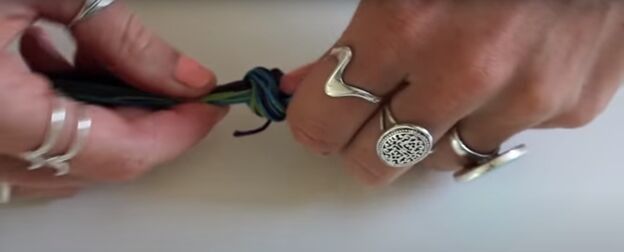
Check the length of the bracelet around your wrist. Tie all the strands at the open end of the bracelet into one big knot at the position where the end of the bracelet should be.

That is the fastener that the loop on the opposite end will hook on to. Trim off the excess cord beyond the knot.
Summer bracelet 3
Measure out four extra-long lengths of embroidery string in different colors. Put them all together and fold them in half to make a loop at one end. Make a knot in the strings at the loop end and tape the loop down on your work surface.
Make a large fishtail braid by alternately moving the outside string into the middle.
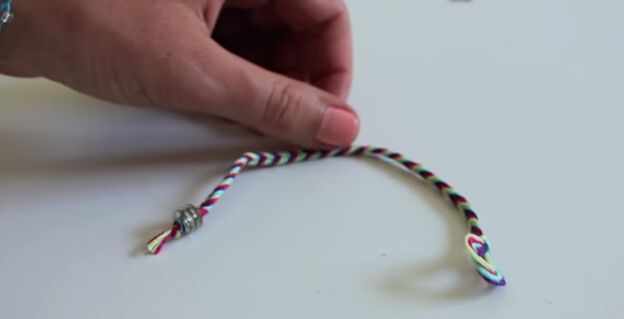
When you come near the end of the bracelet length you want, make a knot with the strands. Slide a bead onto the bracelet after the knot and tie another knot below the bead.
You can fasten your summer bracelet by slipping the loop from one end over the bead on the other end.
Summer wrap anklet
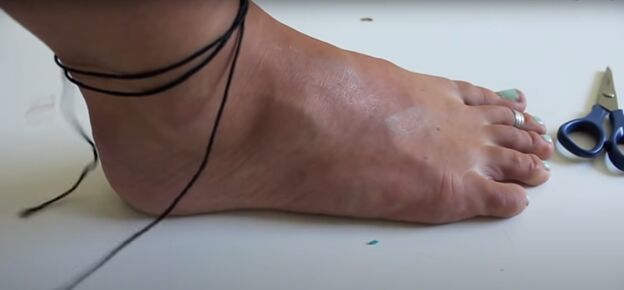
Measure a long length of braiding cord to fit around your ankle as many times as you’d like.
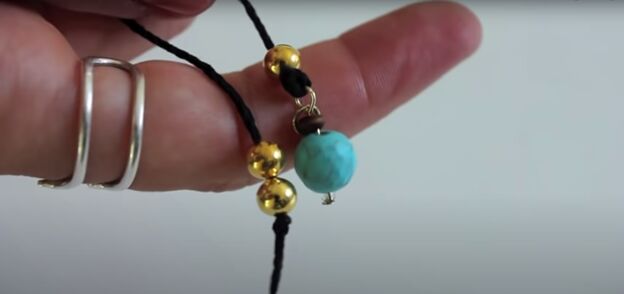
Add some beads and charms to each end of the braiding cord and tie off the cord below the beads.

This is a wrap anklet, so to wear it, simply wrap it around your ankle a few times and pass the dangling ends with the beads through the loop a couple of times to hold it in place.

Summer bracelet tutorial
These summer string bracelets are so much fun to make. Head to your favorite craft store to choose cute summer colors for your bracelets and have a great time picking out beads and charms.
Leave a comment to let us know what you came up with for your summer bracelet ideas!
The author may collect a small share of sales from the links on this page.


Comments
Join the conversation
I like the first n the third one.