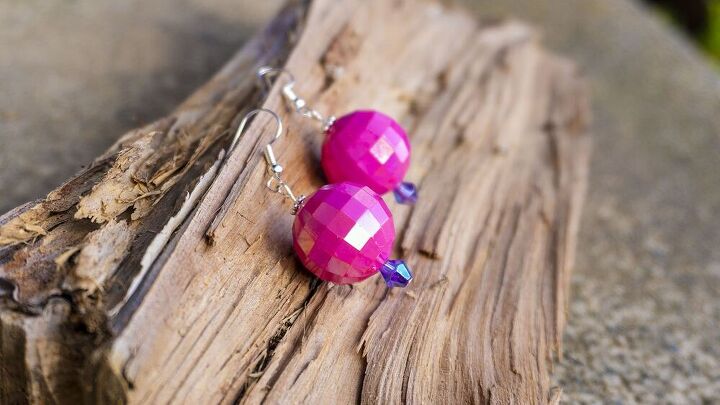
Disco Ball Earrings In Five Easy Steps
These super cute earrings make a quick and easy project with stunning results.
The earrings came about when some a large box of bubblegum beads arrived. Jenna was watching while I unpacked – she saw these 20mm faceted beads and fell in love. It was actually her birthday and she was getting ready to go off to teach Zumba (it’s tradition to host a free ‘party class’ on your birthday). I thought, whynot make her some earrings to wear to her class, so I whipped up these quick and easy beauties.
If you like this project please check out my other projects on the Create Section of my blog or my YouTube Channel.
Supplies:
- 20mm Faceted Round Bubblegum Beads x2
- 6mm Bicones with AB Finish x 2
- 4x1mm Beaded Rondelle x2
- 5cm Headpins x2
- Earhooks x2
Kit available at Affordable Jewellery Supplies.
Tools:
Round nose pliers
Flush cutters
Chain or bent nose pliers
Instructions:
If you would prefer to watch a video scroll to the bottom or check it out on my YouTube Channel.
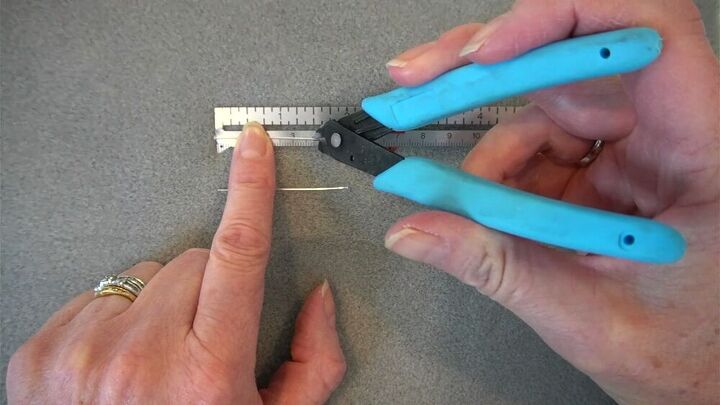
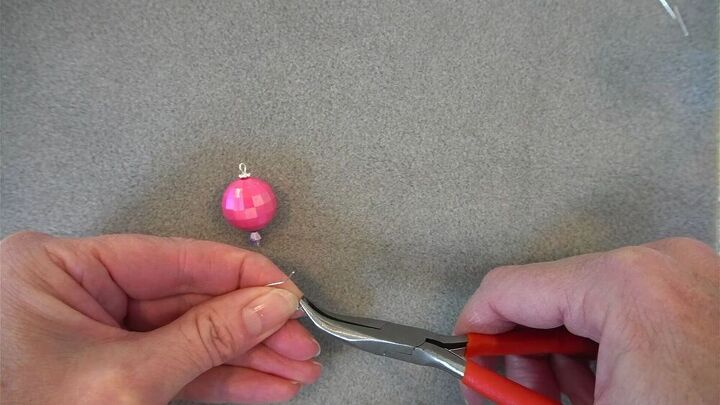
Step 1
Cut the headpins to 38mm.
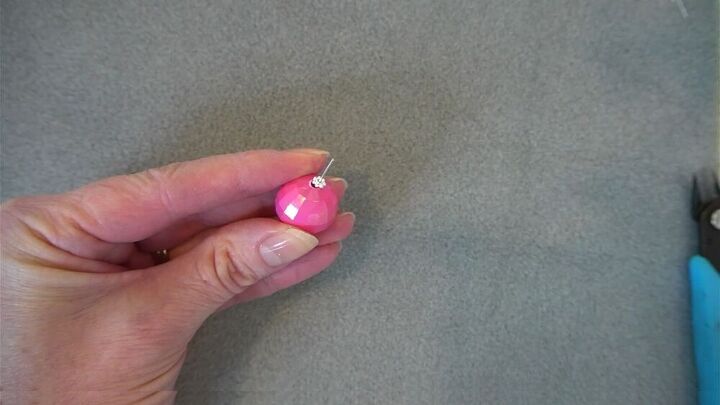
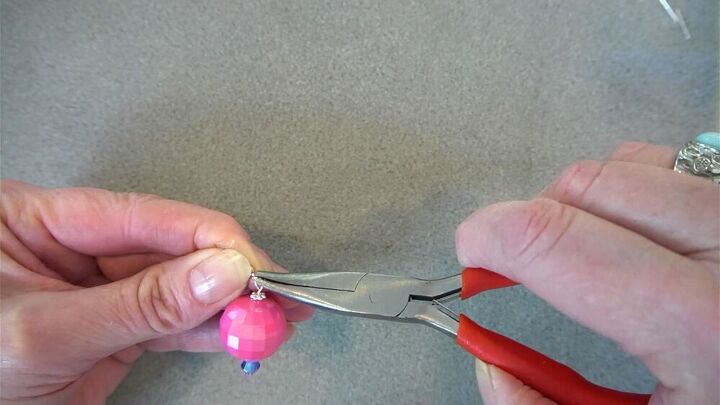
Step 2
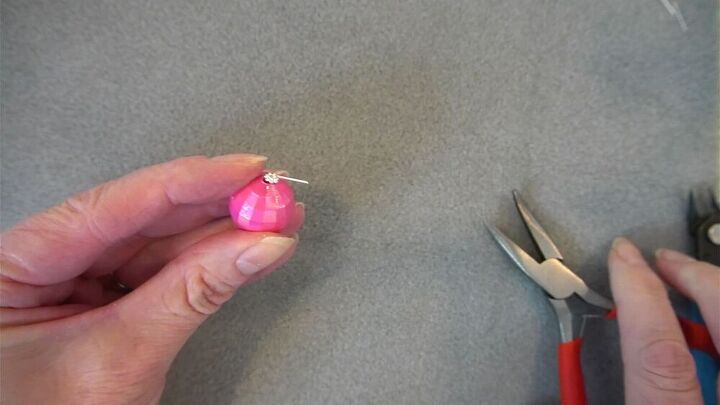
Feed onto the headpin the beads in the following order:
1. Bicone
2. Bubblegum bead
3. Beaded Rondelle
Step 3
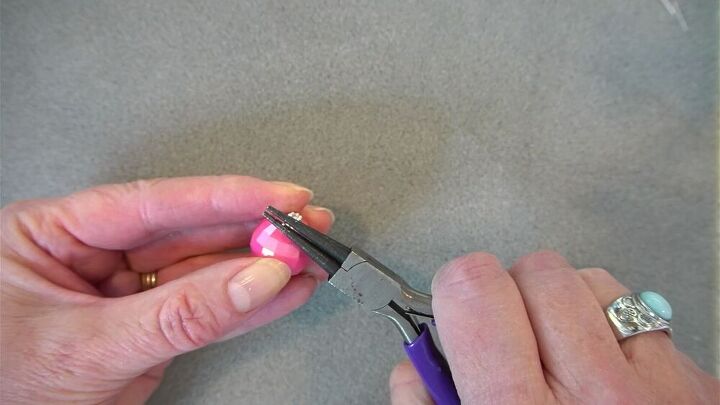
Make the loop:
Using the chain nose pliers bend the headpin at the top of the beads to make a right angle.
Place the top of the headpin between the jars of your round nose pliers,making sure that the top is flush with the jars (doesn’t poke out over the top).
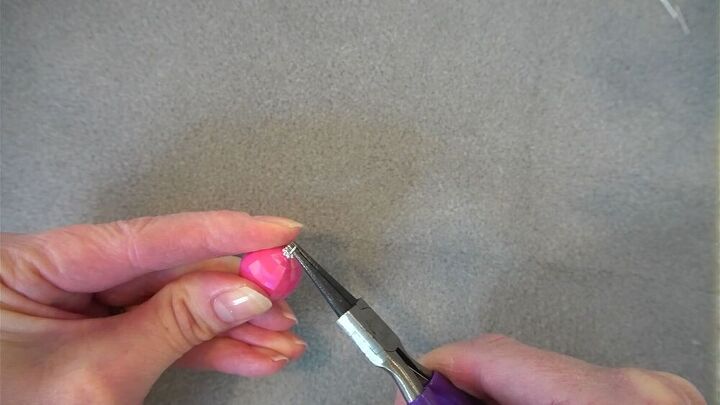
Rotate the pliers away from you until your wrist won’t go any further.
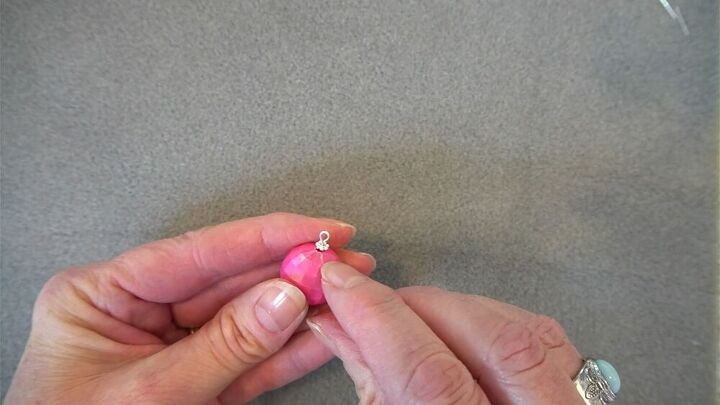
Reposition the pliers so that the loop is on the lower jaw and rotate again until the loop is closed. If necessary, hold the loop with the chain nose pliers and reposition until the headpin is centered under the loop.
Step 4
Attaching the earwire:
Open the loop at the bottom of the earwire by grasping it along the side with the chain nose pliers. Rotate up towards the ceiling. Never open aloop to the side or you will lose the nice round loop.
Place the loop of the earring component onto the loop of the earwire and close the loop by rotating down toward the floor, making sure the loop sits closed. Rotate back and forth with a little pressure if necessary, to get it to sit nice and tight.
Step 5
Repeat for other earring.
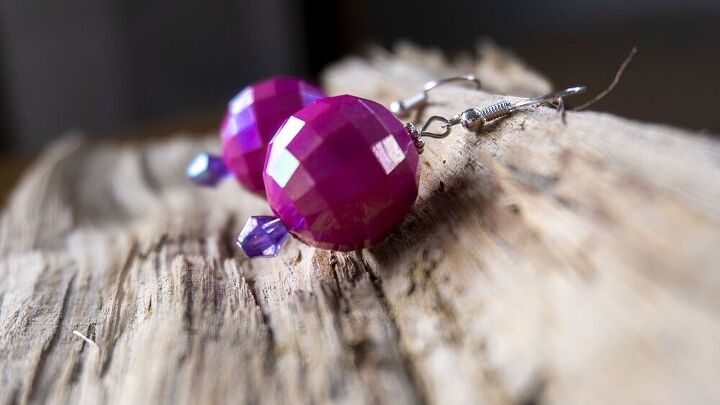
Now you have a pair of cool sparkly disco ball earrings.
Wasn't that easy?
I'd love you to tell me if you make these earrings so leave me a comment below.
If you liked this project please check out the Create Section of my blog or my YouTube Channel for more tutorials.
The author may collect a small share of sales from the links on this page.


Comments
Join the conversation