Simple Polymer Clay Applique & Embroidery Tutorial For Dainty Earrings

Welcome to this polymer clay applique and embroidery tutorial. Earrings highlight the beauty and the features of the people who wear them. Beautiful earrings accentuate beauty even more. Here’s how to make these stunning flower earrings using polymer clay embroidery.
Tools and materials:
- Polymer clay in at least 4 colors
- Exacto knife or small sharp knife
- Blank cabochon earring setting
- Sewing needle
- Silicone shaper tool
- Rubbing alcohol
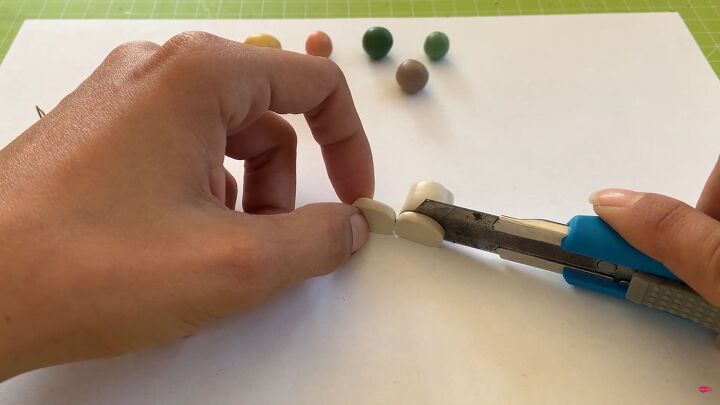
1. Make the base
Choose the lightest color clay as the base. Slice a small amount with the Exacto knife. Manipulate the clay by rolling and stretching it to create a flat disc.
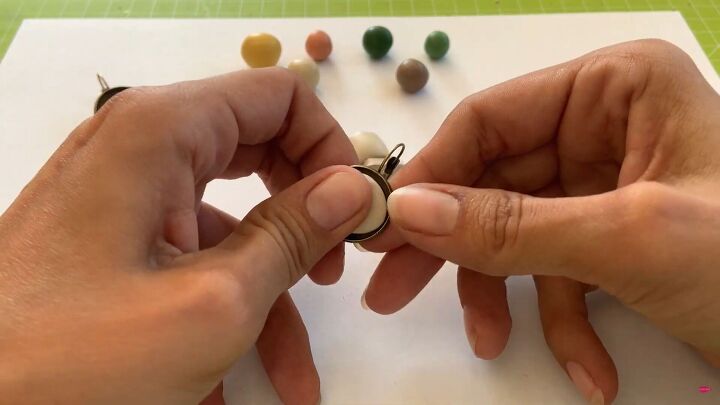
Place into the earring circle and press into place leaving no gaps.
Wipe with alcohol to remove any fingerprint residue and to clean the entire surface.
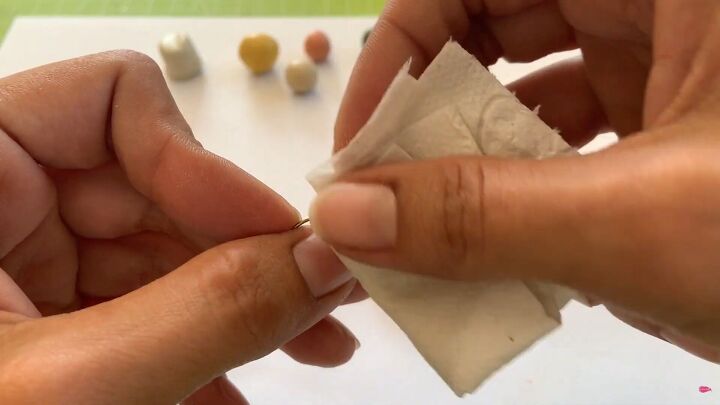
2. Make the stems
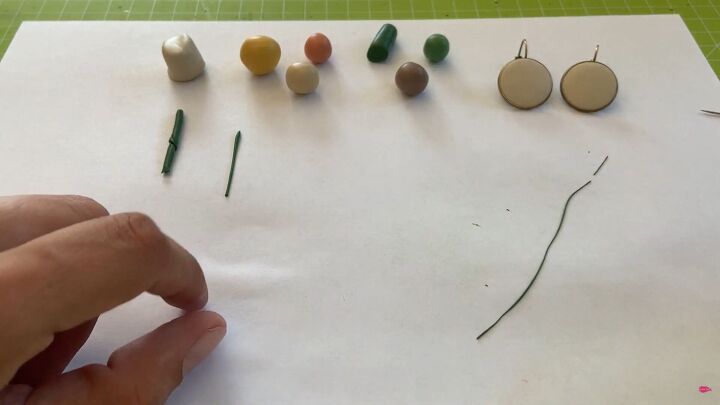
Use the green clay. Slice a small piece and roll the green clay into a very fine and thin roll. Use the sewing needle to cut a small strip.
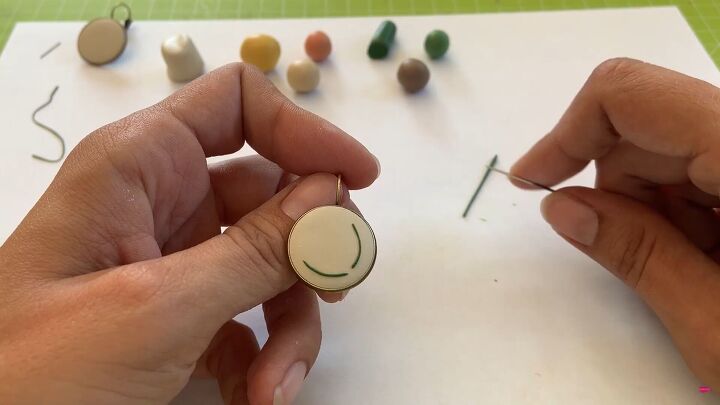
Then, use the needle to place the strip onto the white disc. Use thumbs to move it into position if needed. Make a second stem and place them in a U shape.
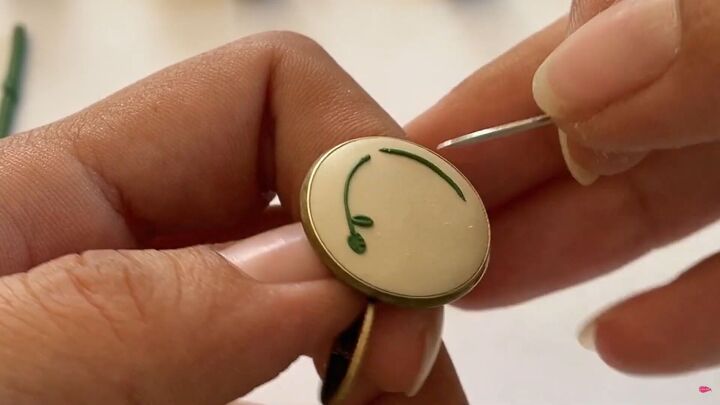
3. Make the leaves
Cut tiny pieces off the thin green strip and gently roll them into balls. Lift one ball up with the needle and place it on top of the stem. Press the needle into the center and then in short diagonal lines to mimic leaf veins and lines.
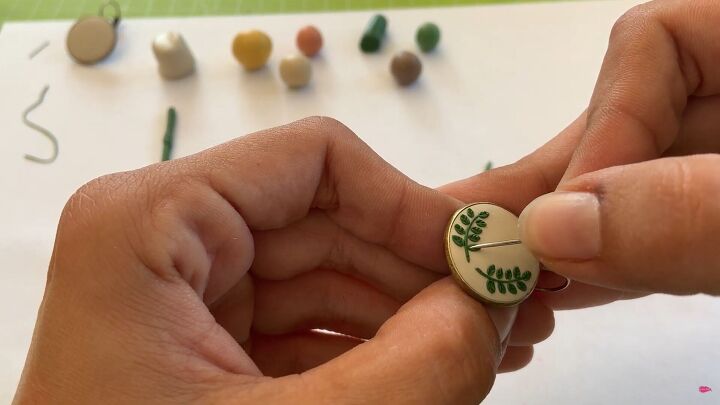
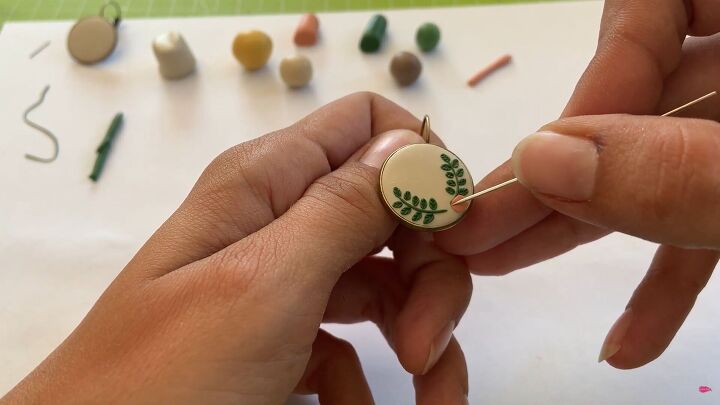
Each stem gets 9 leaves: one on top and 4 on each side of the stem. For both stems, make 18 leaves.
4. Make the flowers
Use the peach-colored clay. Roll into a thin log. Cut into small circles with the Exacto knife. Roll with fingers and flatten. Use the needle to lift and place the peach discs at the base of the stems. Press the needle into the inner center edge of the flower.
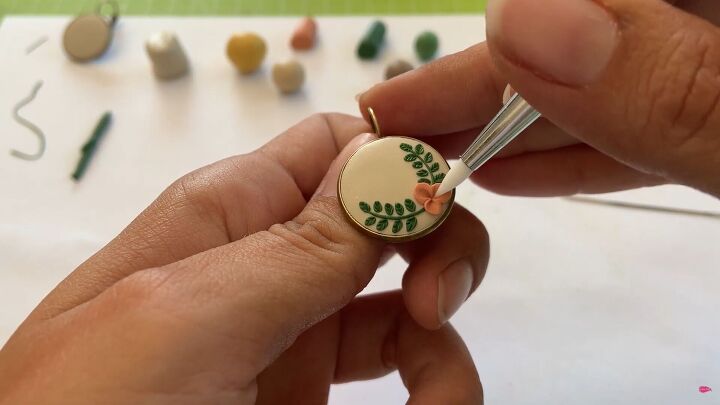
Use the silicone shaper tool to further flatten this line, forming a pretty petal.
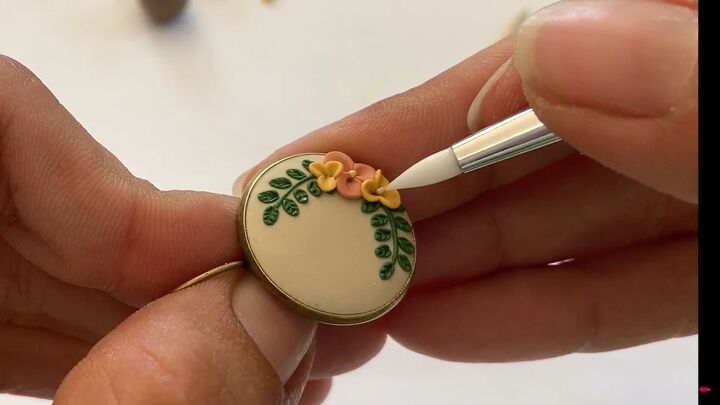
Use the yellow clay. Roll into a thin log and cut 3 small balls. Flatten into discs. Place these yellow discs in the same pattern on the side. Use the silicone shaper to flatten the petals.

With the base, make tiny balls for the center of the flower. Tuck them into the flower centers with the silicone shaper.
5. Finish the earrings
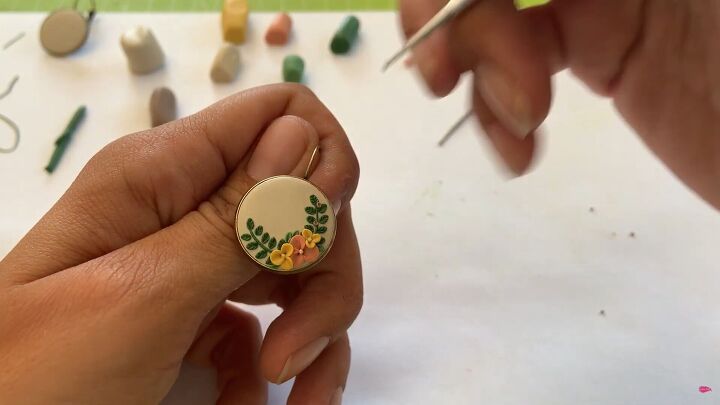
Use some of the green clay from the thin log. Cut 3 small balls and form them into leaves and place them at the base of the flower.
Use some of the light brown clay and make very small balls. Lay them onto the earring.
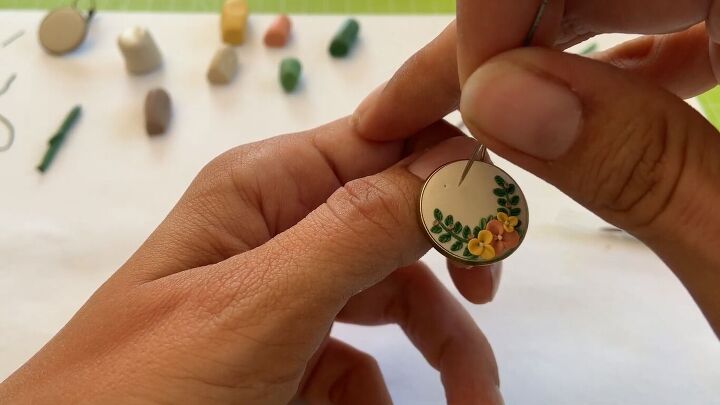
6. Add 3 small dots with a needle
With the needle, poke 3 holes in the top. This is optional, but it really adds to the embroidery style.
7. Bake the polymer clay
Polymer clay needs to be baked. The brand will have the recommended temperature and length of time for baking. After baking, you may want to add a spot of superglue to ensure the design stays in place.
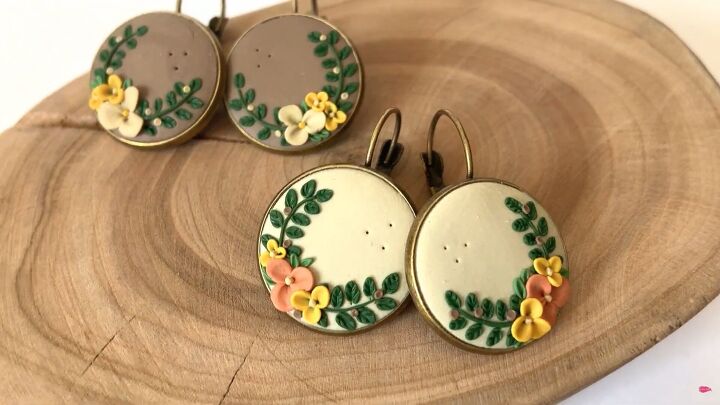
Polymer clay applique and embroidery tutorial
These beautiful polymer clay embroidery earrings are definite conversation starters with their delicate floral pattern. Please let me know in the comments if you’ve made them and how easy or hard it was.
The author may collect a small share of sales from the links on this page.


Comments
Join the conversation
Hello, I work with polymer clay a lot and these earrings are lovely. I have seen this technique before used in other applications and it is very pretty. Thank you for sharing.
Beautiful