Create Your Own Awesome Overalls From an Old Pair of Pants

I used to work at this Japanese restaurant called Karin that I really loved. The owners were so nice and it was a great experience for me. Recently, the owners’ daughter got in touch with me and said she wanted to know how to make overalls. So I found a pair of pants that I was willing to upcycle and turned them into a super cute pair of overalls instead. I love the way they turned out, so keep reading to learn how to make your own.
Tools and Materials:
- Pants
- Scissors
- Sewing machine
- Ruler
- Fabric chalk or other marker
- Cutting mat and rotary blade (optional)
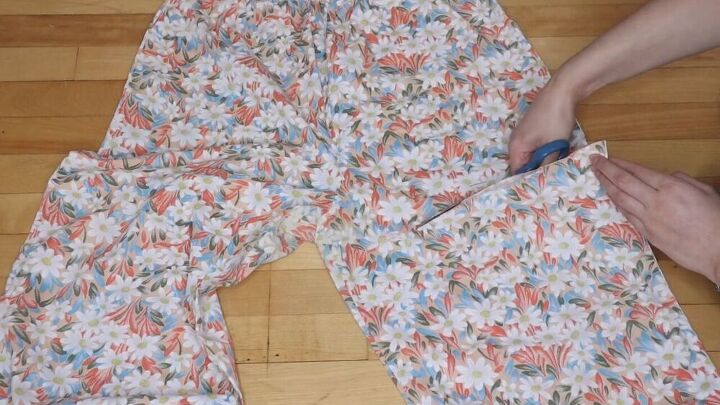
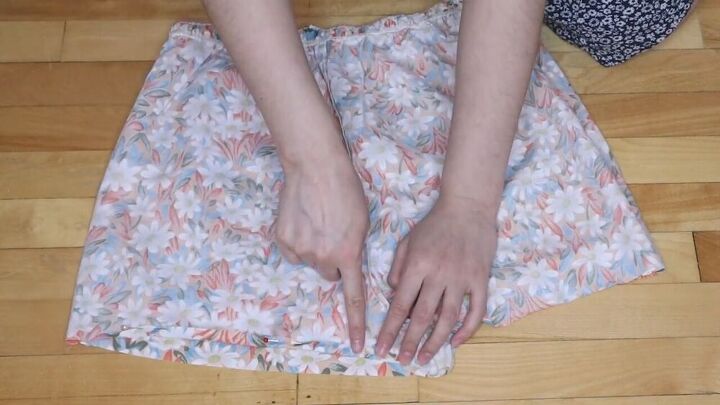
The first thing you need to do for your overalls is to cut your pants to size. The pants I was using already fit me around the waist, so all I had to do was cut the pants to the length I wanted. Once you cut one leg, fold the pants in half to ensure you’re cutting the same length on the other leg.
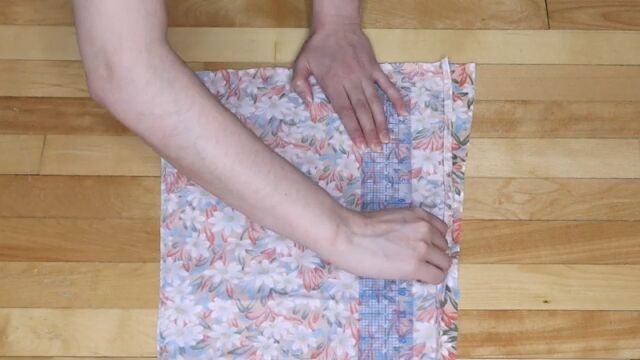
Now that your shorts are the right length, you’re going to turn them inside out and fold up the edges so that you can hem them. Pin the fold in place, then sew down the hem. In order to prevent fraying, I also recommend zigzag stitching the edges.
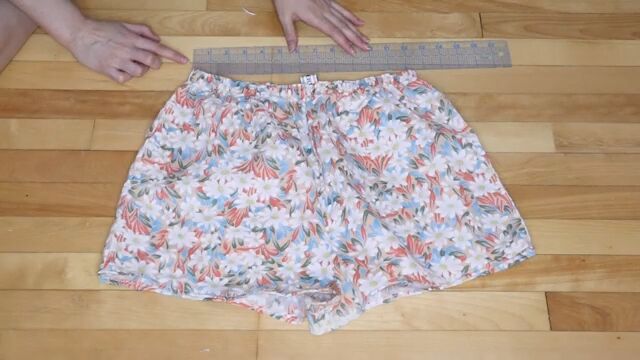
Now that your shorts are complete, you need to figure out the measurement of the top part of the overalls, known as the bib. So take a ruler and measure the width of the waistband of your shorts. Then you’re going to subtract 3” from the width, and that will give you the bib’s dimensions. So for me the width was 13”, meaning that my bib dimension was 10”.
Grab one of the pant legs that you cut off earlier and turn it inside out. Then mark a 10”x10” square onto the wrong side of the fabric and cut out the square. This will leave you with two 10”x10” squares.
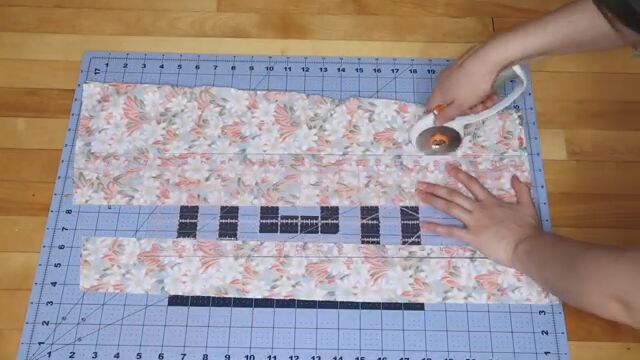
I definitely recommend using a cutting mat and a rotary blade for this step if you have it. Take the other excess pant leg and cut out 3” wide strips of fabric. You can also cut out extra fabric and sew it together to make longer straps, but at 22” my straps were long enough that I didn’t need to do that.
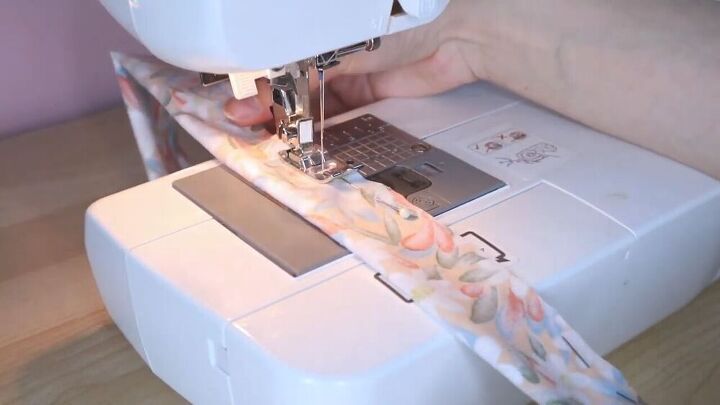
Fold your straps in half lengthwise, right sides together, and sew the sides closed. Then sew closed one end, leaving the other one unsewn so that you’ll be able to flip the straps later, and snip off the corners.
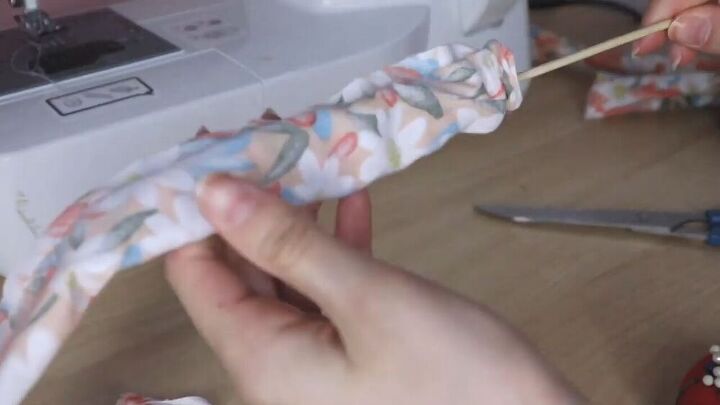
Now you’ll need to flip the straps. The best way to do this is to tuck in the closed end and use a stick (I used a BBQ skewer) to push the fabric until it is right side out. Then use the same stick to poke out the corners. Once the straps are right side out, iron them so that they’re flat.
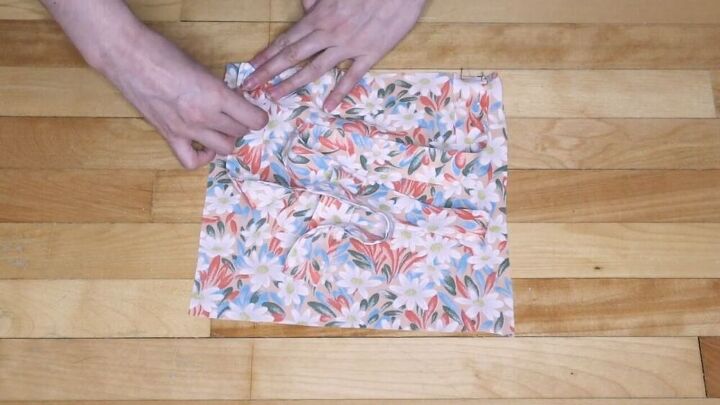
To add your straps, you’re going to place the side of each strap that is still unsewn at ½” from the corners of one of the bib squares. Pin them down in place.
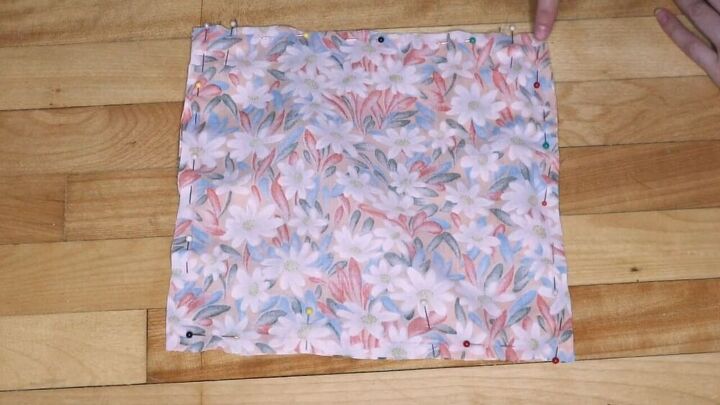
Take the second square and place it face down onto the first square with the straps so that the squares are right sides together. Then pin them together on all the sides, but leave a gap in the middle of one side. You can place your pins in a way that will indicate your gap. Then sew the sides together, making sure to leave that gap. Once that’s done, snip off all of the corners and flip it inside out, using something pointy to unfold all of the corners
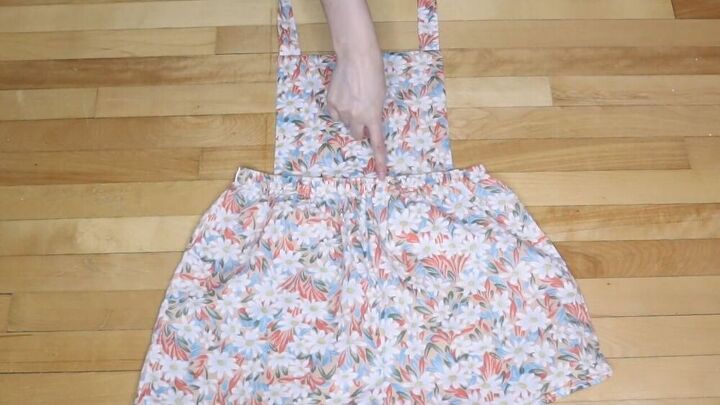
Once your bib is ready, iron it so that it’s flat. Then place it in under the waistband of your shorts and top stitch them together using a zigzag stitch.
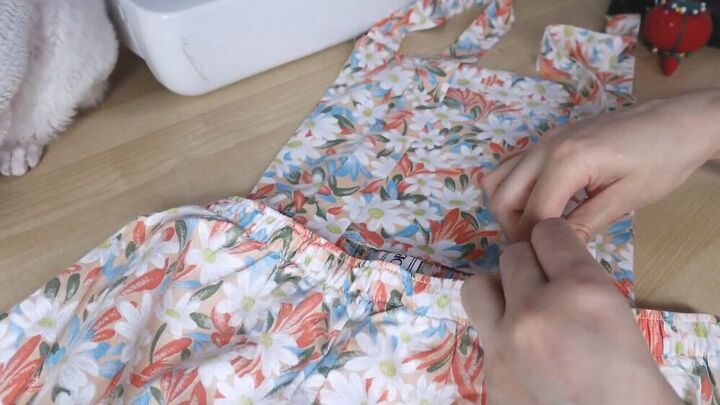
Try on the overalls and make sure you’re happy with the length of your straps. If you are, go ahead and sew them to the shorts. Do this by placing them at 3” from the side, pinning them under the waistband, and sewing them.

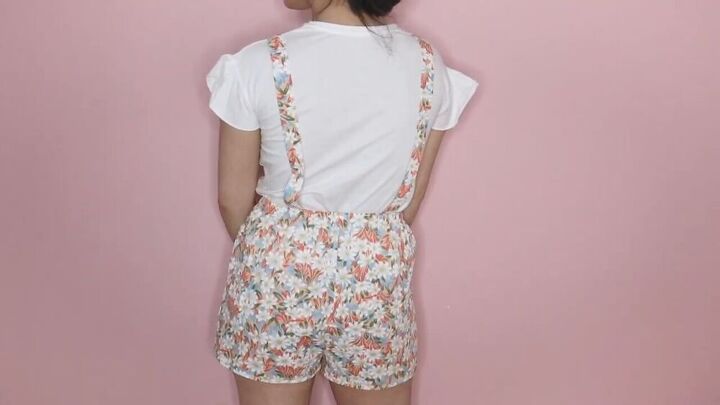
That’s it! I love how these overalls came out. Not gonna lie, they actually turned out to be even cuter than I thought they’d be. They’re super fun and absolutely perfect for summer. I especially love that it’s an upcycle and that these pants I used to love but wasn’t really so into anymore have been repurposed and given new life. I want to see all your different overalls, so leave me some pictures in the comments!
The author may collect a small share of sales from the links on this page.


Comments
Join the conversation
Thanks for this tutorial, it looks so much easier than I imagined. I can't wait to try it myself.