Pinspiration: Maxi Dress to Jumpsuit Refashion!

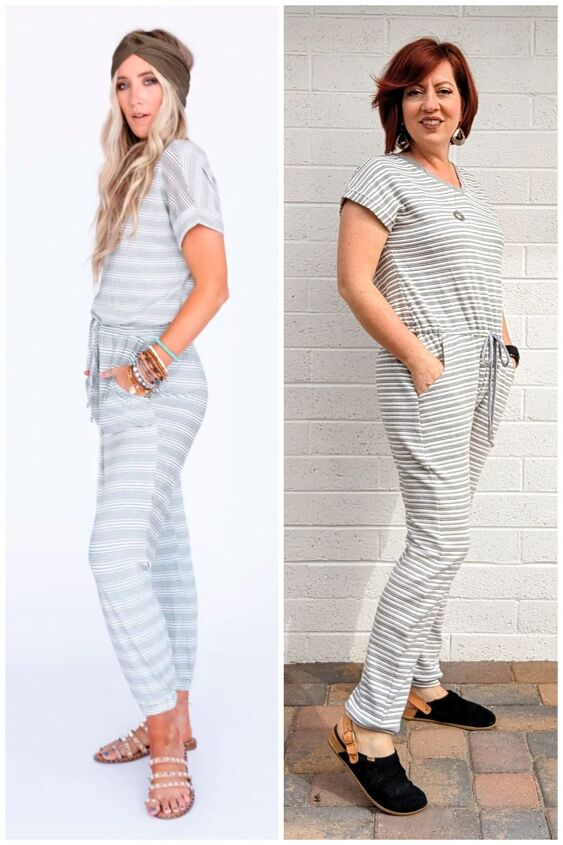
I love scrolling through pinterest and online boutiques for sewing inspiration. I feel like I fall down a different rabbit hole everytime I start tapping through pics. While on one of my favorite boutique sites I saw the most comfy and cute jumpsuit. It totally suited my vibe, but did I really need a new jumpsuit? Of course I did and I had the perfect item in my closet ready to refashion into it.
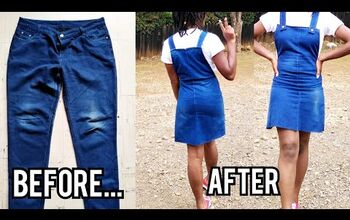
The Inspiration….
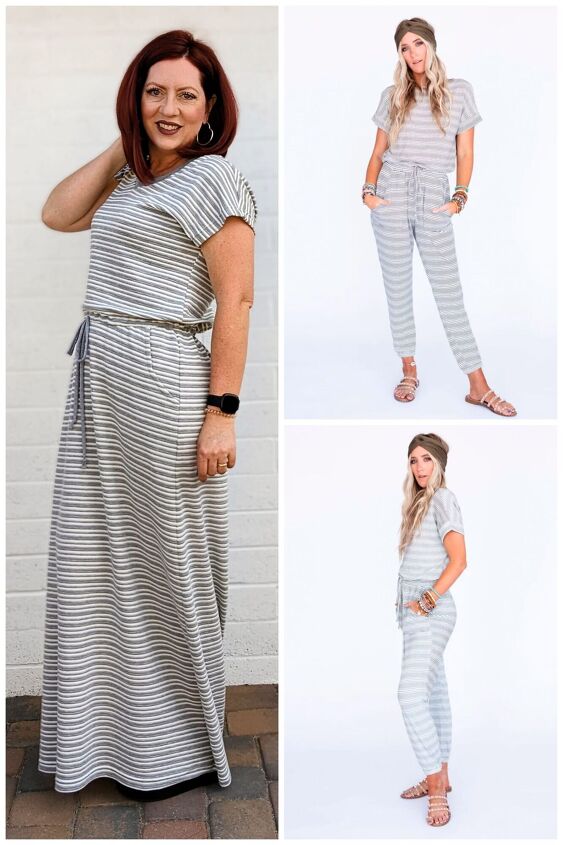
A few months ago I made this super soft and comfy maxi dress from some smooshie, soft double knit fabric from Girl Charlee. It loved this dress! However, the double layered knit fabric it was made out was quite thick and not great for a dress. It would be great for sweatpants or a sweatshirt but for a dress it’s kind of a lot. The fabric looked really similar to the the fabric from a boutique jumpsuit I loved. I just want to make the legs of mine a little longer so they would cover my ankles. Plus, I recently gave my sister a lot of my jumpsuits so I figured I could definitely use a new one.
How It Started….

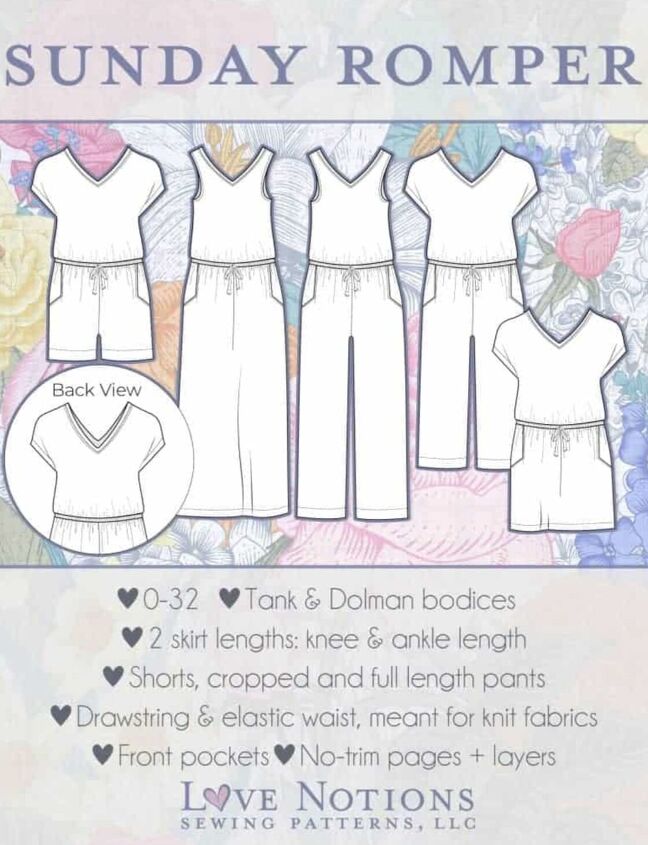
The dress was made with the Sunday Romper patternn by Love Notions. It’s truly one of my favorite jumpsuit patterns. It’s so cute, comfy and versatile that I reach for it all the time. Options include 3 lengths for pants or two lengths for the dress.
How It’s Going….
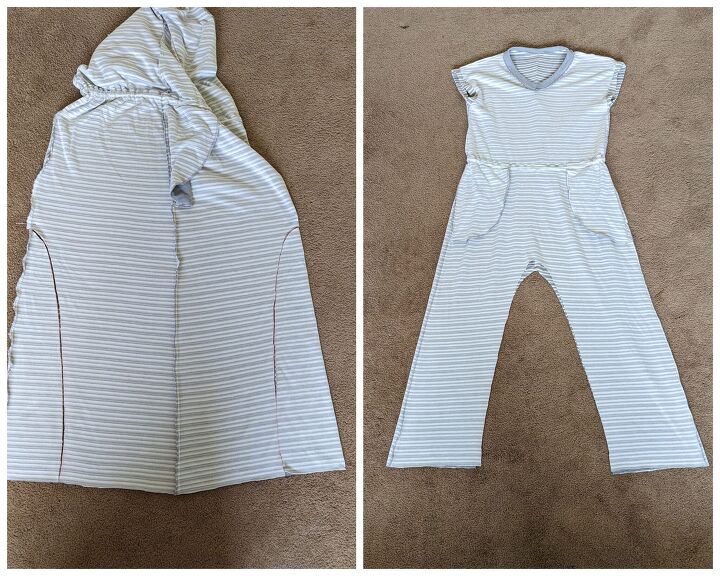
This refashion was going to be as easy and quick as possible. The skirt portion wasn’t big enough to do the wide leg pants from the Sunday romper so I just did a variation of a Harem pant, without the droopy crotch. That way it would look more like the inspiration photo. This is what that process looked like.
First, I tried the dress on and marked where my crotch was then moved it down one inch to accommodate for seam allowance. I turned the dress inside out and laid the dress flat, matching the side seams like, pictured below. This dress was actually a bit long for me so I cut 3 inches off at the hem. I would be using that fabric to make bands for the bottom of the pants.
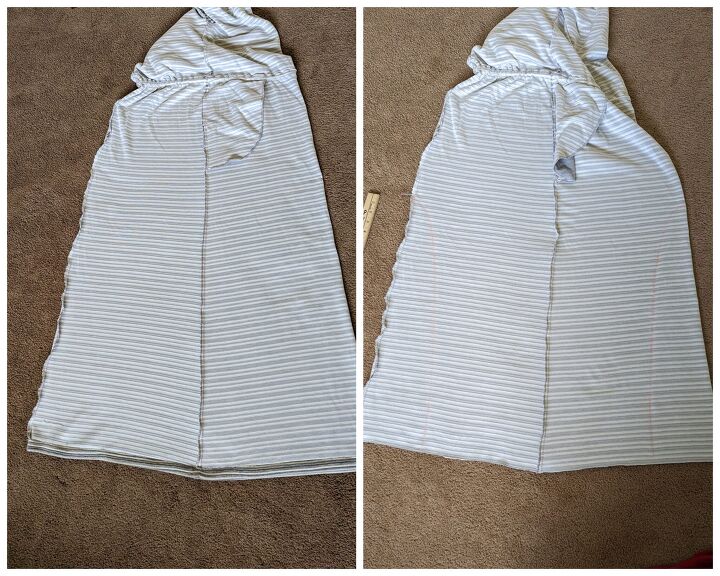
Using tailor’s chalk, I made an arch on the front and back from the crotch marking down to the hem. I cut along those lines and then laid it flat the other way so it was front on top of back. You can see how the skirt has now become legs in the pictures below. I just had to sew the front and back together along that arch and hem the legs. After the legs were sewn I tried it on to see if I wanted them skinnier or shorter.
….and going….
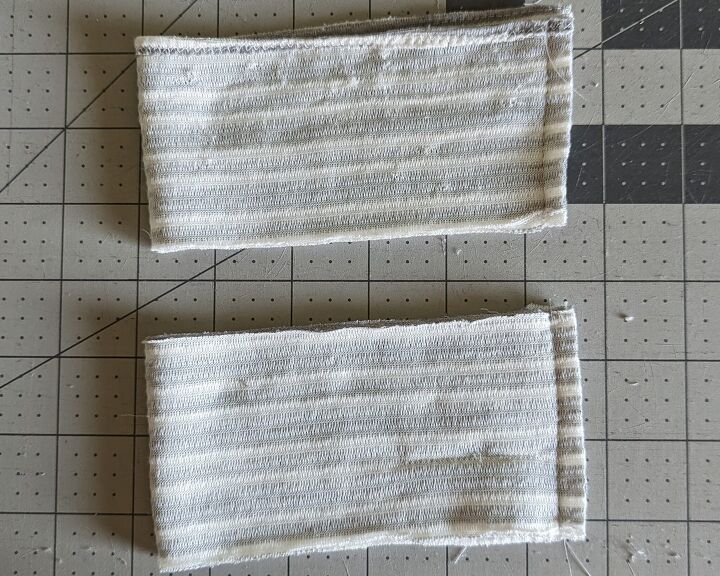
To hem the legs I took the 3 inch wide fabric I cut off the dress hem earlier to make two little bands. To do that, I measured the pants legs and subtracted 25% from that measurement. Then I made the bands to that measurement.
One More Thing….
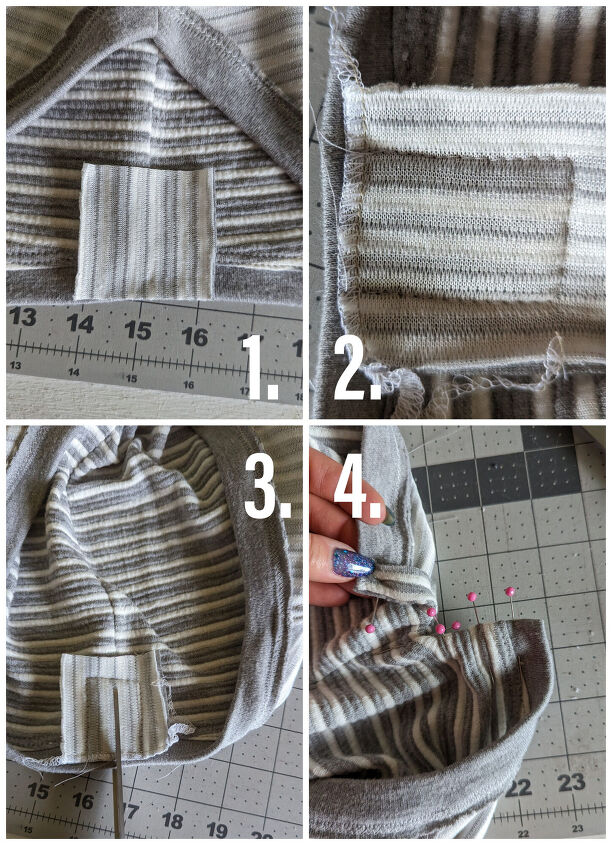
Once I attached the bands I just had to do one more thing. Make a small button placket in the back for getting the jumpsuit on and off.

To do that I pinned a square scrap of fabric at the back neckline of the jumpsuit, right sides facing each other. Then I sewed a square around it, leaving the top of the square open. Next, I cut down the middle and flipped it to the inside and pinned it in place so I could sew around it. All I had to do was attach a button and do a buttonhole. Elastic cord would have been so much better but I was all out.
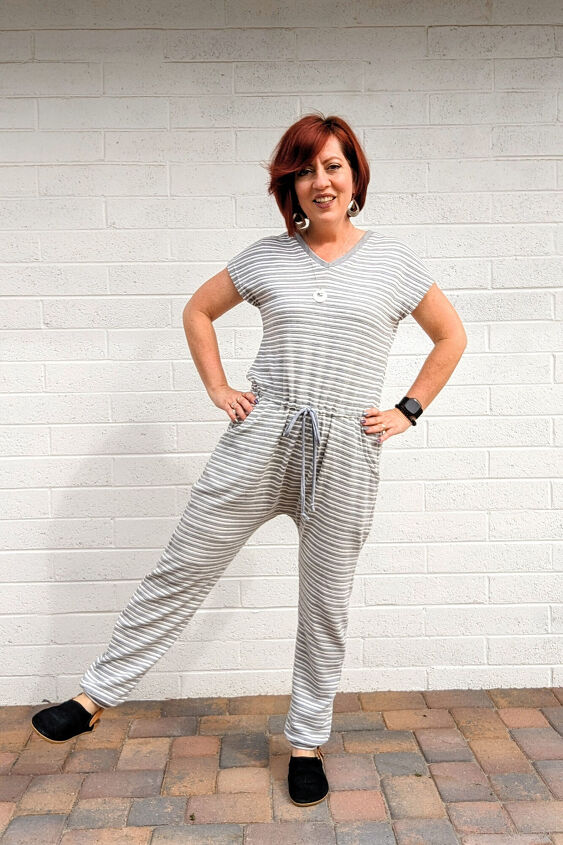
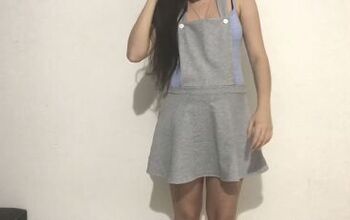
How It Ended….
This took 30 minutes from start to finish. Now I have a new favorite jumpsuit that is totally a favorite and more suitable for this comfy fabric. All because I saw a cute inspiration photo.
The author may collect a small share of sales from the links on this page.


Comments
Join the conversation