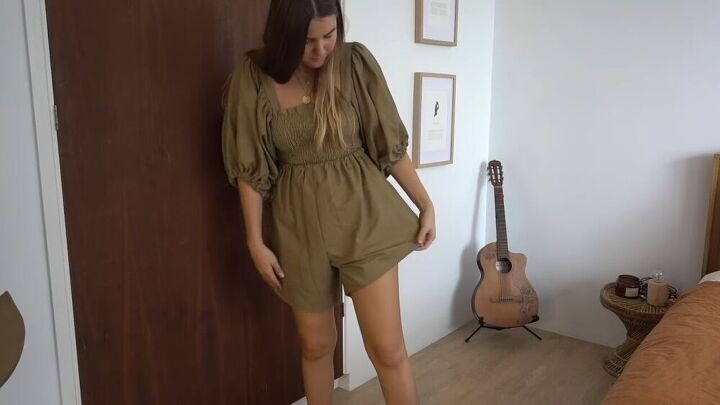
Create a Gorgeous Jumpsuit or Co-Ord Set With This Tutorial

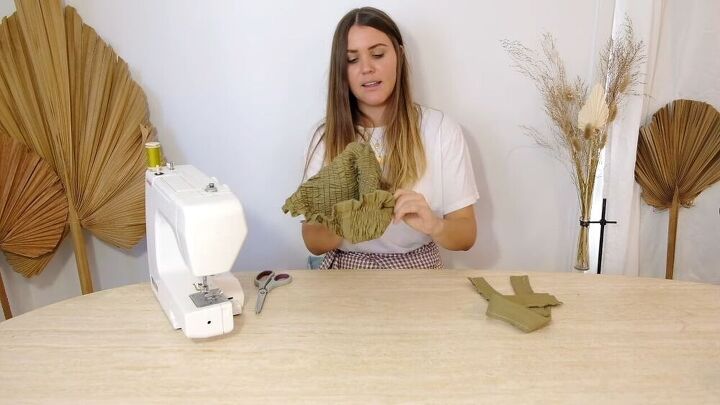
I love matching outfits. I just think jumpsuits are so cute with the matching tops and bottoms. Sometimes, though, I want the look of a jumpsuit but with an option to wear the pieces separately. In this tutorial, I will walk you through creating a shirred top and shorts that can be connected as a jumpsuit, worn together as a co-ord set, or even worn separately. This project was a lot of fun, so grab some fabric and get started!
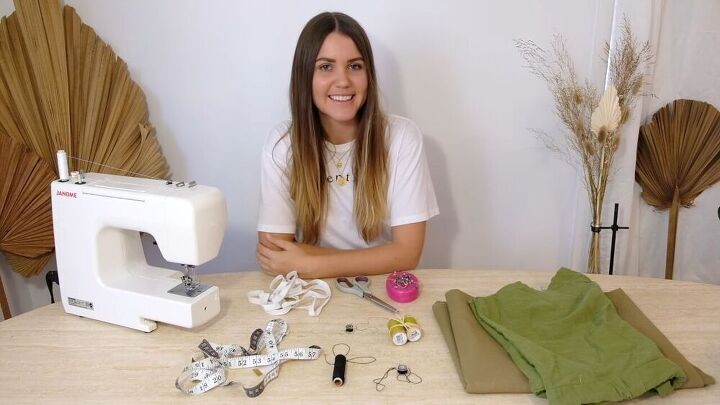
Tools and materials:
- Elastic
- Fabric scissors
- Safety pins
- Sewing pins
- Matching thread and bobbin
- Fabric chalk
- Measuring tape
- Elastic thread and bobbin
- Pair of pants as reference
- Fabric (linen, cotton, or something else that isn’t too stiff)
- Sewing machine
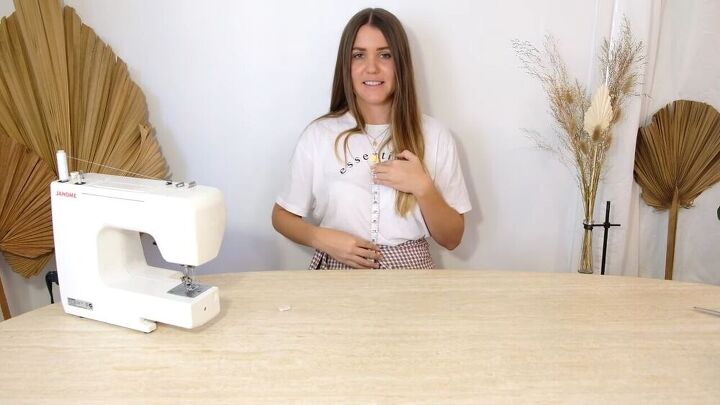
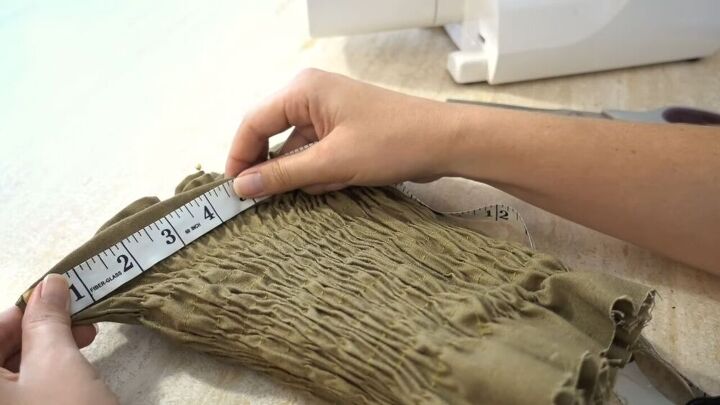
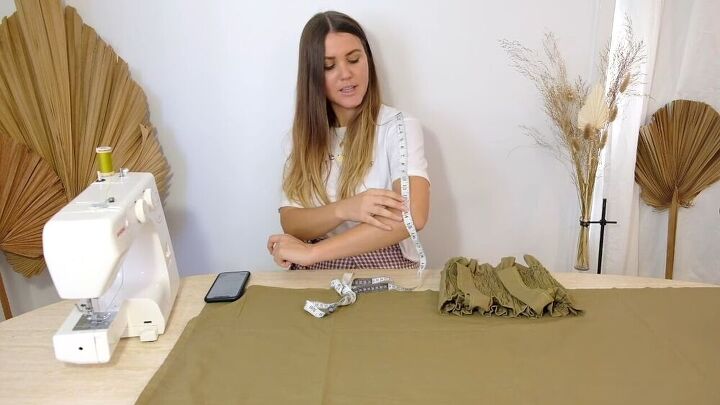
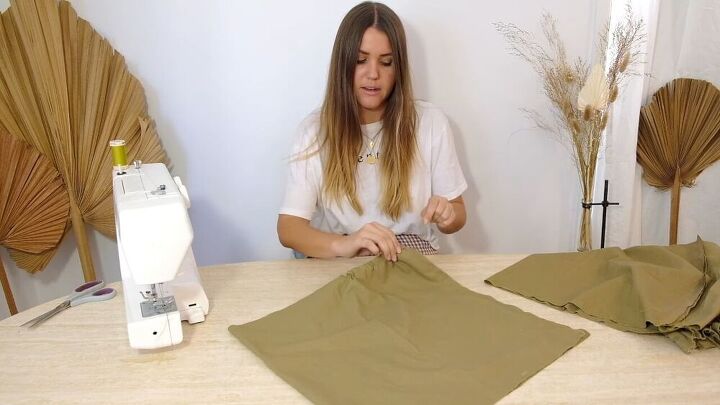
The first thing you’ll need to do is find the measurements for the two panels that will be sitting in the front and the back of the top. Using your measuring tape, you’ll need to find your four bust measurements. So from the back, wrap the measuring tape around your chest, where your bra would go. In order to get the perfect measurement, you want to make sure the measuring tape isn’t too loose or too tight around your chest. You’re then going to add 12” to the number you got, which will allow for seam allowance and room for shirring. I got 35” so when I added 12” I ended up with 47”. You’re then going to halve that full length, and you’ll have the cutting width for one panel. So I ended up with 23.5”.
Next, you need to find the height of the panels. So grab the measuring tape again and place it in the middle of your chest, or wherever you want the panel to stop at the top. Then measure down to your waist or belly button area, and add 2”. Make sure you’re sitting up straight because otherwise, your measurements will be off. For me, that ended up being 11”.
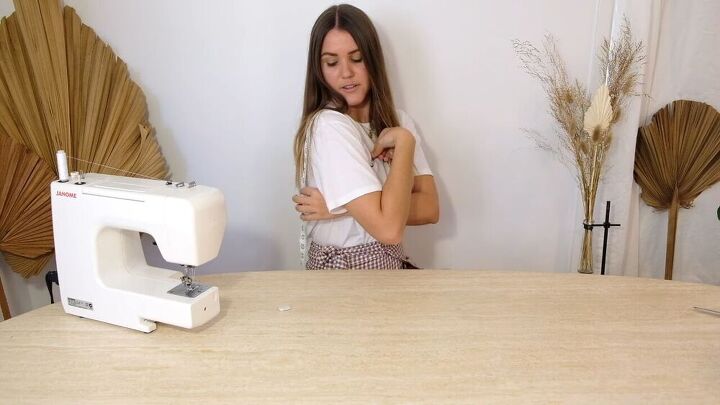
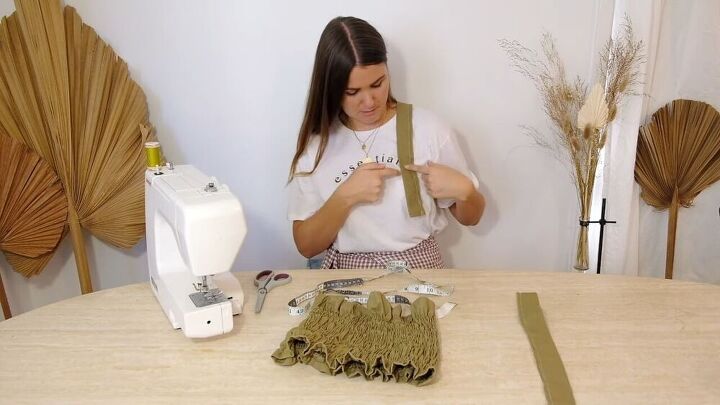
The next measurement you’ll need to find is the straps. So take your measuring tape and start at mid-chest again. Then turn to your side and pull the tape all the way over until the point where it’s mirrored on the backside. This time you’re going to add 3”, so I ended up with 19”. The width of the straps is 1” wide, plus 2” for seam allowance, bringing you to a total of 3” for the width. If you want the width of your straps to be thinner or wider, find the measurement you want, double it, and then add an inch for seam allowance.
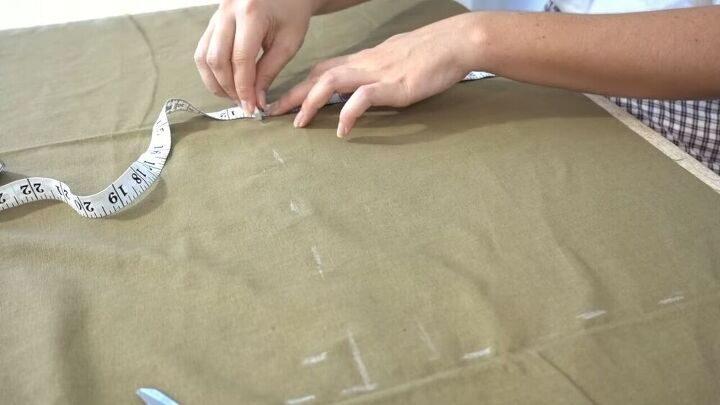
Now that you have all your measurements, it’s time to mark them on your fabric. Start with the first measurement, which for me, after rounding, was 23”, and mark it vertically from one corner of your fabric. Then mark the second measurement, which for me was 11”, and find the spot where the two measurements meet. That will be your rectangle. Now you’re going to cut out that rectangle, and use it to replicate the second panel. Then mark the strap measurements, and cut out those two rectangles as well.
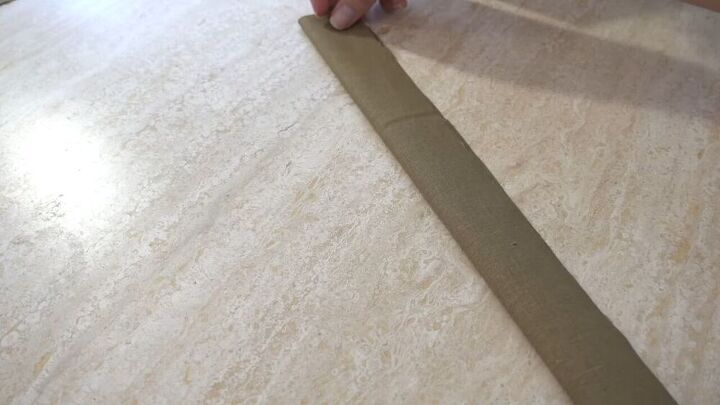
Grab the two main panels and lay them together, right sides facing each other. Then sew them together down the side seams, with a ½” seam, leaving the tops open. You’re then going to sew the straps. Take each strap and fold it in half lengthwise, right sides together. Then sew them as close as you can to the raw edge.
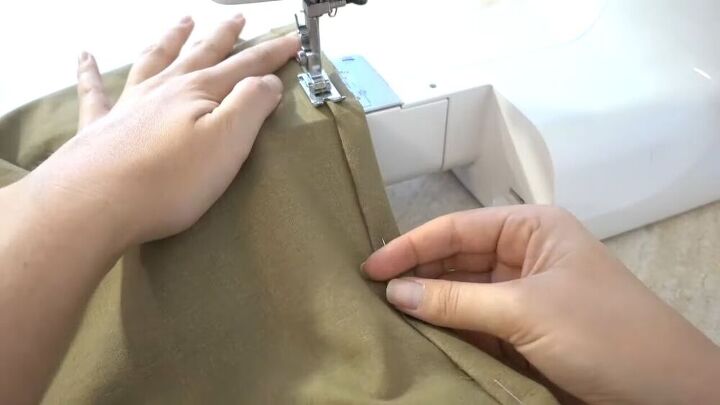
Before moving on, you’ll need to hem the top of the panels. So you’re going to take the two main panels that you sewed together, and figure out which side you want to be the top. Then take one layer and do a double-fold at the edge, with each fold being ¼”. Pin that all the way around both panels, and then sew it in place.
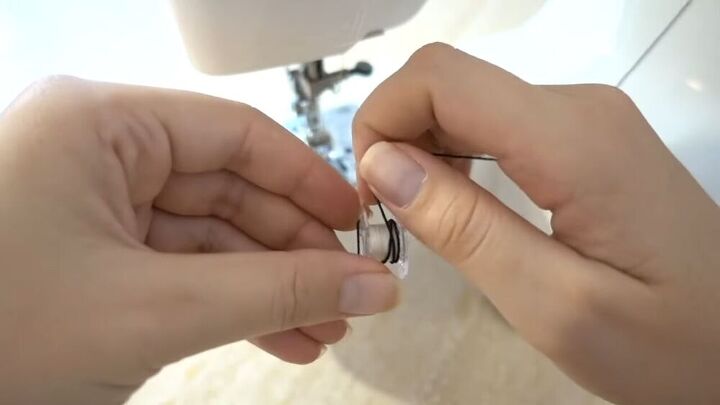
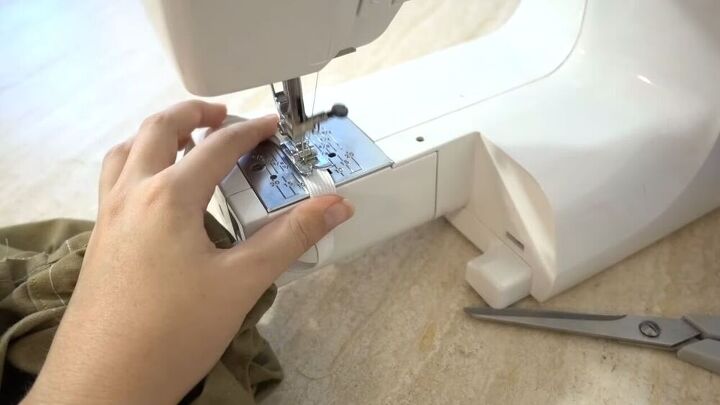
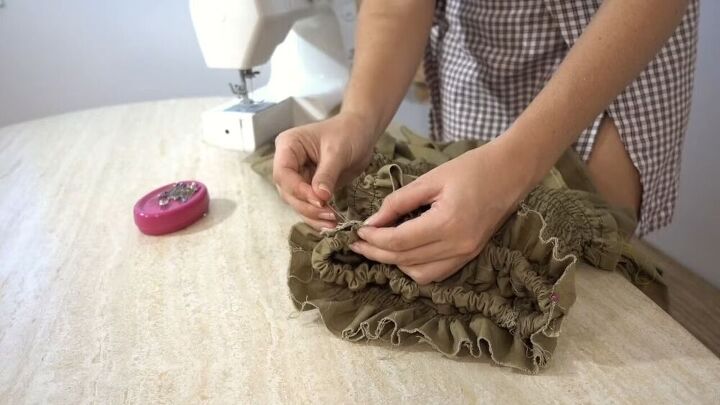
Before you start shirring, you’ll need to prepare your machine. Take your elastic thread and instead of letting your machine do it, you’ll need to hand-wind your bobbin, making sure you don’t stretch the elastic as you wind. So take your thread and poke it through one of those holes in the bobbin, then start gently wrapping it around. Once it’s ready, insert it into your machine and set the machine to the highest distance.
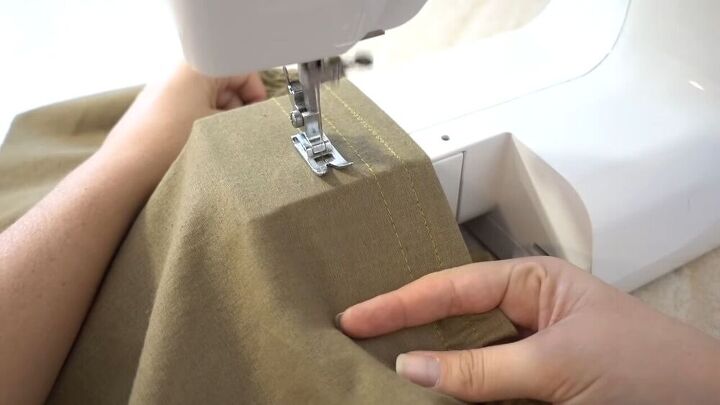
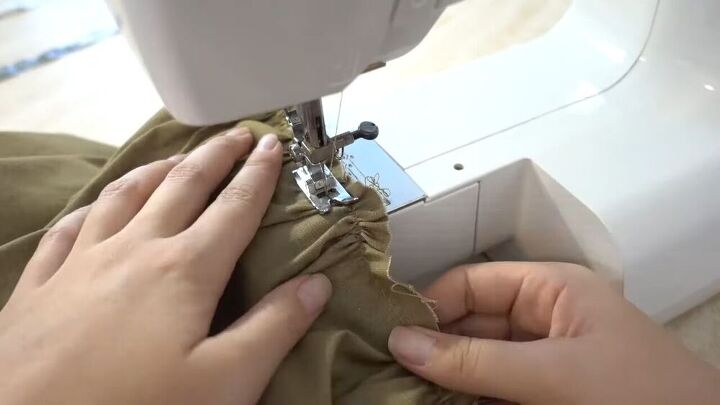
Take your main panels, with the good sides facing out, and pop it in place on your sewing machine. You’re going to start with just the first stitch, sewing all the way around until you reach your starting point again. Then take out the fabric and make marks that are ½”-1” apart, depending on how gathered you want your fabric to be. I decided to do mine with a ½” spacing. Once you’ve determined your spacing, stick the fabric back into the machine and start sewing straight lines, pulling the fabric tightly as you sew. As you sew, your bobbin will likely run out of thread, so just be aware that you’ll need to rethread it. This part takes a long time, so be patient!
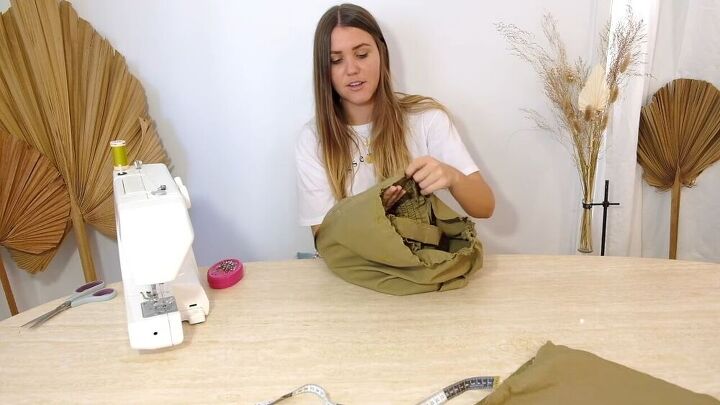
Before continuing, take your top and try it on to make sure it fits well. If you’re making yours into a jumpsuit rather than a co-ord set, this will need to pull over the waist and up to the chest, so make sure you’ll able to do that. If, when you try it on, you find that it’s too large, just flip it inside out and take in those side seams.
Grab your measuring tape and figure out how far apart you want your straps to be. If you have a bra on, you can use those straps as a reference, or you can just eyeball it like I did. The points that you’re measuring are the insides of the straps. I decided on 9” so that it wasn’t too tight or too loose.
Grab your top and find its center. A good way to do that is to fold it in half and stretch it out. Then measure and use a pin to mark half of the measurement you decided on, on either side of the center point. So since my measurement was 9”, I marked 4.5” on either side of the center. When you find that point, make sure that you’re stretching the fabric, as it will be stretched when you’re wearing it.
Before you attach the straps, you’ll want to clean up the raw edges. So if you have an overlocking machine you can use that, or you can just use a zigzag stitch on your regular sewing machine. Once the edges are finished, take the strap and put it on the inside of the top, with the sewed edge facing out, and align it with the pin that you used to mark the placement. Then grab another pin and pin the strap to the top hem section. Then flip the shirt over and, making sure the strap is straight, pin it to the other side. Do this for both straps. Then try the shirt on again and make any necessary adjustments to the straps. Once you’re satisfied with their placement, go ahead and sew them down with a straight stitch.
Now we need to figure out the sleeve measurements. The first measurement you’ll need from this will be from your shoulder to the place where you want your sleeve to end. I decided to make mine to the elbow, knowing that when it’s gathered I’ll push it up a bit. Once you have that measurement, add on 4” for top and bottom seam allowance. So my total was 18”.

Once you know the length of your sleeve, you’ll need to figure out the circumference of the straps which is where you’ll be attaching the sleeves. So take the shirt and fold it so that you’re focusing on one sleeve area, and measure from one side of the strap to the other side, stretching the fabric as you go. Keep going all the way around the strap until you reach the other side. So for me, that was 30”. So again, what you’re measuring is the shirred section under the strap and all the way around the strap. Once you’ve got that measurement, multiply it by 1.25. When I did this, I ended up with 37.5”.
Once you’ve got both the length and width measurements for your sleeves, you can go ahead and cut out a rectangle similarly to the way you did in the beginning. Once you’ve got one rectangle cut out, use it as a template to cut out the second one. Just make sure to keep track of which side is your width and which is your length.
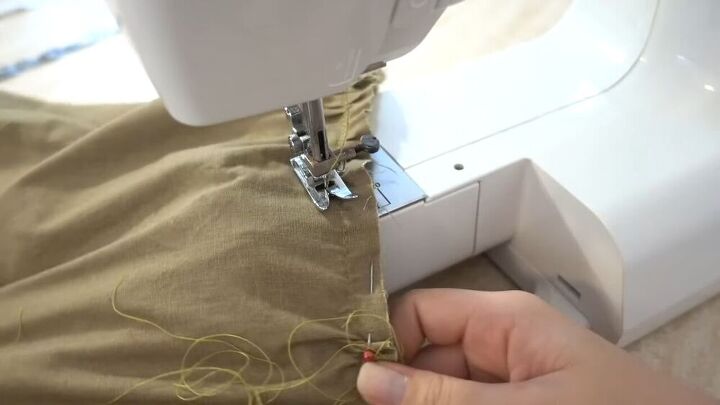
Take one of your rectangles and fold it over with the right sides together, then stitch down that side edge. Once you’re done, set that one aside and repeat the process on the other rectangle. Now grab one of the rectangles, and pick which side you want to be the top. Then switch your machine to a longer length and at about ½” from the end, sew one loop all the way around, but don’t backstitch because you’ll be using this to gather the fabric. Then repeat this on the other sleeve.
You’re now going to use that stitch to gather the fabric. So grab one end of the thread and carefully pull the fabric along the thread. If you pull too tightly, the thread will snap and you’ll have to do this whole part over, so be gentle. Spread out the ruffles as you pull, until the fabric ends up being half the measurement of the sleeve width since it’s folded. So, for me, that meant pulling until my fabric was down to 15”. You can lay a ruler out next to the fabric as you pull to help you keep track.
Once you’re done gathering your sleeve, leave it with the wrong sides facing out. Then grab the shirt, right sides facing out, and align them together. To do this, you’re going to slip the shirt in through the sleeve and align them that way so that the right sides of the sleeve and the shirt are facing each other.
Line up the middle seam of the sleeve with the middle seam of the garment and pin it in place, then spread it over to the sleeve, pinning there as well. Keep turning and pinning all the way around. If you have any excess fabric on the sleeve, like I did, just gather it up more until it fits properly. Then sew it in place on the outer side of the line that you sewed so that the gathered part is all hidden in the seams. Once your sleeve is in place, repeat the last step and this step on the other sleeve.
As a side tip, if you don’t know how to sew around corners, here’s how to do it. Once you get to the corner, turn the knob that lifts up the needle, then lift the foot and turn your fabric around. Then just put the foot back down and keep sewing. If you want a visual of that, be sure to watch the video.

The last step for the top is to bring in the bottom of the sleeves with elastic. So grab your elastic and wrap it around your arm where it’s going to be sitting, making sure it’s not too tight and has room to move. Once you found that point, add 2” to it and that’s where you’ll cut it. Then use that piece to cut out a second piece.
Start by turning the sleeves inside out. Take the edge of one sleeve and turn it up ¼” and sew a hem. You’re now going to fold it over again, but this time make sure it’s wide enough to fit the elastic. A good way to do that is to fold the edge over and lay the elastic on top, making sure there’s enough space to sew in from the edge and have a tunnel for the elastic to go through. Keep in mind that you’ll need an opening for the elastic, so wherever you start sewing, be sure to stop about 2” away from that point when you’re going around.
To insert the elastic, you’re going to attach a safety pin to one end of it and pin the other end at the start of the tunnel so that you don’t accidentally pull it through. Then insert the elastic through the opening you left and bunch up the fabric to push the elastic through all the way to the other end. Once it comes out of the other end, take off the pins and overlap the ends of the elastic onto that extra inch, and sew it down with a zigzag stitch. Then switch back to the normal stitch and close the opening. Then turn the sleeve right side out, and repeat the whole process on the second sleeve.
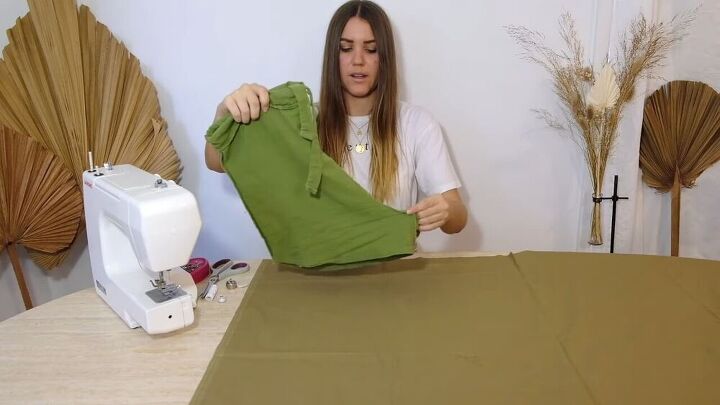
All right, we’re ready to move on to the shorts part of this! So grab the pair of pants you’re using as reference, and turn them inside out, then fold them in half. Lay it on top of the fabric and trace around it. At this point you need to take note of the fit of the pants you’re using and how you want the pants you’re making to fit on you.

We’re going for a baggier look so that it can flair out after being bunched up at the top, so if the shorts you’re tracing are tight, be sure to add an inch or two. The pants you’ll be making will also be high-waisted, so if your reference shorts aren’t, be sure to add however much you need to get there. So grab your measuring tape and add those adjustments. I added 1.5” to each side and 3” on the top to mine, giving me enough room to add elastic on the top. Once you’ve figured out how much you need to add, go ahead and trace your shorts, making the adjustments as you go.
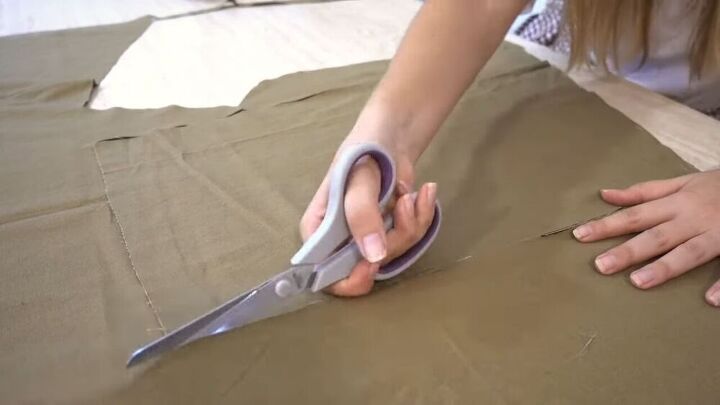
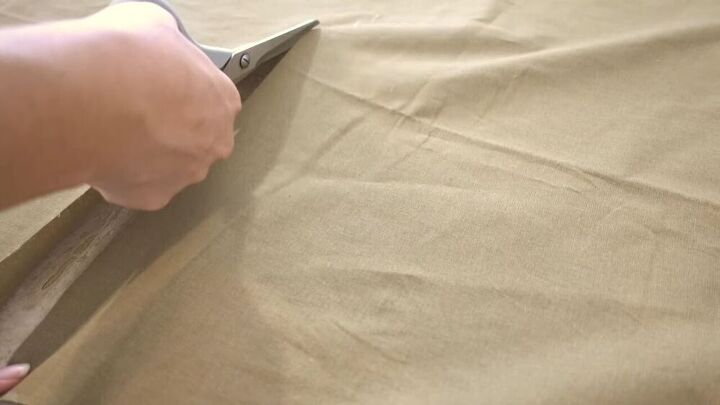
Once you’ve got the outline drawn, grab your scissors and cut it out. You’re then going to use that piece as a template for the second piece. So lay that piece out on the fabric, right sides facing each other, and cut around it. Once you’ve got those two pieces cut out, repeat the whole process for the other side of the pants.
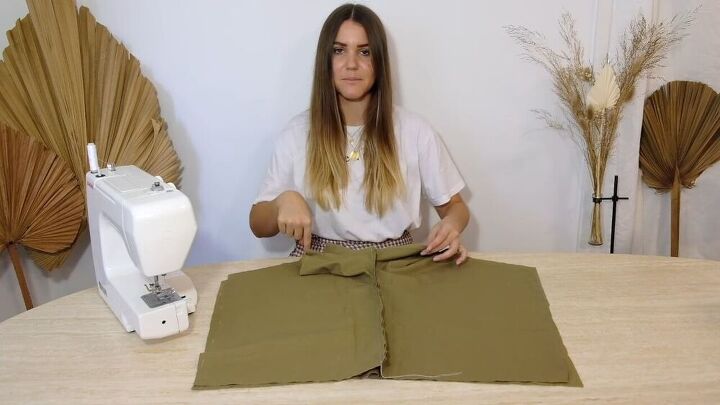
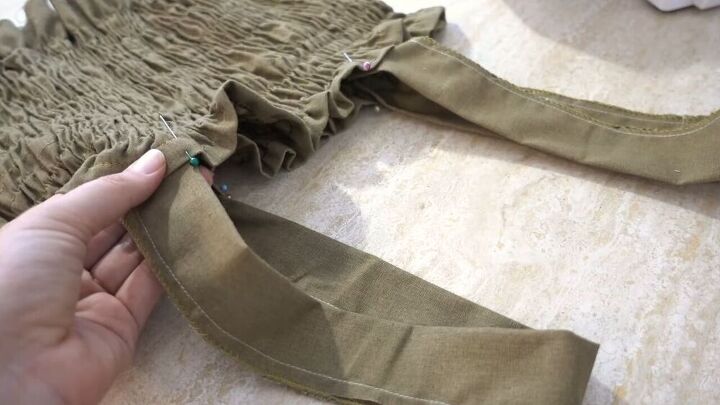
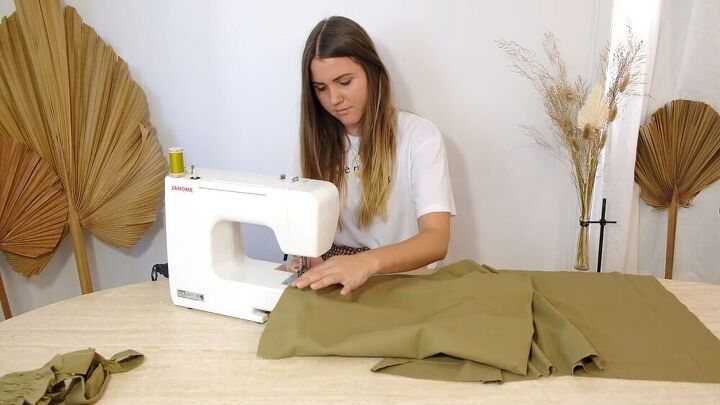
Take your matching front pieces and sew them along the curved edge, right sides together. Then do the same for the two matching back pieces. Then lay them, unfolded, on top of each other with the right sides together, and pin them in place, making sure they’re properly aligned. You’re then going to sew down the side seams and across the crotch area.
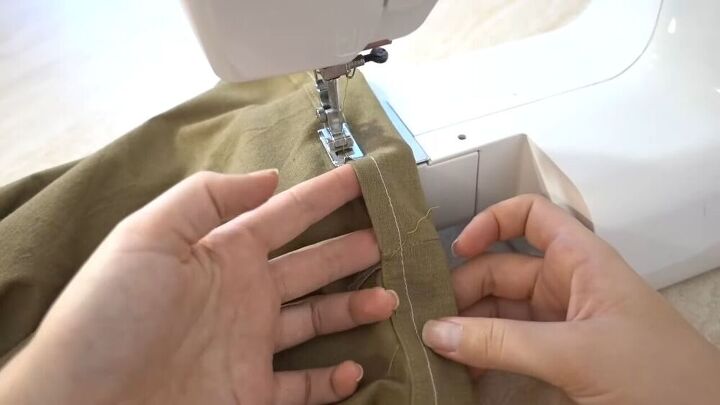
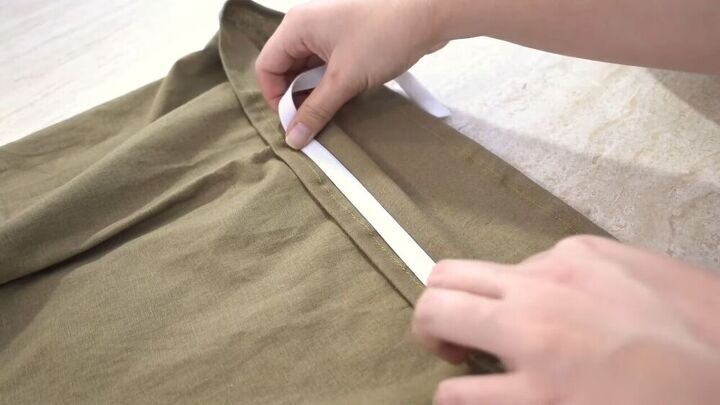
Keeping the shorts inside out, you’re going to fold the top into a tiny ¼” hem and pin then sew it all the way around. Now you’re going to make a tunnel for the elastic to go through. So fold the hem over, and again, place the elastic on top of it to make sure the tunnel is wide enough. You need the tunnel to be wide enough for the elastic to easily go through, as well as enough space for a seam allowance. Then pin and sew all the way around that tunnel, leaving an opening at the end. If you’re making the jumpsuit version instead of the co-ord set, you also need to add another ½” of seam allowance to give you space to connect the top and bottom together.
You’ll now need to determine how long you need the elastic for the waistband to be. So grab your elastic and wrap it around your waist, right where it will be sitting. You want to make sure that it’s tight enough to hold up the pants, but not too tight that you can’t fit it over your legs when putting on and taking off the shorts.
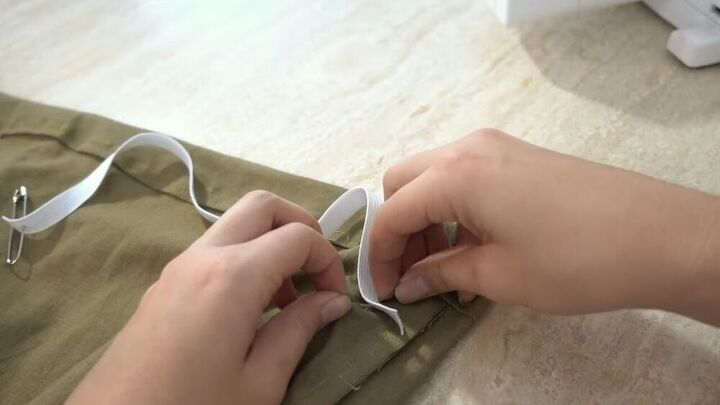
Grab a safety pin and fasten it to one end of the elastic. Insert the end with the safety pin into the opening you left and push it through until it comes out on the other end. You can also pin the other end to the fabric just to make sure you don’t pull it all the way through and lose the other end. Once you’ve pushed the elastic all the way through, overlap the excess sections and sew them together with a zigzag stitch. After you’re done with the elastic, even out the bunched up section and close the opening.
We’re almost at the finish line, folks! You’re now going to try on both pieces and determine how much you want to take up when you hem the bottom of the pants. You can also do just one line at the bottom and keep the ends frayed if that’s your style. If you, like me, are choosing to keep this as a co-ord set where both pieces are separate, you have to also hem the bottom of the shirt. Make sure to overlock or zigzag stitch any frayed edges.
If you want to connect the pieces and form a jumpsuit, take the shorts and leave them right sides facing out. Then take the shirt and turn it inside out. Then slip the shorts through the top and align the top of the shorts with the bottom of the shirt. Pin together the two side seams, making sure the elastic is out of the way, and repeat on the other side. Then stretch it out and pin together the middle section, and just keep stretching and pinning as you go. Then sew along where you pinned with a normal stitch and turn it right side out.
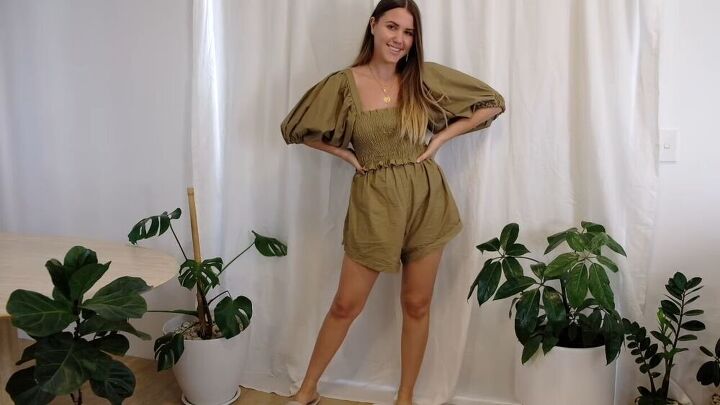


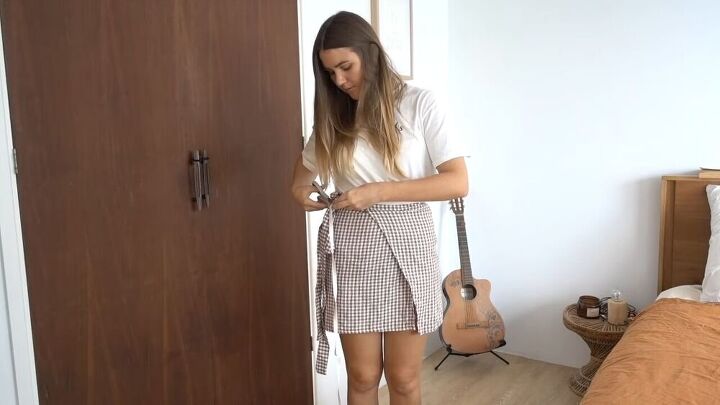
There you have it! I really hope you give this project a try because it’s such a cute outfit! It wasn’t the quickest project, but it was definitely worth it if you ask me. As you can see, there are so many different ways to wear it. You can wear just the top, just the shorts, or wear them both together. All options look amazing! I absolutely love seeing your versions of these projects, so please be sure to leave me a comment with your results!
The author may collect a small share of sales from the links on this page.


Comments
Join the conversation
Looks fantastic!!! Great job!!!
Oh so cute on you and classiy. Beautiful job ! Excellent instructions!