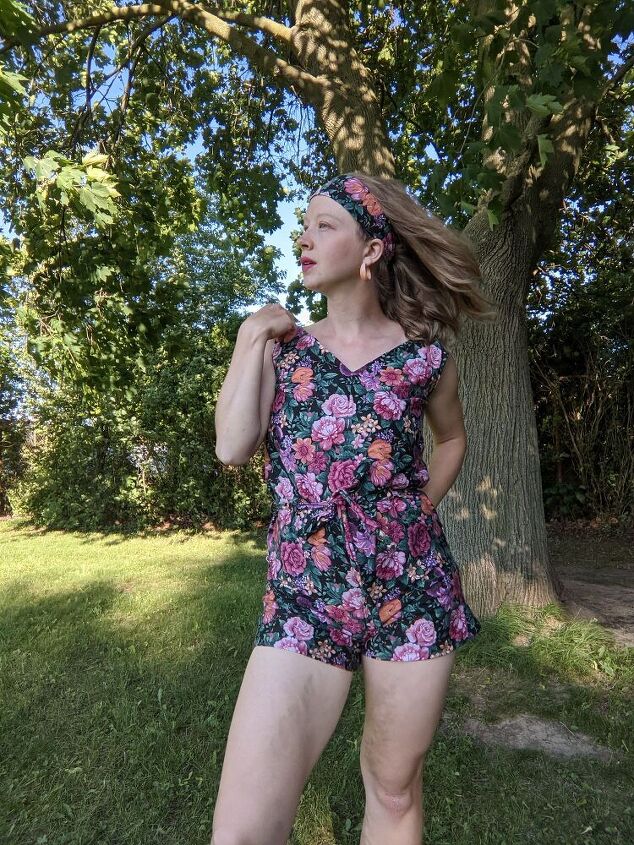
Sewing a 1960's Beach Romper

The beach wear era that appeals best to me is the early 1960's. I'm not super keen on the skirted swim wear from the 1950's, nor am I into the tiny bikini's which entered the fashion scene in the late 1960's (nothing wrong with them just not my preference). When I discovered that a form of beach wear was essentially a romper, I knew it would be something I would love wearing. Luckily, I found a pattern from 1963 to sew a beach romper and this is how I made it.
To make this piece I used a thrifted cotton table cloth. The vintage pattern I used was a bit too small for me, though I was determined to give a go at making the piece regardless and planned to make adjustments to the piece where necessary.
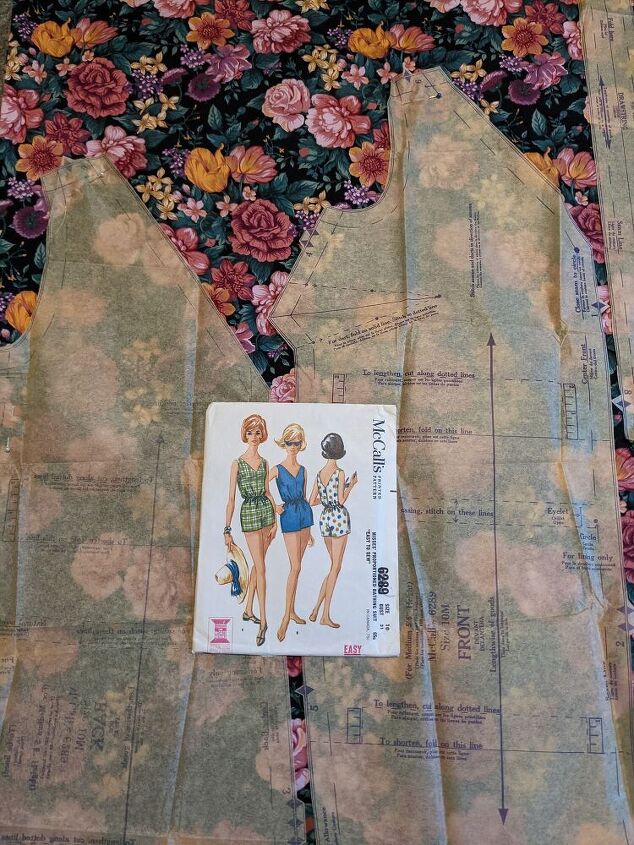
Typically when a pattern is likely to be too small, like this one, I extend the fabric beyond the pattern so I have more to work with and to ensure the piece will fit. This fabric (formerly a table cloth) just barely fit the original pattern so I did not have enough room to extend the pattern. I decided to cut out the pattern on this fabric anyways and see how it would fit.
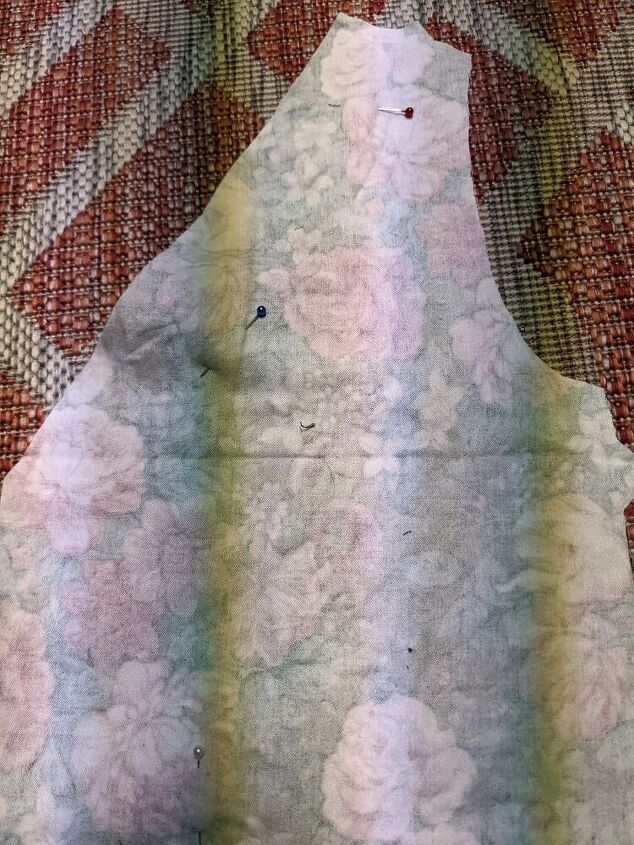
I cut out the pieces...
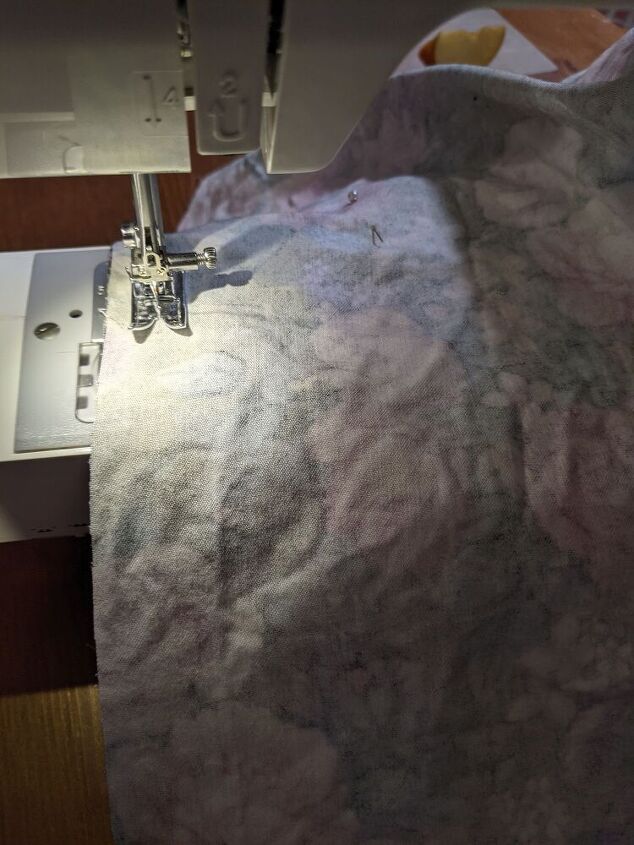
Sewed the front and back pieces together...
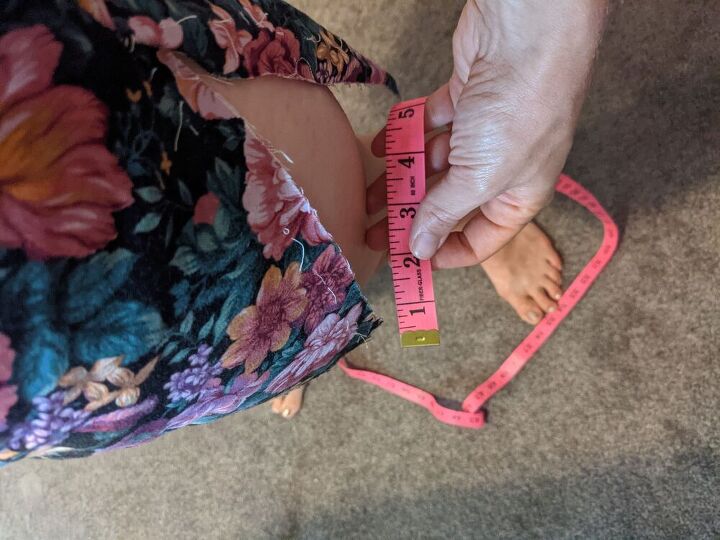
Once the garment was sewed together I tried it on and it turned out that the legs were far too tight. So I undid the seams and measured the height and width of space I needed to cover with an extra piece of fabric in order to make the legs bigger. Thankfully I had enough fabric scraps to make these additional pieces.
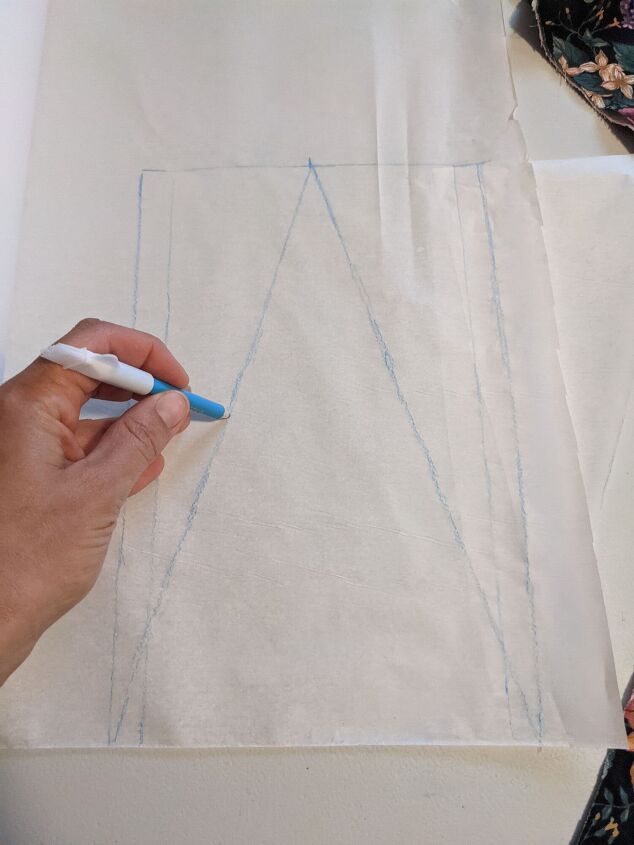
I drafted a triangle cut out on my drafting paper to fit into the space I created in the legs of my romper. When measuring I made the triangle bigger in length and width than required just to make sure I would have enough fabric to work with. I did not want to have to make the legs bigger twice!
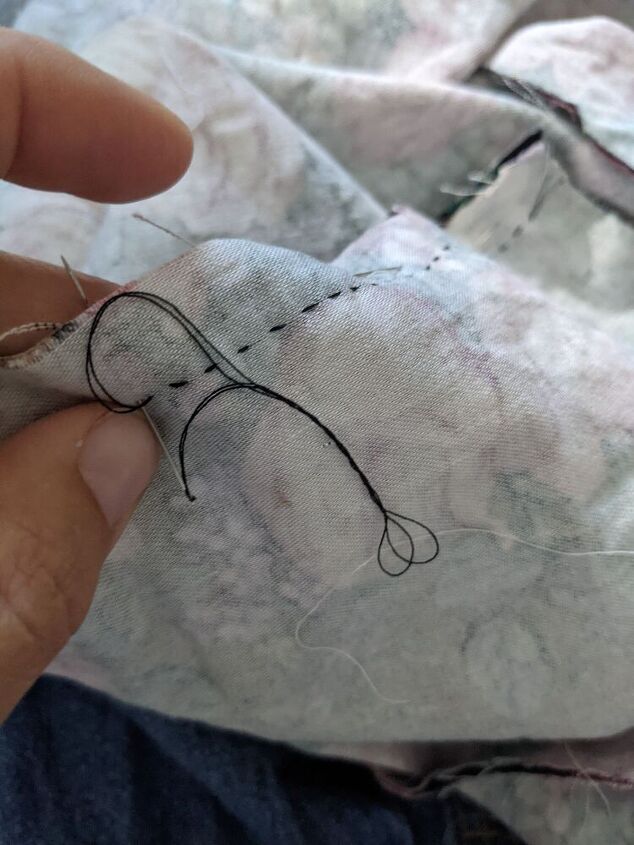
Once the fabric pieces were cut out and matched to where they needed to fit on the romper, I hand sewed on the extra fabric for the legs. This could have been done with a sewing machine, but I wanted to ensure I could get the fabric to fit exactly where I needed it to. I knew this could best be done if I sewed this part by hand.
The pattern instructed to make a draw string. With this particular cotton, I determined a waist belt would be more suitable. So instead I used the drawstring as a waist belt.

I used extra fabric scraps to make belt loops and I sewed them on the romper by hand along the waist line.
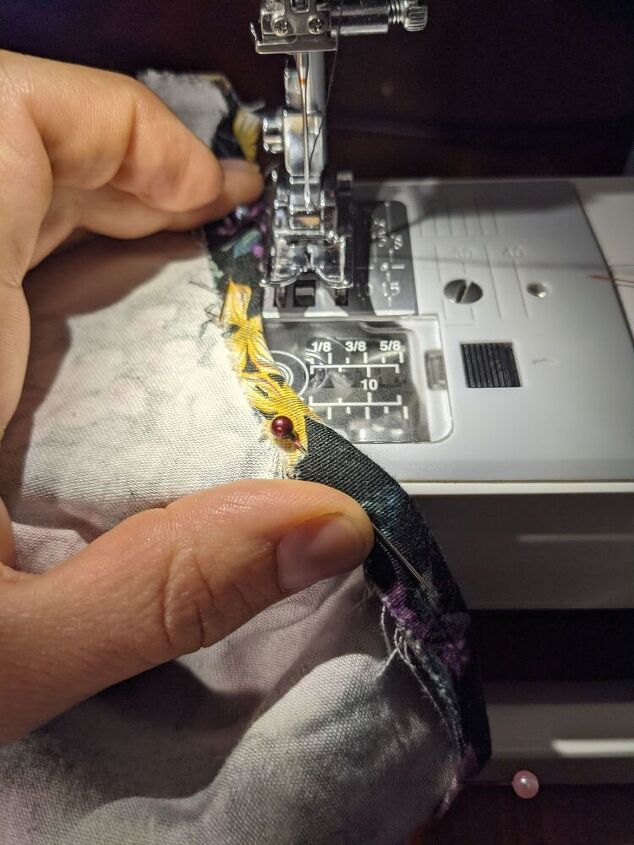
To finish the romper, I pinned down the hems and edges and sewed them with my sewing machine.

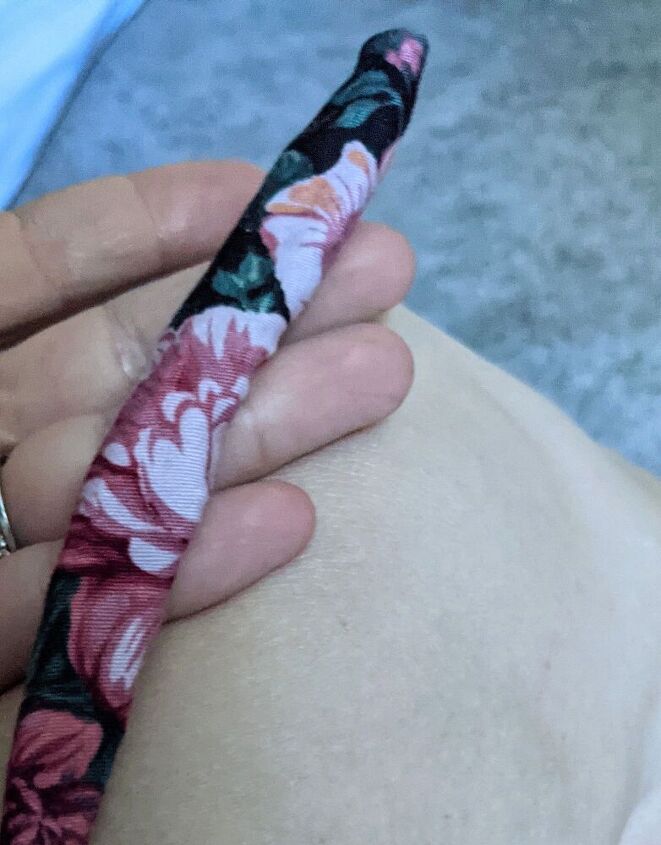
This is how the extra piece for the legs turned out and I really think it goes just fine with the romper. Perhaps it even looks like the legs were meant to be this way.

There was just enough fabric left over to make a head band and increase the 60's vibes of this outfit. This romper is definitely one of my favourite pieces in my wardrobe, I love the v neckline in the front and back, the fit, waist tie detail and the floral print. It is highly likely I wont just be wearing this to the beach.
The author may collect a small share of sales from the links on this page.


Comments
Join the conversation
Super cute! I love the matching headband too!
I grew up in the 60's and had several of these cute little beach rompers. I remember my mom sewing them from towels, curtains, any repurposed fabric. Thank you for reviving the look and doing it justice! It looks amazing on you!