How to Sew Leggings The Easy Way

Today, I'm showing you how to sew leggings really quickly. I use this method to make 50 pairs a day that I sell to make money.
You don't even need a leggings pattern because we're going to use an old pair of stretchy pants as a template. I join all my seams on the serger for speed, but you can sew them with a stretch stitch on a regular machine and finish the edges with zigzag stitch.
Whichever method you choose - remember to have fun!
Tools and materials:
- Light or medium weight stretch fabric
- 2 inch wide elastic
- Leggings to use as template
- Scissors
- Pins
- Tailor’s chalk
- Sewing machine
- Serger (optional)
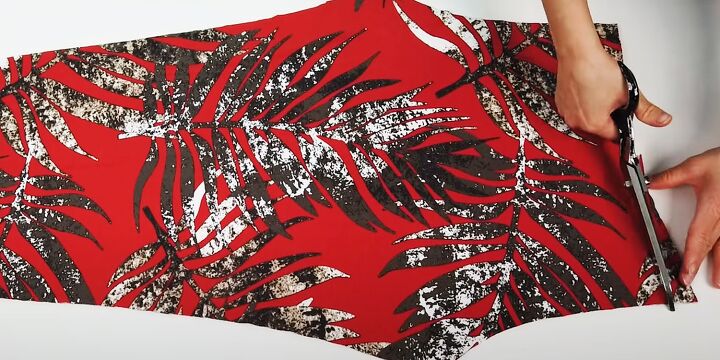
1. Cut out leggings
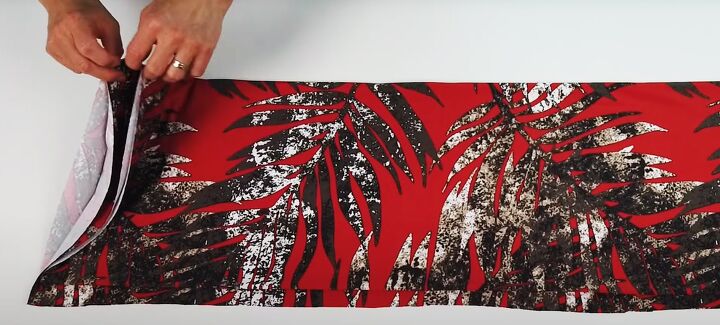
Fold your fabric in half widthways twice, and lay it flat with the folded edge towards you.
You should have 4 layers in all and the selvedges will be on the left and right.
Fold your old leggings in half lengthways, matching the crotch and leg seams.
Place them on the fabric with the outside leg seams on the fold and the waist on the left, leaving at least 2 inches between the waistband and the selvedge.
Cut around the leg and crotch seams of the leggings, adding a half inch seam allowance. Cut straight up at the waist edge.
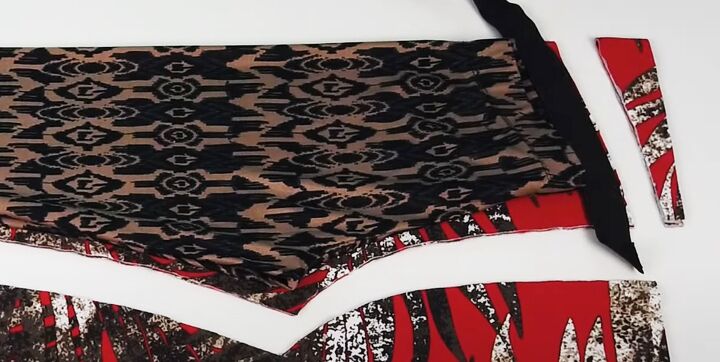
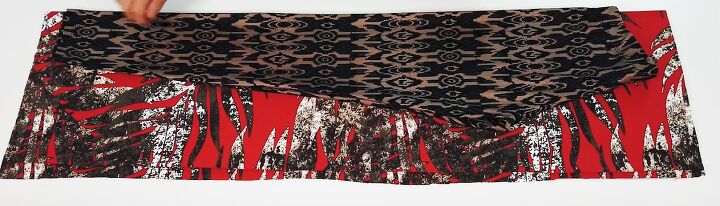
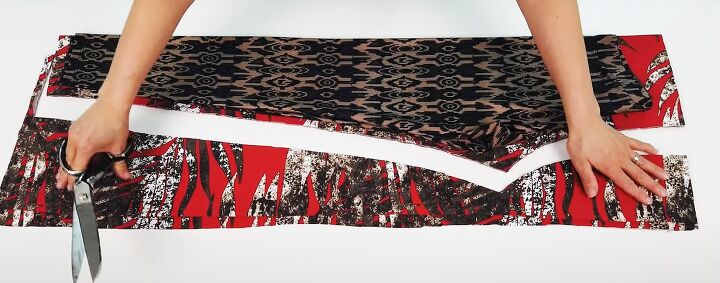
2. Shape waist
Place a length of the elastic above the waistband and cut along that line.
Open the folded fabric and trim the waist edge from the center to the crotch on one side, leaving a slight curve at the crotch.
This will be the front waist section.
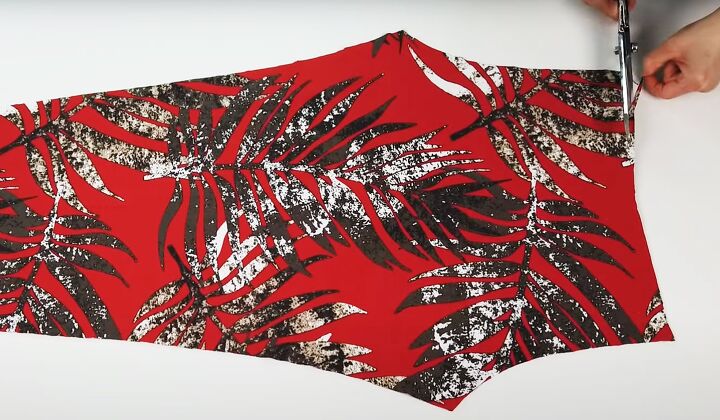
Trim a smaller amount from the crotch to the center on the other side, to straighten it and make the back waist.
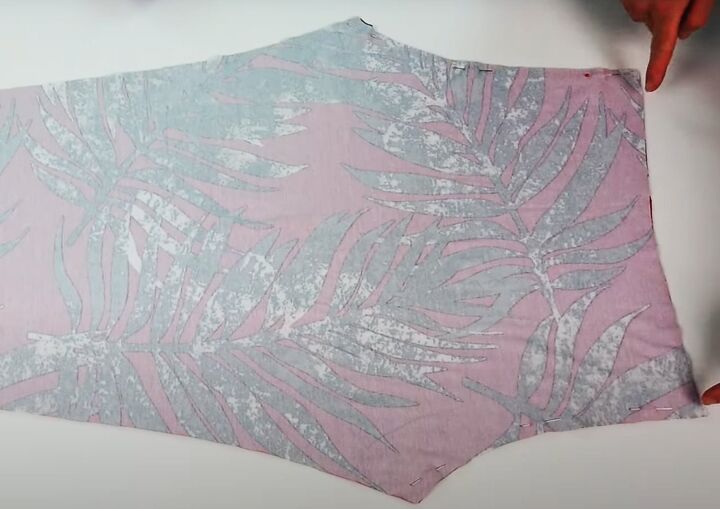
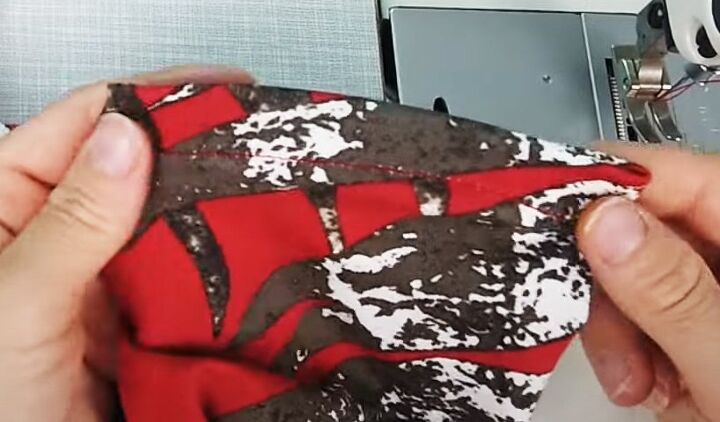
3. Join leggings
Separate the leggings pieces and place them flat with right sides together. Pin both crotch seams taking a half inch seam allowance.
Re-fold the leggings so the crotch seams are aligned and pin the inner leg seams.
Join all seams on the serger or sewing machine.
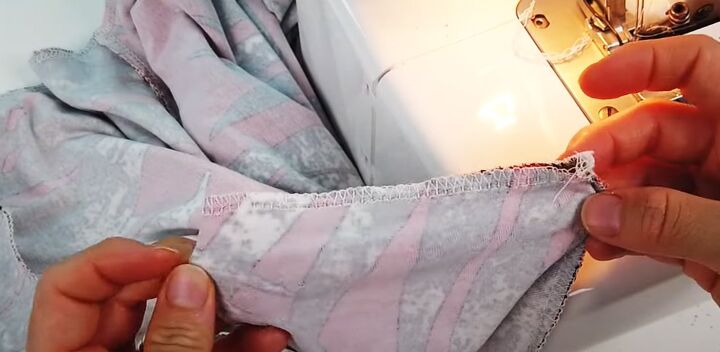
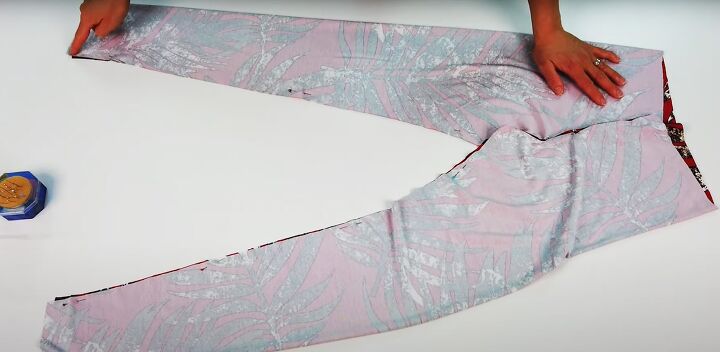
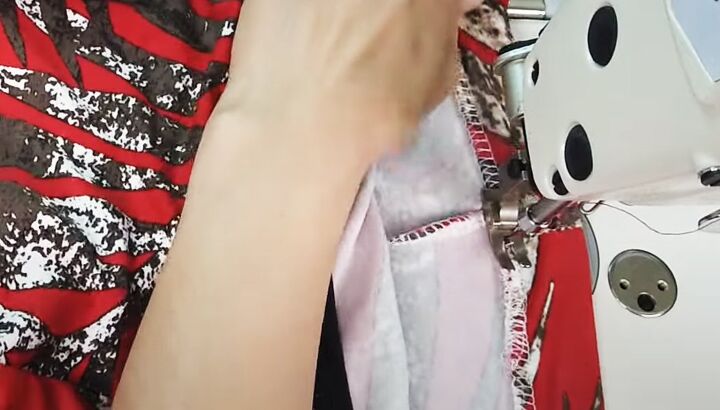
4. Lower edge
Serge the raw edge at the end of the legs or sew with a zigzag stitch.
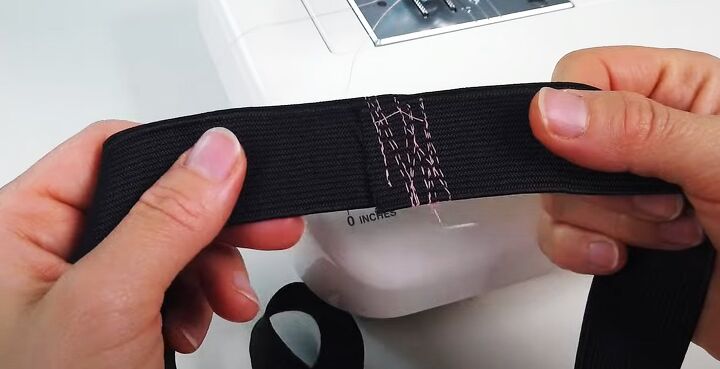
5. Join elastic
Cut the elastic to fit comfortably around your waist. Overlap and join the ends securely on the machine with several rows of stitching.
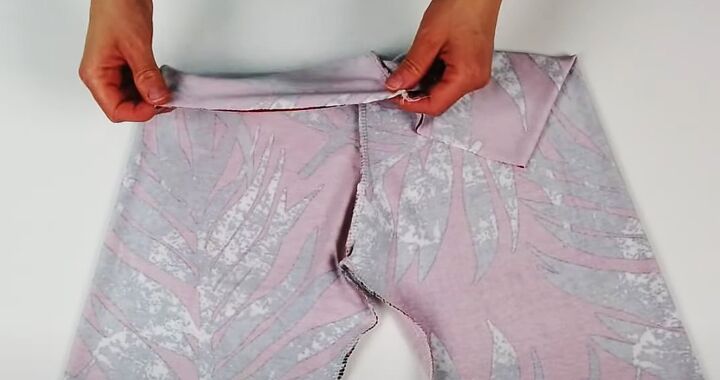
6. Waistband
Place the crotch seams together with right sides facing and mark the center point of each side edge with a small notch.
Fold the elastic at the seam and mark the center point with tailor's chalk.
Fold it again and mark the new center on both sides, so the elastic is divided into quarters.
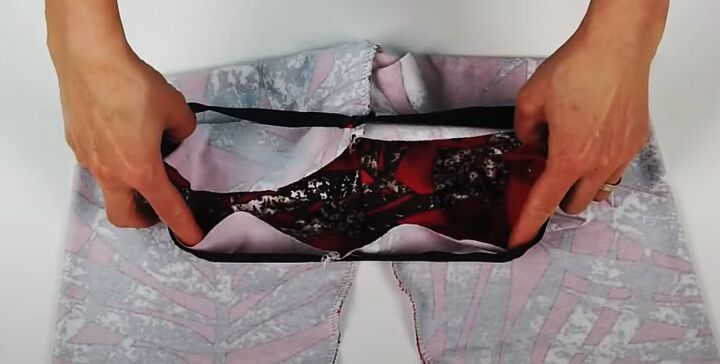
Pin the seam on the elastic to the back crotch seam of the leggings on the wrong side, and the center mark to the front crotch seam.
Pin the quarter marks on the elastic to the notches at the top of the legs.
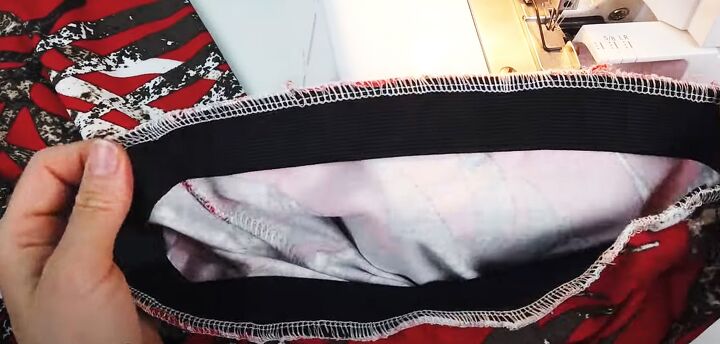
Serge or sew the top edge of the elastic to the top edge of the leggings on the wrong side, stretching the elastic evenly between the pins.
Fold the top of the leggings to the wrong side, encasing the elastic and keeping it flat. Sew in place along the lower edge with a straight stitch.
7. Finishing
Turn up a hem at the end of each leg and sew it in place with straight stitch.
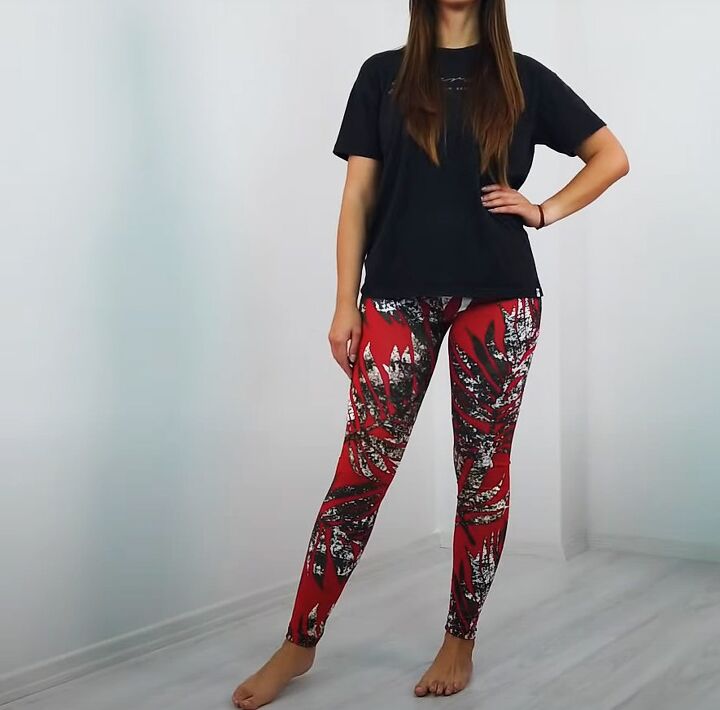
DIY leggings
And that's it! Your quick and easy DIY leggings are done. An intermediate sewist can make these in well under an hour the first time, and of course you get faster as you make more. Y
ou can sew these in so many different colors and patterns. They make great gifts or of course you can make them to sell, as I do.
If you'd like to see more high-speed patterns, please let me know in the comments below.
For more fun, easy patterns, follow me on TikTok https://www.tiktok.com/@tugbaisler.
The author may collect a small share of sales from the links on this page.

![How to Sew a Cowl Scarf [The Easy Way!]](https://cdn-fastly.upstyledaily.com/media/2020/11/20/6335627/how-to-sew-a-cowl-scarf-the-easy-way.jpg?size=350x220)


Comments
Join the conversation