How to Sew Scrunchies the Easy Way
Back in the '80s and the '90s, when I was, well you don’t have to know how old, I remember I used to wear scrunchies no matter what kind of outfit I had on me. Casual dress? Yeah, scrunchie in my hair. Classy combination? Scrunchie in my hair. Swimsuit? Not without a scrunchie in my hair.
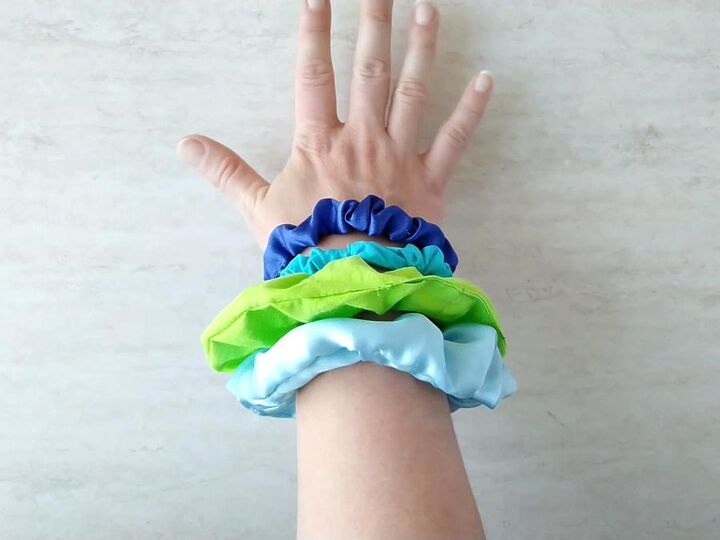
The thing is, most of my friends were like that as well. It wasn’t our fault, the scrunchies were to blame because they were just so practical and versatile. Not to mention cute. So when I saw them coming back recently, I had to start making some for myself. If only I knew how to sew back then...

Reminiscence aside, if you love these adorable hairbands, here’s how you can make them on your own.
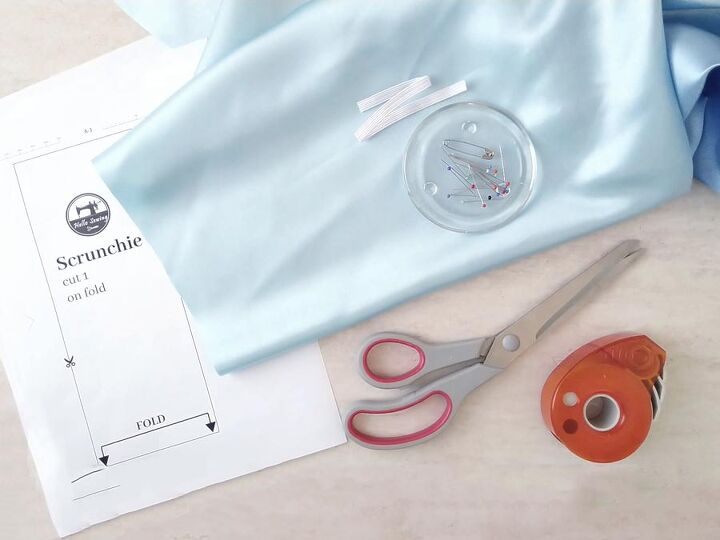
Get the supplies
All you need is some fabric, an elastic band, a needle and a thread, scissors, and a safety pin. No need to start up the good old sewing machine for this project.
Cut the fabric and the elastic band
Use my free scrunchie pattern to cut up the fabric or go with the standard cut of 18 x 4 inches. The elastic band should be about 8 inches, or 9 inches if you have a lot of hair. Make sure that the elastic is quarter-inch wide.
Turn the tube halfway to the right and stitch
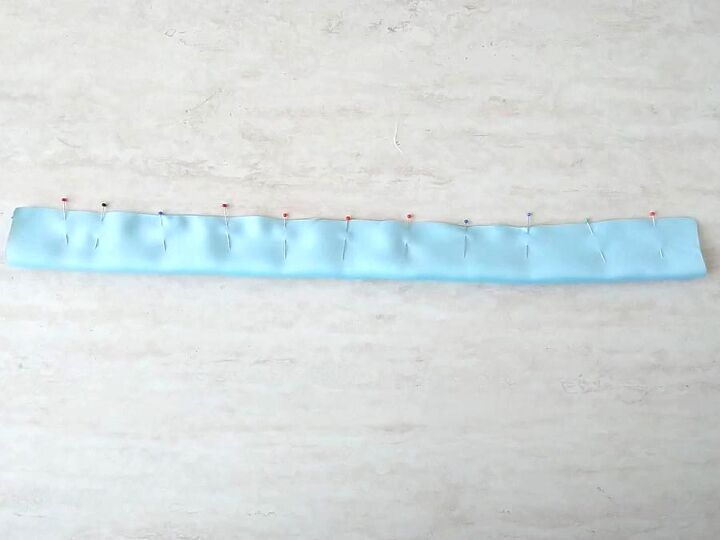
Make sure that the small gap stays on the outside of the tube. Match the short raw edges with each other and align the seams. Stitch the short raw edges together all around.Fold the fabric lengthwise and stitch the long edges together. Leave about an inch of unstitched opening closer to one of the ends. You need this opening to turn the scrunchie through it later on.
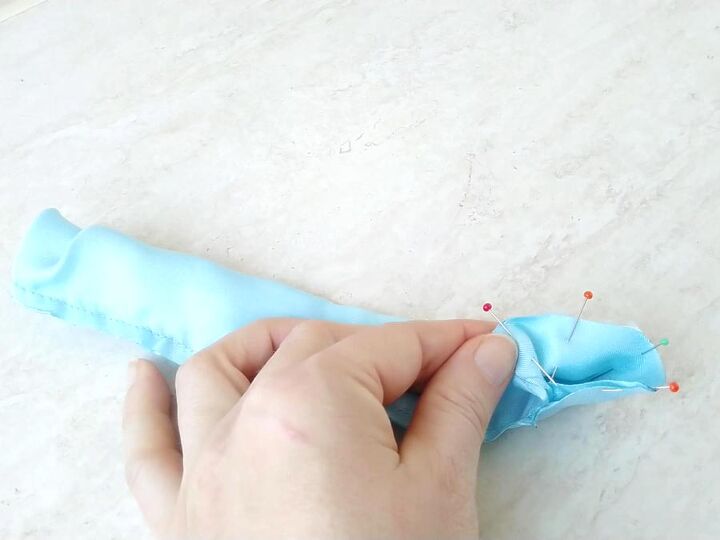
Turn the tube halfway to the right and stitch
Make sure that the small gap stays on the outside of the tube. Match the short raw edges with each other and align the seams. Stitch the short raw edges together all around.
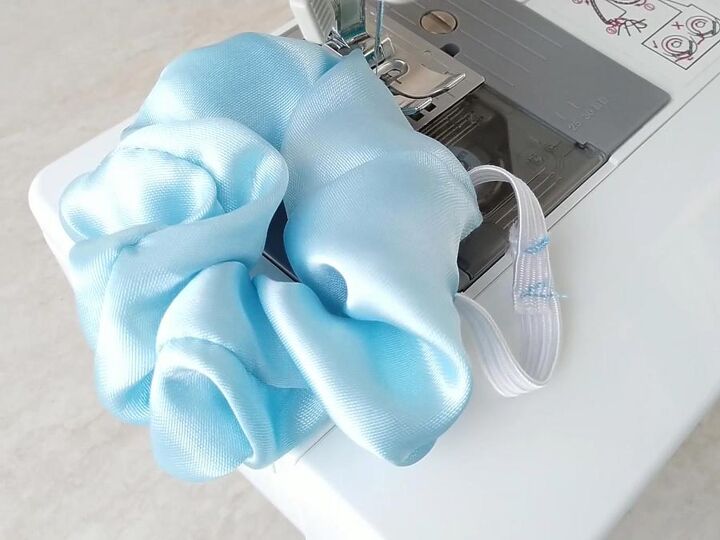
Turn inside out and insert elastic
Pull the inside of the tube out through the gap you left at the beginning. Now pin a safety pin to one end of the elastic and insert it into the gap. Thread it through the entire tube slowly, while making sure it doesn’t twist.
Stitch and complete
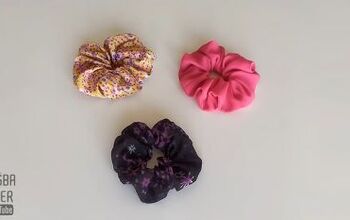
Overlap the ends of the elastic and stitch them together. Stitch the opening shut with a blind stitch and your scrunchie is finished.
Did you like the tutorial? If so, subscribe to my Youtube channel for more videos like these!
Now you can have a scrunchie for any occasion. Enjoy your retro accessory!
The author may collect a small share of sales from the links on this page.


![How to Sew a Cowl Scarf [The Easy Way!]](https://cdn-fastly.upstyledaily.com/media/2020/11/20/6335627/how-to-sew-a-cowl-scarf-the-easy-way.jpg?size=350x220)


Comments
Join the conversation
Love the way you joined the ends!!!
Thank you for the tutorial.