How to Make Your Own Beauty Blender Using an Old Travel Pillow

Beauty blenders are really expensive! They get dirty, they tear, and overall just cost so much money to keep replacing. So today we are going to show you how to make your own beauty blender using the foam from a neck pillow.
We have so many neck pillows lying around because we always forget to bring them to the airport and then have to buy a new one.
So, if you are like us and have neck pillows lying around at home, you can totally use one to make a DIY beauty blender
Tools and materials:
- Foam neck pillow
- Scissors
- Dye
- Water
- Bowl
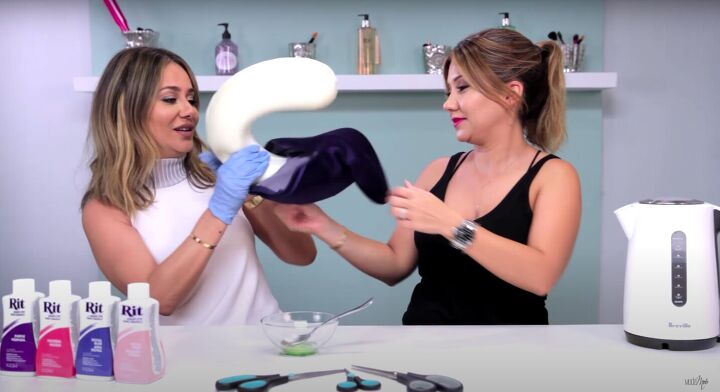
1. Prep the pillow
Remove the neck pillow from the casing.
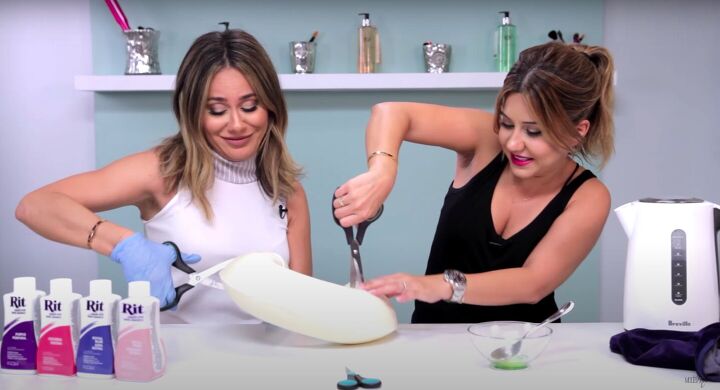
2. Cut
Take a pair of scissors and cut off a nice big ole chunk out of the neck pillow.
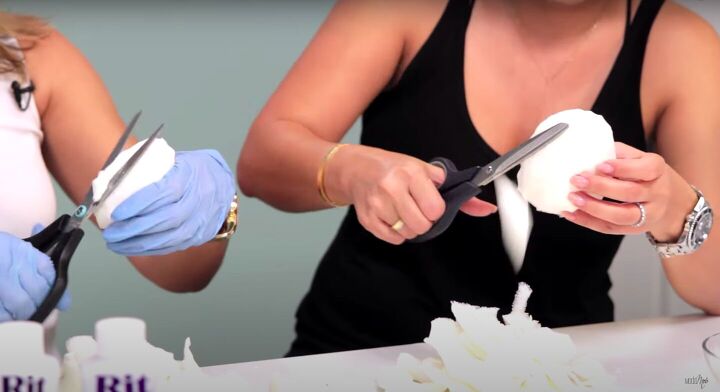
3. Trim
Trim down the chunk until it takes on the shape and size of a beauty blender.
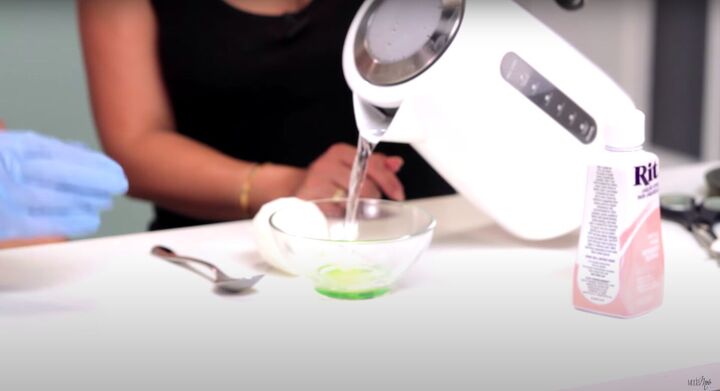
4. Dye the DIY beauty blender (optional)
So you can either leave your DIY beauty blender in its plain white color, or you can do what we are doing and dye it a super-fun and funky color!
Original beauty blenders come in all sorts of funky colors!
To start the dyeing process, you are going to pour warm water into a bowl.
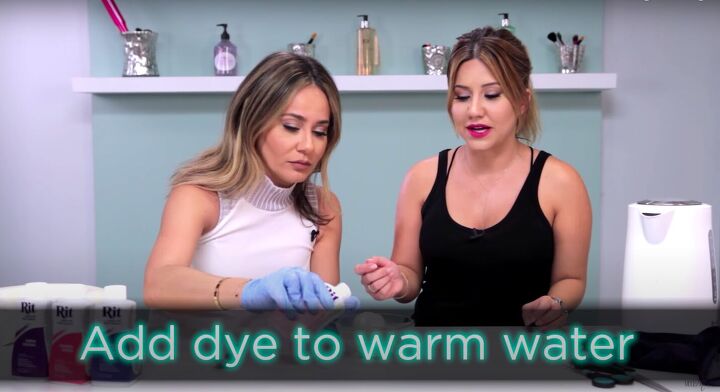
Add a tiny bit of dye in the color of your choice (we are using pink) to the bowl.
Tip* Use gloves while dyeing the blender.
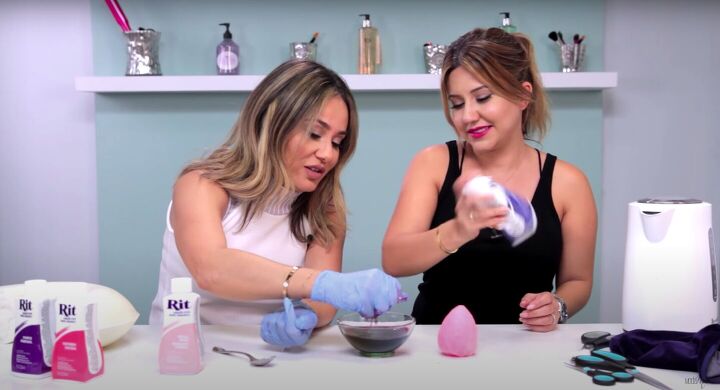
You can get as creative as you would like with the colors and the dyeing process. For the second blender, we decided to add in more colors for an ombre effect.

Mix to combine.
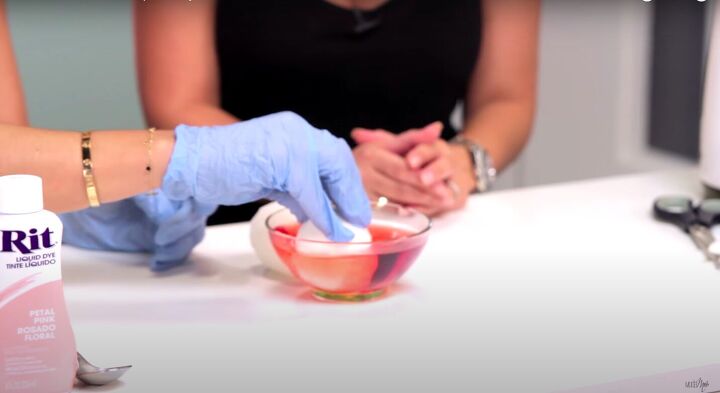
Press the beauty blender into the dye mixture and let it soak.
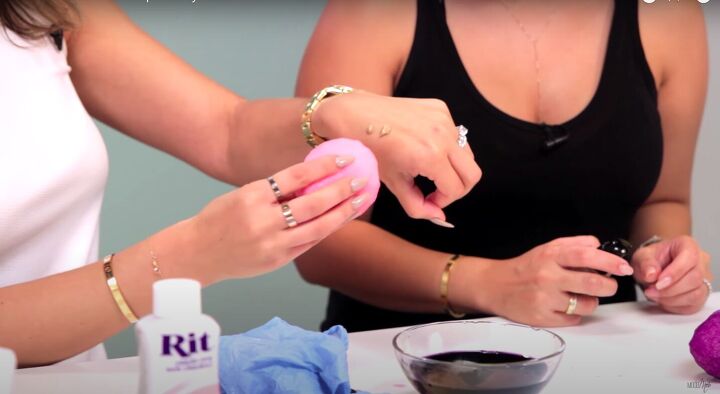
It will start to take on the color of the dye.
Keep squeezing and dipping the blender in the mixture.
Take the beauty blender out of the dye mixture and squeeze out all the moisture.
Disclaimer* Do not use the beauty blender on your face immediately after dyeing. Wait for it to dry before using.
5. Test it out
Test the beauty blender out by squirting some makeup onto your hand and patting it in with the beauty blender.
Make your own beauty blender
That is it, now you have your very own affordable DIY beauty blender! Do this as a fun activity with your friends or simply if you are in a pinch.
Either way, you will never have to waste your money on this overpriced makeup sponge again.
Let me know in the comments if you try this at home!
The author may collect a small share of sales from the links on this page.


Comments
Join the conversation
consider, if heating up foam or any plastic materials, if doing so will release toxic hydrocarbons into your breathing area! Maybe raggedy edges is better than poisoning oneself
Use an electric knife to cut foam. So easy! No ragged edges or toxic hydrocarbons. Mine is decades old, I guess they still sell them. I know fabric stores use/d them to cut foam.