Simple Makeup for Droopy Hooded Eyes You Can Take From Day to Night

Hello and welcome! Are you looking for some advice on makeup for droopy hooded eyes? In this tutorial, I’m going to show you a day-to-night eyeshadow look that will make your eyes look large and your droopy eyelids lifted. Let's get started!
Tools and materials:
- Matte eyeshadow
- Eyeshadow brush
- Eyeliner
- Mascara
- False lashes
- Tweezers
Day eye makeup for droopy eyes
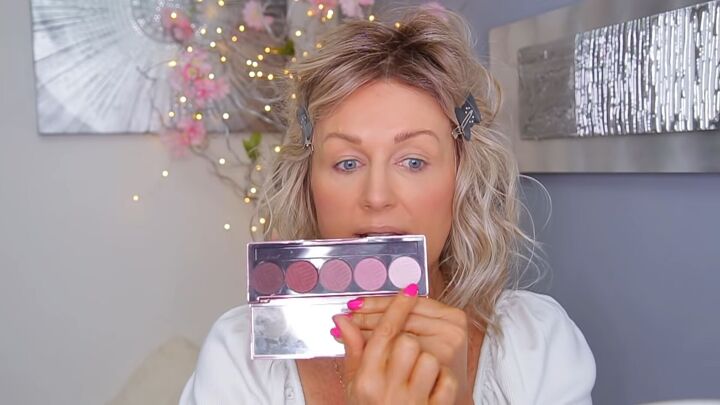
For this look, I’m using an eyeshadow palette with five different shades of purple, going from a light lavender all the way to a dark plum color. We’re going to start with a day look and then move on to a night look.
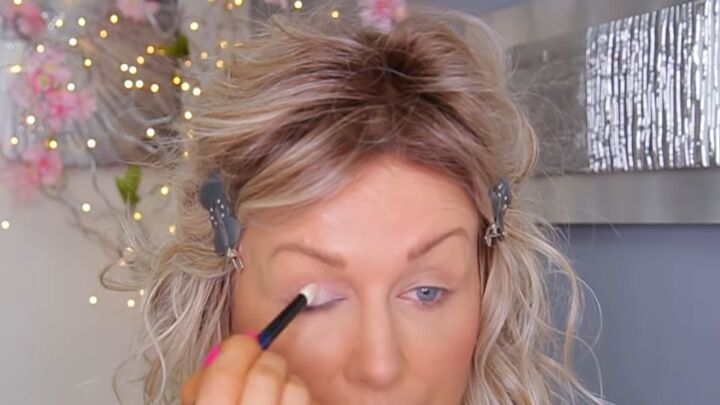
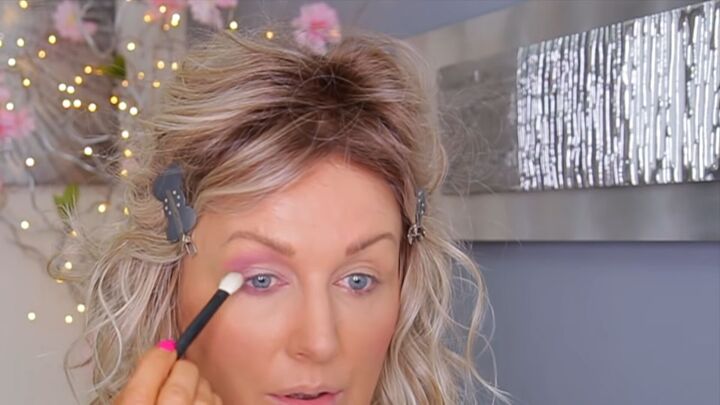
1. Apply the lightest color
You’re going to start by applying the lightest color in your palette to your mobile lid. Make sure that the light color is nice and pigmented so that it shows up on your lid.
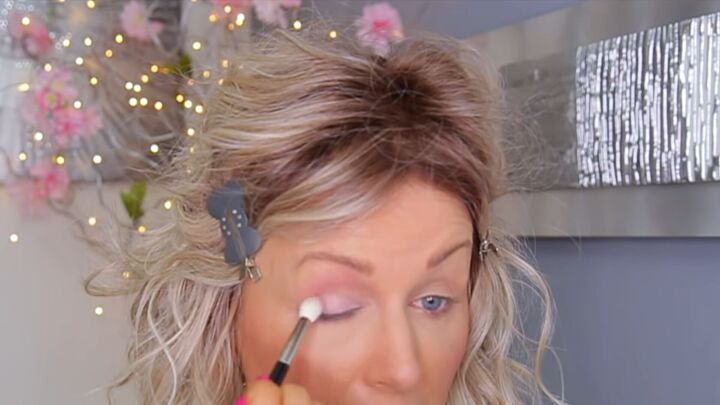
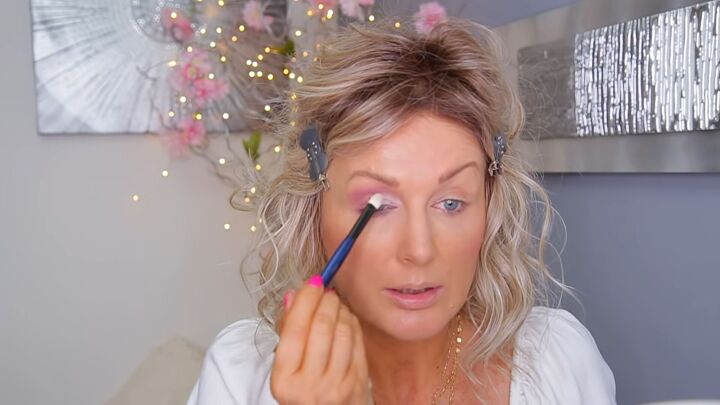
2. Add your second color
Now go for the second lightest color in your palette and just brush it on above your crease. Then use it to shade the outer section of your eye.
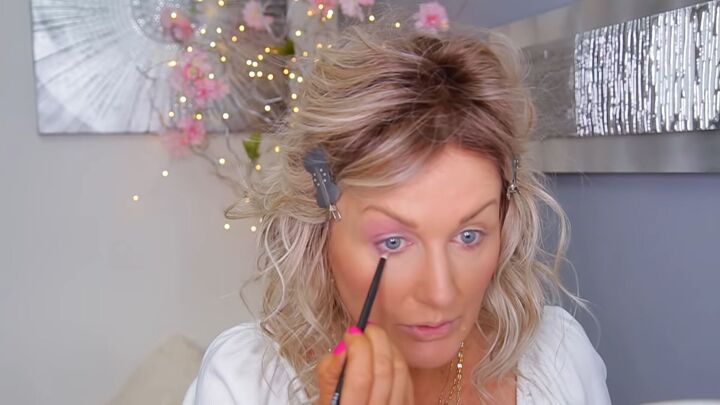
3. Line your eyes
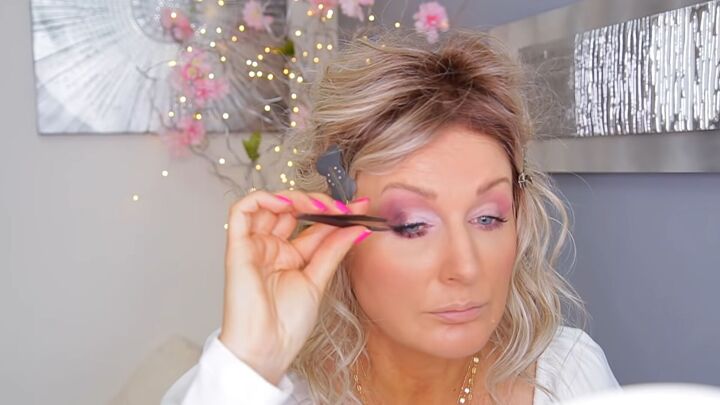
Now take an eyeliner in the same light purple color as the eyeshadow you just used and shade your lower lash line.
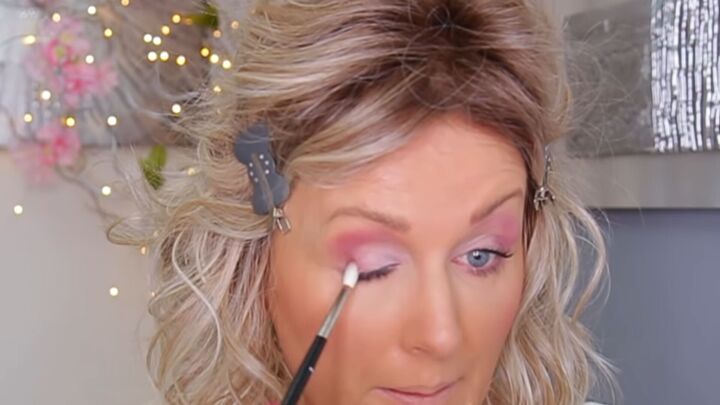
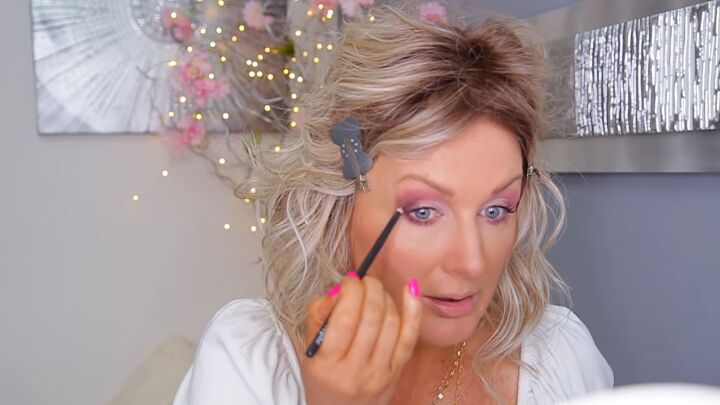
4. Apply your third color
Take the third, middle color in your palette and just slightly darken your hood.
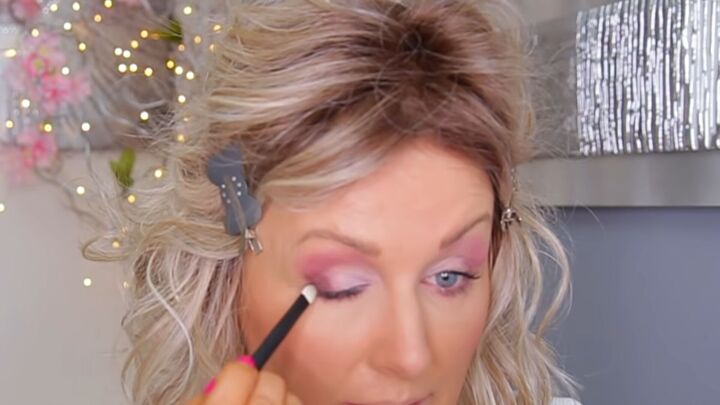
5. Touch up the lightest color
Lastly, touch up that light eyeshadow with another coat.

I finished off the day look by applying some mascara, and here is the finished look. We’ve shaded the hood, we’ve brought out our mobile lid, and straight away, the eyes look more open and not as hooded.
Night eye makeup for droopy eyes
Now I’m going to show you how to transform this look to take it from day to night.
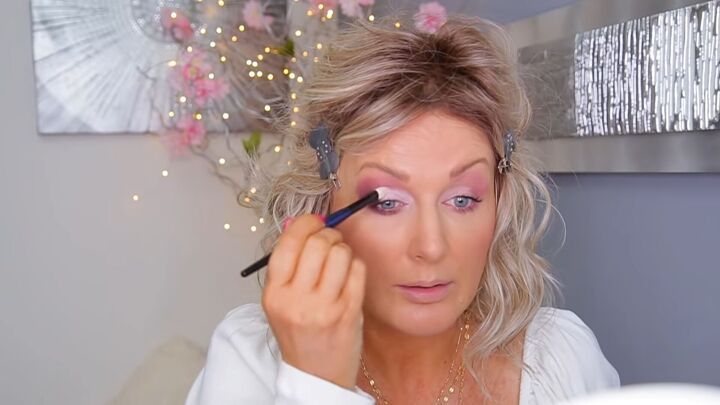
1. Shade the outer-v
Go for the fourth shade in your palette (the second darkest color) and start to shade the outer-v.
2. Apply the darkest shade
Next, go to the darkest eyeshadow and just shade the very outer corner of your eye to give it some depth. Bring the color up into your crease. Remember to blend your eyeshadow in.
3. Use some eyeliner
Use some eyeliner in the dark purple shade to help drag the eyeshadow upwards. Then, continue to build up your dark eyeshadow to your desired depth.
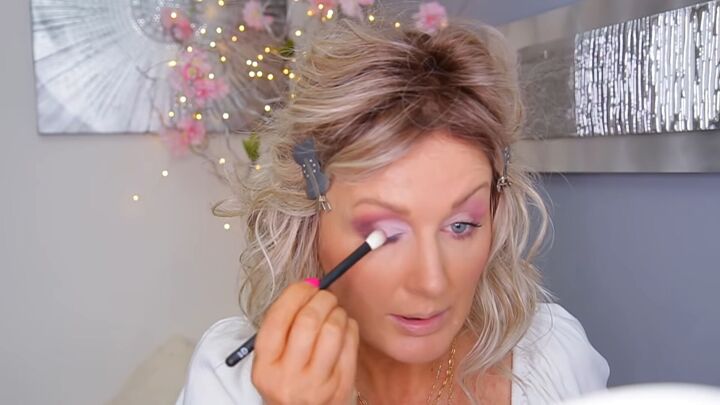
4. Touch up the light color
Touch up the light color to really make it pop. Put it where it is visible when your eye is open. The eyeshadow that I’m using layers so nicely. This now gives the illusion of a big mobile lid.
5. Apply the middle color
Next, you’re going to go to the middle color to add some transition and get rid of the harsh border between the light and dark colors on your lid.
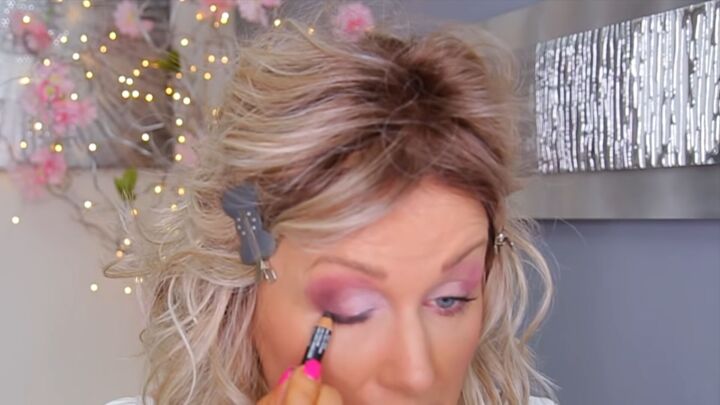
6. Apply some eyeliner
Now, you’re going to apply some kohl eyeliner. Apply it to the outer ends of your upper and lower lash lines and wing it slightly on the end.
7. Add false lashes
Once done, go over the mascara and apply some false lashes. I don’t like very full, thick eyelashes because I don’t think they’re very good for hooded eyes and cover everything you’ve just done.
When you’ve applied your eyelashes, and they’re stuck down, remember to push them up.

I cut off a little section at the end of each eyelash as I don’t use full lashes. This makes my eyes look more open. However, you don’t want it to look like you’ve got a bit of a bald patch, so take your kohl pencil and just darken that upper waterline.
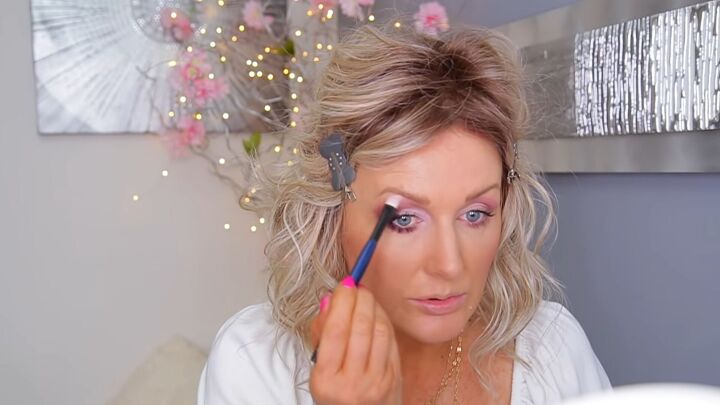
8. Shade your brow bone
Lastly, put the lightest eyeshadow under your eyebrow, on your brow bone, but not too much.

Makeup for droopy hooded eyes tutorial
I finished off the look with some lip liner and lipstick, and gloss. It’s very easy to go from daytime to nighttime with the same palette that you’ve used in the morning; you just make it a bit darker and a bit more sultry and then put some lashes on.
Two beautiful, fabulous looks - I hope you’ll give them a go.
Products used
The author may collect a small share of sales from the links on this page.


Comments
Join the conversation
She hasn't got droopy eyes. Show the real thing if you show anything at all.
Very pretty, I will try this for sure. Thanks