How to Create a Cute Beachy Mermaid Hair Look With Minimal Heat

Hi, guys. Today, I’m going to show you how to get this DIY mermaid hair look using minimal heat. It’s super easy, looks great, and it's a perfect summery style, especially if you're heading off on vacation. Let’s get started!
Tools and materials:
- 3-barrel curling iron
- Hair ties
- Heat protection spray
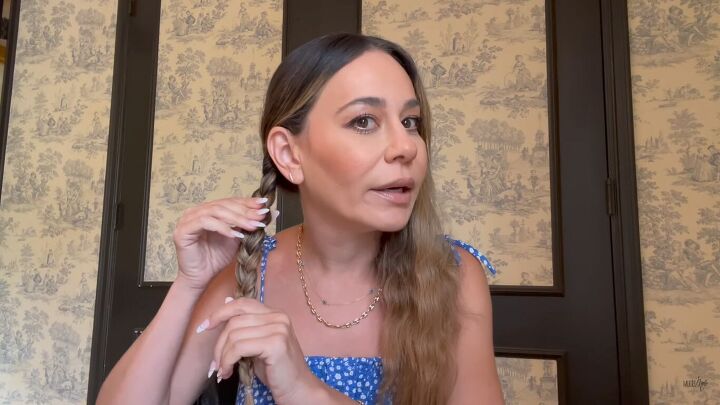
1. Overnight braids
After a shower, split your hair into two ponytails and braid them while your hair is still wet. If you have a lot of frizz, this is a great way to not use a lot of heat on the sensitive areas of your head where you might see a lot of hair loss or breakage.
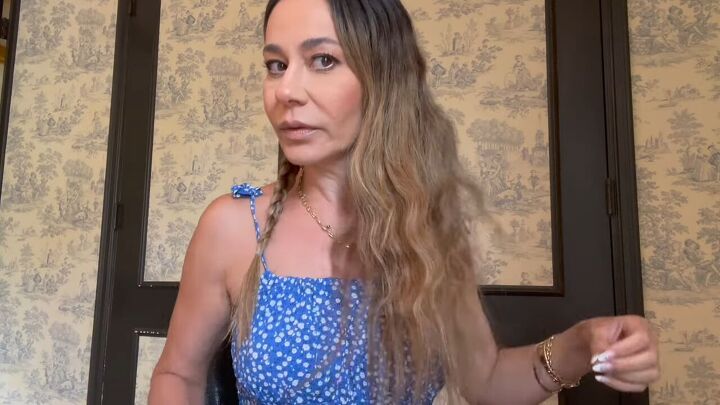
2. Undo the braids
Wait until your hair is dry before undoing the braid. If it’s still wet, just use a hair dryer to completely dry. When you undo your braids, you should get these nice beachy waves.
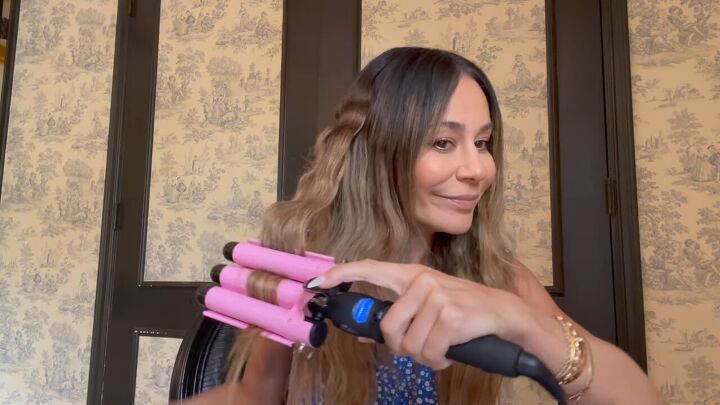
3. Touch up with the curling iron
Since you’re kind of already rocking the mermaid waves hair look from the overnight braids, you don’t have to use a lot of heat to get your hair where you want it to be.
To amplify the waves, I’m using a 3-barrel curling iron and touching up the top of my hair and the bottom where the hair is thinner and the braid stopped.
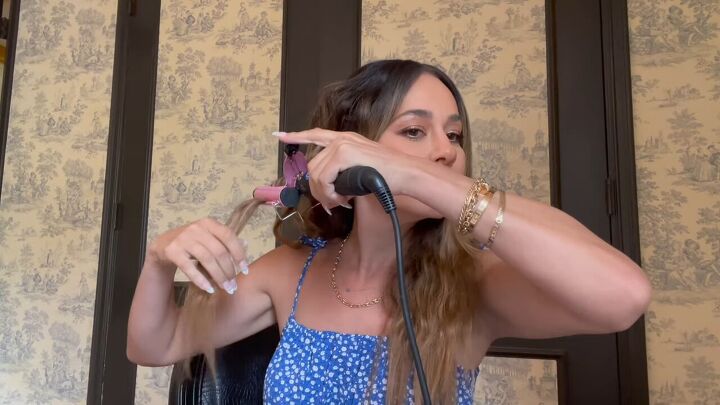
You could also use a regular curling iron for this step, but this 3-barrel one is quicker for me. I just clamp down on the sections I want to create waves in.
Tip: Make sure to use a heat protection spray when you’re using heat.
Mermaid hair tutorial
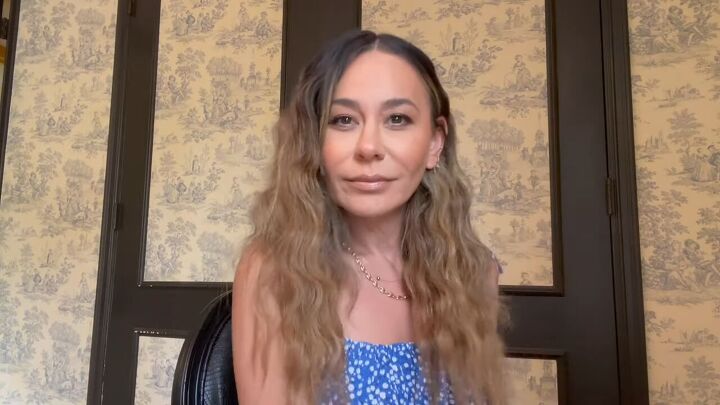
Here’s the finished DIY mermaid hair look! I also love to do this for a night out when I want to amplify the waves I already have from the braids.
All you have to do is go over the straight spots and you look great with minimal heat. Let me know what you think!
The author may collect a small share of sales from the links on this page.


Comments
Join the conversation