How to Get Gorgeous Beach Curls With a Curling Iron

In this tutorial, I’m going to share with you how I get salon beautiful beachy curls which is one of my favorite ways to wear my hair.
If you want to know how to get beach curls with a curling iron, you’ve come to the right place.
Follow along as I walk you through the technique step-by-step!
Best heat protector spray!
Tools and materials:
- Heat protectant spray
- Claw clip
- Hairbrush
- Curling iron
- Texture spray
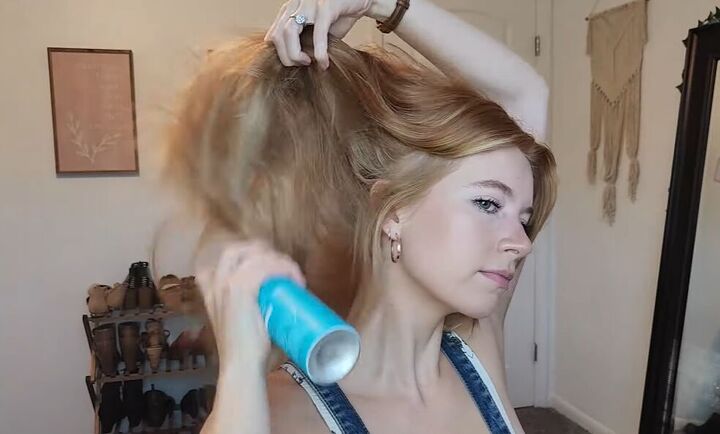
1. Apply heat protectant spray
Start by applying heat protectant spray to your hair.
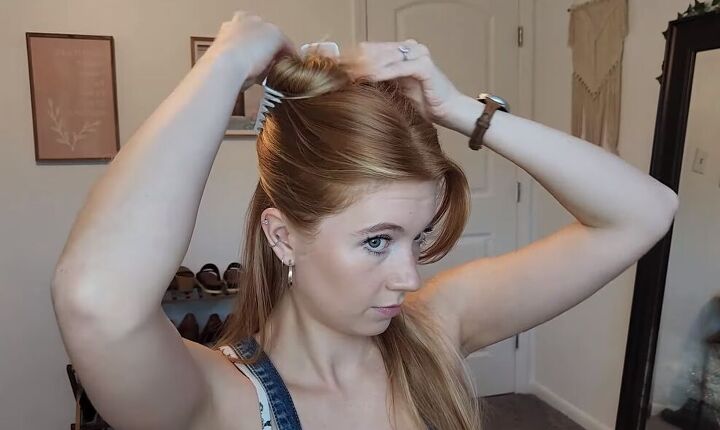
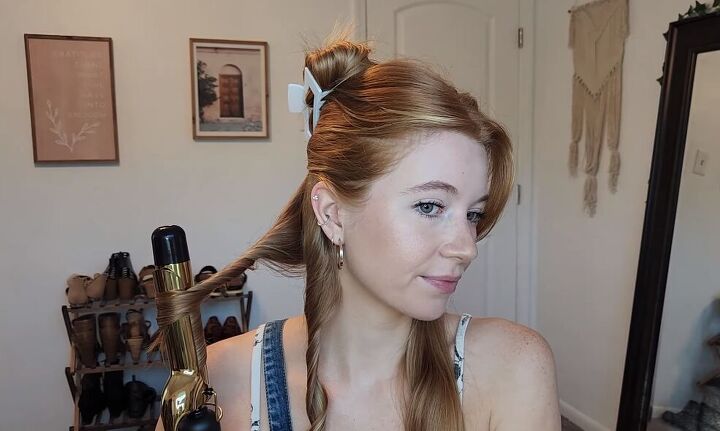
2. Section hair off
Next, section your hair out by clipping up your hair above your ears.

3. Brush hair
Then, split your hair down the middle and bring it over your shoulders so it's easier to work with.
Brush your hair out to make sure you don’t have any tangles before you start curling it.
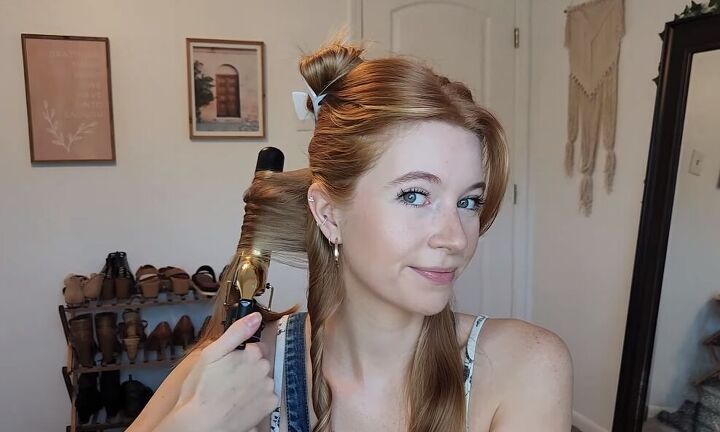
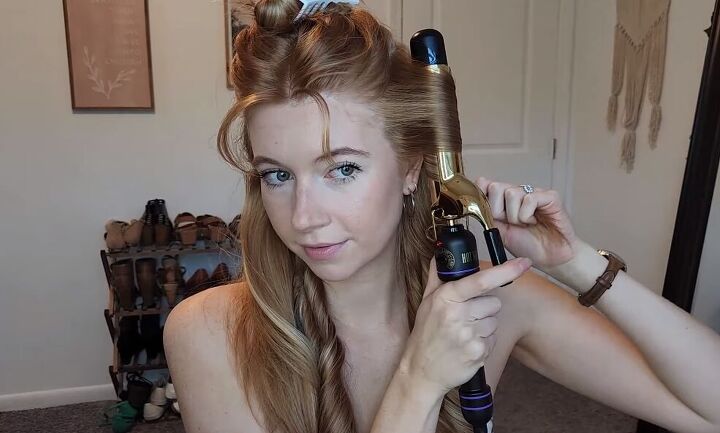
4. Curl hair
For the curling iron, I am using a 1.25-inch barrel, but you can use a smaller barrel if you want.
Bear in mind that the thicker the curling iron, the less time it will take to curl your hair.
For this technique, you want to start with the clamp towards your face, clamp down the hair, start twisting it back, and pause at the top section.
Let the hair heat up.
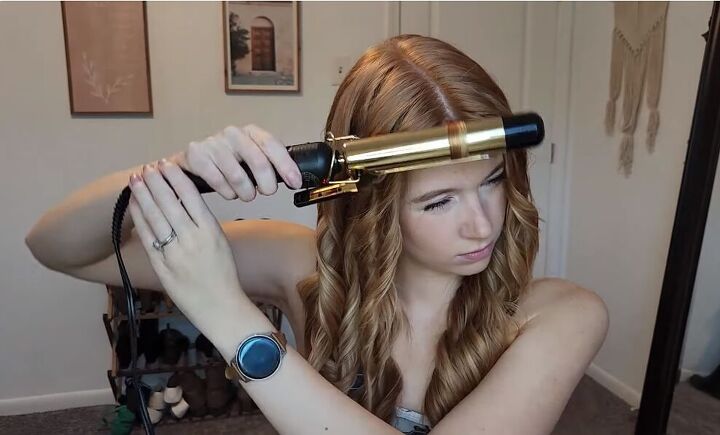
Then work it down a little bit and untwist your hair from the barrel that top section. Now, we're working on the middle section of the hair.
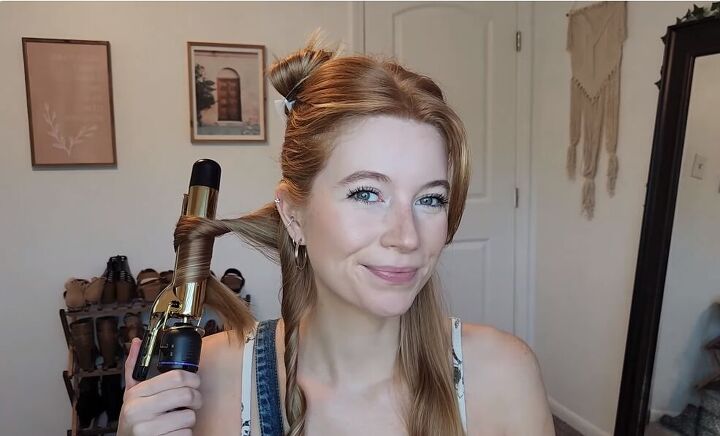
Twist that hair onto it, let it heat up, untwist it, and then work towards the ends.
You’re just working bit by bit on the hair, letting it heat up and then working your way down, untwisting it as you go.
When you get to the ends, pull the iron down on the ends.
You want them to be more flat ironed rather than curled because we're not going for a super curly prom look.
We just want a tousled, messy, beachy look.
5. Repeat
Now, repeat this process on the rest of your hair. Adjust the claw clip when you’re ready to include more sections of hair.
You can alternate between doing the sections towards your face and away from your face to ensure that the curls don’t clump together but instead stay broken up.
6. Curl bangs
Once you’ve curled your hair, curl your bangs (if you have them) toward your face.
7. Finger-comb curls
As you're curling you're going to leave your hair in the twisted sections.
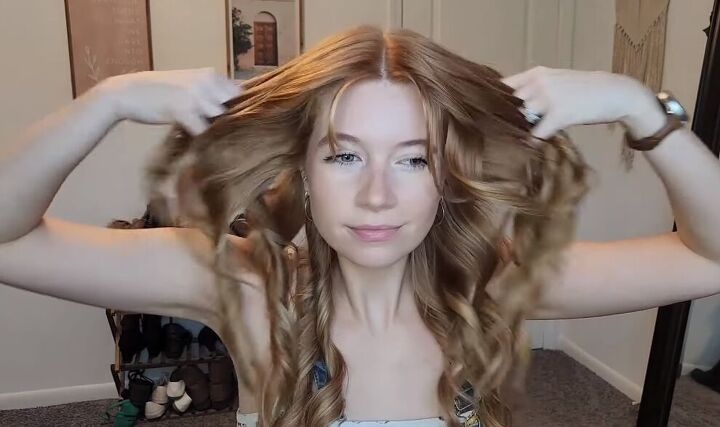
Once you’re finished curling your hair, you want to finger-comb it all the way through.
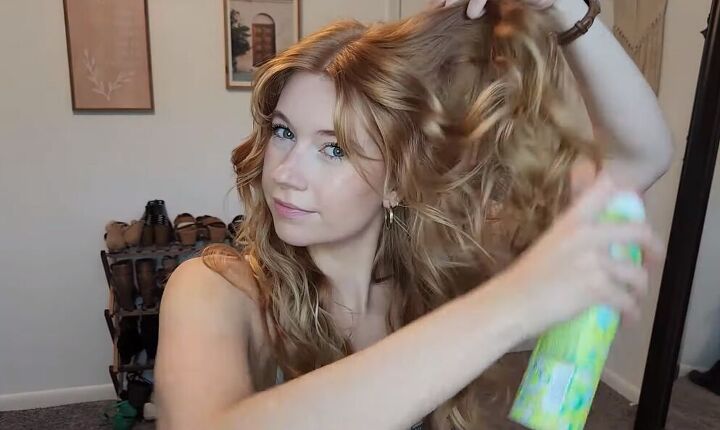
8. Apply texture spray
Finish off by spraying on some texture spray to give your hair a little bit of extra volume and movement.
It will make your curls hold for longer and ensure separation between them.
Flip your head over and spray it underneath. This really helps give it lots of volume.
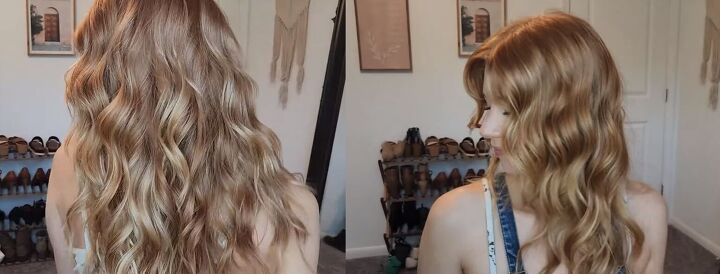
How to get beach curls with curling iron
This is the final result! I am absolutely obsessed and love wearing my hair this way - I get so many compliments on it.
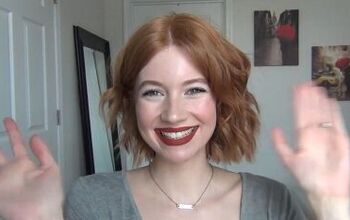
I hope you’ll try out this technique to create tousled, beachy waves for yourself! If you do, let me know how you get on in the comments.
Next, check out my Quick and Easy Dutch Braid Updo Tutorial.
The author may collect a small share of sales from the links on this page.


Comments
Join the conversation