Quick and Easy Dutch Braid Updo Tutorial

In this post, I'm excited to show you how to create a beautiful single back Dutch braid hairstyle.
It may seem a bit challenging, especially with shorter hair length and layers, but trust me, it's doable.
So, let's dive into creating this Dutch braid bun.
Tools and materials:
- Bobby pins
- Elastic bands
- Hair comb
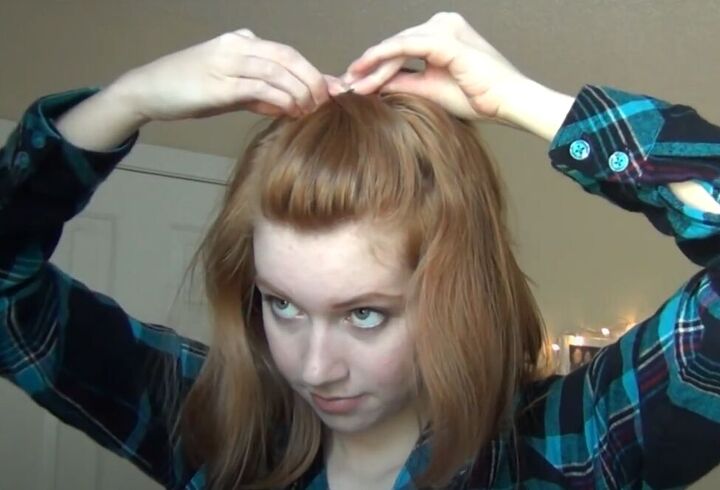
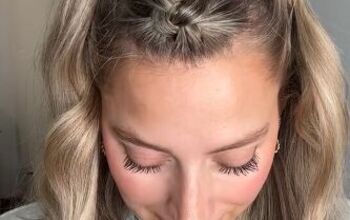
1. Prep the top section
Start by finger combing the top section of your hair, particularly the bang area.
Gather this section and secure it at the back, creating a small poof in the front. Use bobby pins to keep it in place.
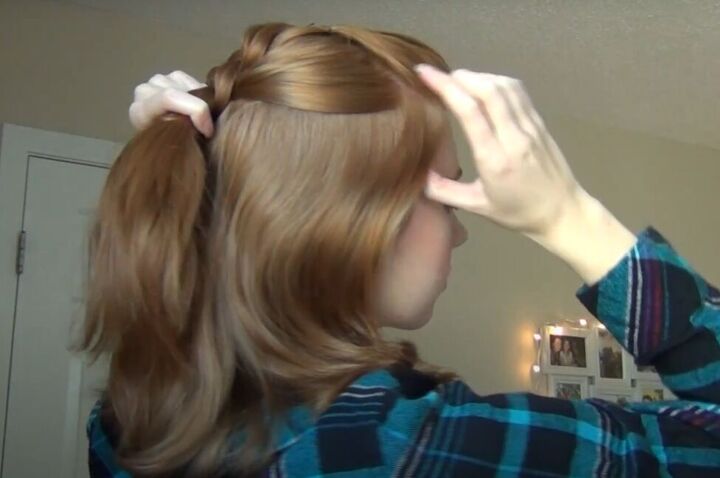
2. Make the Dutch braid
Initiate the Dutch braid at the crown of your head, moving towards the back. The reason for the poof is to ensure the braid doesn't start too close to the head.
Continue Dutch braiding straight down the back, taking sections from the front.
Don't start at the front hairline initially; leave that hair out until the next section.
Choose sections that complement the braid's progression, adjusting based on what looks good at each point.
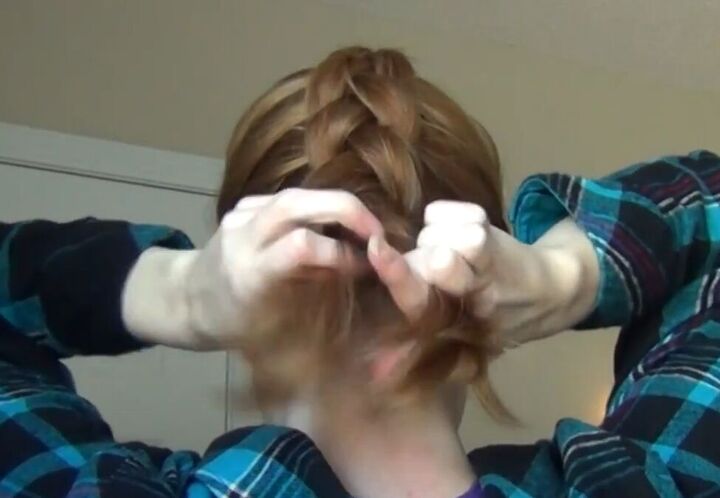
3. Dealing with layers
As you go down, dealing with layers might get a bit tricky. For those with longer hair or fewer layers, this will be easier.
If, like me, you face challenges with layers popping out, don't worry —we'll fix that in the next steps.
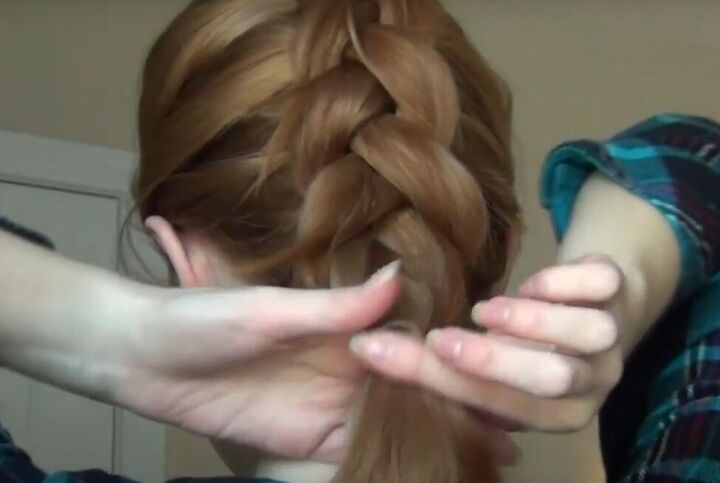
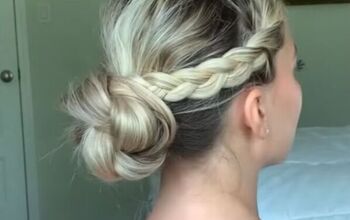
4. Secure the braid
Once you've braided as far as possible, secure the end with an elastic band.
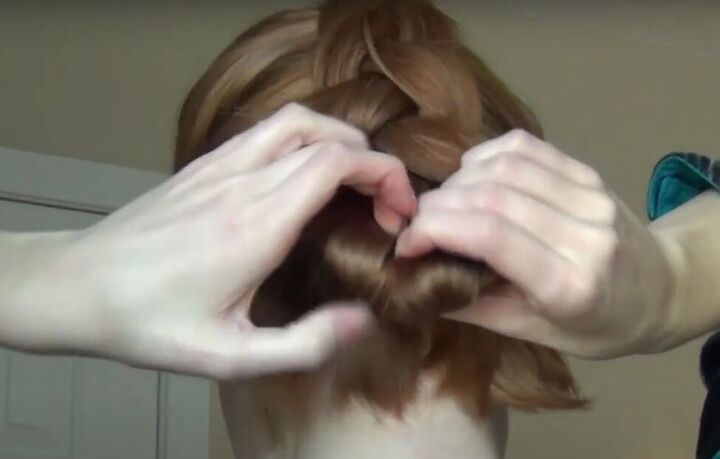
Now, tuck the braided ponytail under.
If you encounter difficulty, create a space at the nape by parting the hair, allowing the ponytail to slide in.
Secure it with bobby pins, ensuring it's snug against the nape.

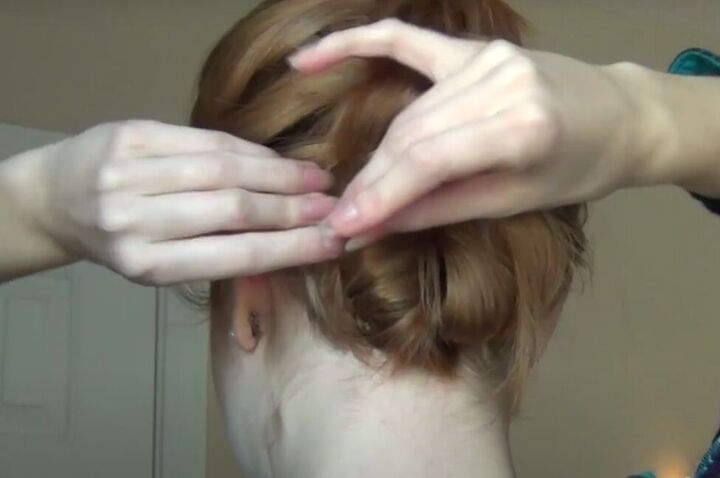
5. Tame loose layers
With the braid secured, address any loose layers. Use bobby pins to pin them down, maintaining the braid's appearance.
If there are loose pieces, press them onto the head and secure with bobby pins.
Repeat on both sides.
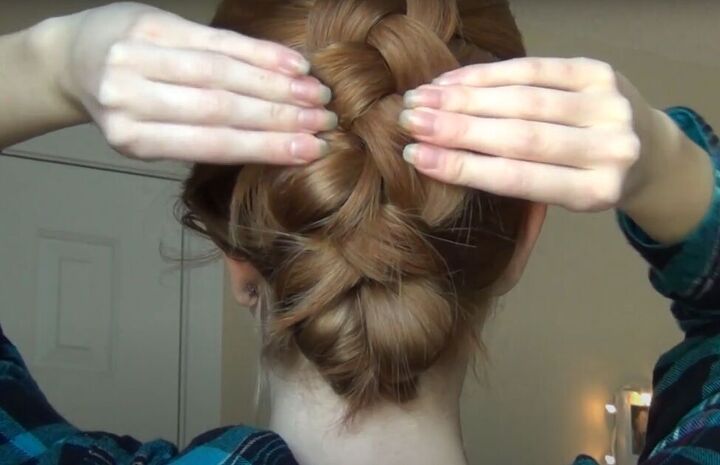
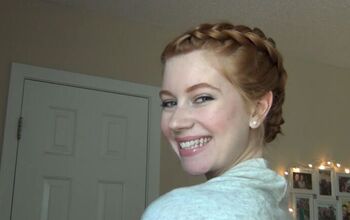
6. Adjust and soften the braided bun
Loosen the Dutch braid slightly to give it a more voluminous appearance.
Be cautious not to overdo it, as layers may pop out.
Adjust any remaining loose pieces, folding and tucking them to create a neat, finished look.

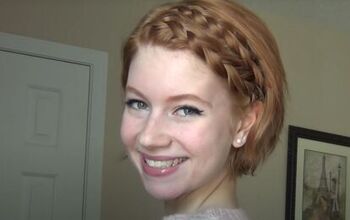
7. Add final touches
If desired, leave a few bangs out at the front for a softer look.
You can also pull out some pieces by the sides of your face to enhance the overall softness.
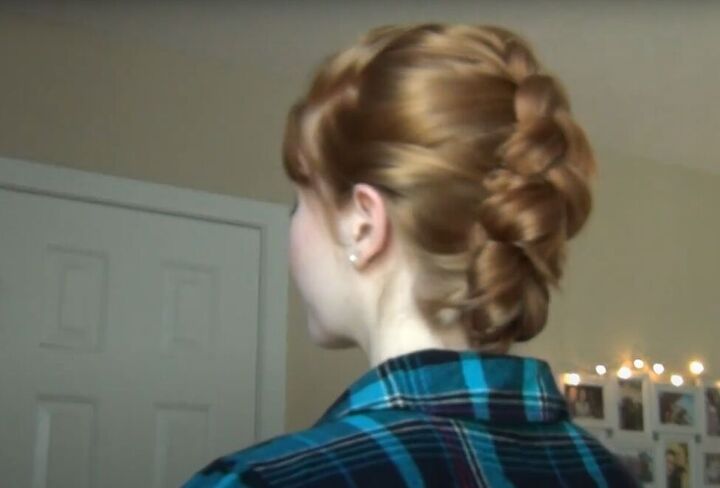
Dutch braid updo
And there you have it—a beautiful Dutch braided updo bun!
I hope you give this a try and leave a comment to let me know how you liked it.
Next, check out my Easy At-home Voluminous Blowout Tutorial.
The author may collect a small share of sales from the links on this page.


Comments
Join the conversation
Too often such Magical, Beautiful Feats are done So FAST
that you can't see the details that Hold Everything together.
This video is GREAT!
I cannot braid my own hair, but your tutorial was wonderful. I was wondering, what do you use in your hair? What type of shampoo and conditioner? Your hair is amazingly shiny and healthy looking!