Quick and Easy Double Dutch Braid Tutorial

Hey everyone! Today, I'm going to show you how to create a simple double Dutch braided hairstyle for short hair.
It's really not difficult at all, and I hope this step-by-step tutorial helps you achieve this look. Let's get started!
Tools and materials:
- Hairbrush
- Hair clips
- Elastic hair bands
- Bobby pins
- Hair straightener or curling iron
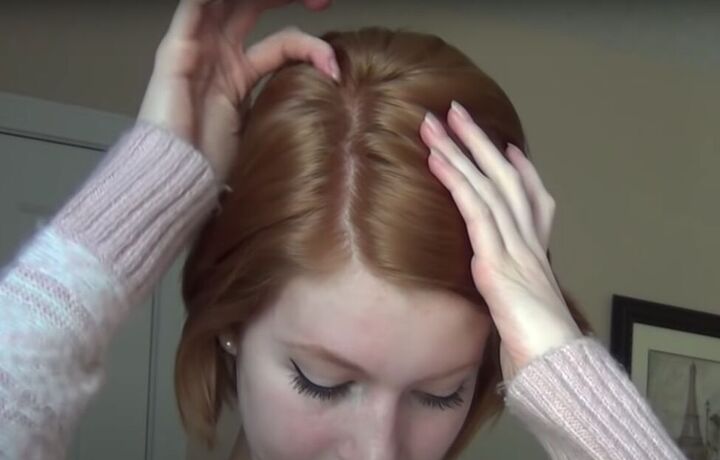
1. Part your hair
Begin by parting your hair on the side.
Remember, there are various ways to style this Dutch braid but, for this tutorial, I'll be demonstrating it with a side part.
Make sure your hair is neatly parted.
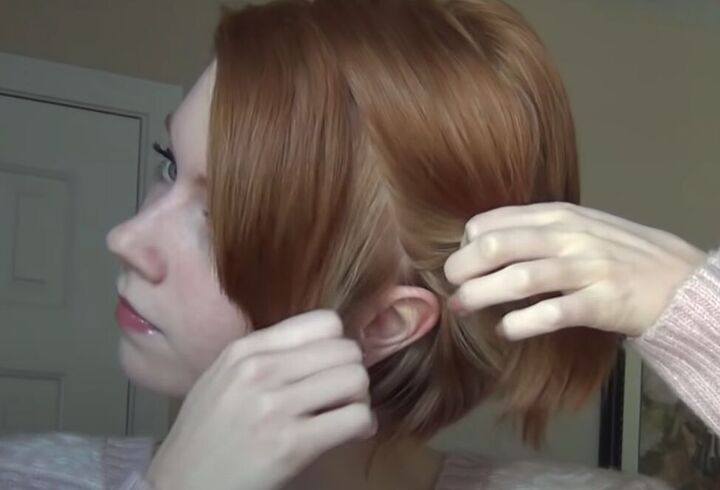
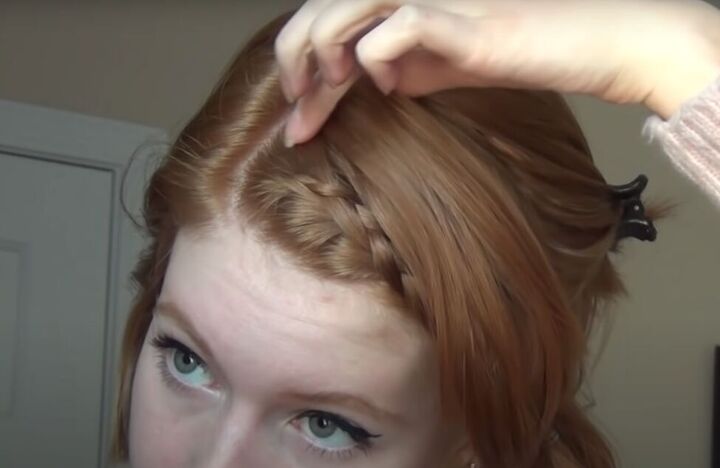
2. Create the starting section
About an inch to an inch and a half away from your hairline, create a section by parting your hair straight down towards your ear.
Clip the rest of your hair out of the way for now.
The section in front will be used for your Dutch braid.
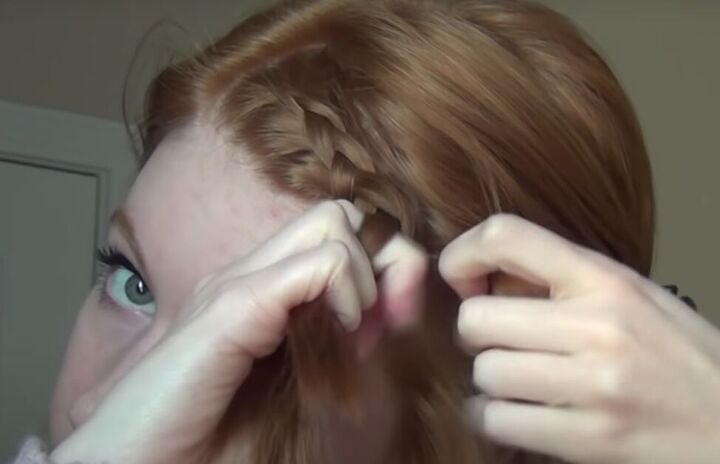
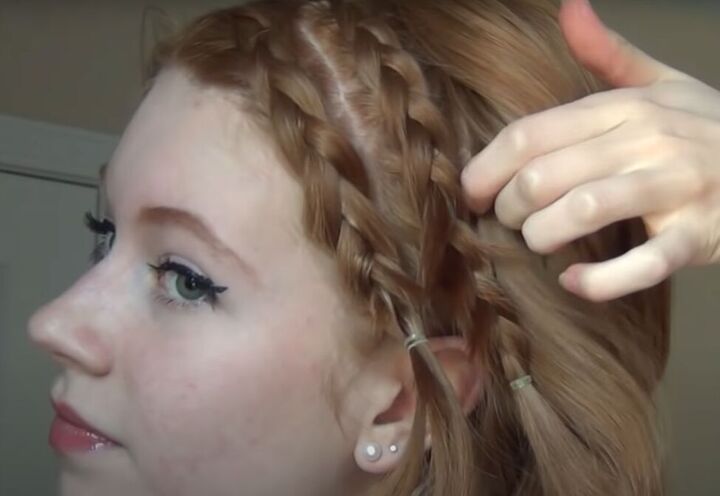
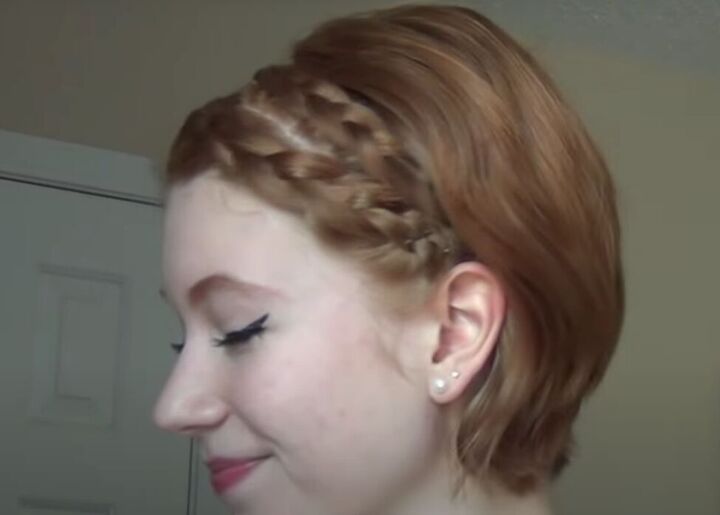
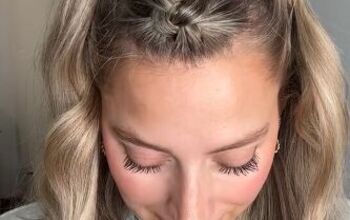
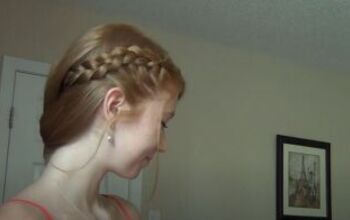
3: Dutch braid
Now, it's time to Dutch braid this section of hair, which involves crossing the hair strands under each other instead of over.
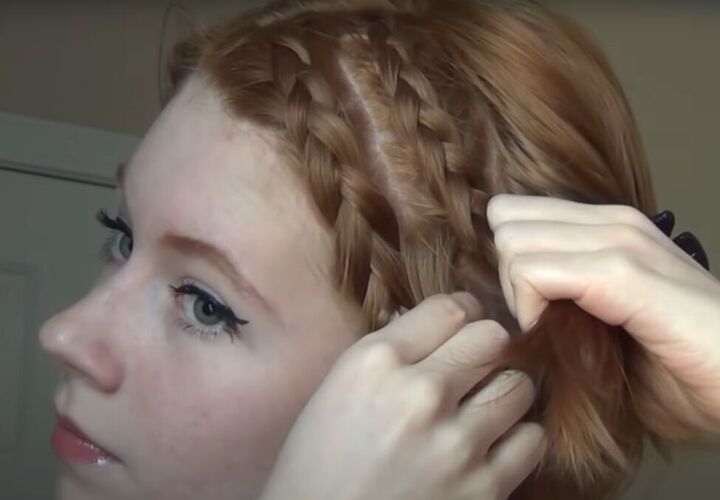
Start by taking three small sections of hair from the middle of this front section.
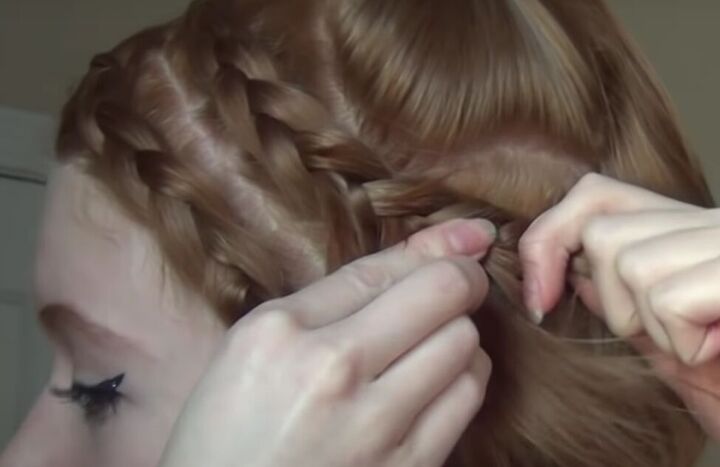
Cross the hair strands under each other, adding a piece of hair from the side each time you cross over.
Continue crossing under and adding hair until you reach the end of this front section of hair.
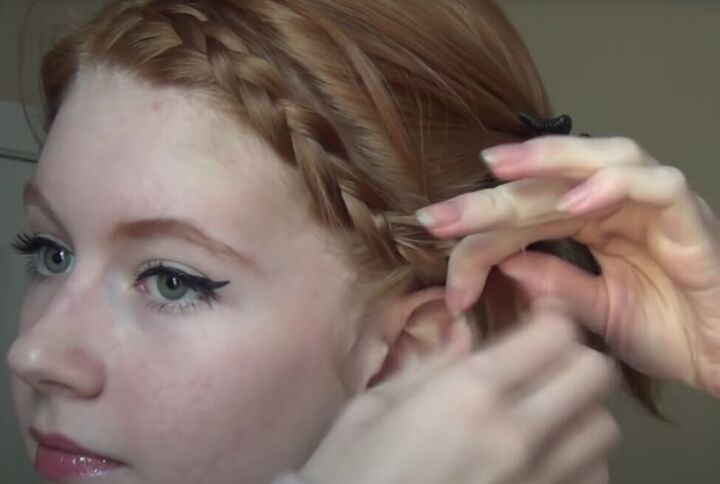
Once you've incorporated all of the hair from the section you parted out, continue braiding down as far as you can.
If you have longer hair, you can braid about halfway down. With short hair like mine, braid as far as you can.
After completing the first braid, remove the clip from the rest of your hair.
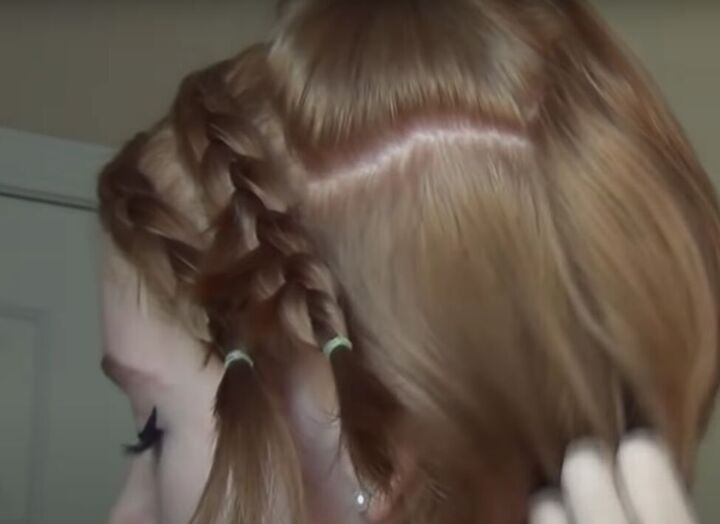
4. Dutch braid again
Now, section off another inch to an inch and a half of hair going straight down next to the first braid.
This will be used for your second Dutch braid.
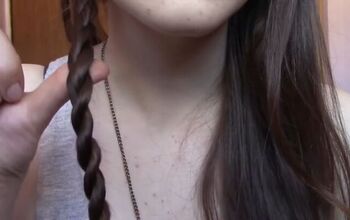
Dutch braid the second section in the same way you did the first one.
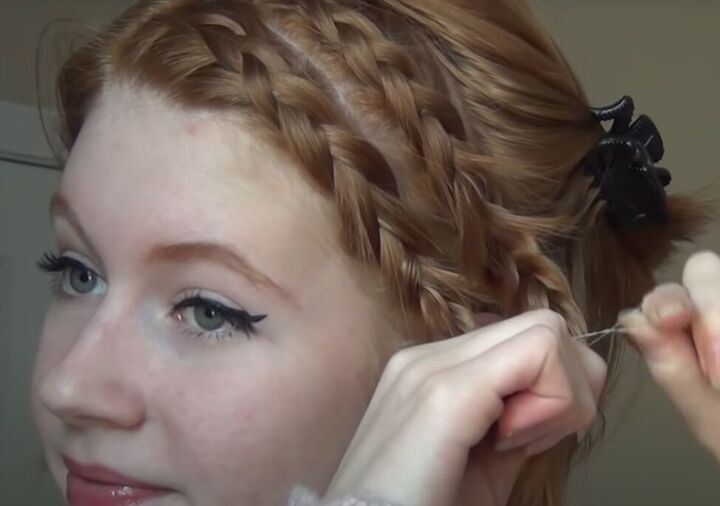
Braid down as far as possible, and then secure it with an elastic.
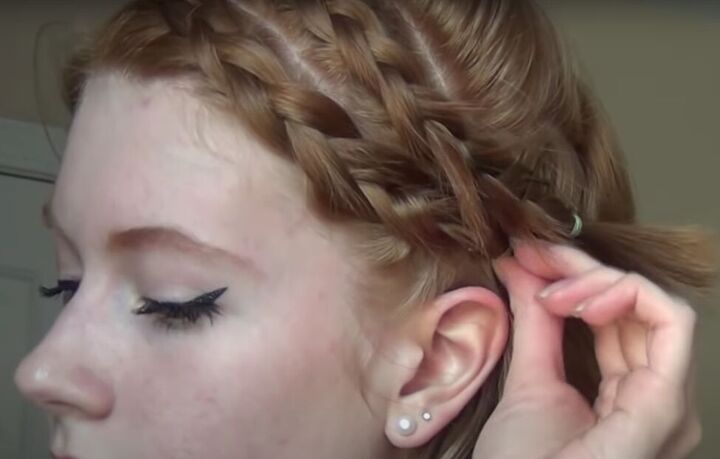
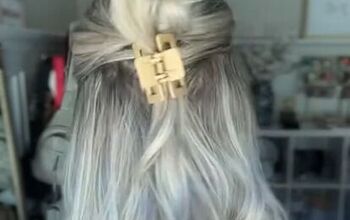
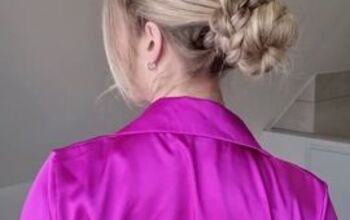
7. Pin the braids
With both braids ready, it's time to hide them under your hair.
Section back enough hair to allow you to bobby pin these two braids underneath.
Pin the top part of this section up. This will ensure the braids are not visible when the hair falls over them.
Take your second braid back and bobby pin it under the hair you've clipped up. Use two bobby pins for added security.
If you have any stray hairs poking out from the braids, bobby pin those in place as well.
Then pin the front braid back the same way.
If the front braid didn't reach far enough back under the hair, simply adjust the elastic by pulling it down slightly so it's not visible.
Ensure that all the hair is neatly pinned back.
Now take down the hair you pinned up so that it lies over your pinned braids.
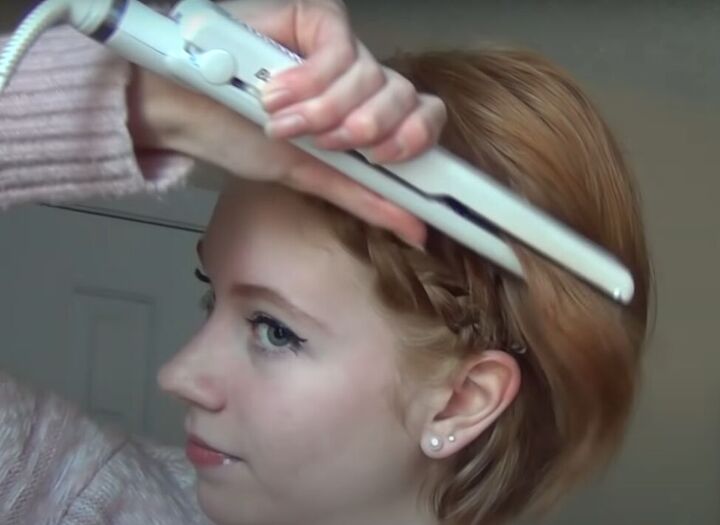
8. Straighten and texture your hair
Now, straighten, curl, or add some texture to the rest of your hair.
You can use a heat protectant spray to safeguard your hair from the heat.
Achieve your desired look; it can be a bit messy for a textured appearance.
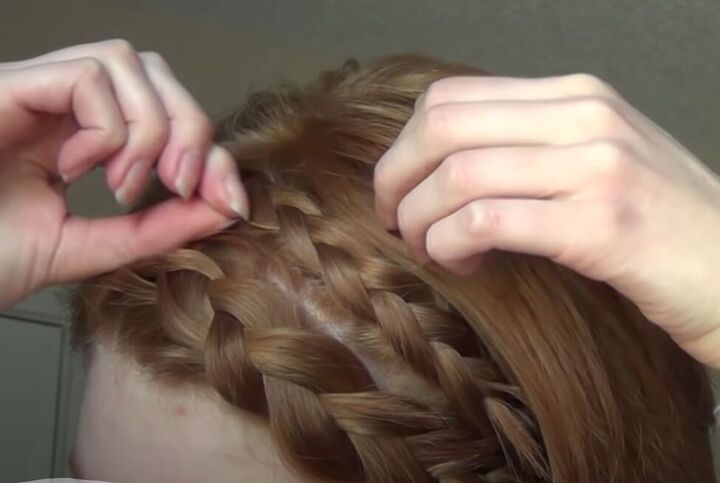
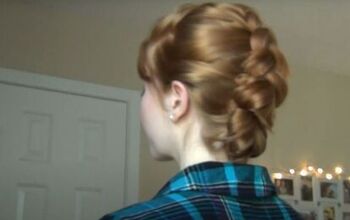
10. Fan out the braids (optional)
To soften the look and make it appear less severe, gently pull on the sides of the Dutch braids to fan them out and make them appear bigger and puffier.
This step is optional, so do it according to your preference.
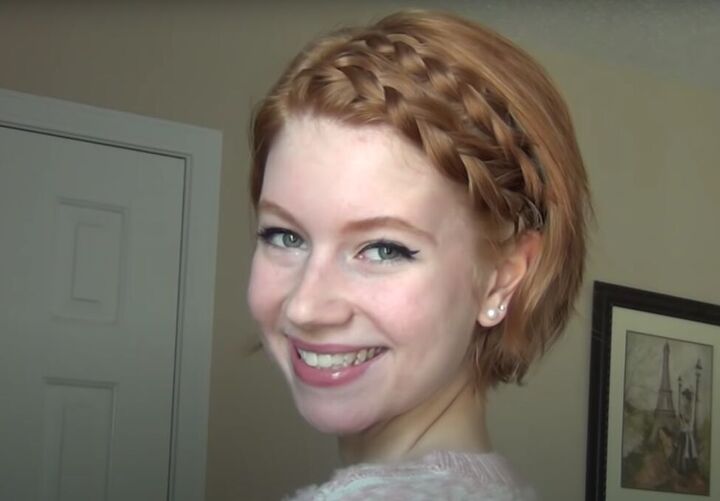
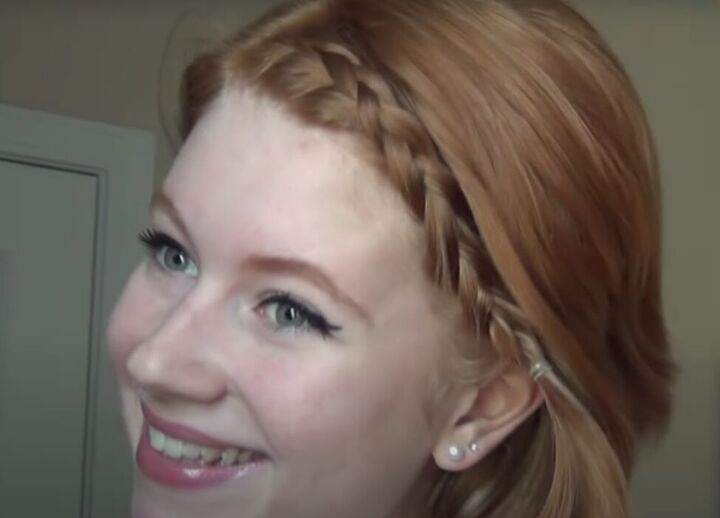
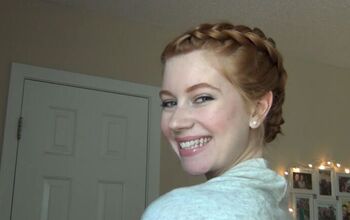
Double Dutch braid hairstyle
And that's it! You've completed the Dutch braided hairstyle for short hair.
This style is versatile and can be customized in various ways. Feel free to experiment and add more Dutch braids if you like.
I hope you try this double Dutch braid tutorial for short hair, and leave a comment to let me know how you liked it.
Next, learn How to Achieve Straight Hair With Killer Volume.
The author may collect a small share of sales from the links on this page.


Comments
Join the conversation