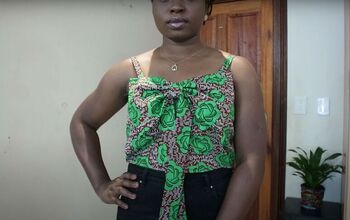
DIY Sports Bra Crop Top!

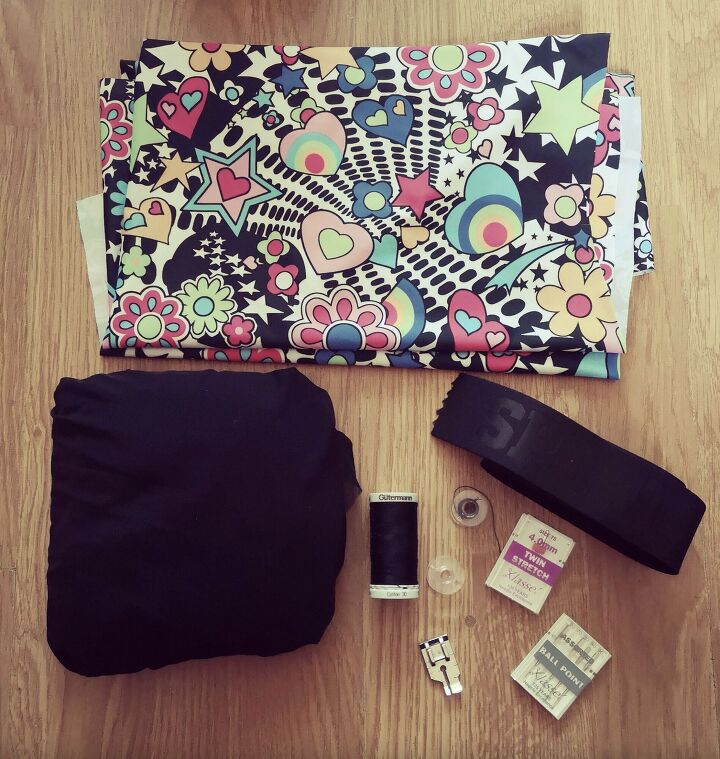
First of all, gather your supplies:
- Scissors
- Cutting mat and Rotary cutter (optional)
- Pins
- Sewing machine needle
- Tape measure
- Ruler
- 0.5 yds (meter) of Fabric
- 0.5 yds (meter) of Fabric
- 0.5 yd (meter) Power mesh for lining
- 1 1/8 yd (1 m) of 33mm Wide plush elastic for band
- Your trusty sewing machine, of course
- Optional – Twin needle & extra bobbin
The fabric I used is Lycra stretch with percentages of 88% polyester and 12% Lycra. I’ve had this in my stash for over a year and bought it locally so unsure if it is still available to purchase.
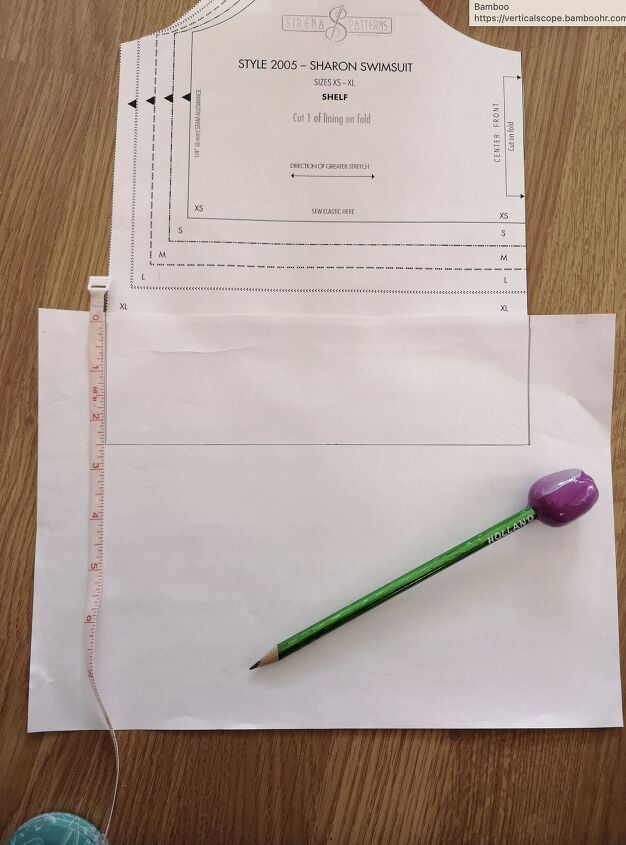
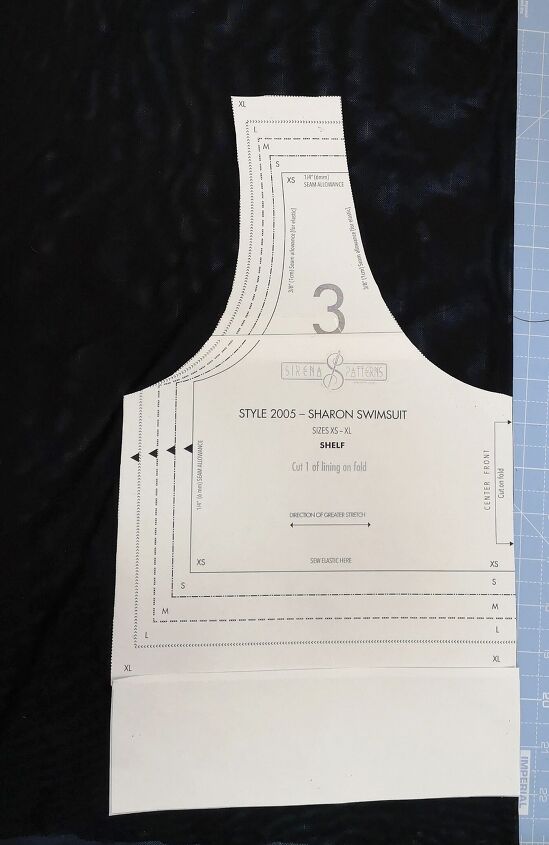
I used the Sharon Swimsuit Pattern, available here. To get my Pattern Piece, I printed off pages 9 and 11 which gives you the Shelf Pattern Piece and added 2.5” to the bottom of the Pattern Piece with an extra bit of paper taped. This was to accommodate my 36F bust so you may need to make a toile to figure out how much you need to add or you may be lucky and not need any extra length. I followed the XL cutting line.
Now to cut into your fabric, place your pattern piece on the fold and cut x 2 of the main fabric and 2 x power mesh fabric on the fold. Power mesh will give the fabric a bit of structure to it.
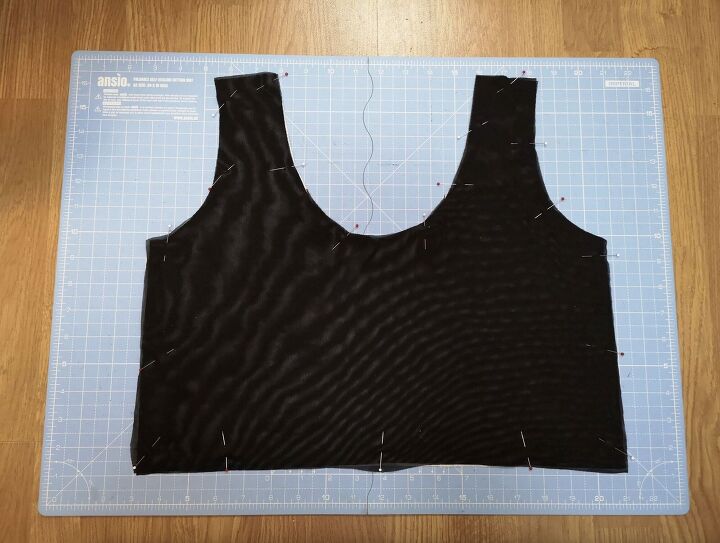
We need to treat the front bra piece as one fabric, so place your fabric right side down (the print of the fabric facing the cutting mat, (not you) then place the 2 x power mesh pieces on top and pin in place.
Then sew all the way round using a zig zag stitch within the ¼” seam allowance, so when it comes to sewing the top together the stitching won’t show. Now we have our front piece!
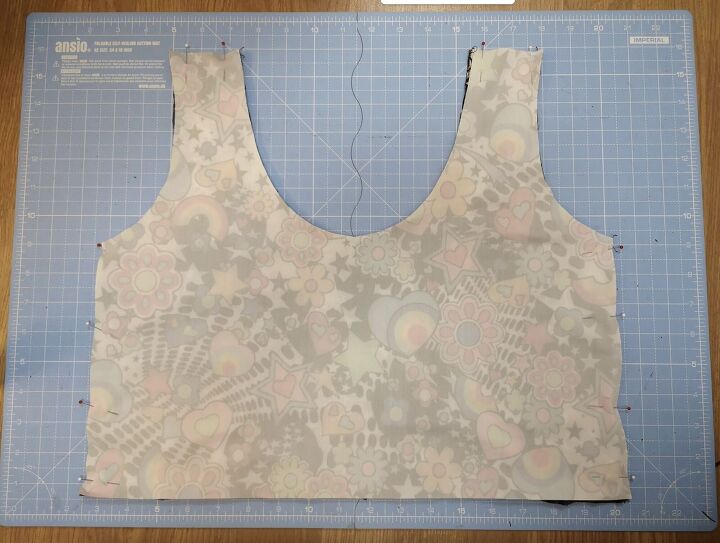
Place the front piece and back piece right sides together and pin at the shoulders and the side seams and stitch together using ¼” seam allowance. I decided to use my Overlocker aka Serger for a neater finish but this isn’t necessary if you only have your sewing machine where you would use lightning bolt stitch (a stretch stitch with a length of 1.4)
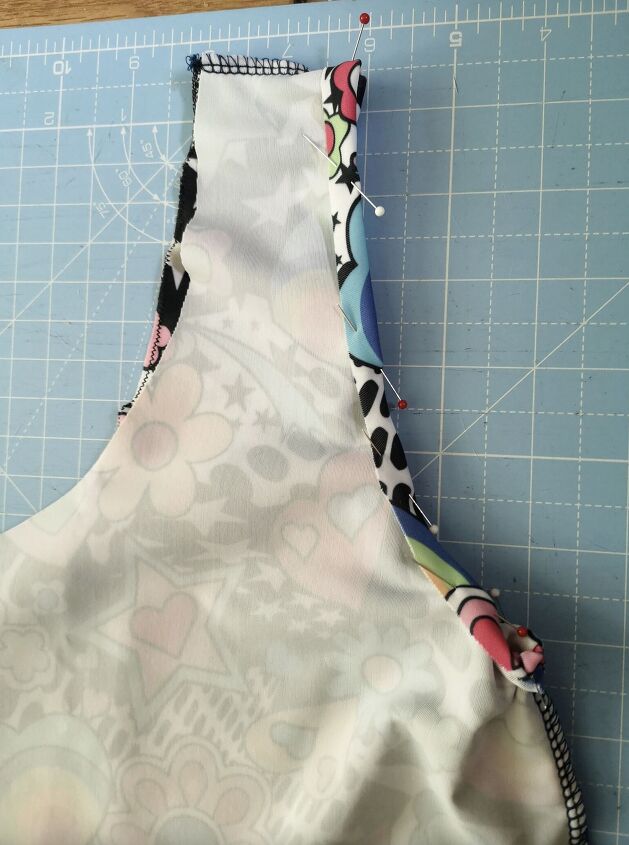
Now onto finishing the armholes and neckline.
Press the fabric by 1cm to the wrong side of the fabric like shown here; make sure when you press that the shoulder seam is pressed towards the back of the top.
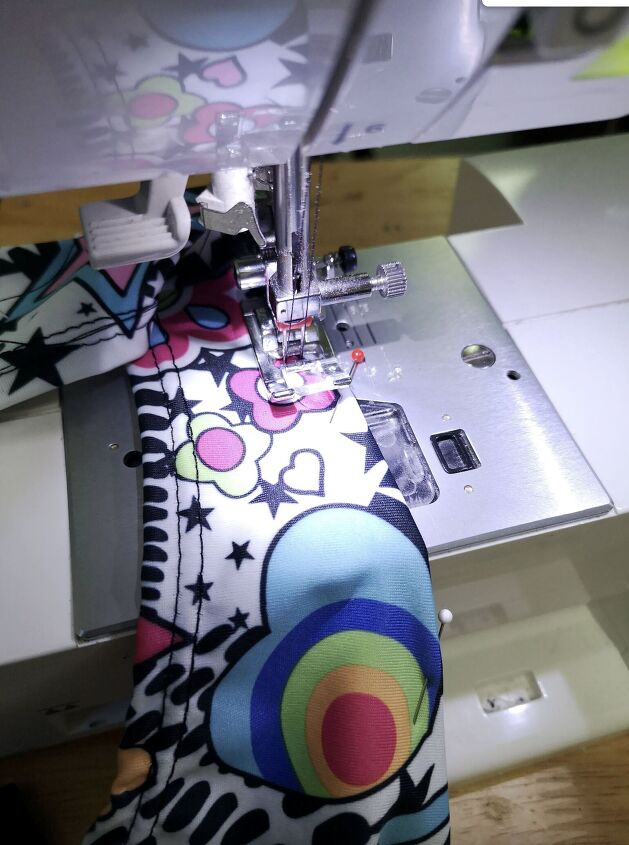
Now to stitch the seam allowance in place, I used my twin needle as this is my preferred method for a nice neat finish on the right side and a zig zag stitch underneath but if your machine doesn’t have a twin needle option, not to worry just stitch in place using short zig zag stitch.
Just remember when top stitching when using a twin needle, don’t back tack but leave plenty of thread as when you get round to meet where you began to stitch leave plenty of thread again. Use a hand needle to sew the loose threads on the right side of your top to underneath where you can knot the threads together.
Repeat the above steps for the neckline with your preferred method. I added a cute little label to remind me which is the back.
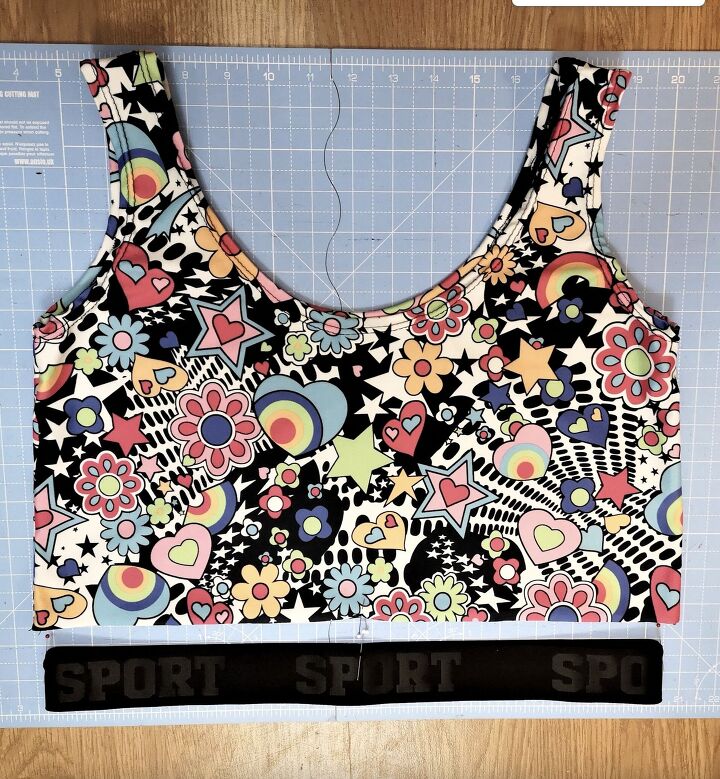
Phew! Nearly there now, just to attach the band!
To work out the length of the band. I measured the width of the top which was 44cm. Then multiplied that by 2 to get the width of the top all the way round then subtracted 2cm to make sure it sat close to my underbust and used a 1cm Seam allowance to make it into the band. I used the 3 step zig zag stitch on my sewing machine as this stitch takes three-steps on the up and three steps on the down it allows for more stretch and non cracked stitching, which is perfect when stitching elastic. I then topstitch the seam allowance in place with the same stitch.
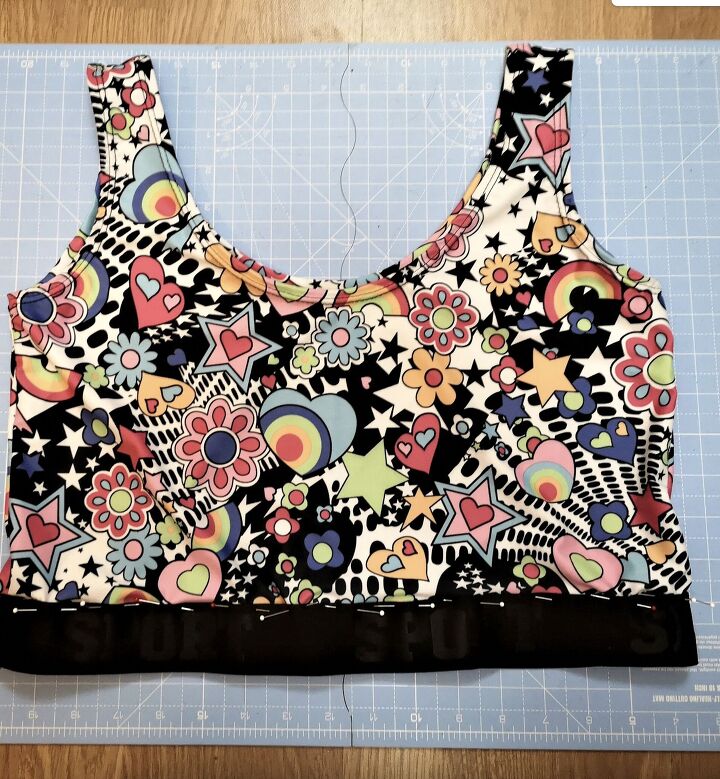
Now onto the tricky bit. You don’t want any unnecessary bulk adding to your top and with attaching the band this way it sits nicely. To get the band to fit, I divided my top and band into 4 quarters and placed pins as markers, I then matched the pins to top to match the band and stretched the band to fit in between. So the band elastic on the right side of the top along the bottom edge and stitch in place using a 1cm seam allowance using the 3 step zig zag stitch.
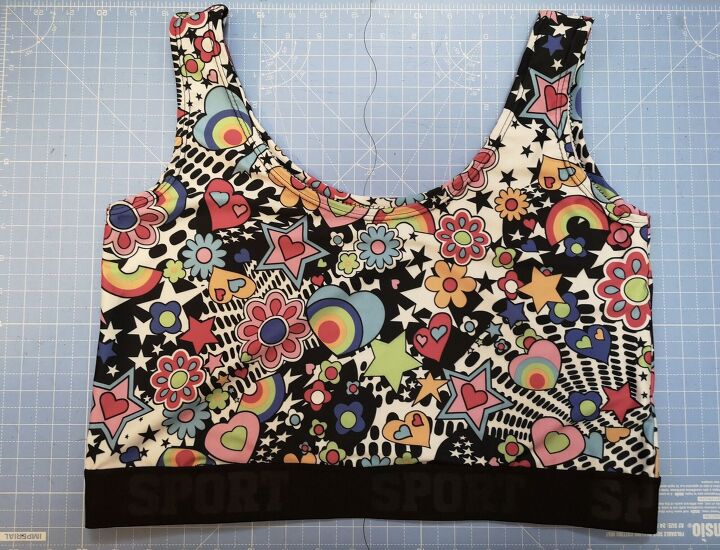
Then just trim the seam allowance to the stitch line on the inside of the top and there you go, your gym/sports top is complete!!
Happy Sewing!
The author may collect a small share of sales from the links on this page.


Comments
Join the conversation
Sprots? Really?