How to Fray Jeans in 7 Different Ways: Distress, Crop, Fray & More

Looking to upstyle your denim? Today, I am going to show you seven different ways to fray the hem of your jeans. Designers charge plenty for this look, but you don’t have to pay a dime if you know how to do it yourself! Pretty much all you will need is your jeans, scissors, and washing machine, so let’s get right into it.
Tools and materials:
- Old jeans
- Scissors
- Seam ripper
- Iron
- Washing machine
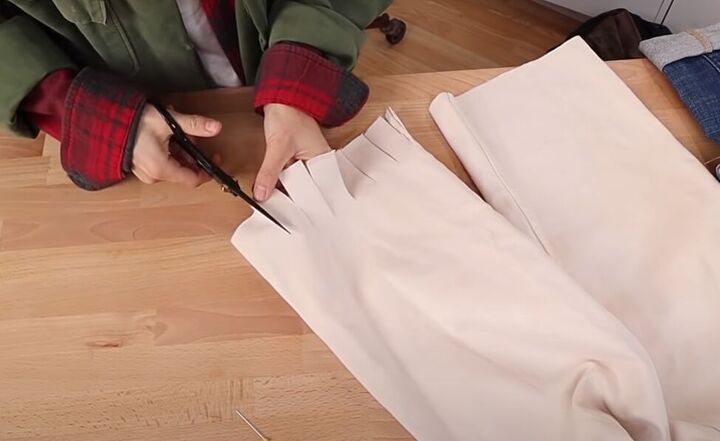
1. Fringe-bottomed jeans
Cut the bottom of the legs of your jeans to the length you want them. Then, cut fringe tabs up from the bottom of your jeans all the way around both legs. Keep the length of the tabs consistent.
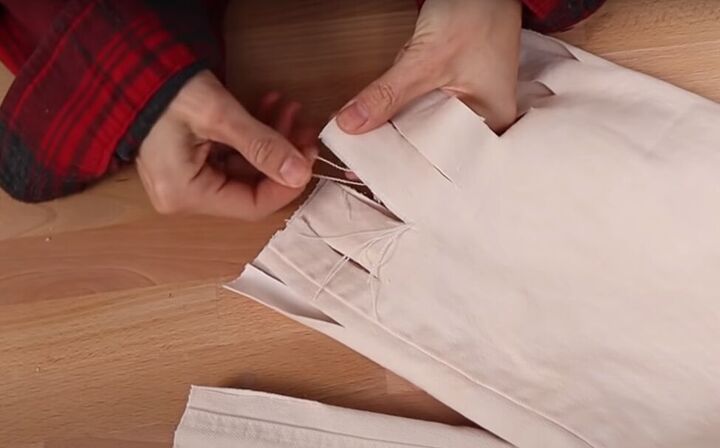
Use your fingers to pull away the vertical threads from the sides of each tab.
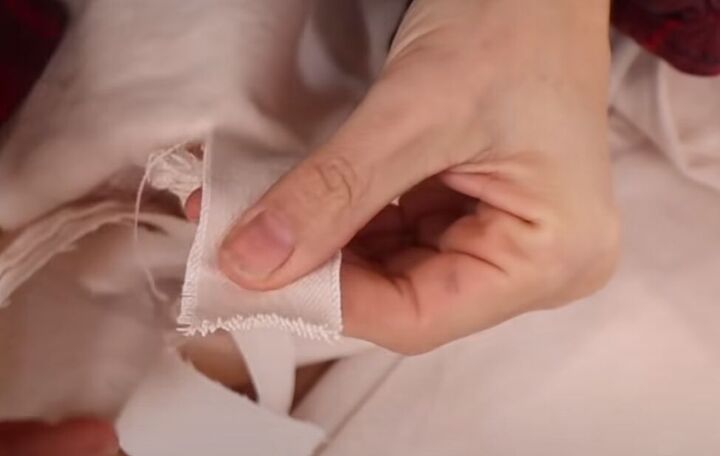
As you pull those vertical threads some of the horizontal threads will be revealed, and that will make the vertical threads even easier to pull away. As you pull more vertical threads you will be able to pull away the horizontal threads.
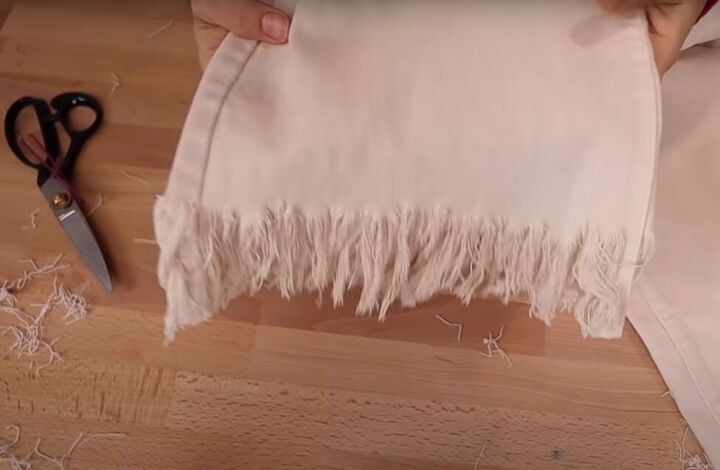
Here is the finished fringe. It took me about an hour to do one leg, so sit yourself down in front of a good show while you’re completing this step!
Tip: for some hacks to make this a bit quicker, check the video from 2:38 to 3:00. I also decided to cut off the waistband of my jeans, and you can see how I did that from 3:08 to 3:35.

Here’s how my first pair of frayed jeans looked!

2. Angled fringe jeans
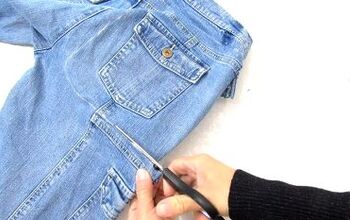
Determine the length you want your jeans and then cut the legs on a curved angle from the inside seam up to the outside seam.
Snip small cuts all around the hem of both legs.
Then pull away the threads from the sides of the cuts as you did in step 1.

Wash your jeans and see how cute the angled fringe comes out!

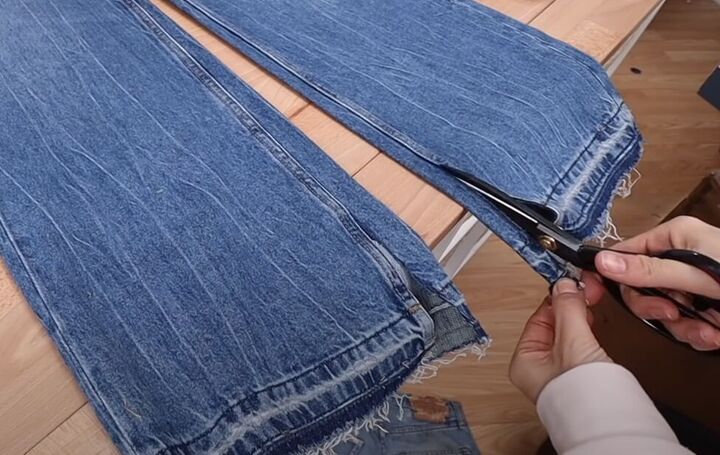
3. Curved fringe jeans
Cut off the existing hem from the legs and then fold each leg so the inside seam is on top.
Cut half of a U-shape from the outer bottom corner of one pant leg.
Use the cut-out shape as a guide to guide the same shape from the other leg.

Wash your jeans and you’re done!
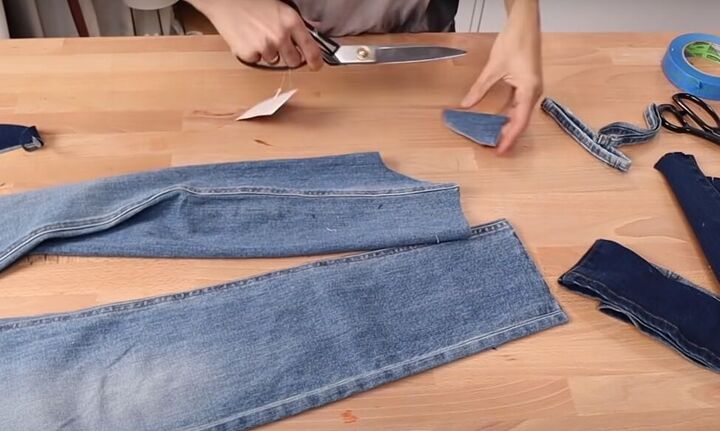
4 & 5. Lengthen and patch your jeans
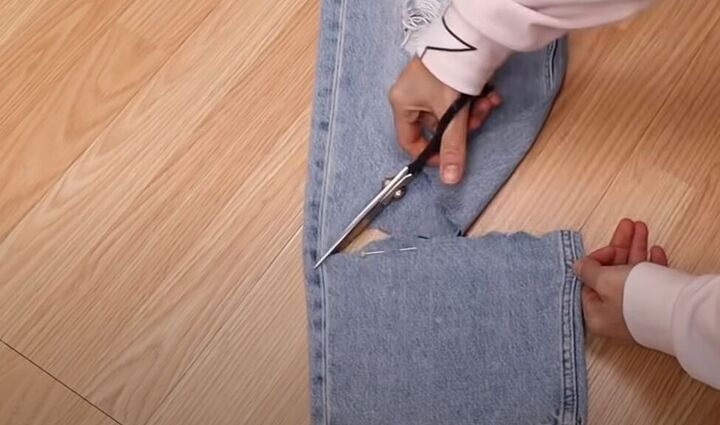
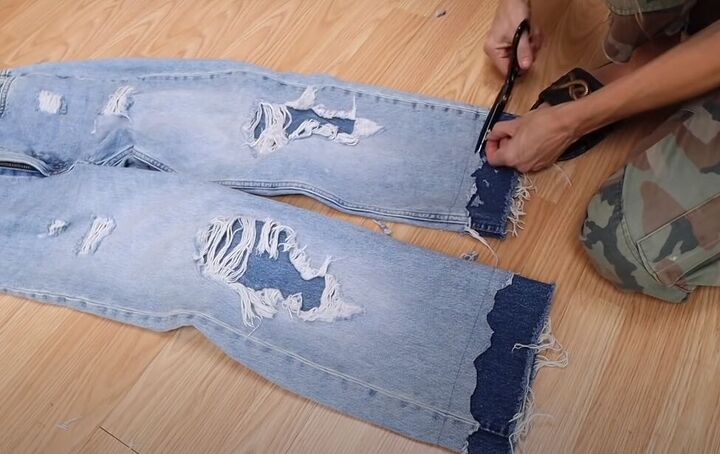
Keep in mind that you are going to add about 4 inches to the bottom of your too-short jeans from another pair of jeans. So, mark where you want to cut the original jeans, then cut them with a zig-zag line.
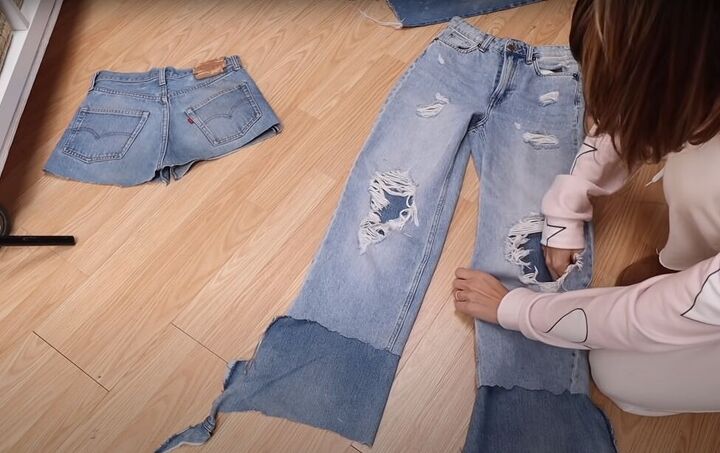
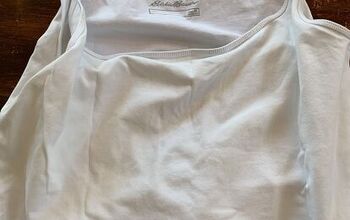
Cut the legs off another pair of jeans and insert them into your original jeans if there are holes in your original jeans. Make sure the fabric is laying nice and flat. Pin the jeans together and cut off any excess fabric from the inserted jeans.
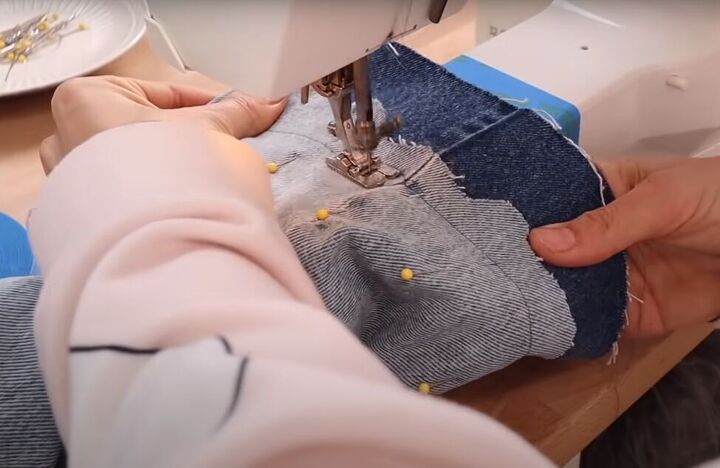
Now cut off the hem of your second pair of jeans, to allow for the additional length you want to add to your original jeans. Pin the new hem to the inside of your jeans, lining up the side seams. Sew the new hem in place with a straight stitch on the outside of the original jeans.
Sew the patch in place as well, making sure you’re keeping everything flat and not sewing the front and back of your jeans together. It’s best to stitch about ¼ inch outside of the hole you are patching.
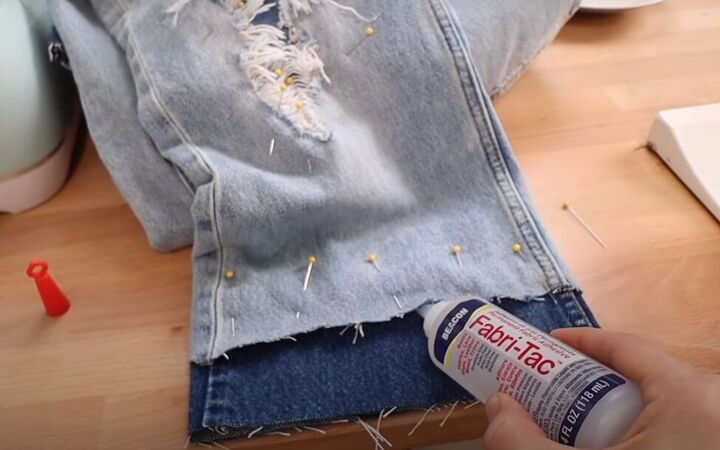
If you don’t want to sew, you can use fabric glue instead.
Wash the jeans, and then determine if you want a more exaggerated design at the bottom. If you do cut the hem some more, put your jeans back in the wash to fray again.
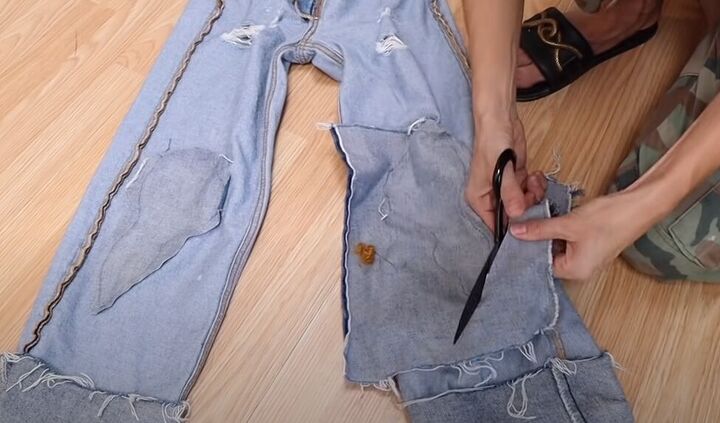
Before the final washing, cut off any excess fabric from around the patched areas leaving about a ¼-inch seam allowance to make a zigzag.

Done with your lengthening!
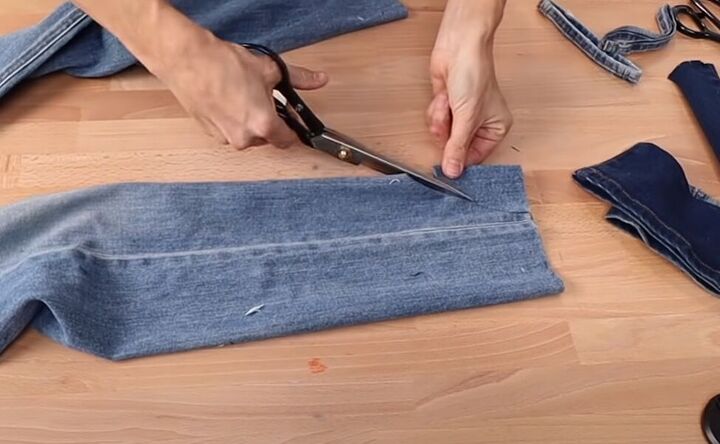
6. Release the hem of your jeans
This is another way to lengthen jeans. Use a seam ripper to open the original jeans hem.
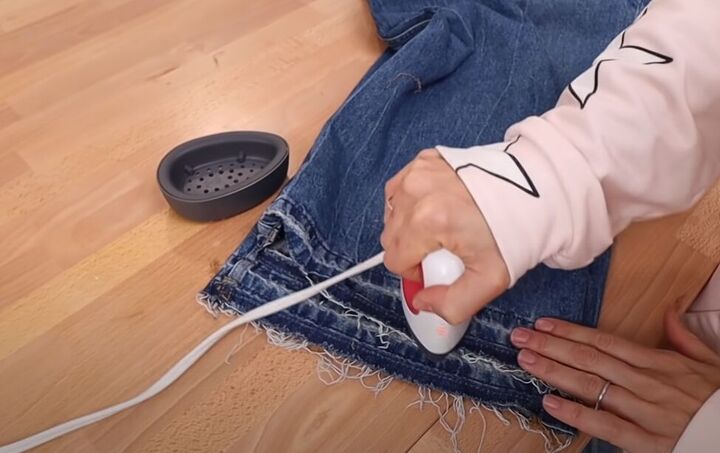
Iron flat, throw the jeans in the wash and you could be done here.
Or you could go a bit further and cut slits in the sides of the legs.

If you want to add some weight to the hem, check how I did that from 10:40 to 12:00 in the video.
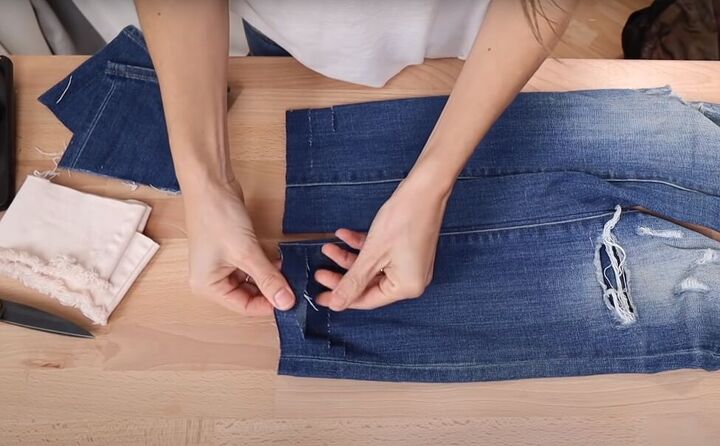
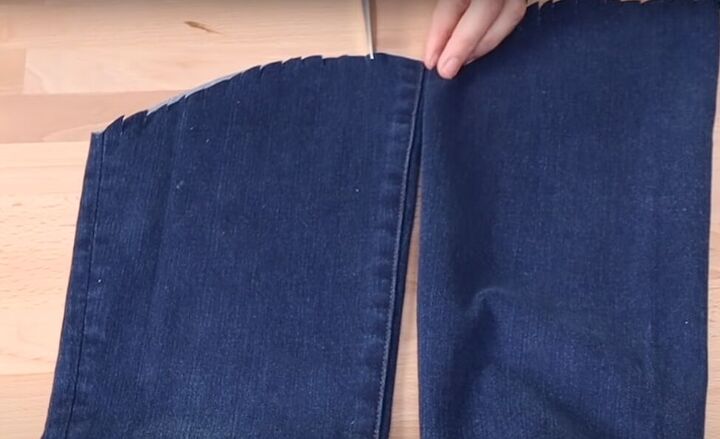
7. Horizontal frayed jeans
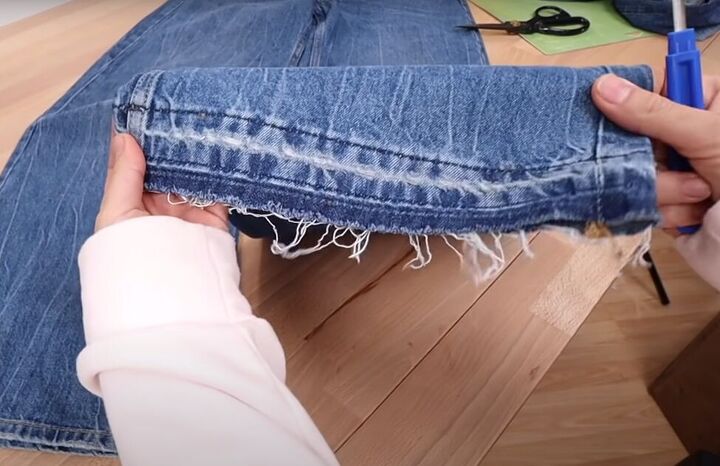
Cut the bottom of your jeans legs to your desired length. Now fold your jeans so the side seam is on top. Cut slits from the fold to the side seam, alternating longer and shorter slits.
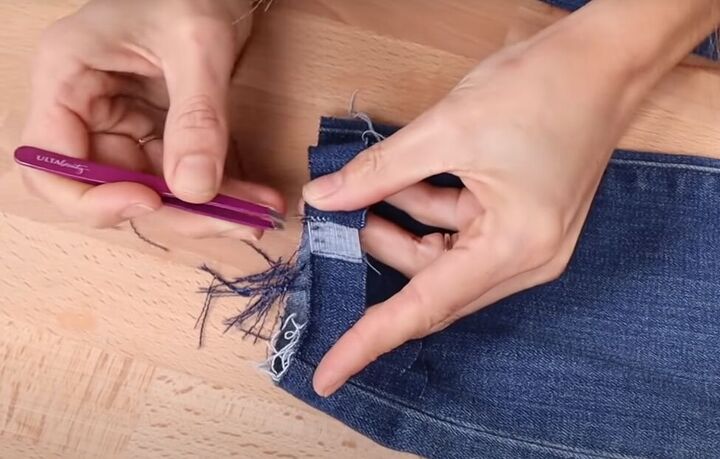
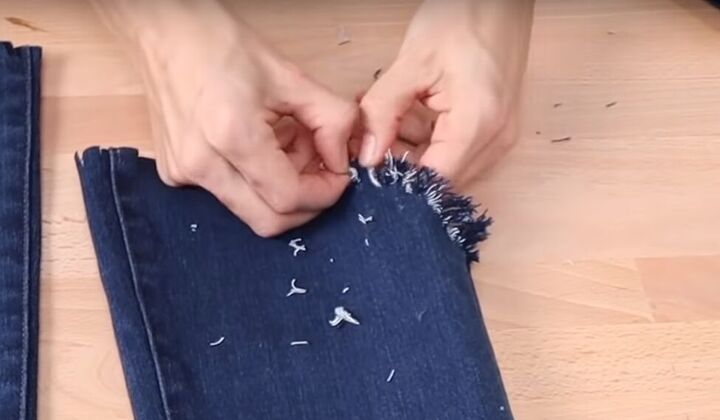
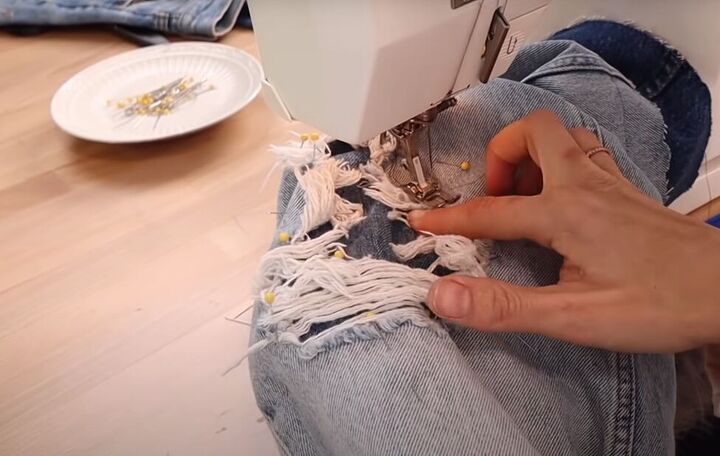
Use your fingers to release some of the horizontal white threads at the tops of the slits. Then use tweezers to pull out the vertical blue threads from the bottom of the slits.

Now you have just the white threads showing on the slits. Wash them and let the fraying begin!

How to fray jeans
Here are your 7 DIY frayed jeans! I warn you; this is a bit addictive! Try it for yourself and let me know which way was your favorite by leaving a comment.
The author may collect a small share of sales from the links on this page.


Comments
Join the conversation
I have done a few of these and messed a few up! lol! Yours are gorgeous! Thank you for sharing!