How to Sew Pants the Fun, Sparkly, Disco Way!

In this tutorial, I'll show you how to sew pants. But not just any pants. Cool pants. Unique. Sparkly and metallic. I was going through a period of feeling a little down recently, and I decided to cheer myself up by making a pair of pants. I wanted something fun and exciting to wear.
Of course, if sparkly metallic pants are not up your alley, you can make these pants with any stretch fabric. So if you’d like to see what I came up with and how I made them, keep reading!
Tools and materials:
- Paper
- Pencil
- Scissors
- Pants to trace
- Jersey fabric (or other stretch fabric)
- Wide elastic band
- Pins
- Serger
- Sewing machine
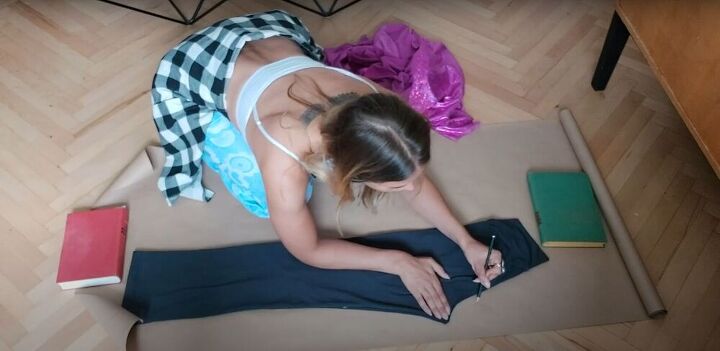
1. Draw a pattern
I used a pair of pants I already owned to create the pattern. I folded them in half lengthwise with the back of the pants facing outwards, and traced around them, leaving about 1-inch seam allowance around the edges, and adding about 3 inches to the top edge.
Then, I folded them in the opposite direction, so the front was on the outside, and traced around them again. Then I cut out both pattern pieces.
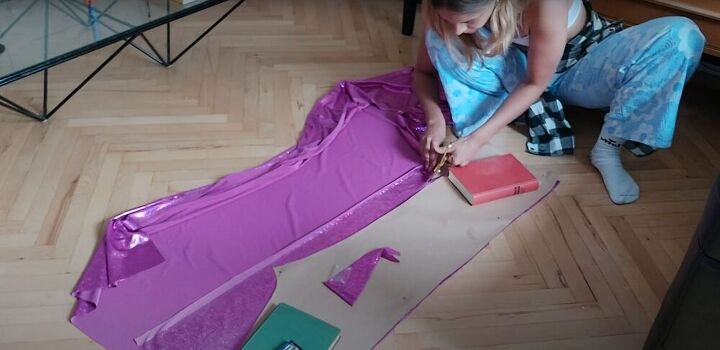
2. Cut the fabric
Next, I folded my fabric in half, laid my pattern pieces on the fold, and cut out two front pieces and two back pieces for my pants.
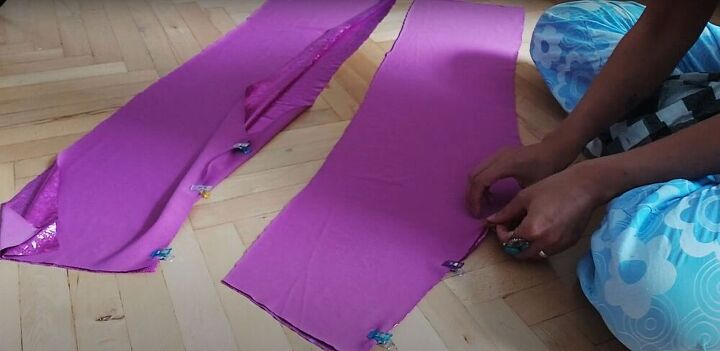
3. Pin and sew the pant legs
Once all the pieces were cut out, I pinned the two front pieces together, from the top edge to the crotch; pinned the two back pieces together from the top edge to the crotch; and serged both seams.
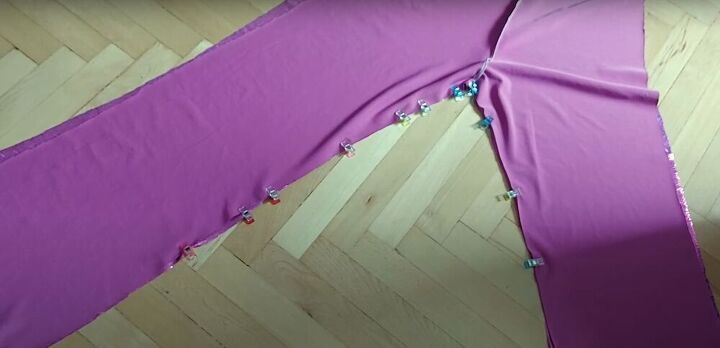
4. Pin and sew the inseam
Then I laid the front and back pieces together, right sides facing, and pinned the inseams together, making sure the crotch seams were aligned.
Then, I serged the inseam in one long seam, starting from the bottom edge of one pant leg, going up the inside of one leg, around the crotch, and down the other leg.
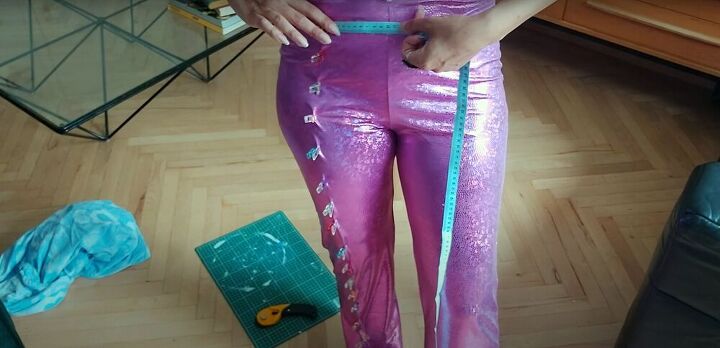
5. Make the tucks at the front
To make the tucks on the front of the pants, I put them on, and simply pinned down the length of one leg in a straight line.
Then, I measured the distance between the line of pins and the center seam of the pants, then made a second line of pins on the other pant leg, starting equidistant from the center seam.
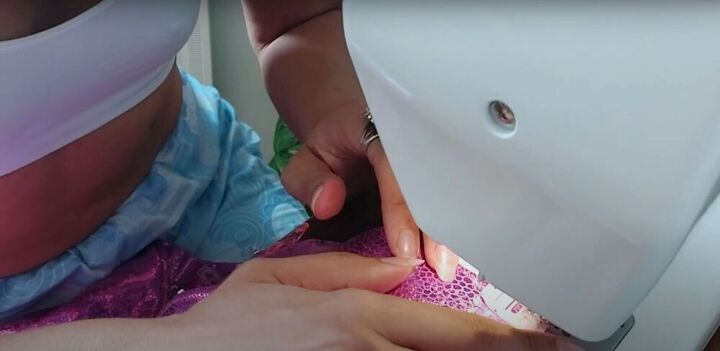
6. Sew the tucks
I sewed down the tuck on my sewing machine, using a stretch needle, sewing as close to the edge as possible.
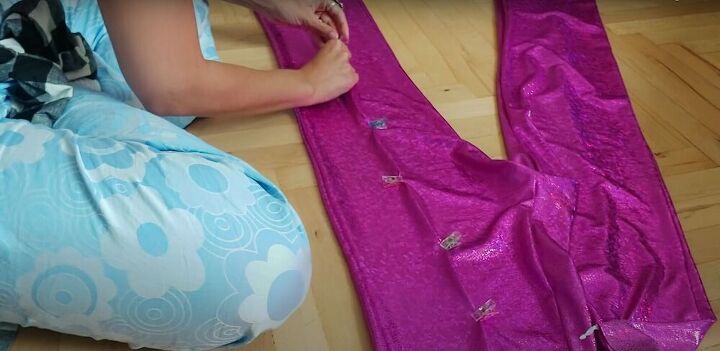
7. Pin and sew the back tucks
Then I used the tucks on the front side showing through the fabric as a guide for where to pin the tucks on the back and sewed them down.
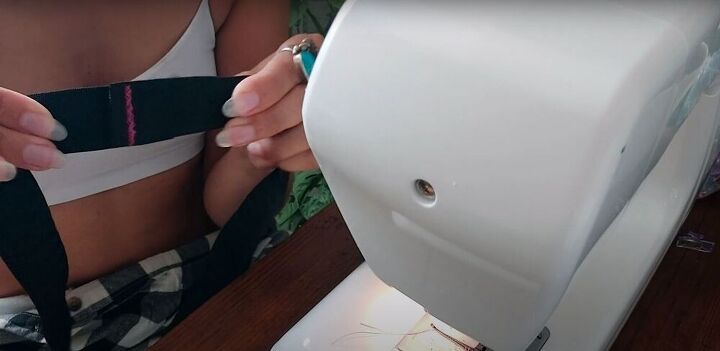
8. Make a waistband
For the waistband, I cut a length of elastic band that I measured to comfortably fit around my waist. Then I sewed the ends of the elastic band together very securely with a zigzag stitch.
9. Pin and sew the waistband
I pinned the waistband inside the pants, along the top edge, and used my serger to sew it in place.

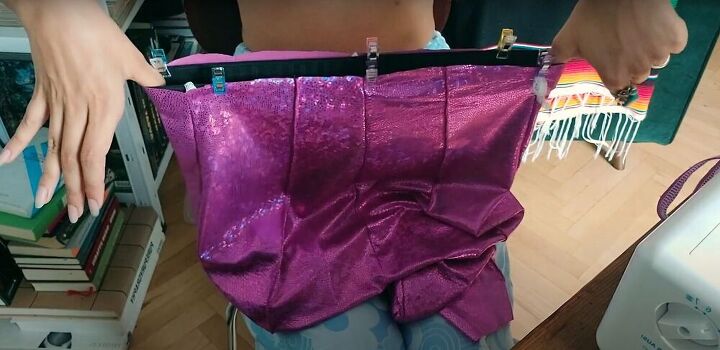
10. Fold the fabric over the waistband
Then I folded the fabric at the top of the pants over the waistband to hide it and pinned the fabric in place. I sewed the fabric down over the waistband along the existing intermittent vertical seams, using my sewing machine.

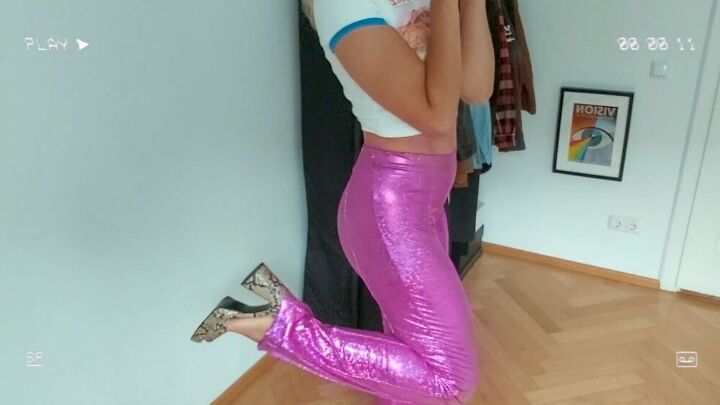
How to sew pants - the sparkly way!
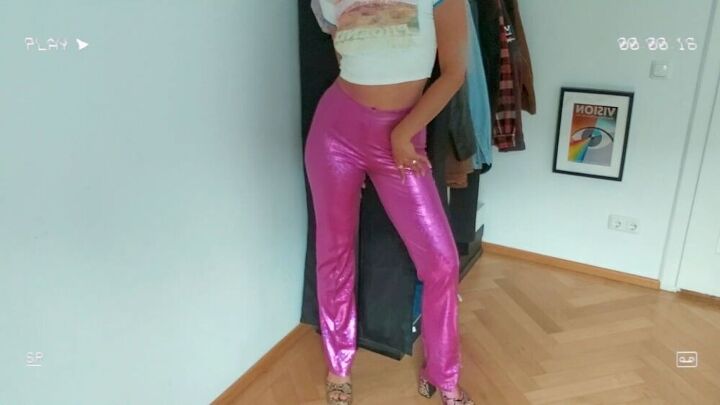
That’s it! These DIY pants are done, and I’m ready for Coyote Ugly remake auditions!
What do you think of my sparkly DIY pants? Will you be making a similar pair? What fabric will you be using? Let me know!
The author may collect a small share of sales from the links on this page.


Comments
Join the conversation
oh to be young again, looks really good on you.