Shibori Dye Sew Over It Penny Dress

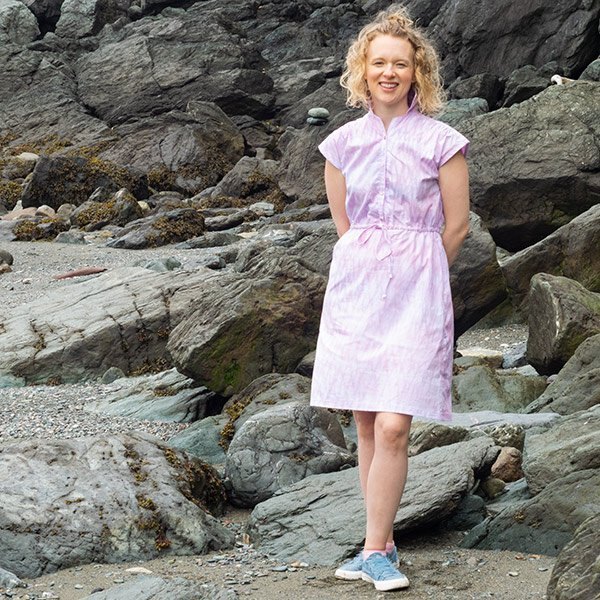
You know what’s awesome about dyeing fabric? It’s so absurdly low-tech, and yet the possibilities you have to create interesting effects are infinite. Shibori dye has been on my DIY bucket for a while now, so when LA Finch Fabrics approached me to review their PFD Organic cotton shirting, oh, and dye it, I had to jump on that train post haste. I give you my shibori dye Sew Over It Penny dress!
Table of Contents
PFD fabric is “prepared for dye”. It’s a totally blank canvas for all your diy love. Because this is organic fabric, it’s an excellent candidate for natural dyes like indigo or turmeric. Working with indigo remains one of the few dye techniques I’ve not tried! With the popularity of mustard colors in fashion this Fall, dyeing this fabric with turmeric could be a really cool project. Hey it would go with this bag!
This fabric is a 100% cotton shirting. I would say it’s about the weight as a good quality 100% cotton shirting you’d see in a ready-to-wear men’s shirt. This fabric was made for a beautifully structured collar! Shirtdresses like the Sew Over It Penny dress or a nice button down shirt pattern like the Grainline Archer are both great choices for this fabric.
If you’d like to experiment with this lovely fabric, LA Finch is offering it for $5/yd right now!
Here’s what I did with it.

Shibori is the traditional Japanese art of dyeing fabric. It’s a resist technique not unlike tie-dyeing. Resist dyeing means that you add something to the fabric that prevents the dye from making a nice even color throughout. In the case of shibori, the fabric may be folded, twisted, pleated, wound with string, stitched, clamped in any number of configurations before the dye is applied. The variants are infinite and there is definitely art and a lifetime’s worth of study to truly understand how to make what with shibori. If you’re looking for a good intro, I found this book to be a good primer with some practical projects.
After several experiments, I settled on the Arashi form of shibori which involves dyeing with a pole.
Anytime I get to go to Home Depot to start a sewing project, I’m pretty excited. I used to hate home improvement stores as a kid, but now, I kind of love it. It makes my home nicer, they have GIANT carts that make my kids happy, and the happy color chips of the paint section could occupy me for hours. On this particular visit, I picked up a large chunk of PVC. I almost walked out with a 15 foot pole, but I did see a smaller 3′ chunk that was much easier to manage. You do want to have the biggest diameter pole you can get which will make sense in a minute. This one has a diameter of 3″.
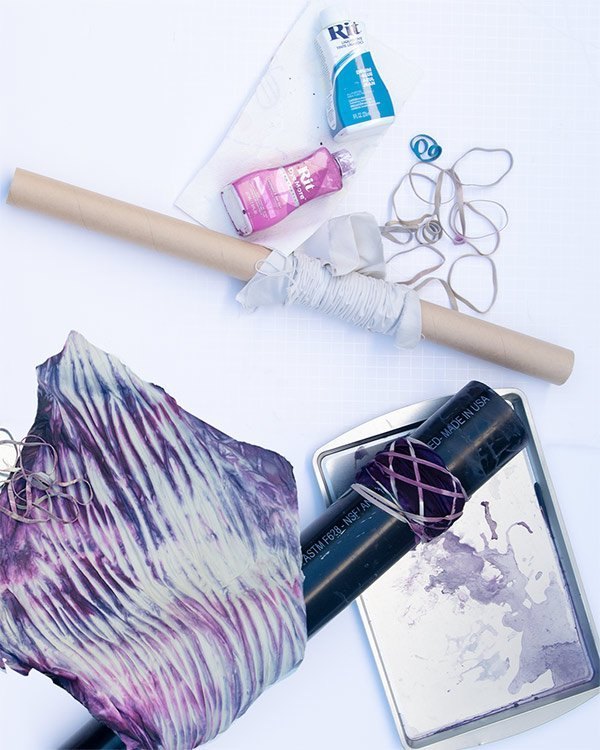
The basics is that you wrap the dry fabric around the pole. You can do this on an angle or not. When you run out of pole, you scrunch the fabric down until it can scrunch no more. What you’ve done is created tons of micro pleats in the fabric. If you try to do this with too much fabric, it’s going to be really unwieldy to scrunch. You know the thing about you can’t fold a piece of paper more than 7X unless you’re Hulk? The same thing applies here. For this midweight fabric, I found sections of 1.5 yards just about perfect to work with. Also, the large diameter pole makes it easier to compact down the fabric without it becoming loose and too hard to handle.
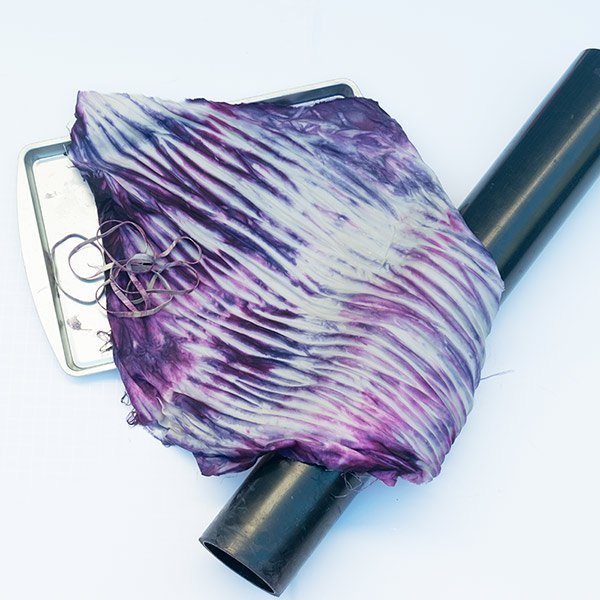
After you scrunch everything, secure the fabric to the pole with as many rubberbands as you’d like. The tighter they are, the more the fabric folds and the rubberbands themselves will prevent the dye from being uniform. You can add some clips if you like for more resist texture.
Next you wet the fabric. Then you dye the fabric. I used two different colors–one pink, and a darker purple. The purple is actually a darker version of the pink. You can apply the dye uniformly or in stripes or at random. This is definitely something that warrants experimentation, and no 2 pieces of shibori are going to look the same.
I’ll also throw out there that I was using the dye I had on hand: Rit DyeMore in a couple different colors as well as regular Rit Dye. Some day, I will break down and buy some fiber reactive dyes. My understanding is that you’ll get more intense colors with them.
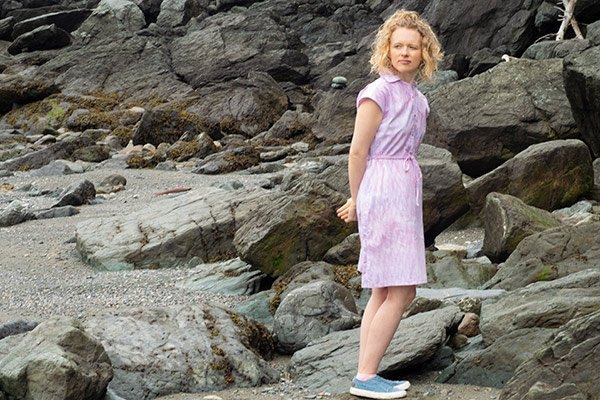
After letting the dye soak into the fabric for a few hours, you can unwrap it all. Pull off the rubberbands and unroll the fabric. As it’s wet, it’s going to be rather difficult to deal with. You will get to see all those cool pleats you made! My sons have dubbed this pattern “fish skin”! That definitely felt appropriate for the dramatic backdrop of the Bay of Fundy in New Brunswick, Canada which my husband and I got to visit for a belated anniversary trip.
After this, rinse the fabric with cool water until it’s clear. If you like, you can toss it in a cool water cycle in your washing machine. After that, you’re good to go.
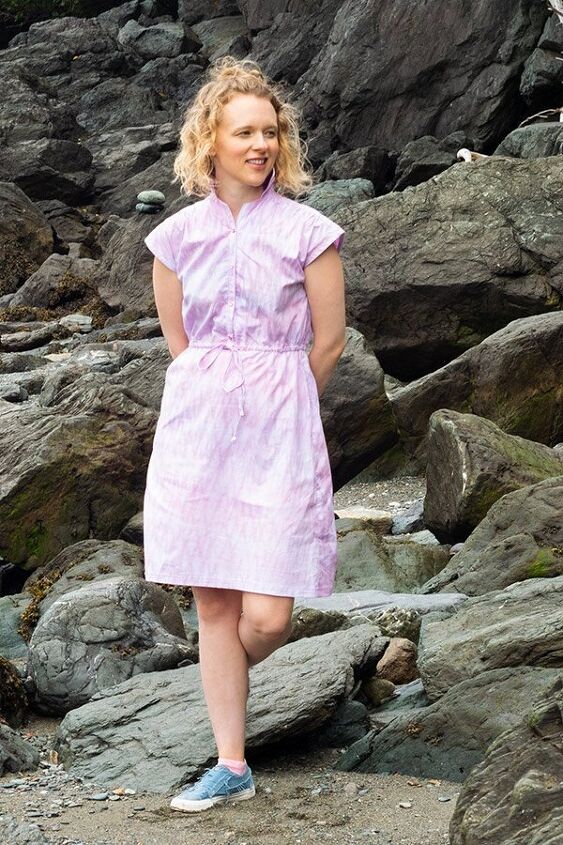
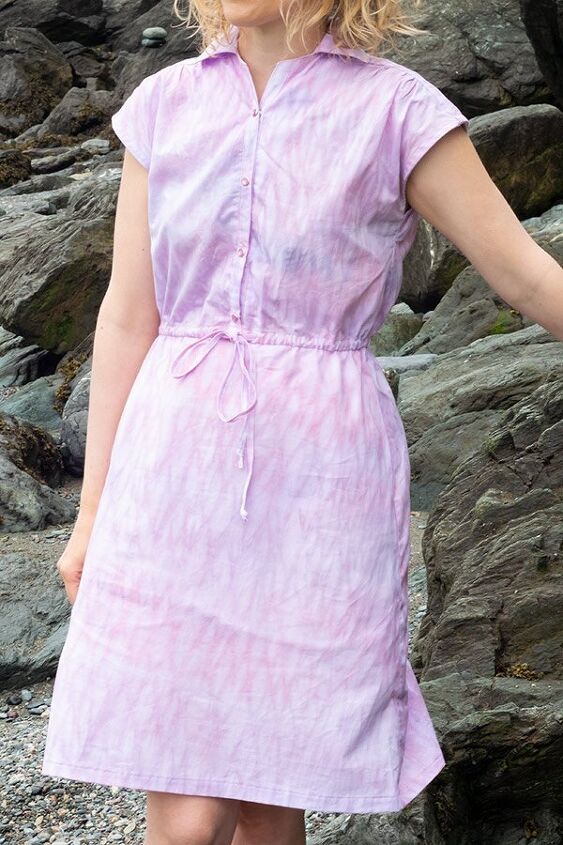
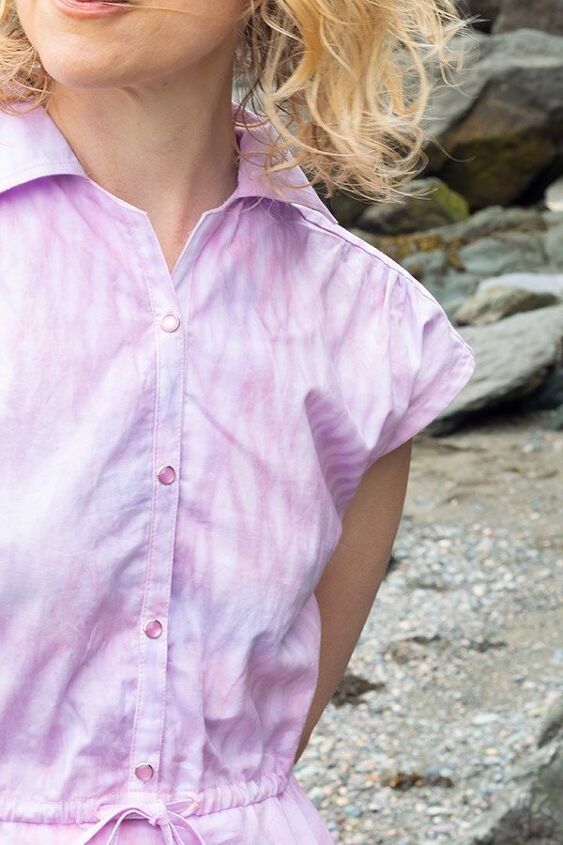
With my fresh shibori dye fish skin fabric, I was ready to sew it up into a Penny dress. For my version, I swapped out the giant circle skirt for a straight skirt which is definitely more my style.
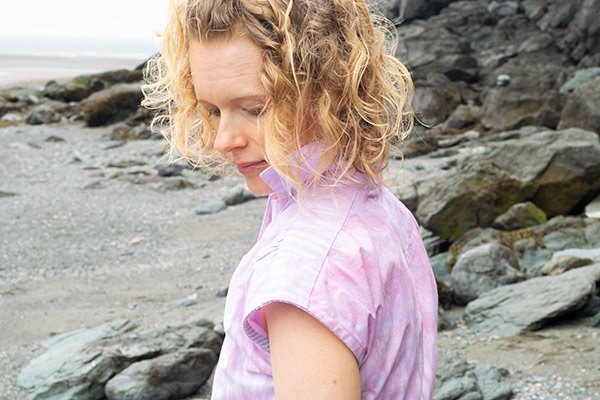
I also finished the armholes with bias tape I cut from a striped cotton shirting. The shoulder yoke is lined burrito-style. For some reason in this pattern, the directions would have you finish the shoulder yoke seam allowances and have them just hanging out along the shoulder edge on the inside. The burrito method is definitely a cleaner finish. The yoke on the Penny is much smaller, so it’s a little harder than a traditional button down shirt, but the principles are the same.
I also skipped the waist elastic in favor of a drawstring. To finish up everything, I added some coordinating pearl snaps.
So that’s the tale of my shibori dyeing exploits. I reckon this is a deep rabbit hole, and I’m really looking forward to trying this out again. Thanks to LA Finch Fabrics for giving me the fabric!

Elizabeth Farr is the writer behind the Elizabeth Made This blog where she shares helpful sewing tips, step by step sewing tutorials and videos to help you explore your creativity through sewing. She has written sewing Eguides and patterns, been a featured teacher at Rebecca Page’s Sewing Summit and Jennifer Maker’s Holiday Maker Fest and her work has appeared in Seamwork and Altered Couture magazines. She also created a line of refashioned garments for SEWN Denver. When her sewing machine isn’t humming, she’s playing and teaching violin, and hanging around a good strategic board game with her husband and 4 kids.
The author may collect a small share of sales from the links on this page.


Comments
Join the conversation
I’ve done this, a couple years ago I made some cute tank tops from some old linens I tie dyed Shibori style.
Very nice!! I haven't done tie dying in years. This looks like something I'd like to try! Thanks for sharing!