How to Fix and Paint Vintage Wooden Clogs
After the grand success of my previous painted wooden clog refashion I thought it was time to finally repair and transform the pair that has been with me for 21 years:
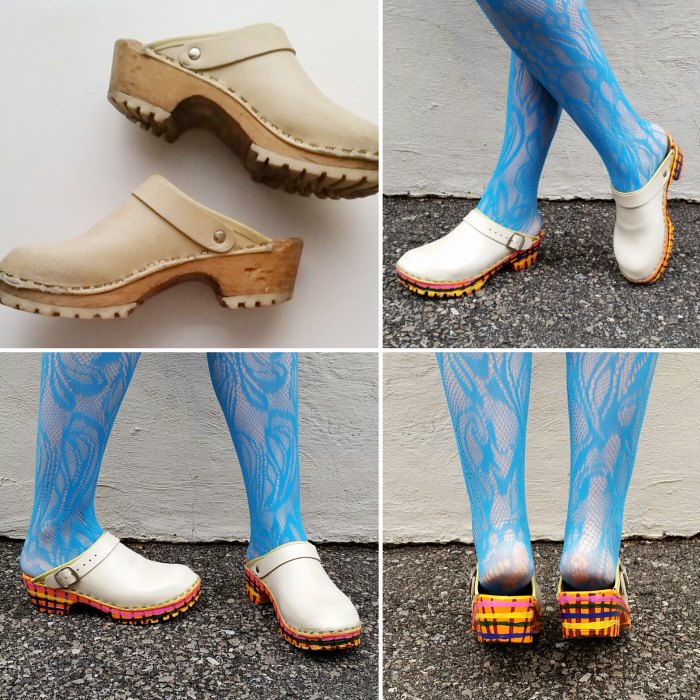
I can’t believe I’ve had these clogs for 21 years! They’ve travelled the world with me and absolutely have the dents and dings to prove it! Check out how I mended and gave them a fab new look with my step by step tutorial for how to fix and paint vintage wooden clogs:
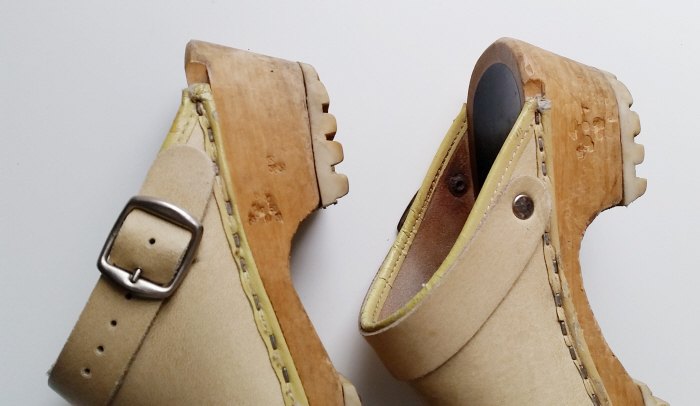
I’m not sure where or how those dents on the right came from but the smaller ones on left were caused when I used that clog to hammer a few nails into the wall of my London flat well over a decade ago.
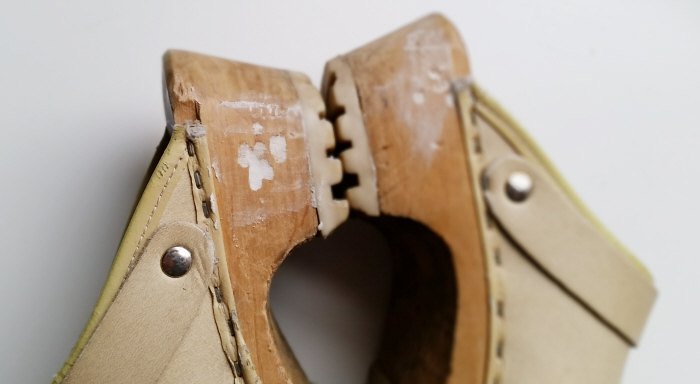
I filled all of the dents and holes with sturdy wood filler and let it dry completely.
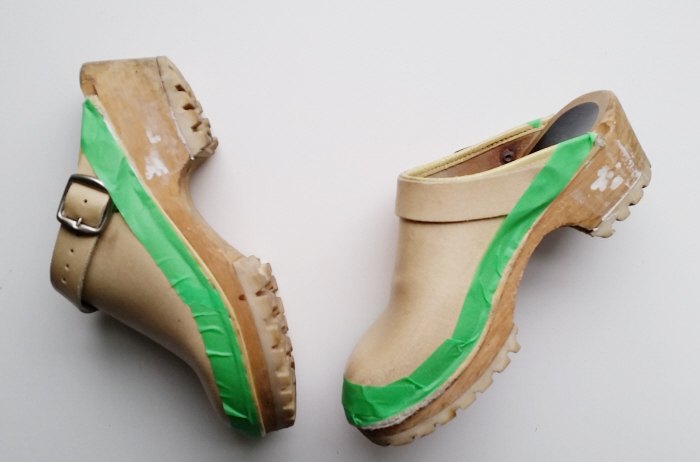
Then carefully taped off the areas I wanted to paint.
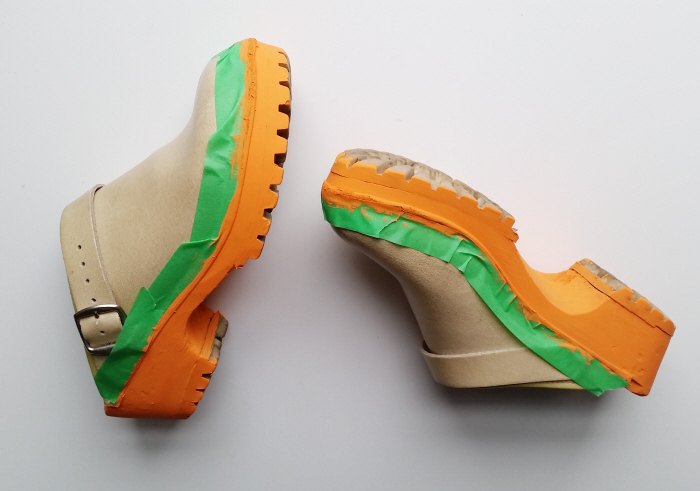
And gave them a few coats of brilliant orange acrylic paint that I had on hand.
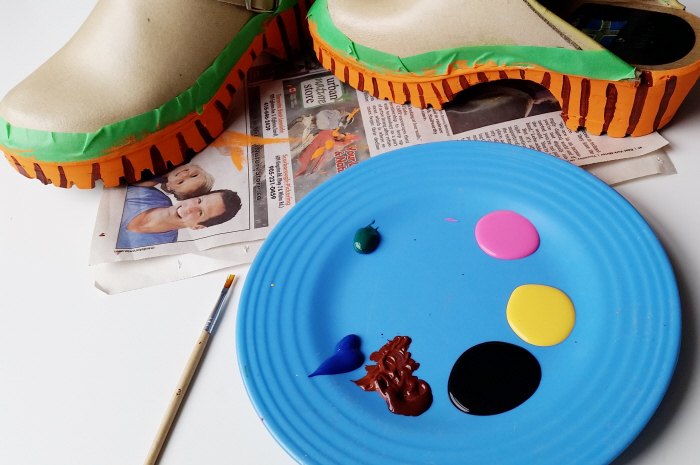
I then grabbed a variety of paint colours from my stash and began carefully painting on my plaid-like pattern.
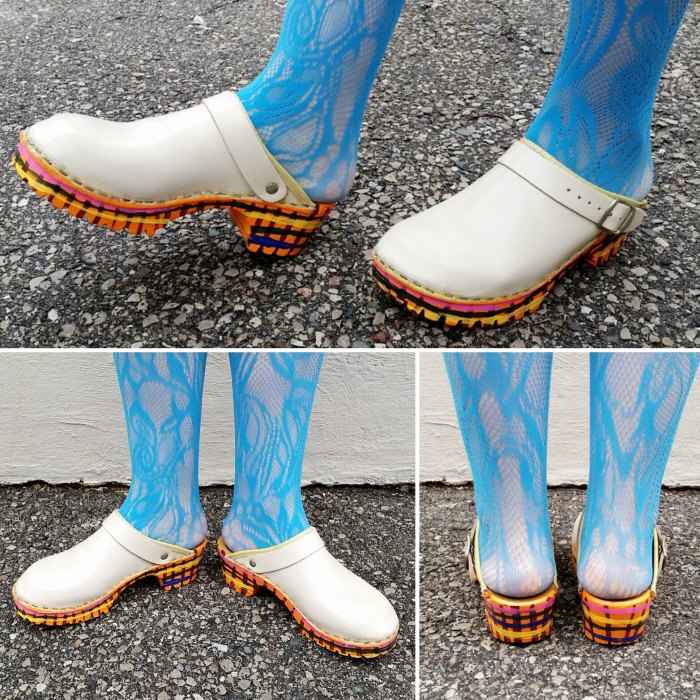
Once dry I gave the painted areas a few healthy coat of varnish to protect and seal the paint and then gave the tops of the clogs a good cleaning.
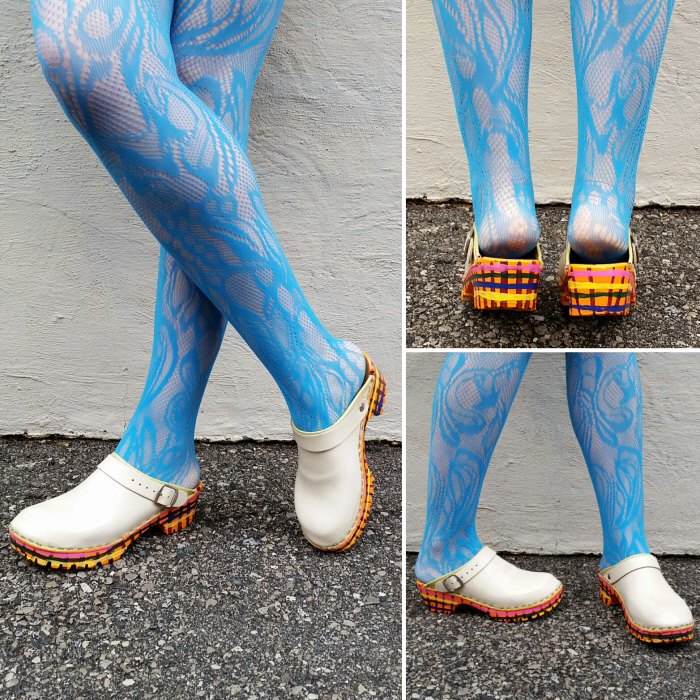
I love my fancy schmancy reworked clogs!
For more shoe improving DIYs take a peek at all of my upcycled footwear DIYs here!
The author may collect a small share of sales from the links on this page.


Comments
Join the conversation