Shoe Making Tutorial: How to Revamp an Old Heel & DIY a Pair of Slides

This is a continuation of my shoe making project where I show you how to make sandals.
Today, I’m going show you how to revamp an old heel sandal and also how to make a pair of slides.
You can get the pattern templates by joining my exclusive forum or by buying my book of PDF patterns.
Tools and materials:
- Shoe making templates
- Pre-cut sole
- Pre-made shoe upper
- Transparent gum
- Glue brush
- Bonded leather or plastic
- Grommets
- Snap on rivets
- 2 Buckles
- Shoe glue
- 8 screws
- Screwdriver
- Gas burner
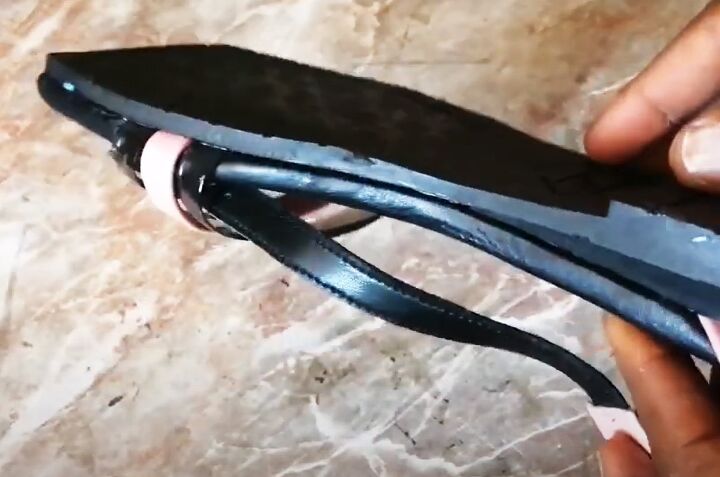
1. Apply the glue
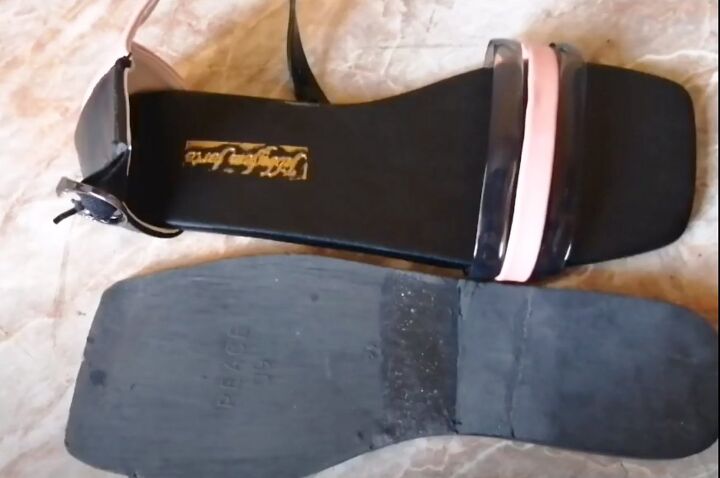
You will need a sole. Either a premade one or you can check out the sole we made in the earlier videos on my YouTube channel.
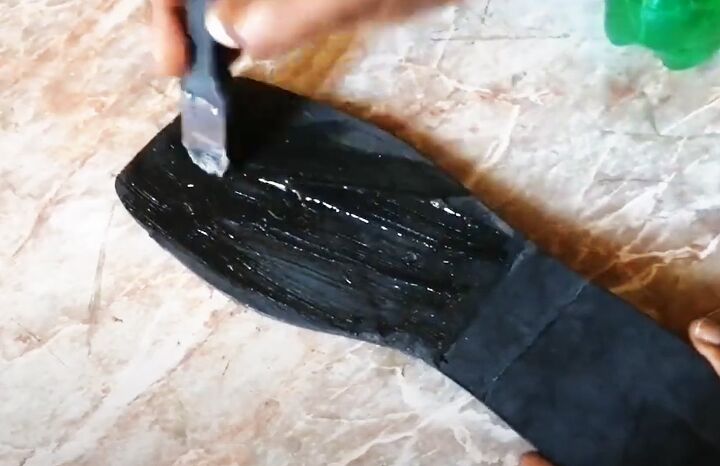
Cover the entire inner side of the sole with transparent gum.
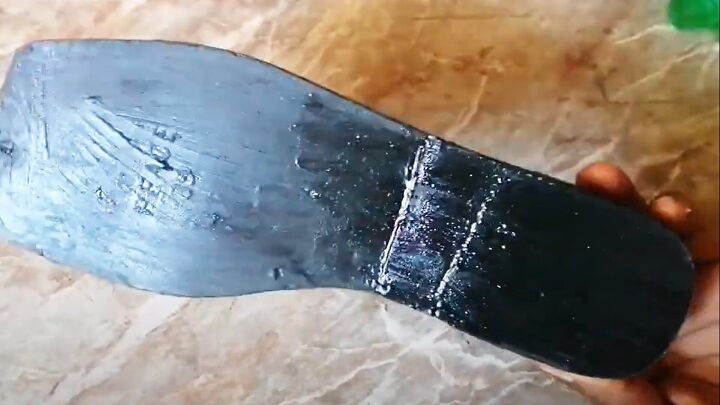
Apply it with a brush to ensure the gum goes right to the edge of the sole.
Cover the bottom of the shoe with the glue in the same way.
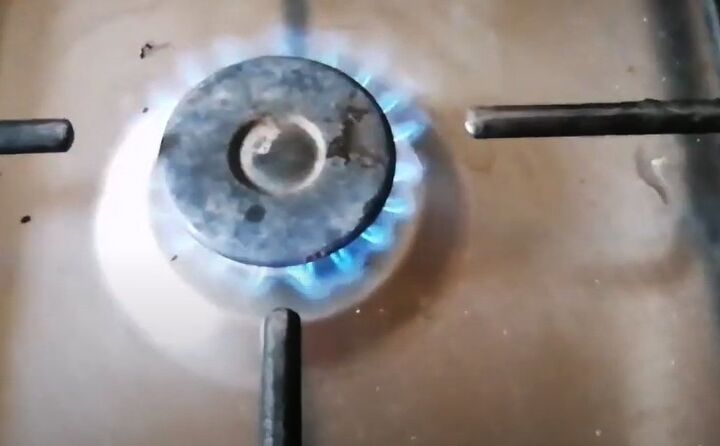
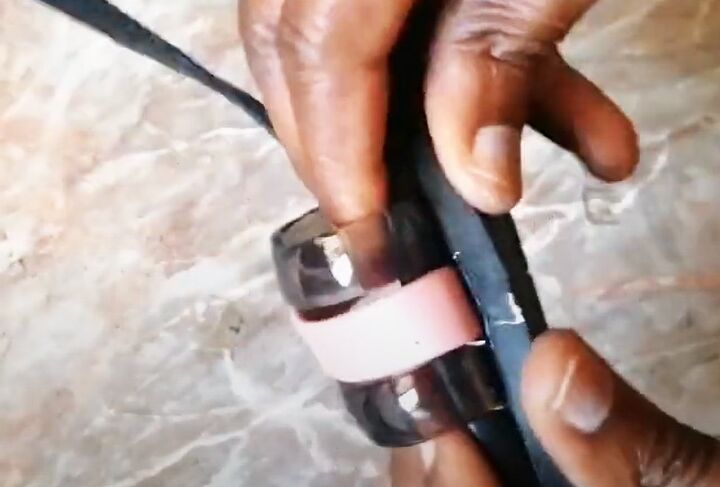
2. Heat the sole and shoe
You don’t need professional equipment for this. I use the regular gas burner on my hob.
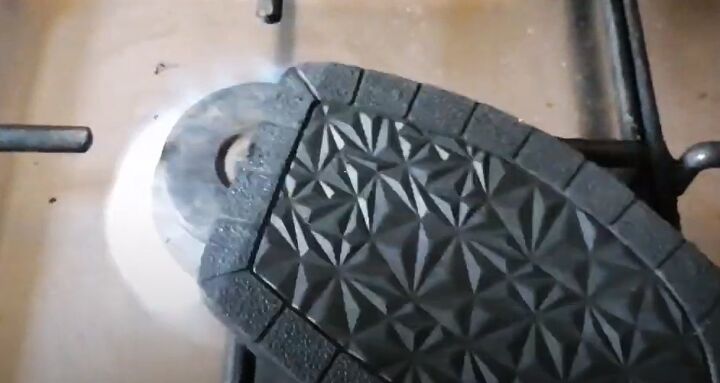
Hold the glued sides of the sole and shoe over the burner until they’re both very hot.
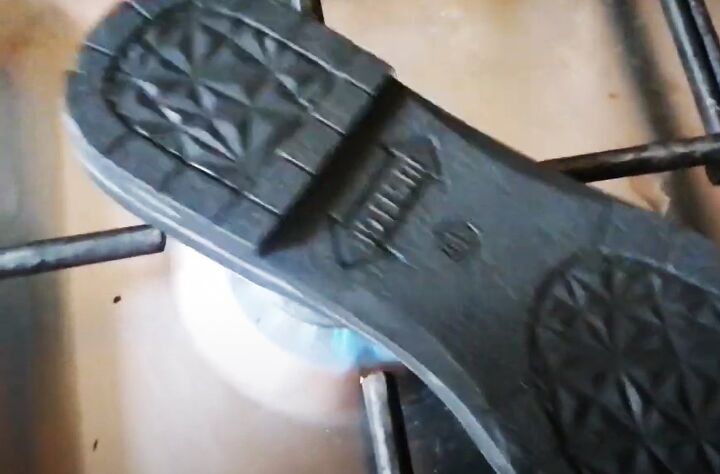
Turn them around so both ends are heated and move the entire area over the flame.
You may find it easier to hold them with tongs for this part.

3. Press them together
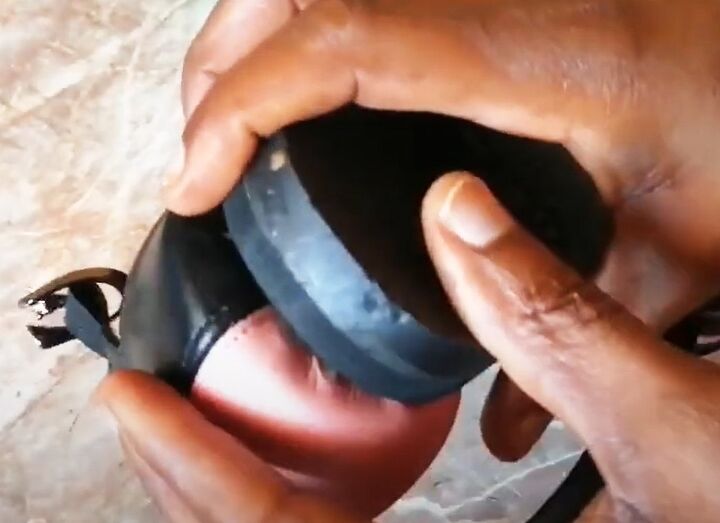
Once both pieces are as hot as you can get them, press the glued sides together.
Match the edges carefully and make sure they’re aligned properly before applying any pressure.
Use firm finger pressure all around the edges to bond them together.
Press down the center to get rid of any air bubbles.
This is the most important part of the process, so take your time with it.
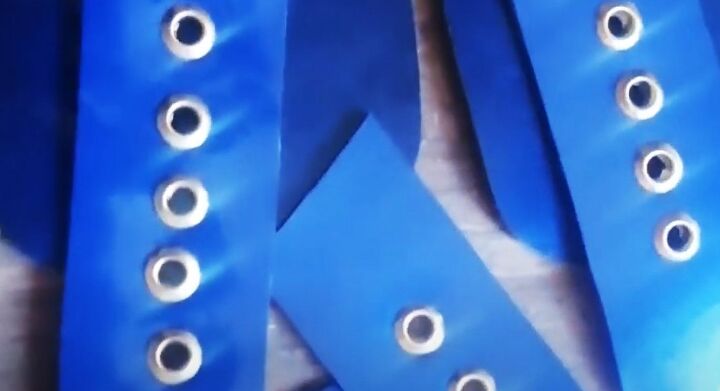
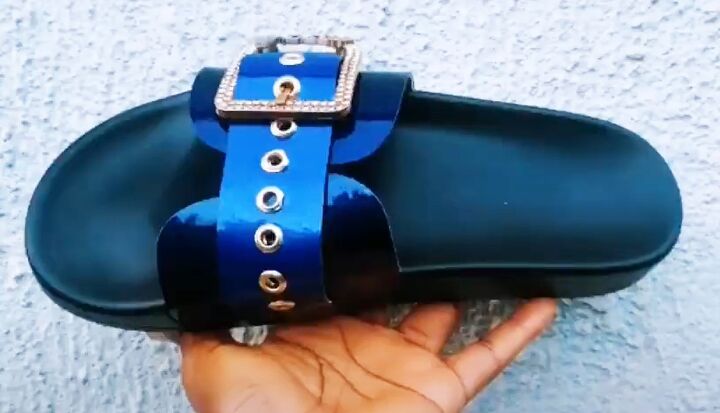
4. Prepare the slides
Cut out the pieces for the slides, following my pattern
Add grommets to the straps as described in previous tutorials.
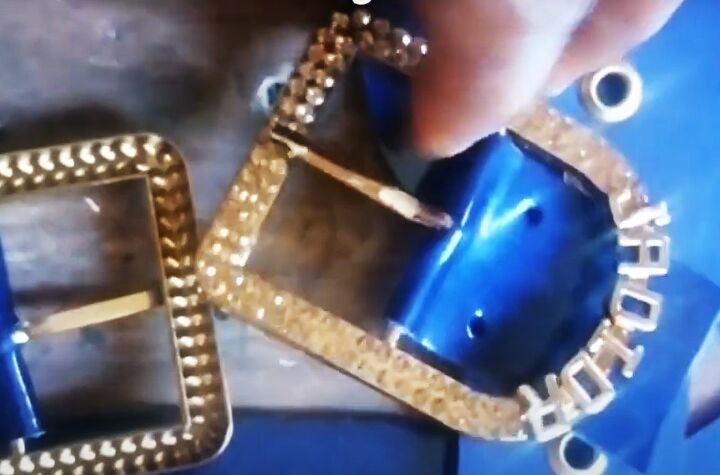
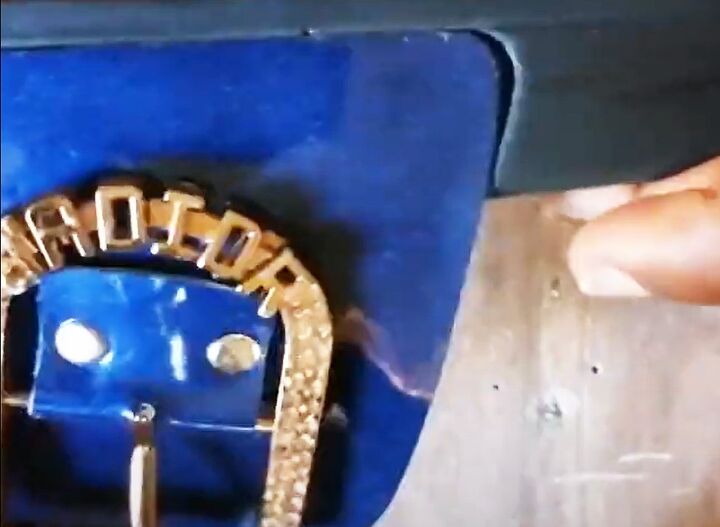
Prepare the buckles with strips of leather doubled and glued together.
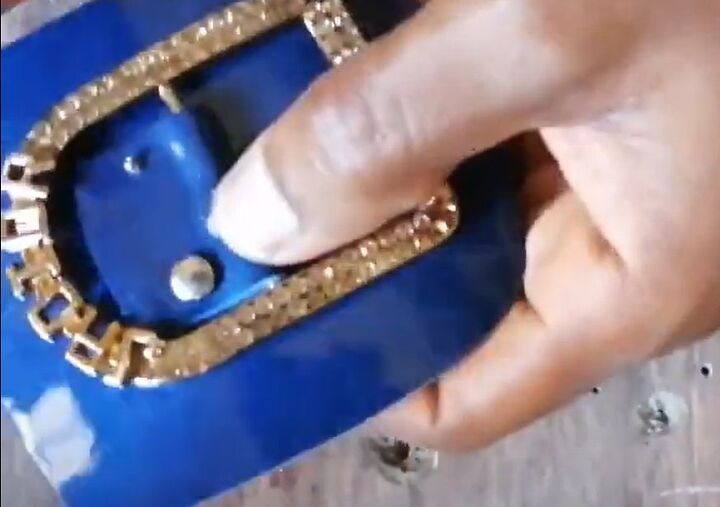
5. Apply the buckles
Use the snap on rivets to apply the buckles to the right side of the larger pieces of leather.
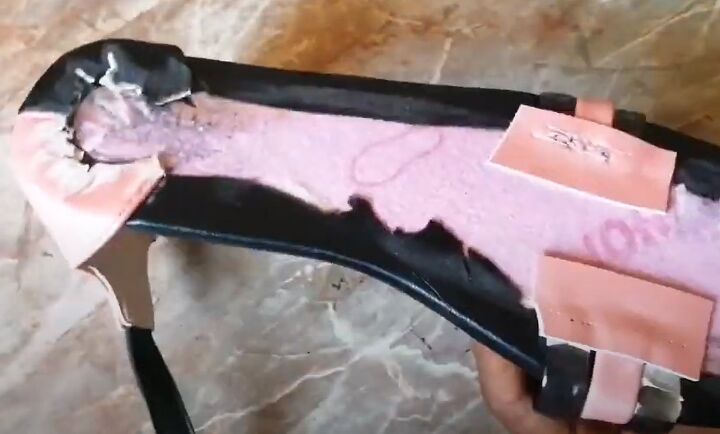
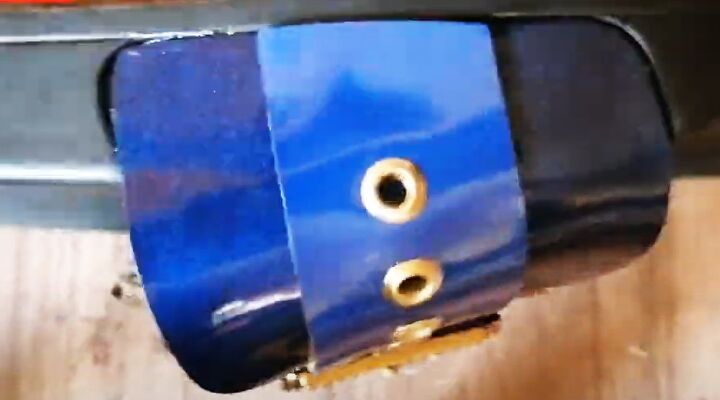
6. Attach the leather side pieces
I use shoe glue to attach the leather to the sole. I prefer this to stitching, as I don’t like to see the stitching on the outside of the shoe.
Apply the glue to the indentation in the side of the shoe.
Carefully touch the wrong side of the large piece of leather against the glue. When you’re sure it’s in the right place, press it firmly.
Repeat on the other side of the shoe with the plain piece of leather.
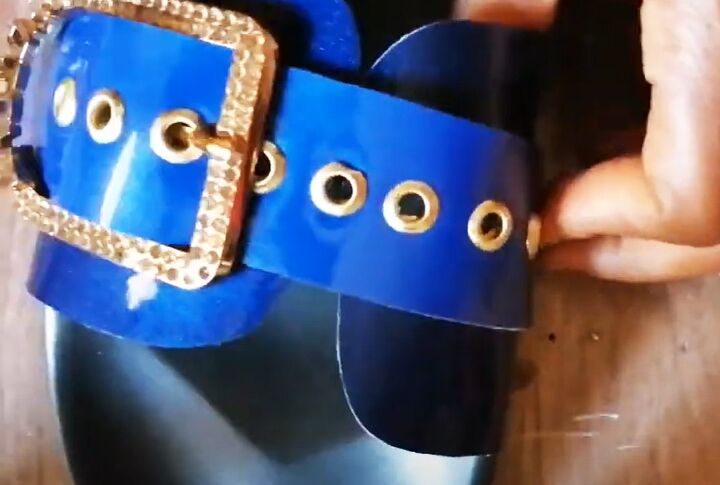
7. Attach the strap
Put one end of the strap through the buckle.
Line up the other end of the strap with the edge of the plain leather on the other side of the shoe.
Glue it in place.
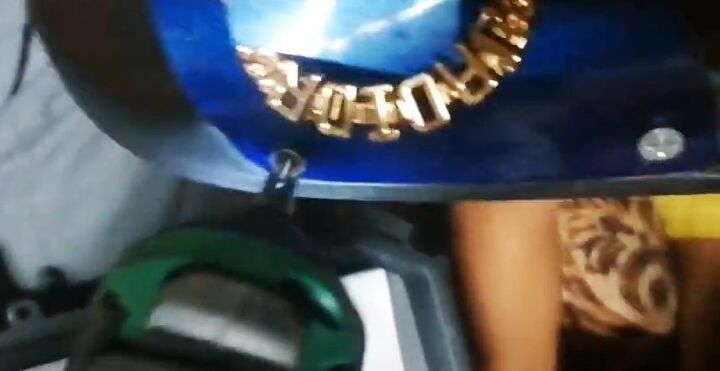
8. Insert the screws
Strengthen the slides by inserting two screws through the leather into the edge of the sole on both sides of the shoe.
DIY sandals
Shoe making is becoming very popular these days. You no longer need expensive professional equipment and you can easily buy all the elements you need online.
Both these styles are straightforward to make with my pattern templates. Now you can afford to wear a new pair of shoes with all your outfits!
If you have questions or comments, please drop them below. I love to hear from you.
The author may collect a small share of sales from the links on this page.


Comments
Join the conversation