Thrift Flip: DIY Shorts and Skirt From Men’s Pants

Today, I will be showing you how to transform a pair of men’s pants into a cute vintage-inspired pair of shorts, and use the extra material to make an adorable button-up skirt. Make sure the pants you use are too big on you, so you will have enough fabric. If you’d like step-by-step instructions for these simple DIY shorts and skirt, keep reading.
Tools and materials:
- Men’s pants (oversized)
- Pins
- Fabric chalk
- Ruler
- Measuring tape
- Seam ripper
- Sewing machine

Measure and mark
To begin, measure from the top of the waistband to where you would like the shorts to end. Add 3 centimeters (1 inch) for hem allowance and mark that line.
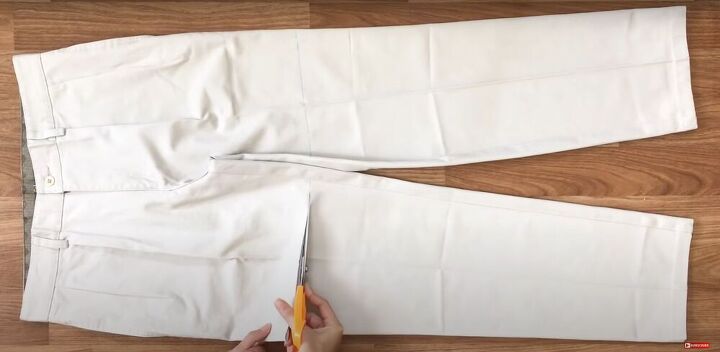
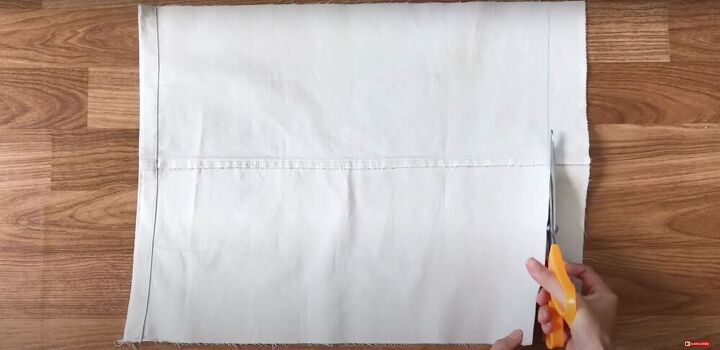
Cut
Cut along the marked lines.
Measure and mark
Turn your shorts inside out. Make one line across the leg of the shorts at 1½ (⅔ of an inch) centimeters from the bottom edge, and another line at 5 centimeters (2 inches) from the bottom.

Fold, pin, and sew
Fold the bottom of the shorts up to the first line, and then again up to the second line. Pin and sew.
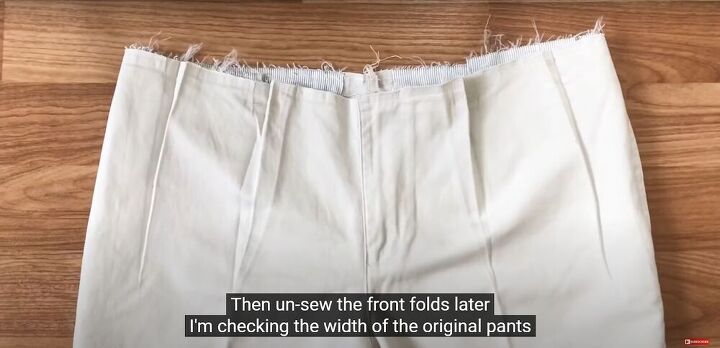
Rip stitches
Use a seam ripper to unstitch the waistband from the top of the shorts and open up the pleats.
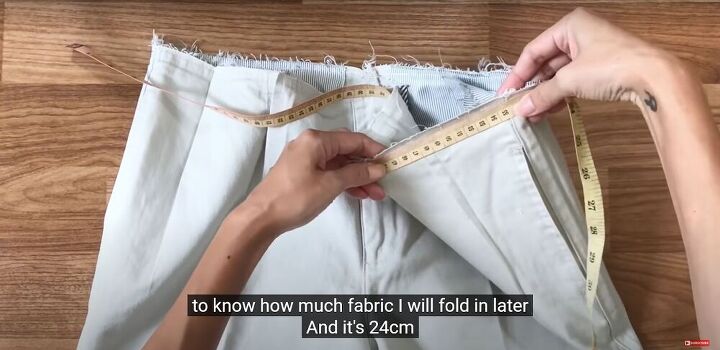
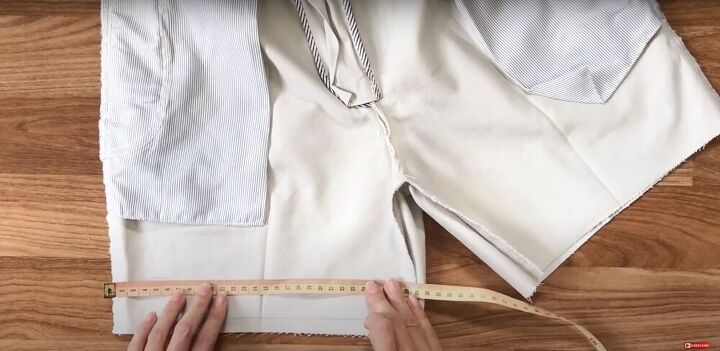
Measure
Measure the top edge of the shorts so you will know how much fabric you will need to fold in later.
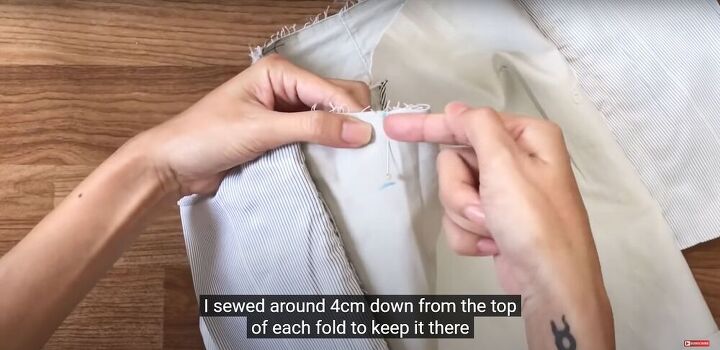
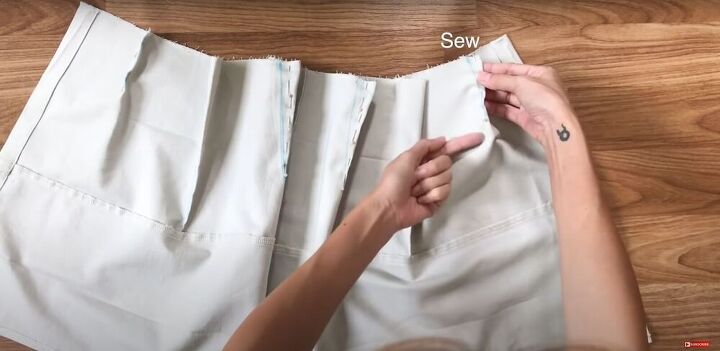
Fold, pin, and sew
Create new pleats in the front of the shorts by following the instructions in the video from 2:13-3:06.
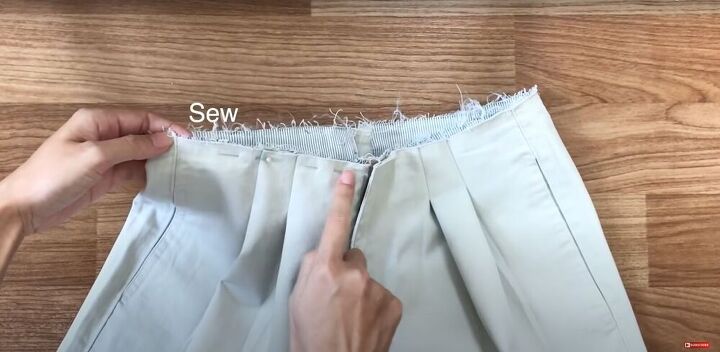
Pin and sew
Pin the tops of the pockets along the front waistline you just created, and sew them down.
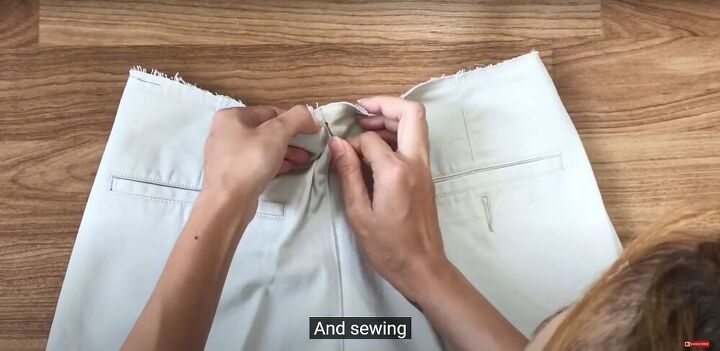
Rip stitches, measure, and sew
Use a seam ripper to rip the back seam of the shorts about halfway down. Measure out half your waist measurement across the top edge of the shorts. Pin the back seam at the new waistline measurement, and sew it down so it tapers back into the original seam.
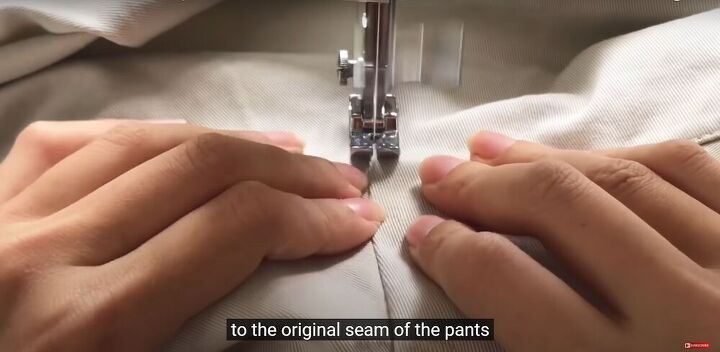
Top-stitch along your new back seam so it matches the original seam of the pants.

Pin the original waistband back to the top of the shorts, starting at the side with the buttonhole.

Cut off any excess fabric from the waistband. Then sew the whole thing down.
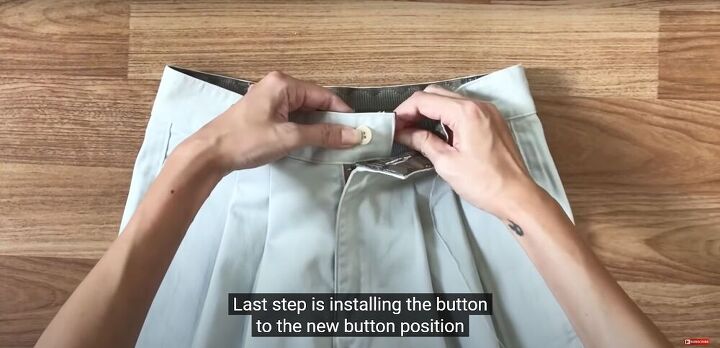
Finally, sew the button in place, using the buttonhole as a guide for the placement.
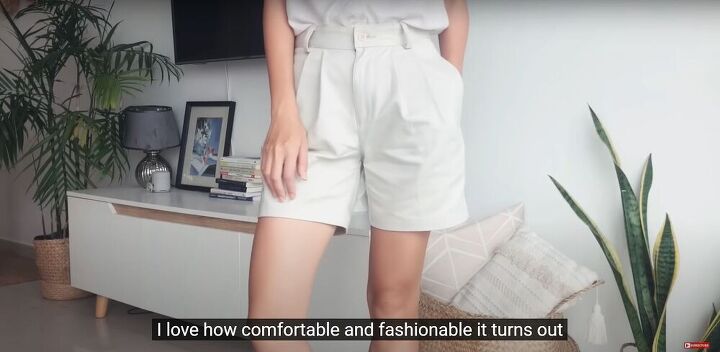
I’m so happy with how these vintage-inspired shorts turned out! They’re so comfortable and fashionable. But we’re not done yet! Time to make the skirt.
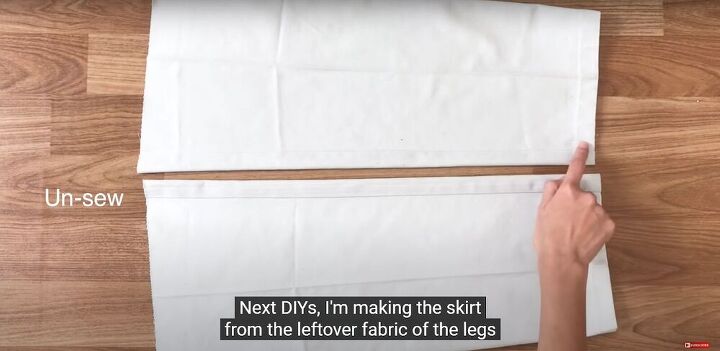
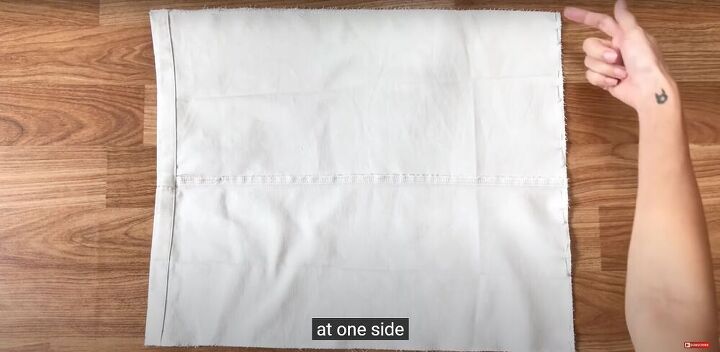
Rip seams
To begin the skirt, use a seam ripper to open the side seams of the pant legs.

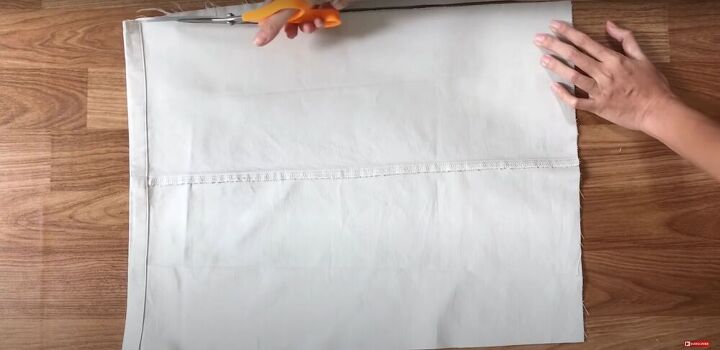
Measure and mark
Measure the narrowest part of the fabric. This is going to be the length of your skirt, so it needs to be at least as long as the measurement from your belly button to over your crotch. Draw a straight line across the top and the bottom of the fabric from the corners of the shorter edge to the opposite edge.
Cut
Cut across the marked lines.
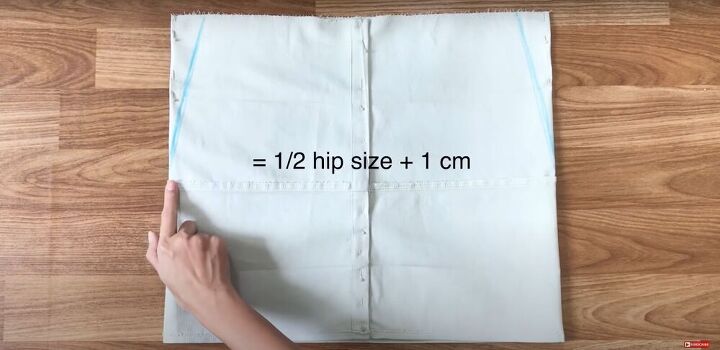
Measure and mark half your hip measurement plus 2 centimeters (¾ of an inch) along the edge of the fabric opposite the finished edge. Then cut along the marked line.

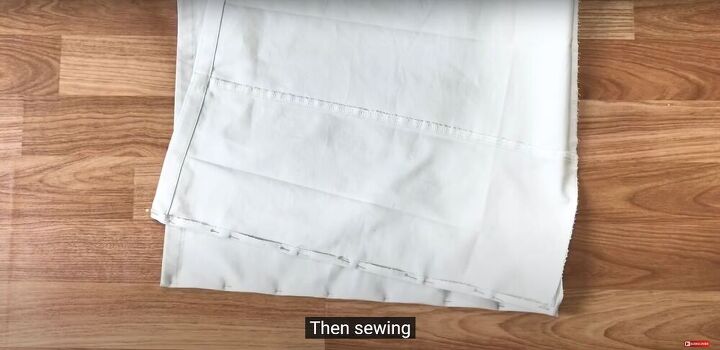
Sew
Overlock all the raw edges with a zigzag stitch.
Pin the two pieces together along the side seam, and sew it down.
Fold the hem of the skirt up once, pin it, and sew.
Pin the two edges of the skirt together, with the edges overlapping. Measure and mark 4 centimeters (1½ inches) from both top corners, and connect those marks to the center seam with a gently curved line. Then sew along those lines.

Try on and measure
Try on the skirt to see how much fabric you will need to fold in at the front and back of the skirt to make darts.
Mark and sew
See the video from 8:30-9:45 for instructions on how to mark, pin and sew darts.
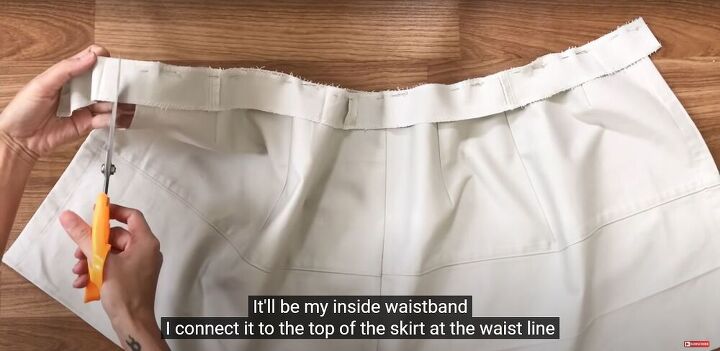
Make a waistband
Cut a rectangle of fabric 4 centimeters (1½ inches) wide and 70 centimeters (27½ inches) long. Pin it to the top edge of the skirt, and cut any excess fabric. Then sew it down.
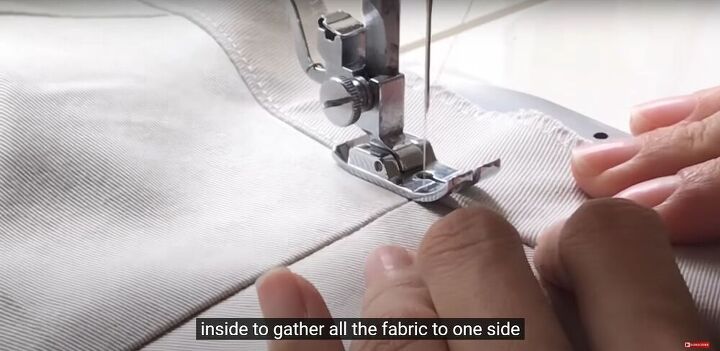
Sew a second seam across the waistband on the inside of the skirt.
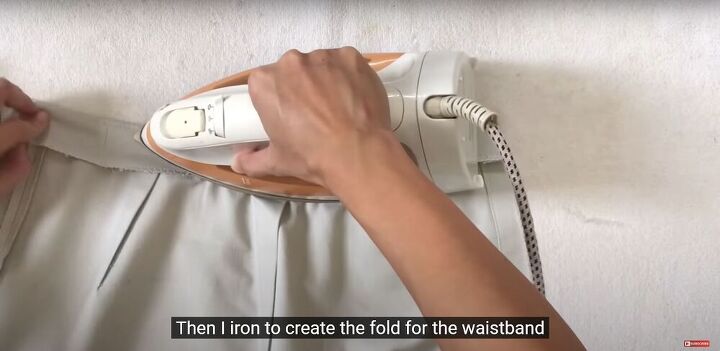
Iron
Fold the waistband inside and iron it flat.

Buttons and buttonholes
Finally, attach buttons and make matching buttonholes on the opposite side of the opening of the skirt.
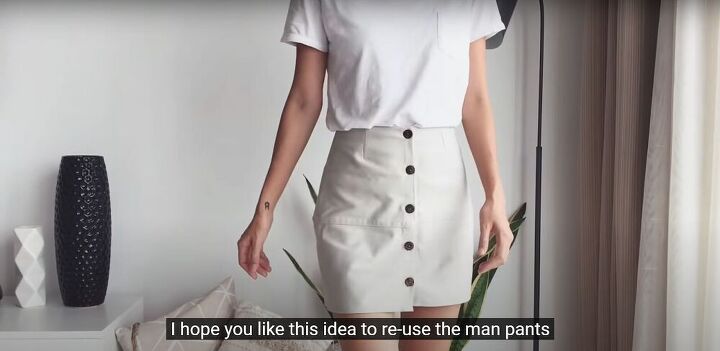
And your skirt is complete! It’s simple and minimal and the buttons give it a vintage vibe.
Did you find this tutorial for how to sew DIY shorts and skirts helpful? Let me know what you think of these transformations.
The author may collect a small share of sales from the links on this page.


Comments
Join the conversation
They look amazing! You are so clever and talented!
Very well done! you are an excellent seamstress! love the leg seams running horizontal on the skirt. very eye-catching.