Make a Trendy Pair of High-Waist Shorts With a Matching Crop Top

There’s nothing chicer than a matching outfit. In this tutorial, I’m going to make a crop top and high-waist shorts. This ensemble is stunning and is the perfect outfit for a fun occasion! The high-waist shorts have a shirred waistband, giving off an intricate and interesting feel to the whole look. If you want to see how I make these DIY high-waist shorts and crop top, keep on scrolling!
Tools and materials:
- Fabric
- Elastic - various sizes
- Sewing machine
- Pins
- Measuring tape
- Chalk
- Safety Pin
- Elastic thread
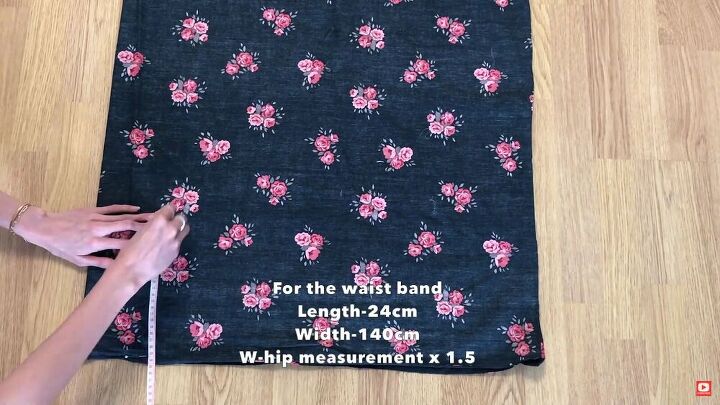
Make the waistband
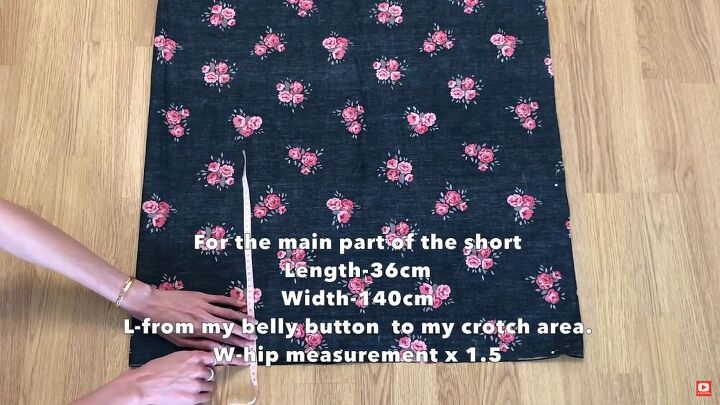
Let’s start by making the waistband. For the exact measurements, see the corresponding images. Make sure to use a measuring tape to get the most accurate measurements.
TIP-
To convert centimeters to inches, use this online metric converter tool.

Next, fold the waistband in half, right sides facing, and pin the edges.
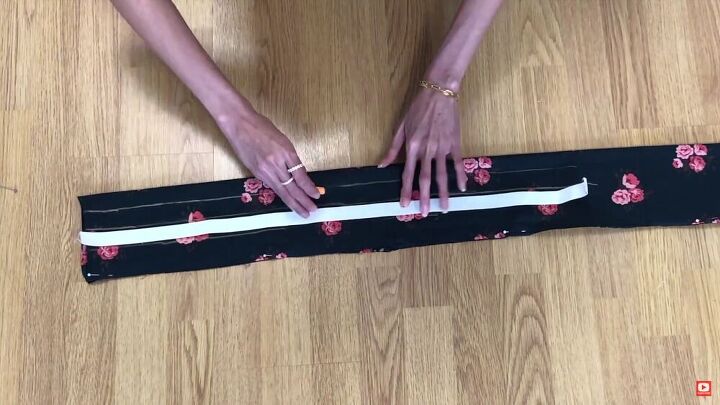
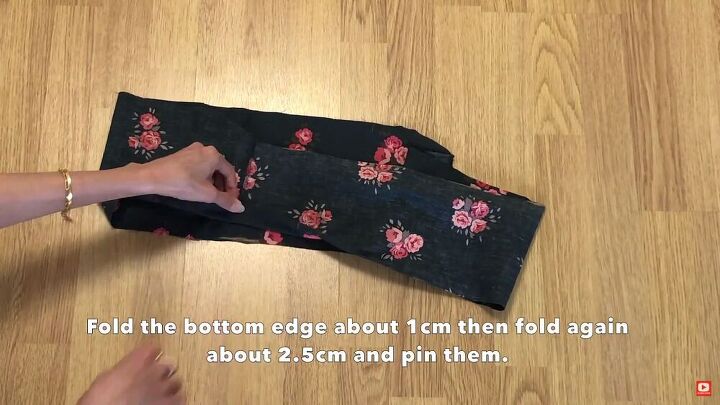
Then, to make a guide for the shirring on the high-waist shorts, simply draw four lines with a 2.5 cm (1 inch) distance between each line. Draw these lines all the way across.
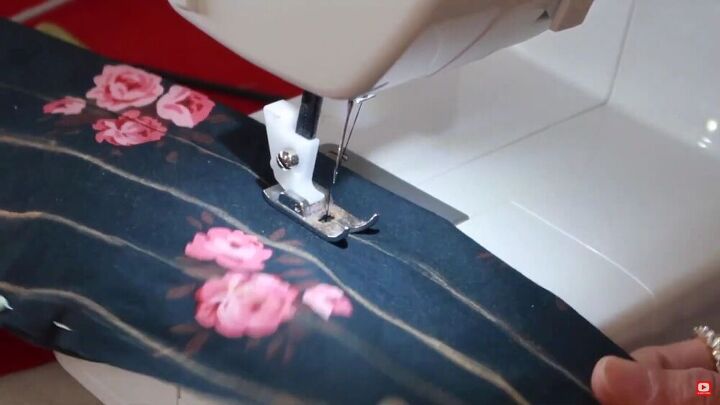
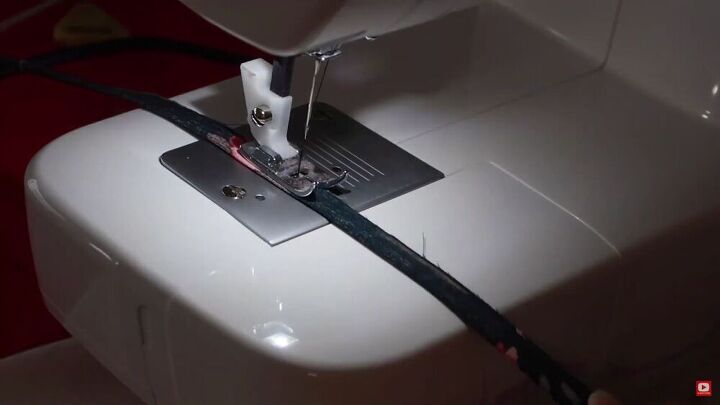
Following the lines, sew a straight stitch across each line.
Now that you have the tunnels, cut four 2 cm (.8 inch) width elastics, measuring the length of your waist. Using a safety pin, feed through each elastic through each tunnel. By doing this, you automatically create a lovely shirring effect. Make sure to pin the ends of each elastic, too.
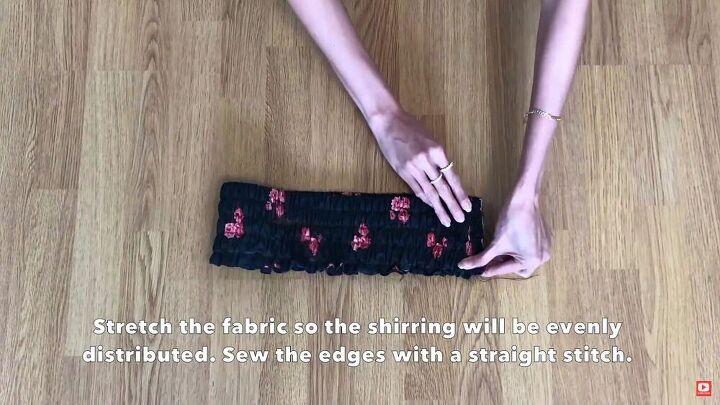
Stretch the fabric so the shirring will be evenly distributed, and sew the edge of the waistband with a straight stitch.
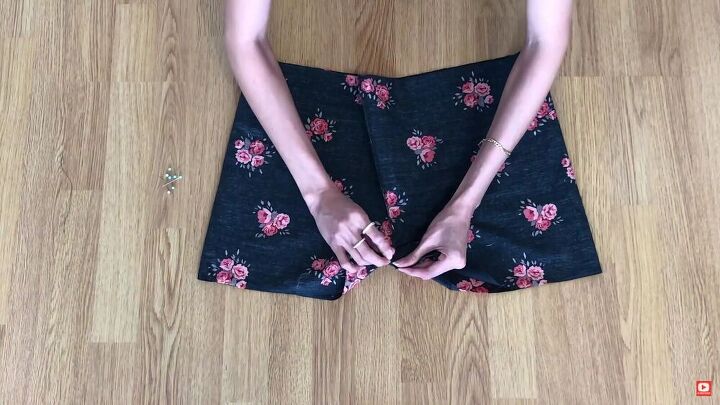
Make the shorts
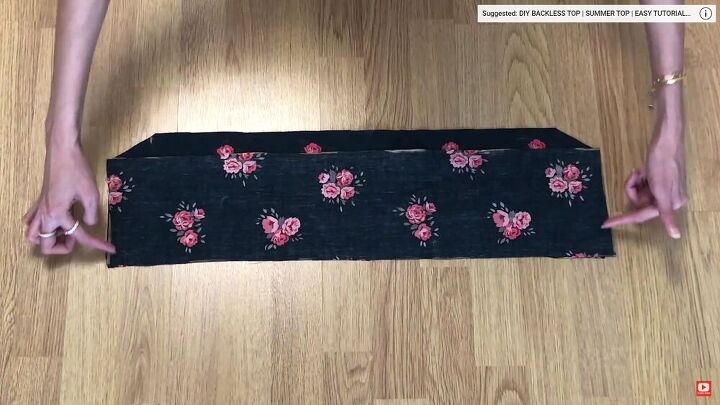
Fold your fabric right sides together. To get the exact measurements, check out the corresponding image.
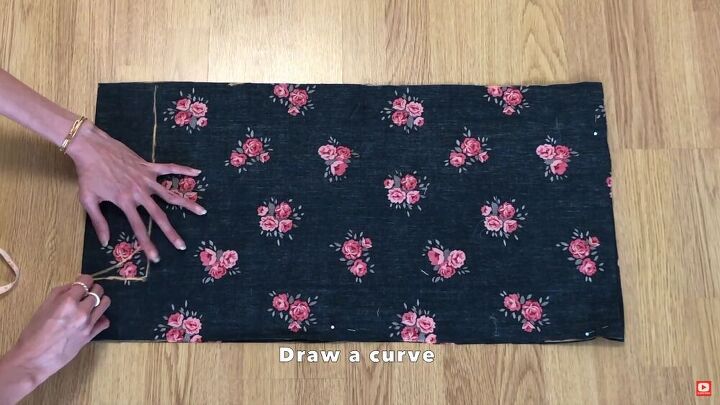
To cut out the crotch area, make various markings on the sides. To see how I do this, skip to 3:15 minutes on my video.
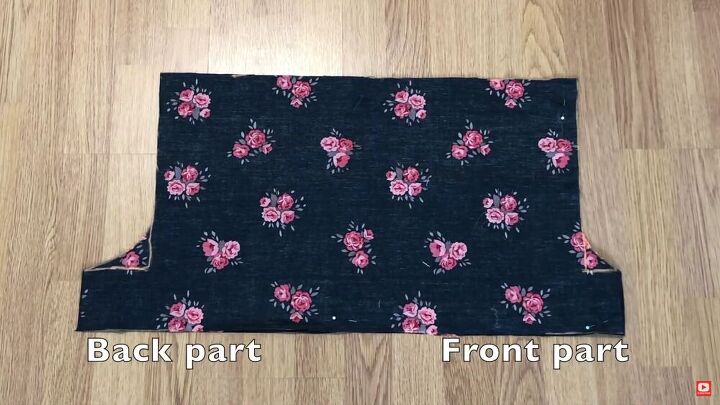
Once you’ve measured accordingly, cut out both crotch areas on either side of the fabric. Then, sew the side seams together and finish off with a zigzag stitch to prevent fraying.
Now, turn the shorts so that the crotch seams face inwards. Pin the inseams and stitch. Stitch with a straight line and a zigzag stitch.
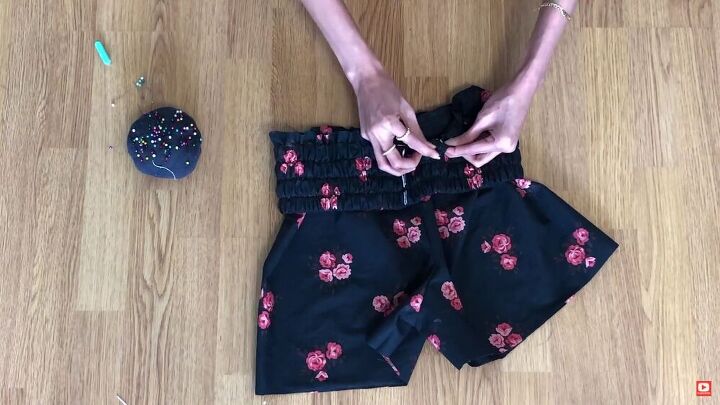
Sew the waistbands to the high-waist shorts
With the elastic waistband’s wrong sides facing out, pin the top rim to the shorts. The shorts should be right sides facing out. Make sure to align the side and center seams.
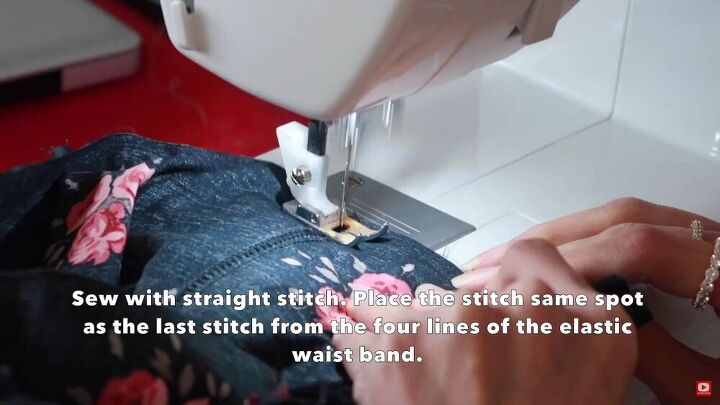
Now, sew the waistband to the easy high-waist shorts. Make sure to sew on the same stitch as the last line on the waistband.
TIP-
Stretch the waistband a little while sewing.
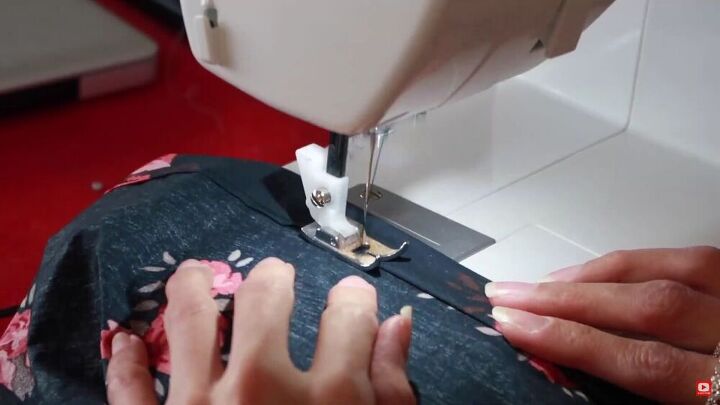
Finish off the shorts with a neat double folded hemline.
Crop top
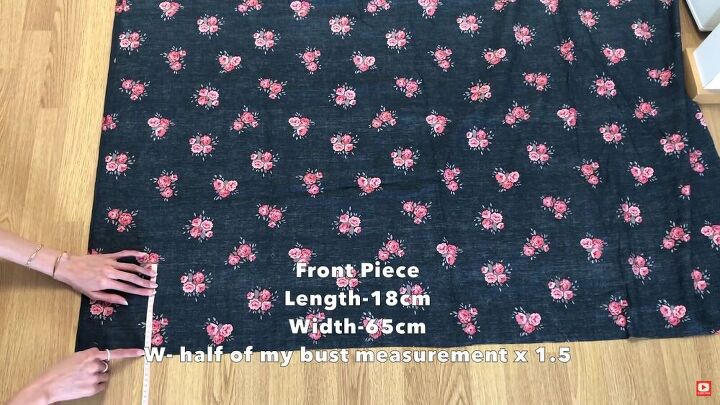
Measure and cut the fabric
For the bust measurements, follow the equation above. Draw it out on your fabric and cut it accordingly. This one is for the front piece.
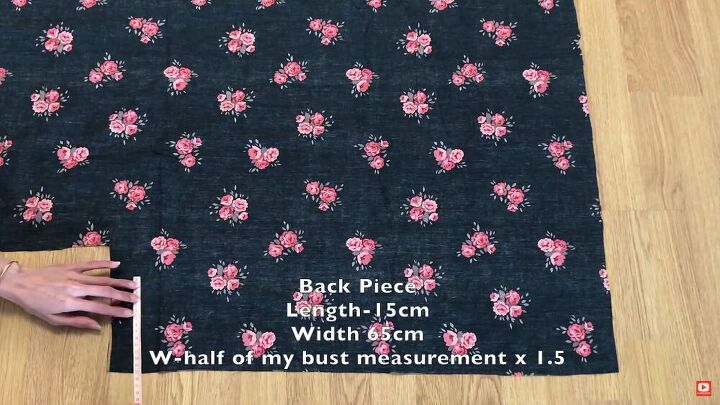
The back piece measurements are slightly different. Follow the equation above.
Now, make some minor modifications to the edges of the front piece. To see what I do, follow my video from 7:14 minutes.
Place both pieces right sides together and sew the side seams. You’ll notice the corners of the front piece are slightly elevated.
Double fold the bottom edge as shown and pin it all around.
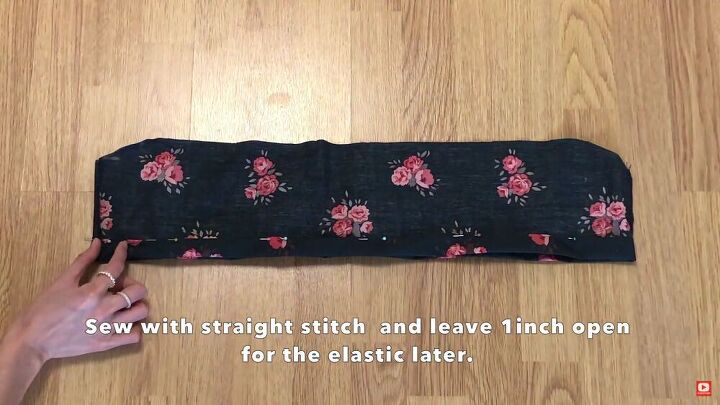
Sew all around with a straight stitch, as close to the fold as possible. Make sure to leave a 1 cm (.4 inch) opening for the elastic.

Zigzag stitch the upper edge. Then, fold it over and sew as close to the edge of the fold as possible, ensuring you have room for the elastic.
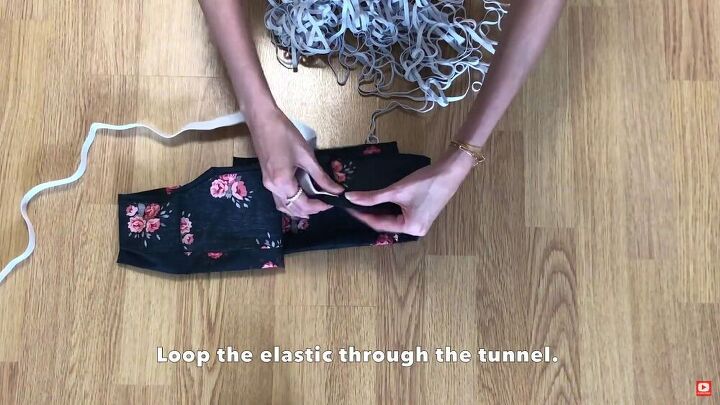
Add the elastic
I am using two sizes of elastics. The bottom has a 2 cm (.8 inch) width, while the top has a 6mm width. Feed through the elastic with the help of a safety pin. Stitch the edges closed when done.
TIP-
For the upper elastic, use a hairpin since the whole is so tiny.
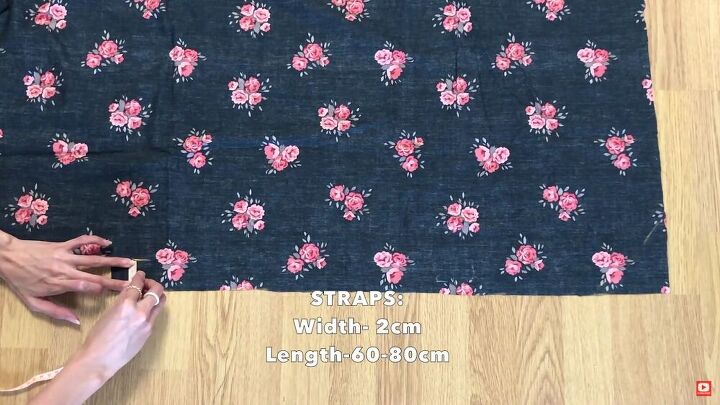
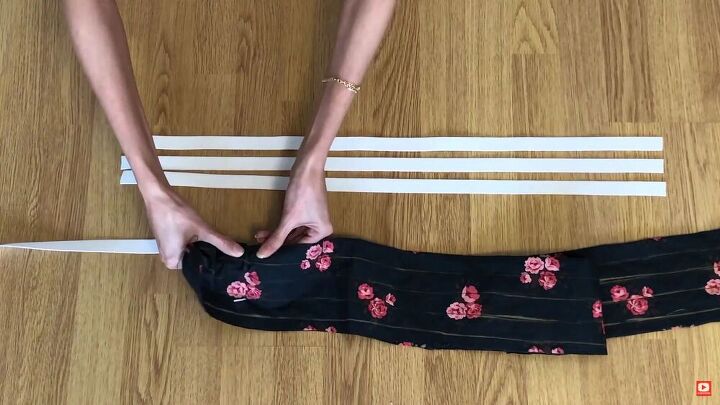
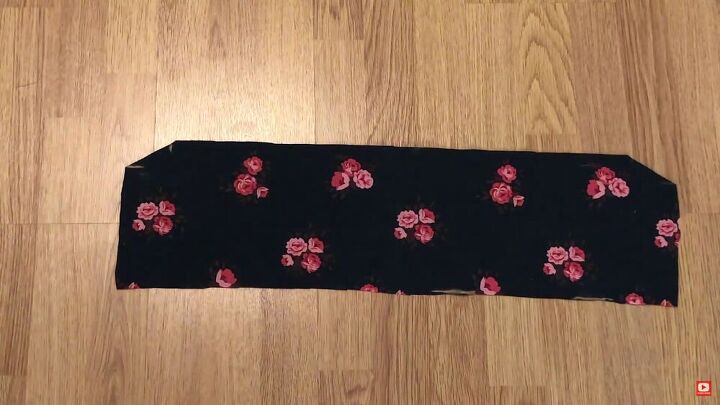
Make the spaghetti straps
Cut out two long strips using the measurements in the image.
Fold the fabric right sides together and sew with a straight stitch.
TIP-
You’ll also be using elastic here, so sew them as close to the edge as possible.
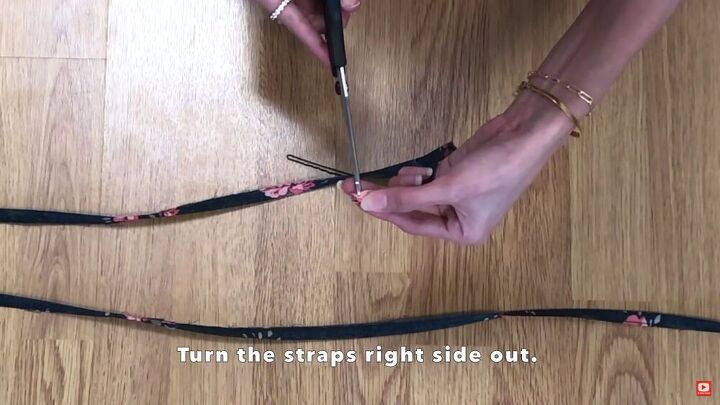
Then, turn the straps right sides out.
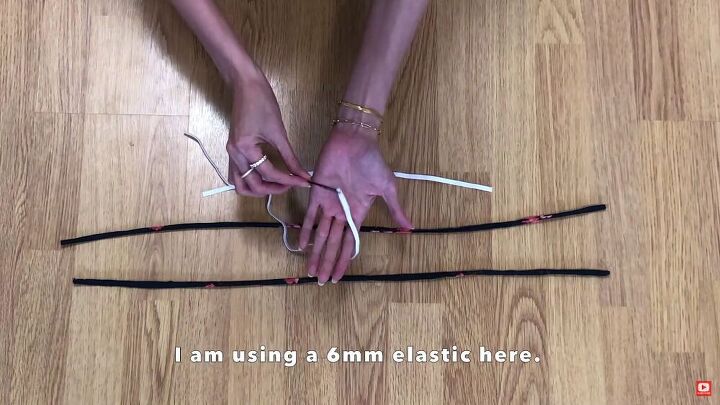
Feed through a 6mm elastic, cut to size, and stitch the ends to secure.

Attach the straps, with one end placed on the front bodice’s upper corner.
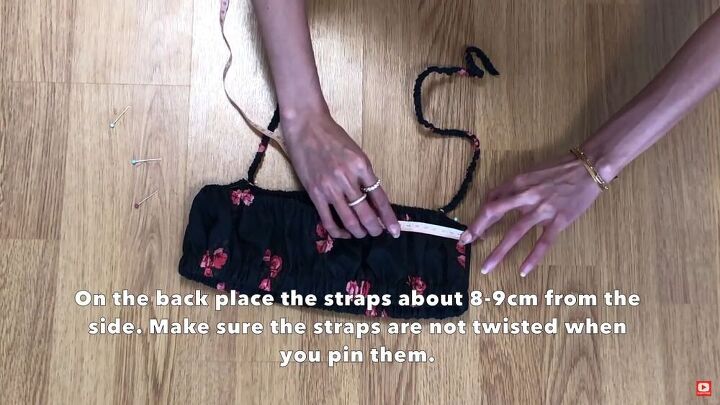
Then at the back, place them 8 cm (3 inches) from either end, making sure the straps don’t twist.
TIP-
Try on the top before sewing the straps to check if it’s not too loose.

We’re done! You now have a lovely crop top and high-waist shorts set! I hope you enjoyed this high-waist shorts tutorial and that you go ahead and make this matching set as part of your next DIY sewing project. The results are flawless!
The author may collect a small share of sales from the links on this page.


Comments
Join the conversation