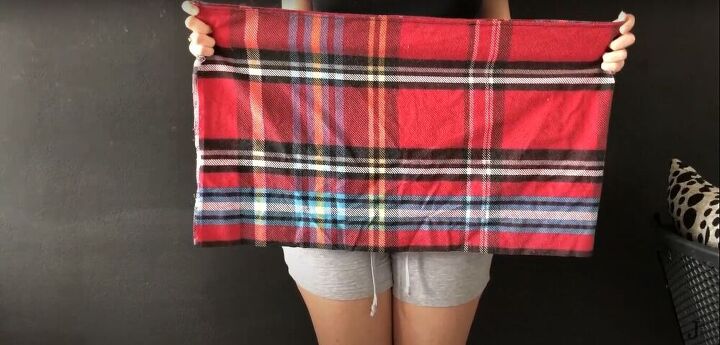
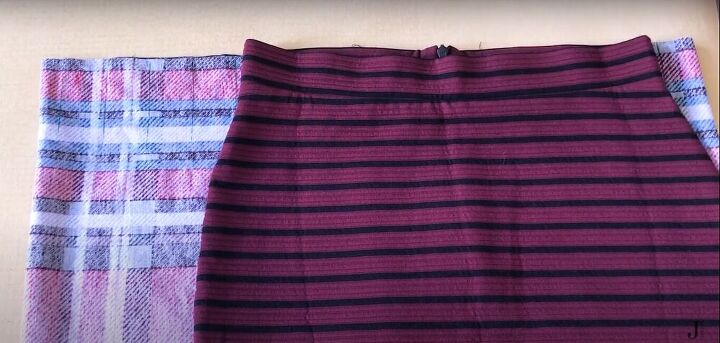
DIY Mini Skirt From a Pillow Case

Originally, I was planning on making a pleated skirt out of the duvet cover from my plaid bedding set. But it turns out my boyfriend took the duvet cover on a trip with him, and it never made it home. The pillowcase was the only piece left from the set, so I decided to give it a new life as a pencil skirt. Follow along to see the transformation.
Tools and materials:
- Pillowcase
- Seam ripper
- Scissors
- Measuring tape
- Pins
- Zipper
- Button
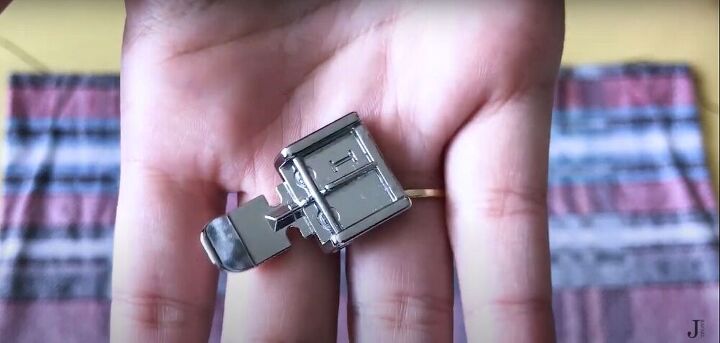
- Buttonhole presser foot (optional)
- Zipper foot (optional)
- Sewing machine
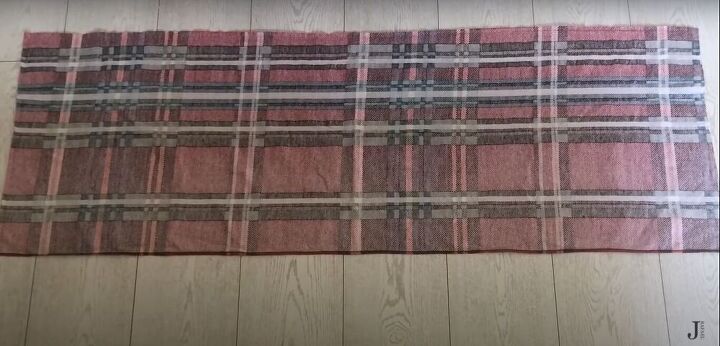
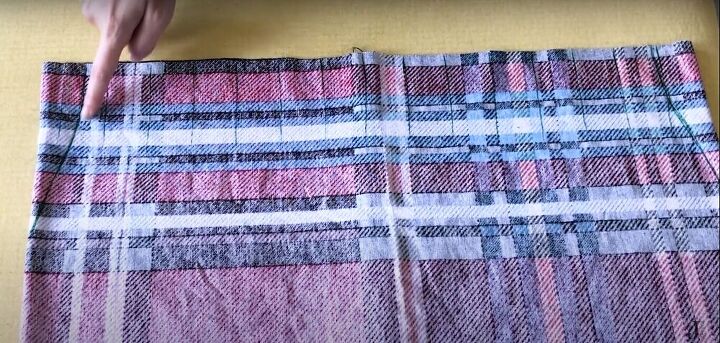
Rip the seams
To begin, I opened the seams of the pillowcase so I was left with one long rectangle measuring 136 x 47 centimeters (53½ x 18½ inches).
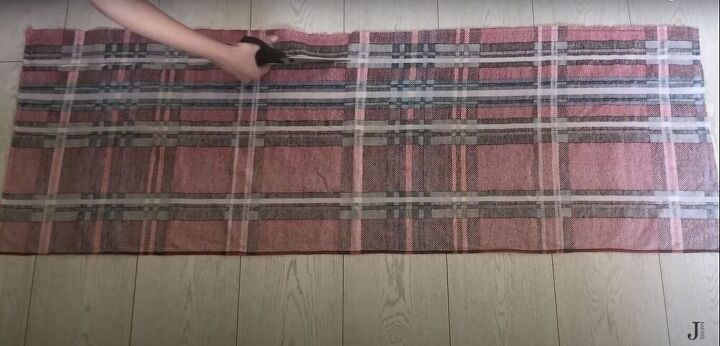
Cut
I cut a strip of fabric 7 centimeters (2¾ inches) in width to use later as a waistband.

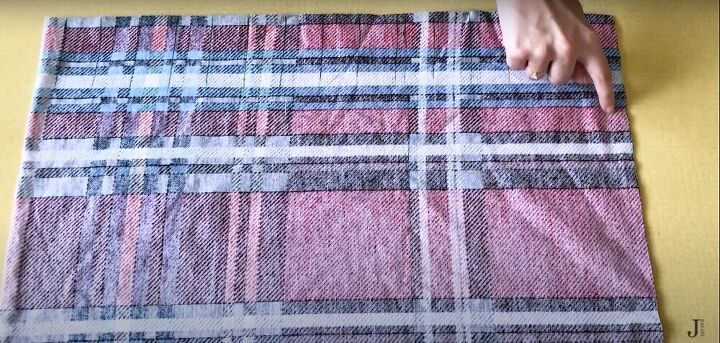
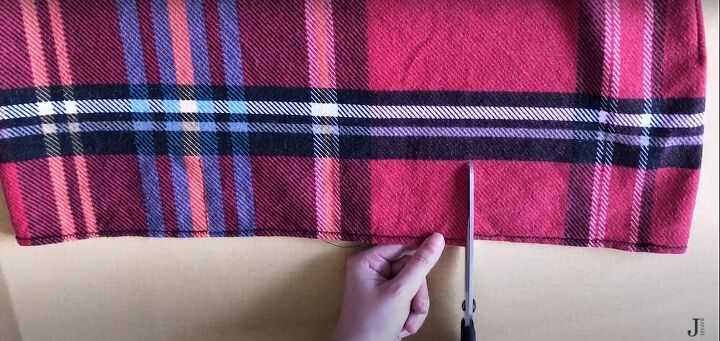
Measure, mark, and cut
I took my hip measurement and added 2 centimeters (¾ of an inch) for seam allowance, and then used that number to mark and cut the fabric to the proper length.
Sew
Then I sewed down the raw edges, which will be the back seam of the skirt.
Trace
I used a skirt I already owned to trace the curve from the waistline to the hip on either side of my skirt. The skirt I used was elastic, so I aligned one side of the skirt with the side of my fabric, and traced the top of the skirt from the hip to the waist.
Sew
Then I sewed along the lines I had drawn. I left the excess fabric in case I made a mistake and needed to unpick my stitches, but feel free to cut the excess fabric from the waistline once you’ve sewn it down.
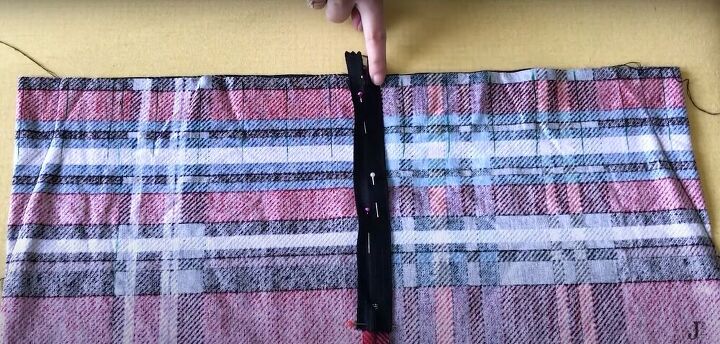
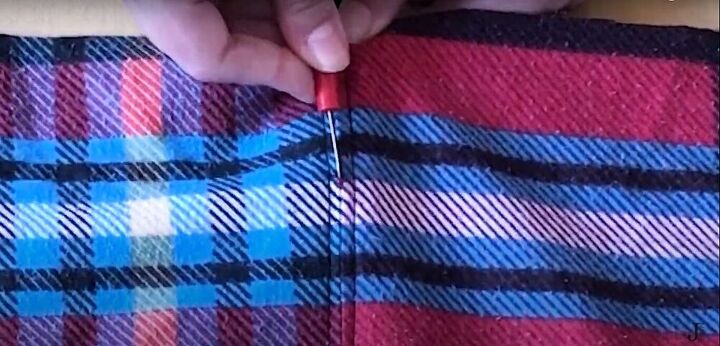
Attach zipper
I ironed open the back seam and pinned the zipper to the seam allowance.
I sewed it down using the zipper foot on my sewing machine to make things easier on myself.
Rip the seam
Once the zipper was sewn in place, I ripped the back seam, exposing the zipper.
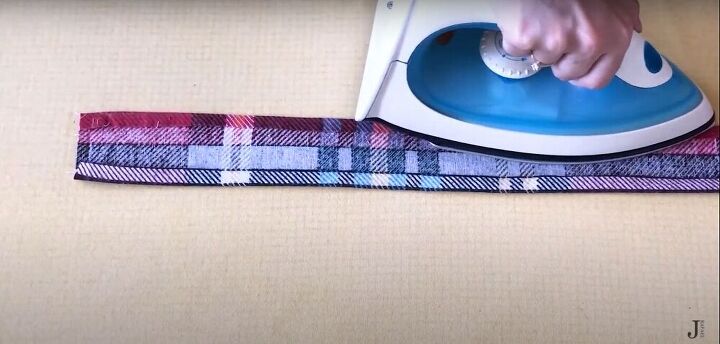
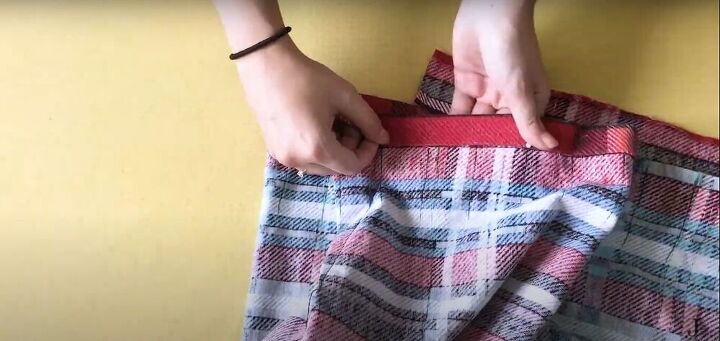
Fold and press
I folded 1 centimeter (½ an inch) in on either side of my waistband and ironed the fold in place.
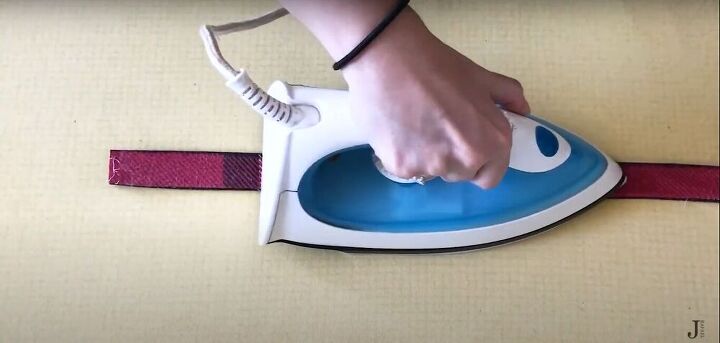
Then I folded it in half lengthwise and ironed it flat.
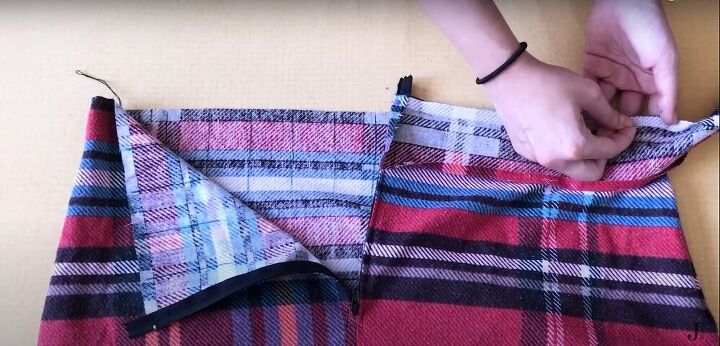
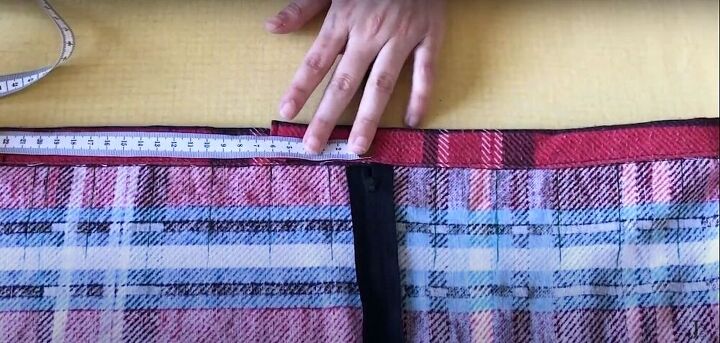
Pin and sew
I folded the short edge of the waistband to hide the raw edge and pinned it so the fold was aligned with the zipper seam. Then, I pinned the rest of the waistband all the way around the top edge of the skirt and sewed everything down.
I folded the waistband down over the top edge of the skirt, and pinned and sewed it down. I should have “stitched in the ditch” when sewing down this side of the waistband, but I did not. So there are two visible lines of stitching around the seam of my waistband.
At this point, I tried on my skirt, and saw that it was a bit too big, and needed to be taken in. I made sure the measurements on both sides of the zipper were even, and then remarked and resewed the sides with the new measurements.
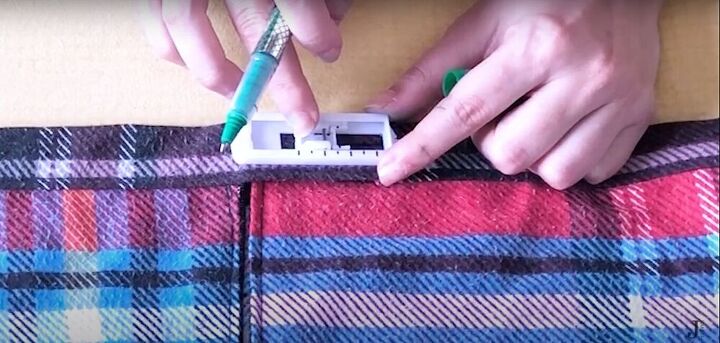
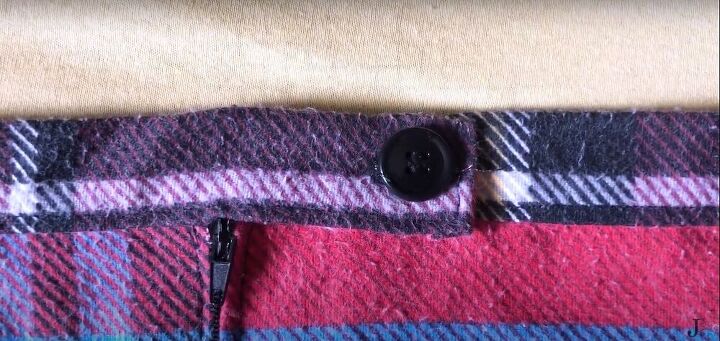
Add button and buttonhole
Finally, I sewed a button onto the waistband and used a buttonhole presser foot to mark and sew in the buttonhole.
Cut slits
Finally, I cut two small slits in the front of the skirt, folded the edges in, and sewed them down.

And it was done. I think it came out pretty cute!
If you make a DIY mini skirt using my tutorial, I would love to see your results!
The author may collect a small share of sales from the links on this page.


Comments
Join the conversation