How to Make a Fabulous A-Line Skirt Out of An Abandoned Curtain

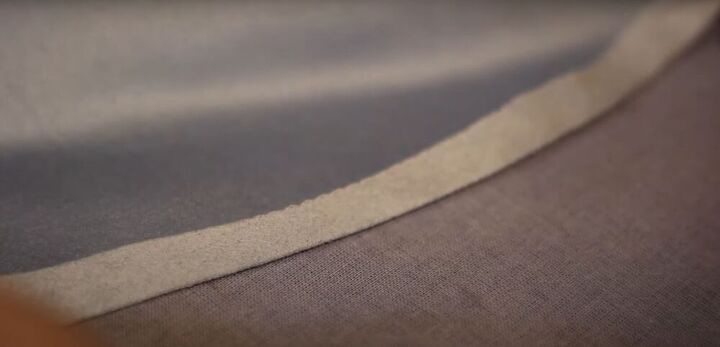
For this transformation, I’m using a light blue, faux-suede curtain from the thrift store to show you how to make an A-line skirt. I love the color and the material, and I even love the opposite side, because it’s lined with a really nice, silky material.
I really love buying items with a large amount of fabric from the thrift store and giving them new life. It forces me to think outside the box and create really unique items from the materials that I find. I hope you enjoy this tutorial, and it inspires you to create something beautiful and unique.
Tools and materials:
- Opaque curtain
- Pattern for an A-line skirt (or a skirt to trace)
- Scissors
- Pins
- Rotary cutter
- Butcher paper
- Tassel trim
- Invisible zipper
- Seam ripper
- Sewing machine
- Iron
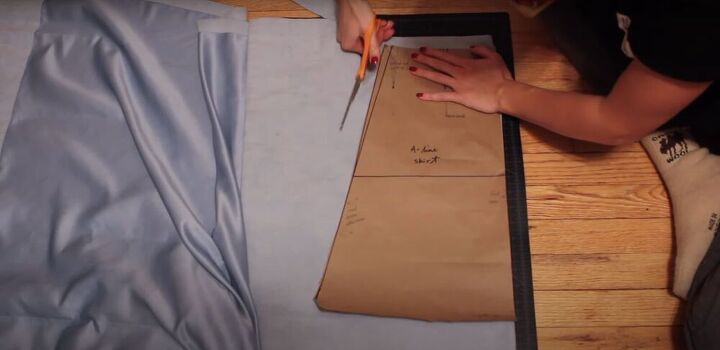
1. Cut the A-line skirt pattern
To start, I folded my fabric just enough to fit this pattern on it, with the edge on the fold. You can find use this A-line skirt pattern, or you can use an A-line skirt you already own.
I cut around the pattern, leaving about an inch of seam allowance. I also cut my fabric shorter than the pattern, because I’m going to be adding a flounce at the bottom.
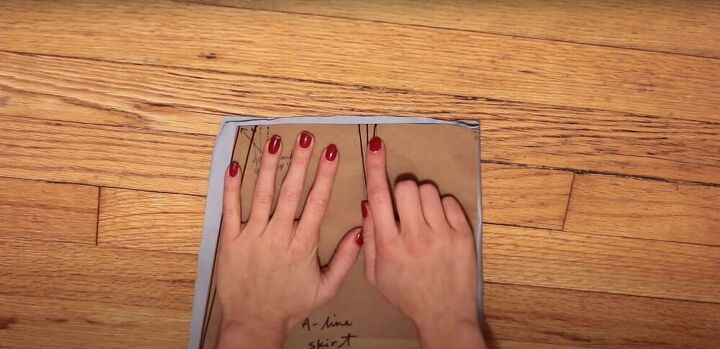
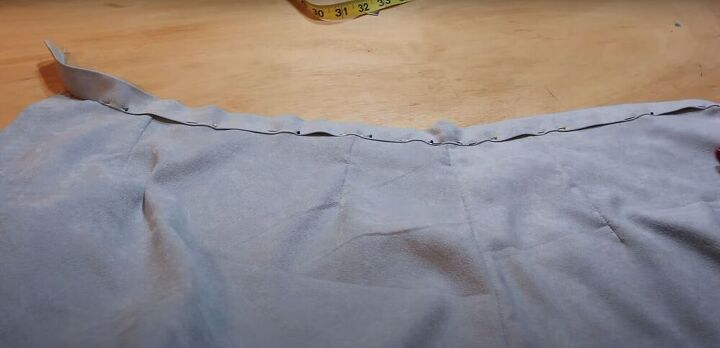
2. Mark and sew darts
Next, I marked two darts along the top edge of the skirt, using my pattern. I marked two dots at the top, either side of the triangle, then one at the point of the triangle. Be sure to use the marker on the underside of the garment.
To sew a dart, fold the fabric in half on the opposite side, matching up those two dots at the top. Then, sew a diagonal line down to the single third dot, until the needle runs off the fabric.
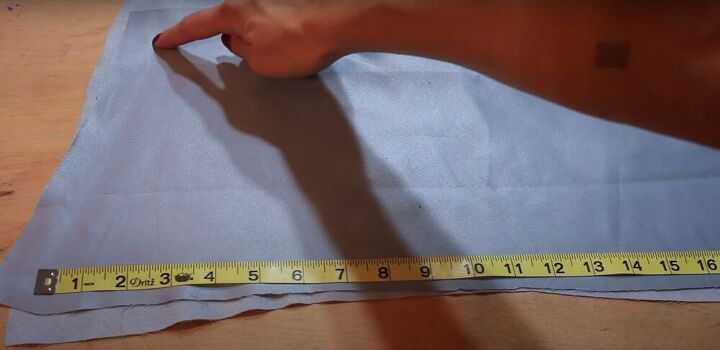
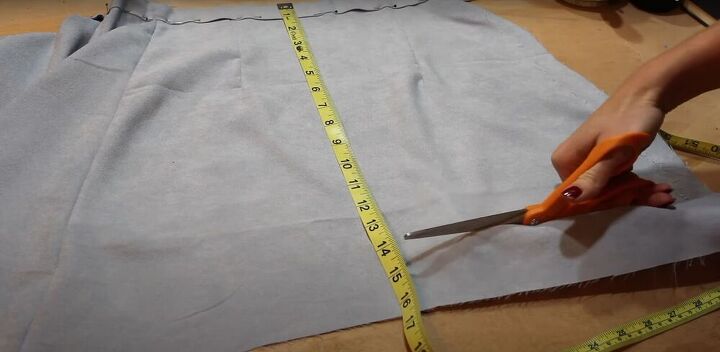
3. Measure the bottom of the A-line skirt
Next, I measured the circumference of the bottom of my skirt to know how long to make the flounce. I folded the skirt in half and measured from one inch away from the raw edge to the folded edge, then multiplied that number by 2. For me, that came out to 42 inches.
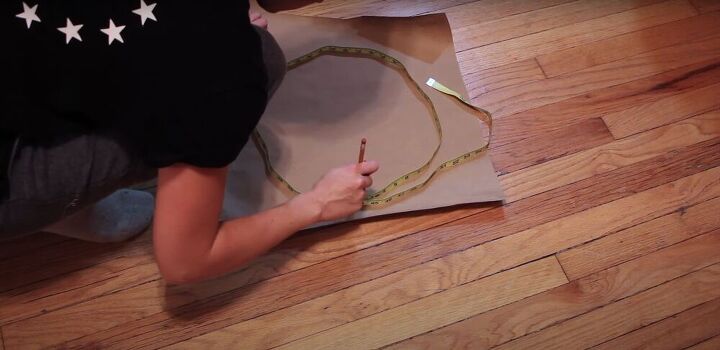
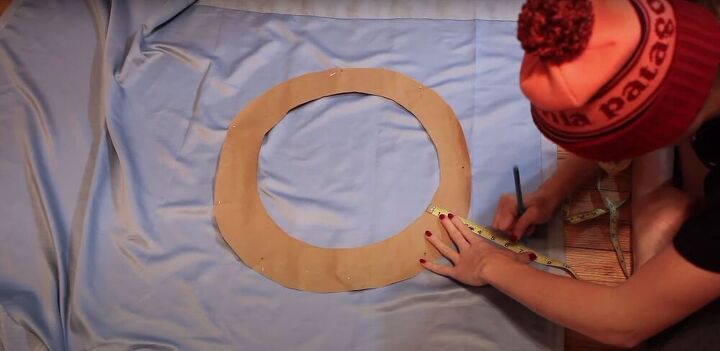
4. Mark and cut the flounce pattern
Then, I used my measuring tape to make a 42-inch circle, which I traced onto a piece of butcher paper. Then, drew another circle around it (which didn’t need to be accurate), and cut around both circles.
This left me with a donut-shaped pattern, with a 42-inch hole in the center.
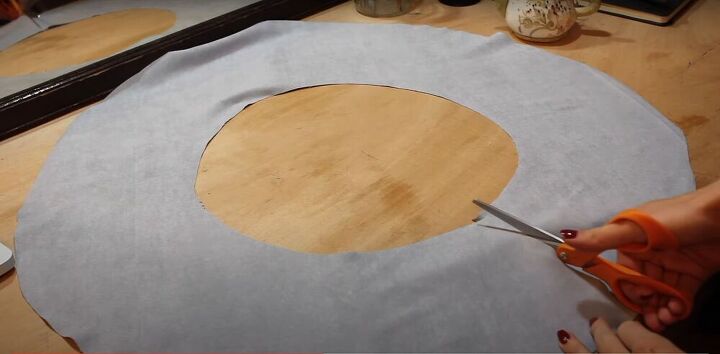
5. Pin and mark the fabric
I pinned my donut pattern to the wrong side of my fabric. Then, I measured how long I wanted the flounce at the bottom of my skirt to be, which for me was 7 inches. I went around the circle, marking 7 inches from the inner edge of the circle all the way around.
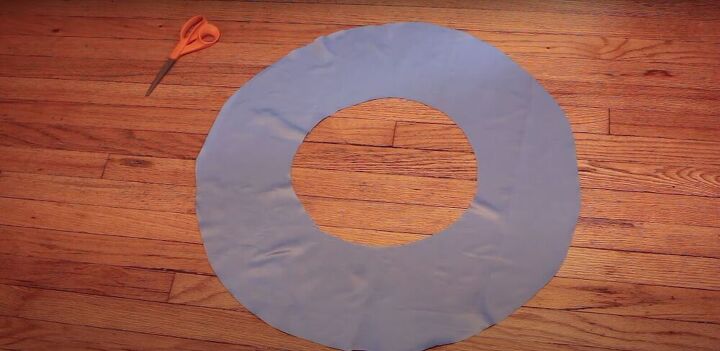
6. Cut out the flounce
I used a rotary cutter to cut both the outer circle I just marked, and the inner circle.
Next, I made one straight cut from the outer edge to the inner edge of the circle, which allowed me to flatten the fabric.
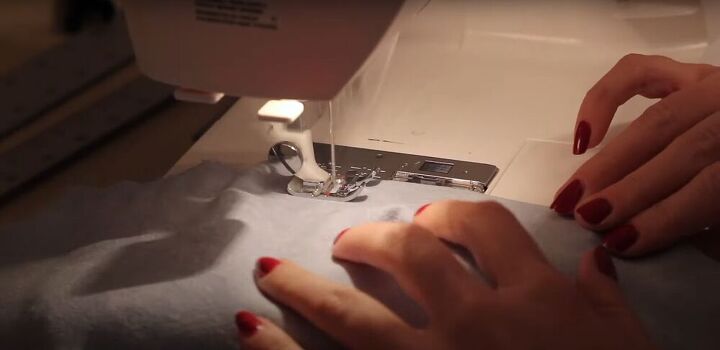
7. Sew the flounce onto the skirt
To hold the ruffle, I ran a straight stitch across the top edge of the fabric, about one inch from the edge.
8. Snip
Above the row of stitches, I snipped the fabric every few inches, which will help the seam lay flat when I attach it to the bottom edge of the skirt.
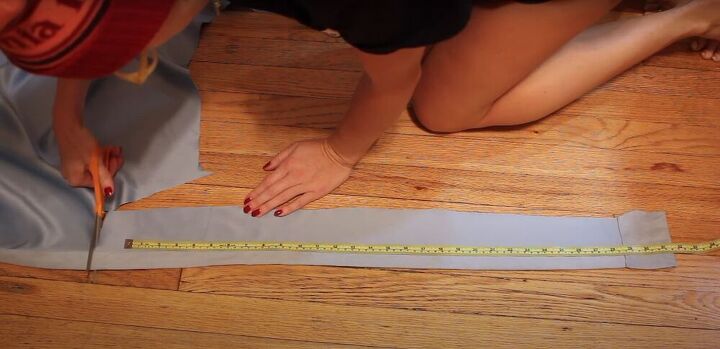
9. Cut the waistband
To cut the waistband, I cut a strip of fabric 2 inches longer than my waist measurement, and about 5 inches wide.
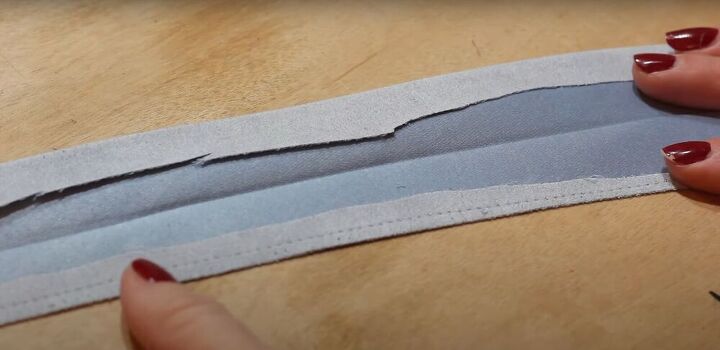
10. Fold and press the waistband
I folded the waistband in half and pressed it to hold the crease. Then, I folded both raw edges in and pressed those as well. This means when the waistband is folded down the center, the raw edges will be hidden inside.
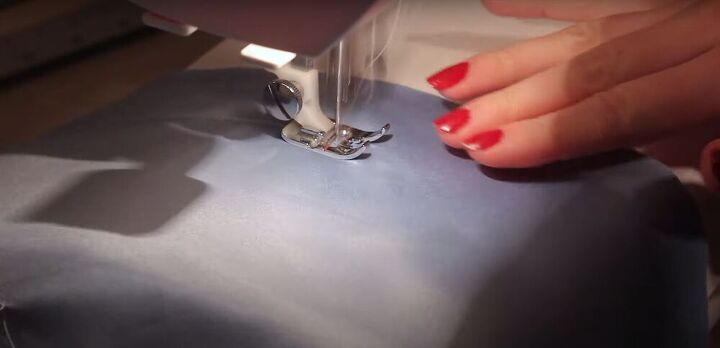
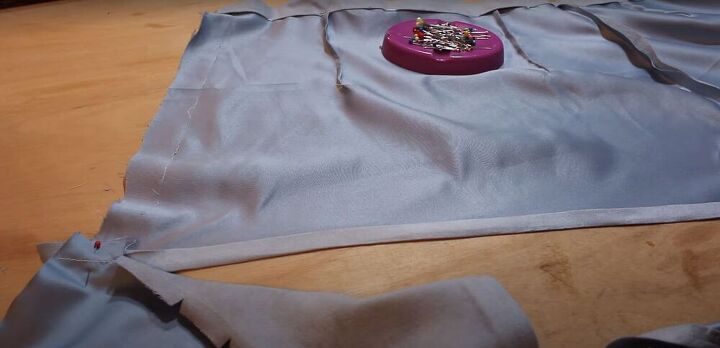
11. Sew the side seams
Next, I sewed down the side seam on one side of the skirt.
12. Attach the waistband
To attach the waistband, I encased the top edge of the skirt in the fold of the waistband, pinned it in place, then sewed it down along the lower edge.
13. Trim
At this point, I trimmed off a bit more of the bottom of the skirt, because I realized it was too long to achieve the look I wanted.
14. Hem the flounce
I hemmed the flounce, which was not so simple because it has a very curved edge. To help me do this neatly, I ran a basting stitch along the bottom edge, then folded and pressed the hem along the stitching.
Next, I folded the hem again to hide the raw edge, pressed it to hold the crease, and sewed down the hem.
I also double-folded the hem at the bottom edge of the skirt, and pressed it, but did not sew it down.

15. Attach the flounce to the A-line skirt
I pinned the top edge of the flounce along the entire length of the bottom edge of the skirt and sewed it down.
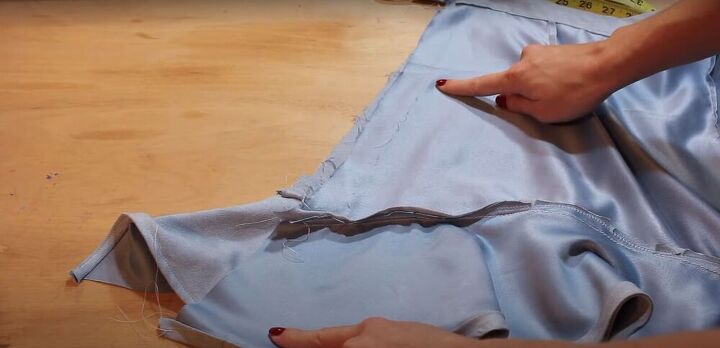
16. Sew the second side seam
On the second side seam, I sewed a basting stitch as long as my invisible zipper, starting from the top edge of the skirt. Then, I used a regular straight stitch down the rest of the seam.
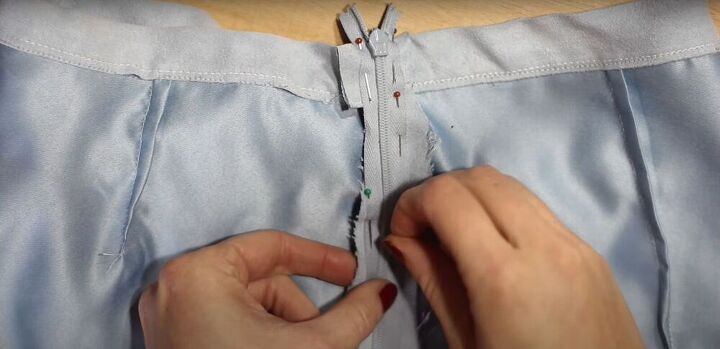
17. Sew the zipper in place
I then lined up the teeth of my zipper with the basting stitch, pinned the zipper in place, and sewed it down on either side, as close to the teeth as possible.
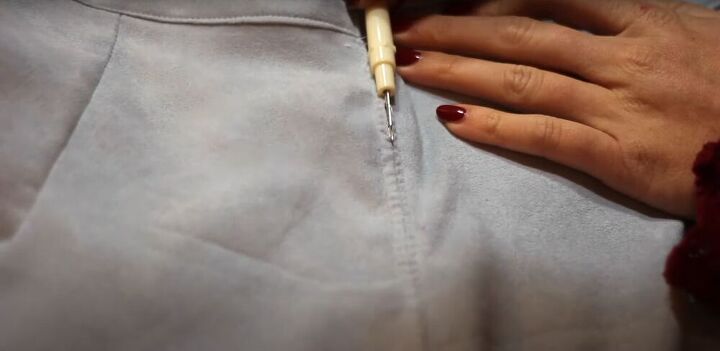
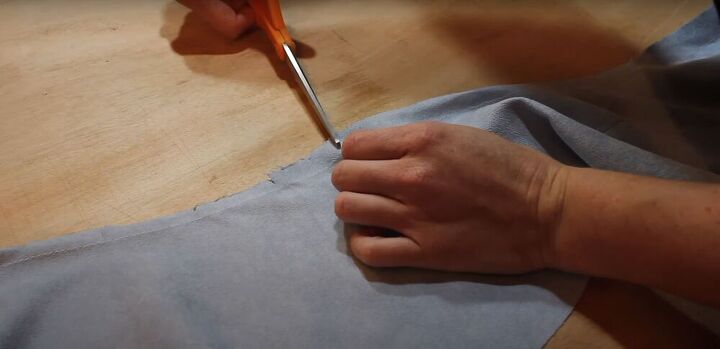
18. Rip the seam
Once the zipper was sewn down, I used a seam ripper to open the basting stitches, leaving me with a perfect invisible zipper.

19. Add the tassel trim
Finally, I pinned the tassel trim to the hem of the skirt, along the inner edge. I sewed it down, making sure to hide the stitches by sewing along the line of hemstitches.
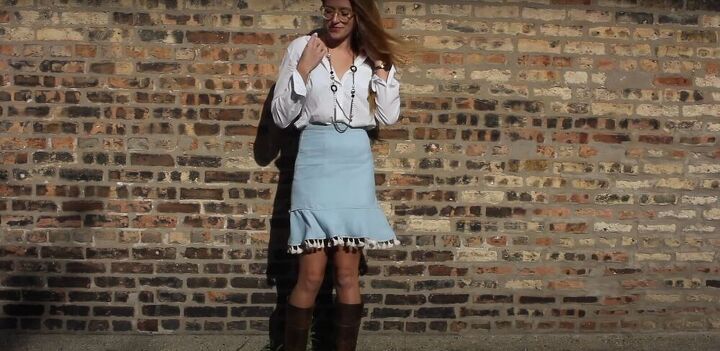
How to make an A-line skirt tutorial
How do you like my DIY skirt design? If you use this tutorial on how to make an A-line skirt to create your own, please post your results. I’d love to see how it turns out for you.
The author may collect a small share of sales from the links on this page.


Comments
Join the conversation
Always sew the zipper in before the waistband, that way the end of zipper is hidden and clean. For invisible you don't need a band. Use half plate for invisible zippers, that way you don't need to open with seem ripper.
Love your creativity and your desire for others to enjoy being creative too. This is adorable, looks like periwinkle my favorite color