How to Make a Sexy Cami Top Out of An Old Curtain

In this tutorial, I'll show you how to make a cami top... out of a curtain! Random, right? I mean, who wouldn’t like to see a curtain being transformed into a sexy DIY cami top? So, if you want to know how to sew a camisole and create a camisole sewing pattern, then keep scrolling down!
This is actually a two-part thrift-flip project. Here, I'll be using the lining of the thrifted curtain to make the DIY camisole. If you want to see what I did with the main fabric, read How to Make a Fabulous A-Line Skirt Out of An Abandoned Curtain.
Tools and materials:
- Pins
- Sewing machine
- Thread
- Paper
- Pen
- Fabric (I used a thrifted curtain)
- Stitch witchery tape
- Nylon cord for straps
- Iron
- Scissors
1. Make the cami top sewing pattern
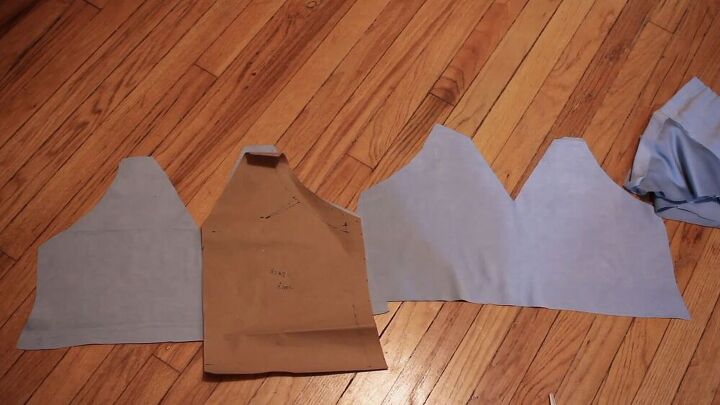
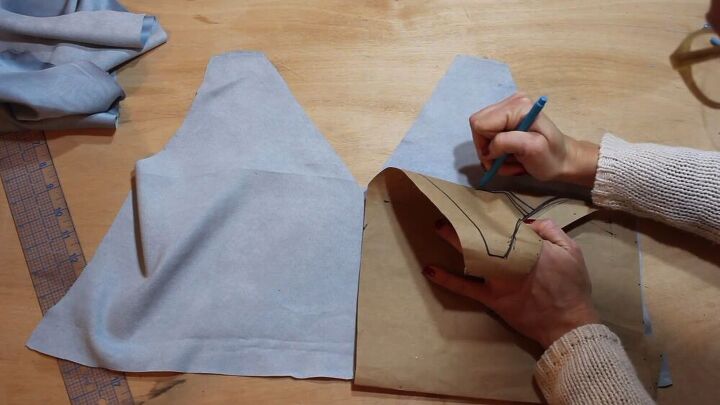
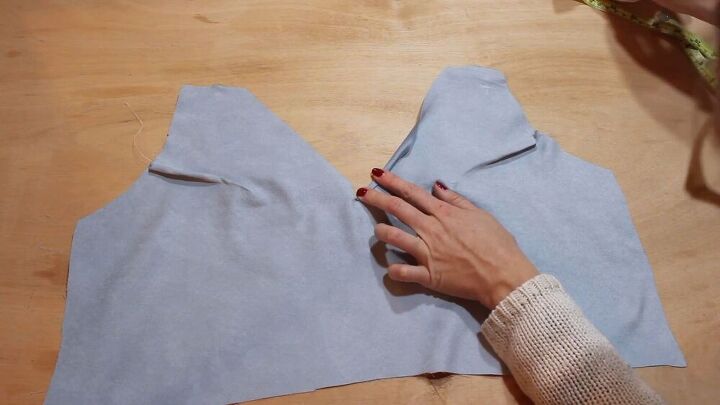
For today’s tutorial, I will use the silky part of this thrifted curtain to make a DIY camisole. The pattern is truly simple: measure your armhole, total bust, and shoulder-to-center-chest measurement. From these measurements, draw it out on paper, as shown.
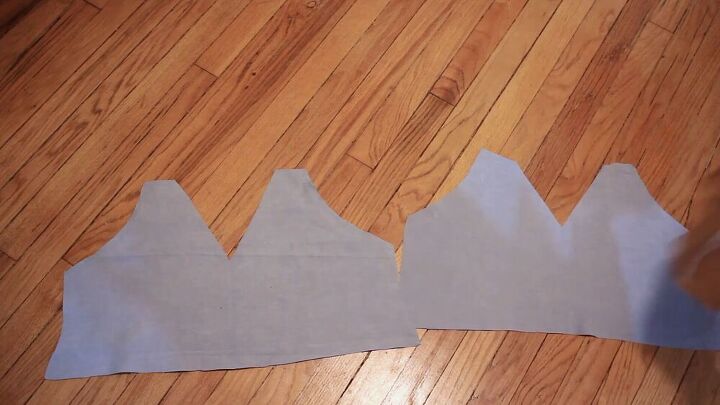
Then, cut the fabric. The front and back of this top are exactly the same.
Tip: I will be adding darts to my bust area, so keep that in mind for the next steps.

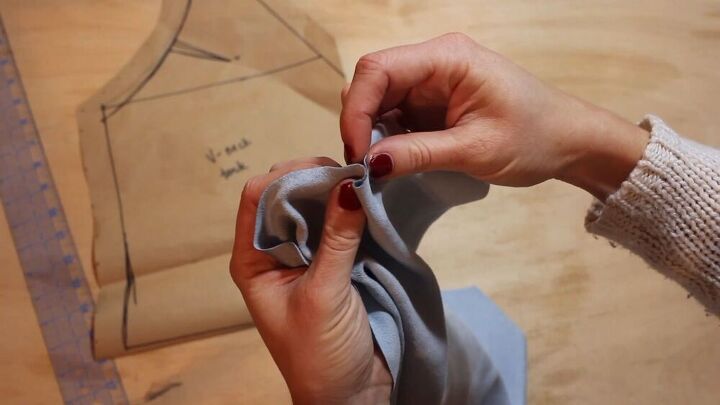
2. Make the darts
On the wrong side of the fabric, make the marks for your darts, as shown. They should be two dots a few inches away from each other, at your top bust area.
Be sure to repeat the same process for the other side. Also, make a third dot at the bottom to match up with the two dots on top when folded.
To sew the dart, fold your fabric on the wrong side. Match the two top dots and then stitch a diagonal line to the third, lower dot.
This is how it should look like.
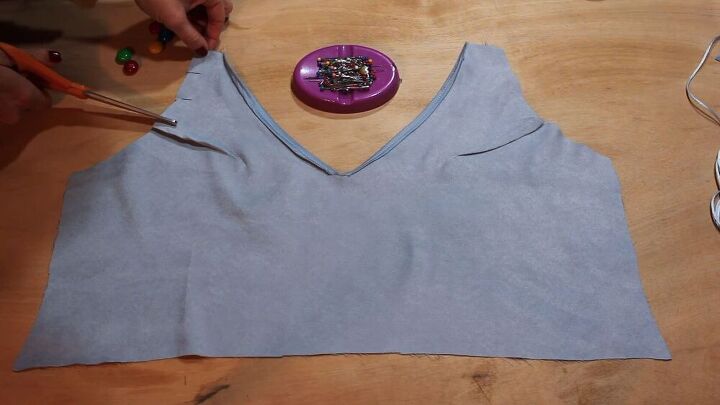
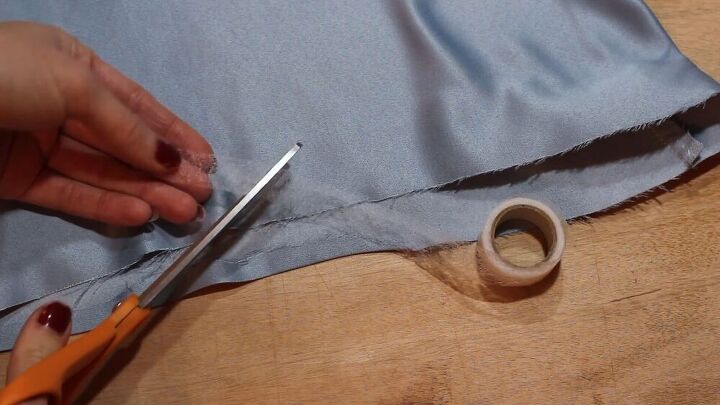
3. Hem the neckline
Snip the middle of your v-neck by 1 inch, and then fold the raw edge of the neckline, as shown.
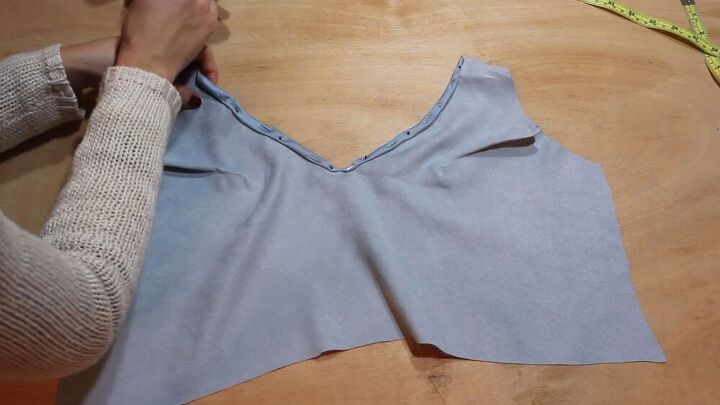
Fold the whole neckline, and pin.
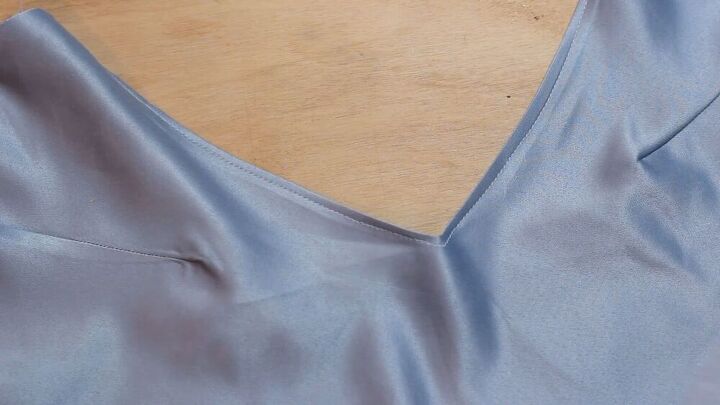
Now, sew the fold with a simple straight stitch. This is the lovely result! Do the same for the other DIY camisole piece.
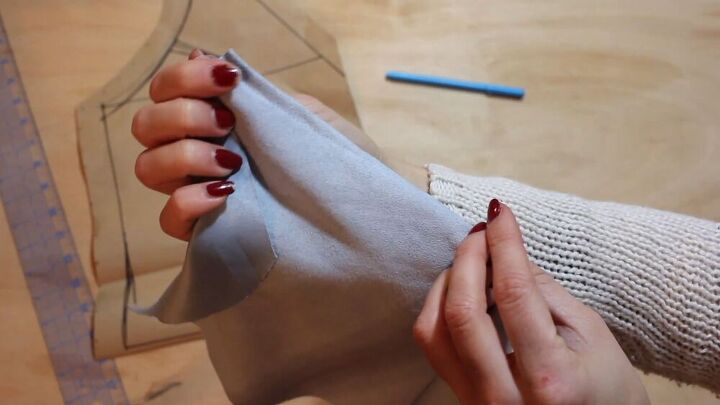
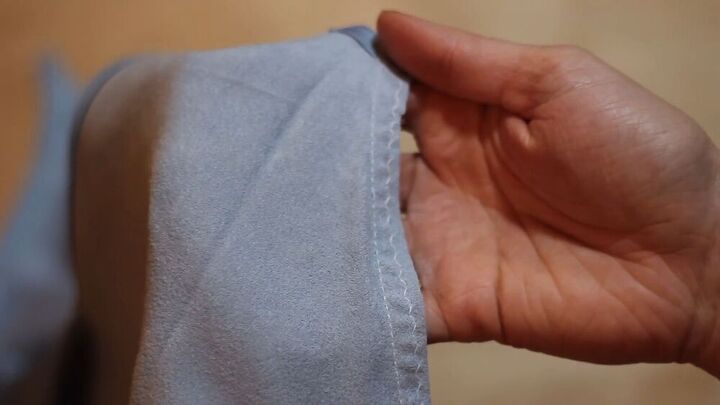
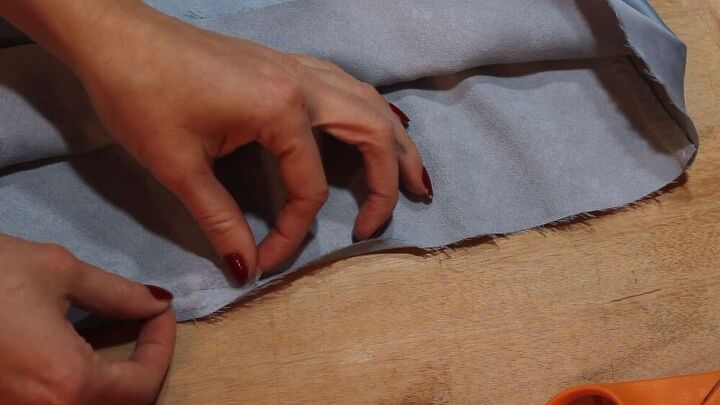
4. Hem the armhole curves
Before you fold the armhole edges, make a few snips around the curve, as shown. This will give more versatility when you fold the raw edges.
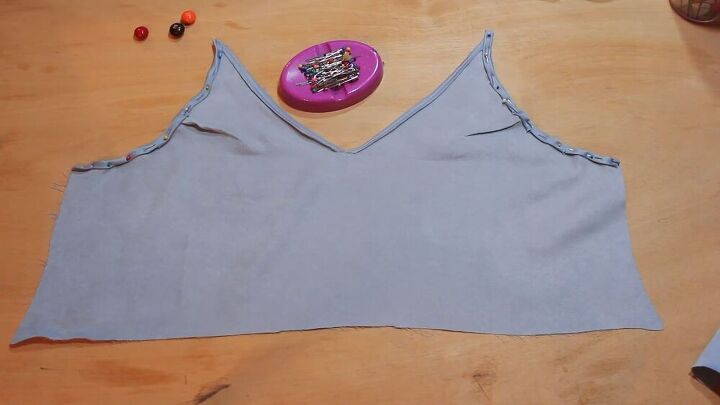
Fold the raw edges, and sew with a straight stitch.
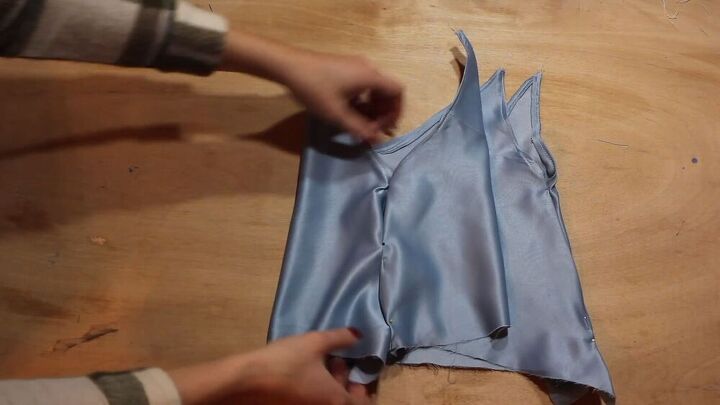
5. Sew the side seams of the cami top
Pin the side seams of both pieces. The sides should be fit to your liking. The best way to do this is to pin the sides, then wear the DIY cami top, and then repin as needed.
Once you’re happy with how the side seams fit, sew these right sides together. Cut the excess fabric after.
Then, sew the sides with a zigzag stitch. This acts as a serge stitch and prevents the fabric from fraying.
6. Hem the bottom of the DIY cami top
Instead of sewing the hem the traditional way, I used stitch witchery tape. It acts like glue when exposed to heat.
Cut small pieces of this, and evenly press them between the fold of the hem as shown. Use a hot iron and lots of steam!

7. Sew your straps
Fold the top corners of your DIY camisole top, and encase the strap inside. I'm just using nylon cord. Stitch across to secure them in place.

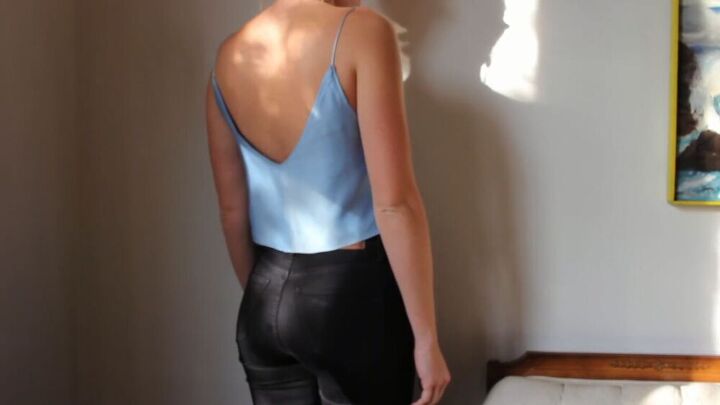

How to make a cami top tutorial
That’s it, we are done! Ready for the drum roll? From curtain to…. this elegant, classy, and chick DIY camisole top! What do you think of the result? No one would have ever guessed this was once a curtain!
So, now that you know how to make a cami top... are you looking at your curtains a little differently?
The author may collect a small share of sales from the links on this page.


Comments
Join the conversation