How to Sew a Super Cute Rachel Green Skirt From an Old Plaid Shirt

In this sewing tutorial, I’m going to show you how to make a mini, pleated Rachel Green skirt from a plaid shirt.
You can, of course, buy fabric and make the skirt from that. But I’m a big fan of upcycling and repurposing clothing, so I will be taking an old shirt and transforming it into something new.
Tools and materials:
- Seam ripper
- Scissors
- Tape measure
- Fabric marker
- Pins
- Sewing machine
- Ruler
- Iron
- Buttons
- Needle and thread
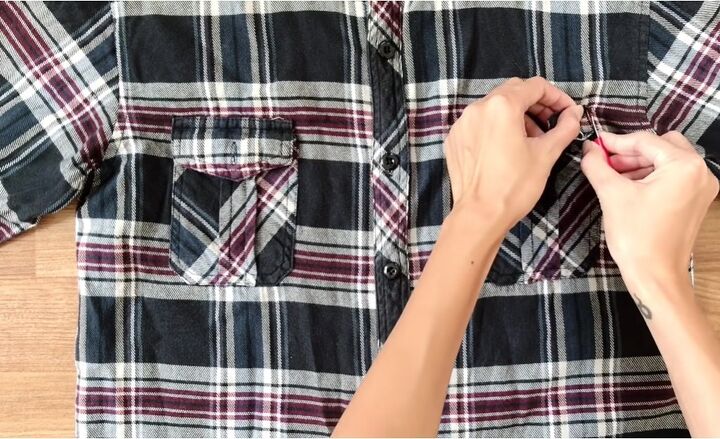
1. Remove the pockets and sleeves
Remove the front pockets with a seam ripper and then cut off the sleeves of the shirt.
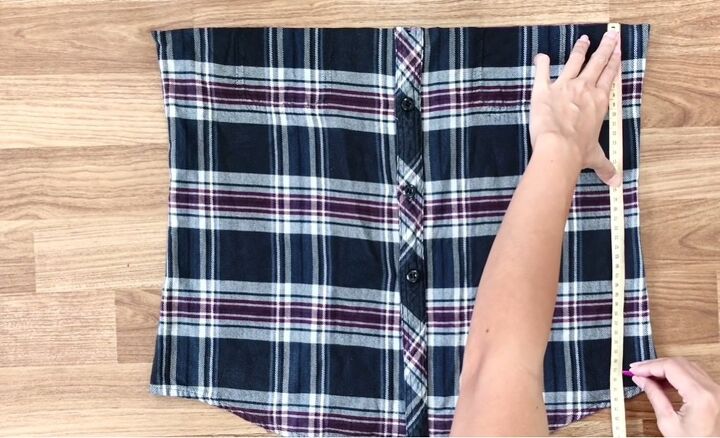
2. Cut the shirt
Draw a straight line going across the shirt under the arm holes. Proceed to cut along this line.
Measure the length that you would like your skirt to be, for me, that is 37cm (14.6 inches). Cut the shirt so that you are left with a rectangle that is this length. Remove the placket and the buttons.
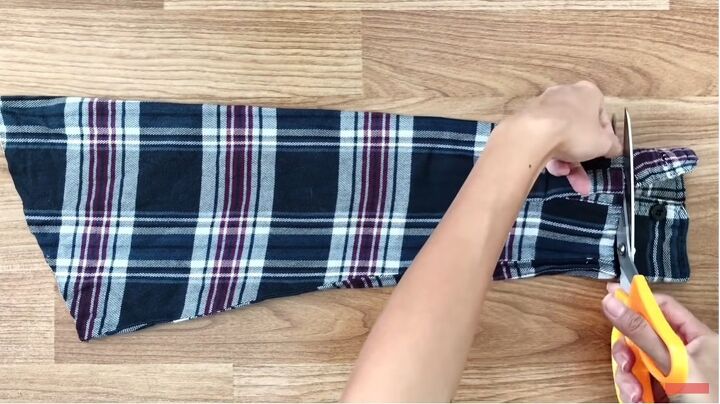
3. Open up the sleeves
We will need extra fabric for the skirt, so open up the two arms and remove the cuffs, buttons, and placket (if there is one).
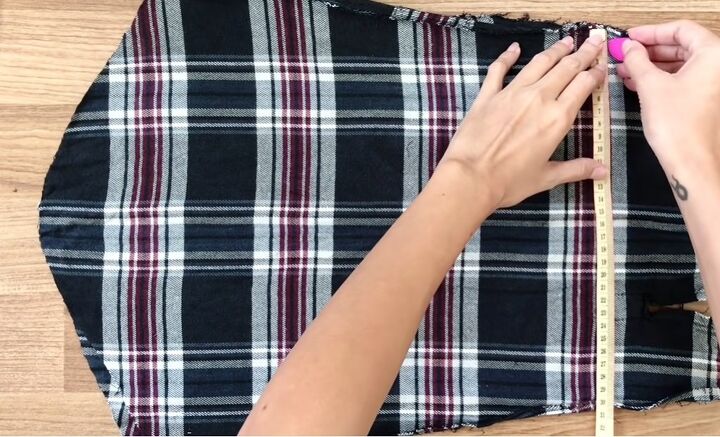
4. Measure and cut the sleeves
Measure 37cm (14.6 inches) on the sleeve material (or whatever the length of your skirt is) and cut out a rectangle.
The width will just be the maximum amount of fabric that you can cut out.
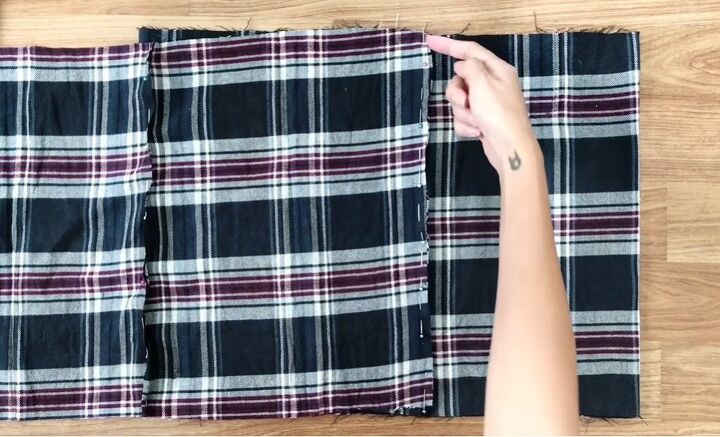
5. Attach the material
Pin the two pieces of fabric together along one of the length sides.
Then pin these to the shirt piece that you were working with before and sew them down with an overcast stitch to prevent the fabric from fraying.

6. Hem the sides
Fold in both of the width sides by 2cm (0.8 inches). First, fold in 1cm (0.4 inches) and then fold in another 1cm.
Pin the fabric in place and then sew it down. This step will give you a clean-looking finish.

7. Mark the pleats across the fabric
Measure 30cm (11.8 inches) in from either side of the fabric. Then from that mark, measure and mark another 3cm (1.2 inches).
Continue to mark 3cm all the way across the fabric until you reach the 30cm mark on the other side.
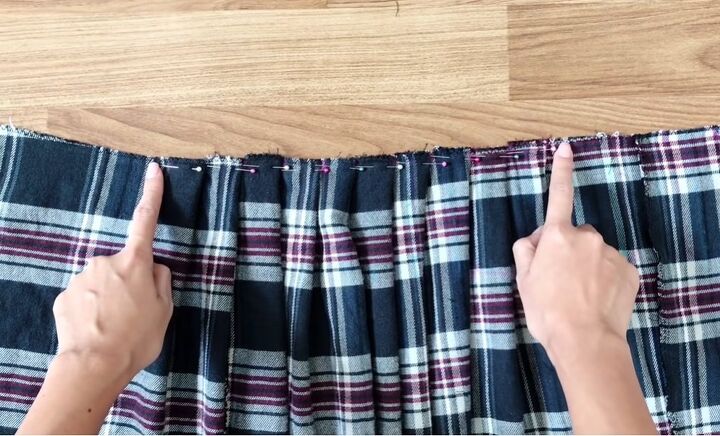
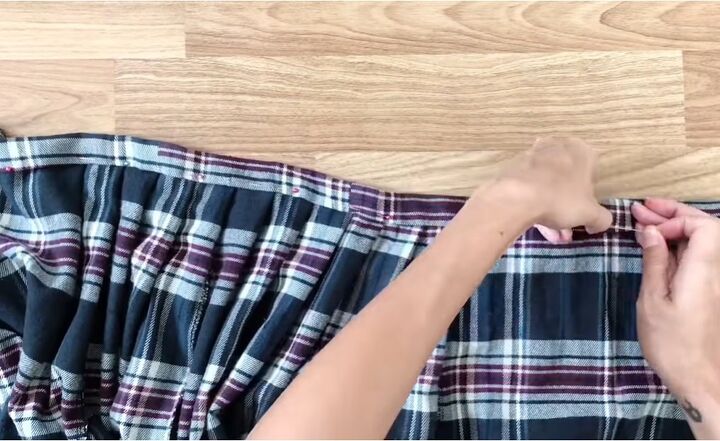
8. Pin and sew the pleats
Count three marks in a group, fold the first mark to the third one and use a pin to hold that fold. Do this all the way along the skirt.
In total, the length of your pleated folding will be half of your waist size.
You can try the skirt on at this point to make sure you’re happy with the fit. Proceed to sew the pleated part.
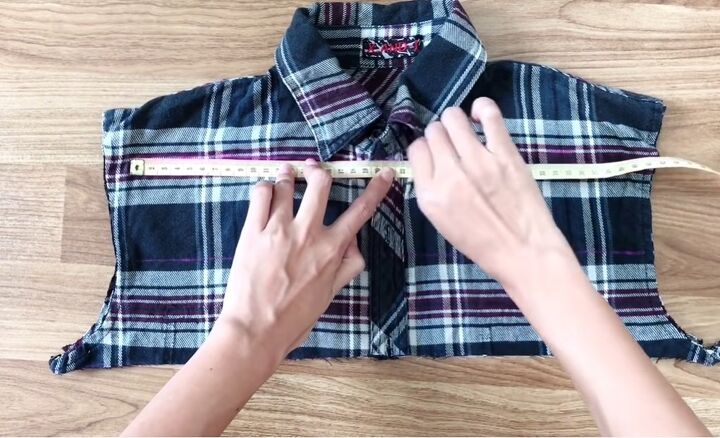
9. Cut and sew the waistband
Create a waistband for the skirt by using leftover fabric from the top of the shirt.
Draw two lines across the shirt that each have a width of 8cm (3 inches).
Then cut these two strips out. Connect all the pieces of fabric together with pins and then sew them to join them.
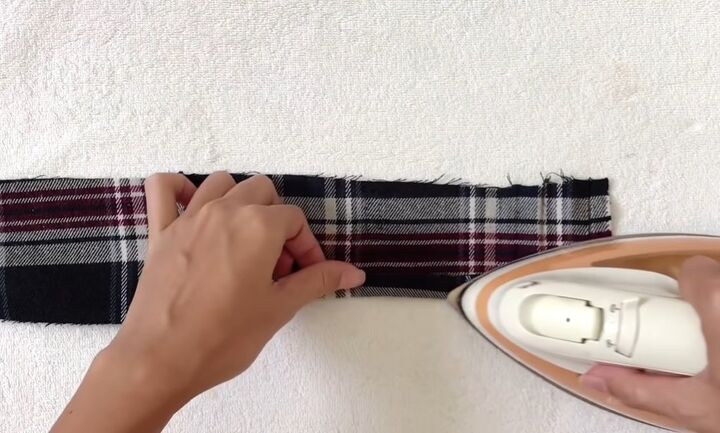
10. Fold and iron the waistband
Fold each long side in by 1cm (0.4 inches) and iron it down. Then fold the strip in half and iron it down.
The waistband will have a width of 3cm (1.2 inches).
11. Connect the waistband to the skirt
Connect the waistband to the skirt.
To do this, insert the skirt inside the waistband by 1cm (0.4 inches) - i.e., the length of the folding inside the waistband.
Pin the waistband in place all along the skirt and then sew it down.
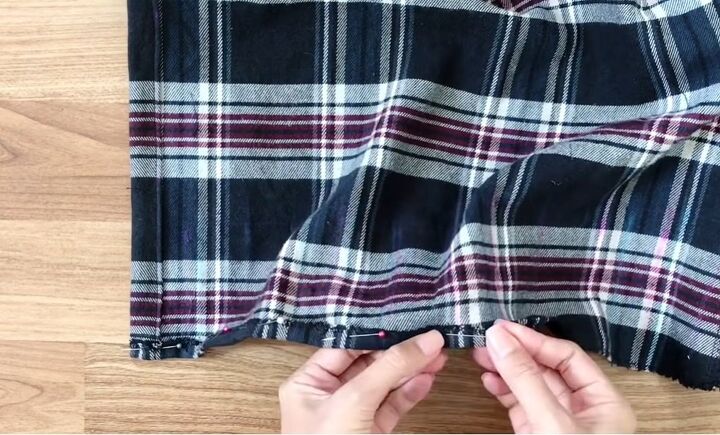
12. Hem the bottom of the skirt
Finish the bottom of the skirt by folding the fabric up by 1cm (0.4 inches) and pinning it in place. Proceed to sew it down.
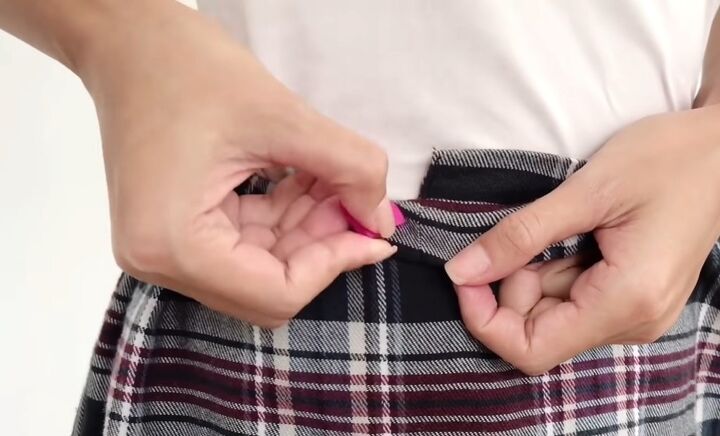
13. Mark, cut and sew the buttonholes
Put the skirt on and mark the two places (inside and outside the skirt) where the buttons will go.
At either end of the waistband, cut a small hole and sew around it to make the buttonhole.

14. Sew on the buttons
Finish by sewing the buttons onto the marks that you made on the waistband. Then iron down the pleats, and you’re done!

Rachel Green skirt
Here is the finished Rachel Green-inspired pleated skirt. It has a straight section at the front, and it is pleated on the sides and all the way around the back.

I had such a fun time making the skirt, and I love the finished piece. Let me know if you’re going to give this project a try!
For more sewing content, check out my post on How to Make a Gorgeous DIY Wrap Dress Out of 2 T-Shirts.
The author may collect a small share of sales from the links on this page.


Comments
Join the conversation