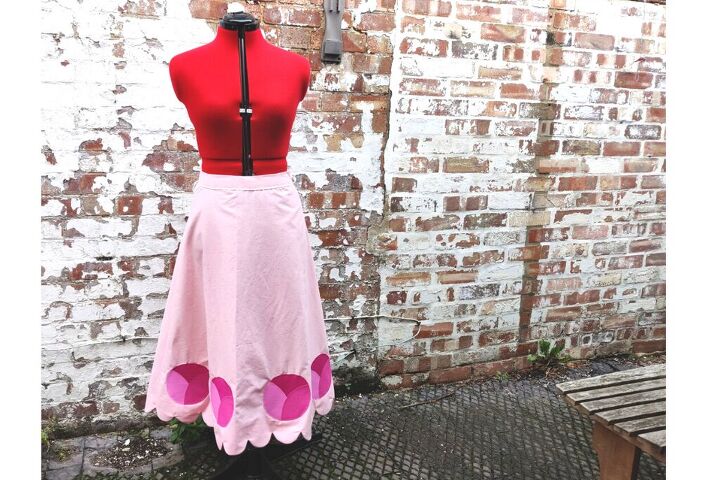
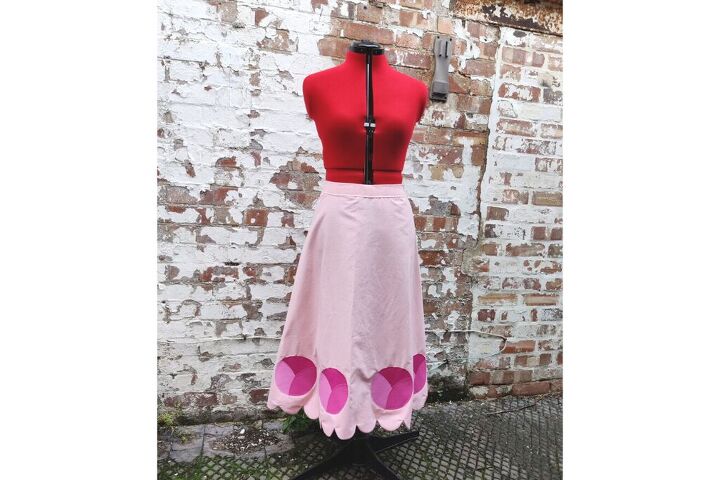
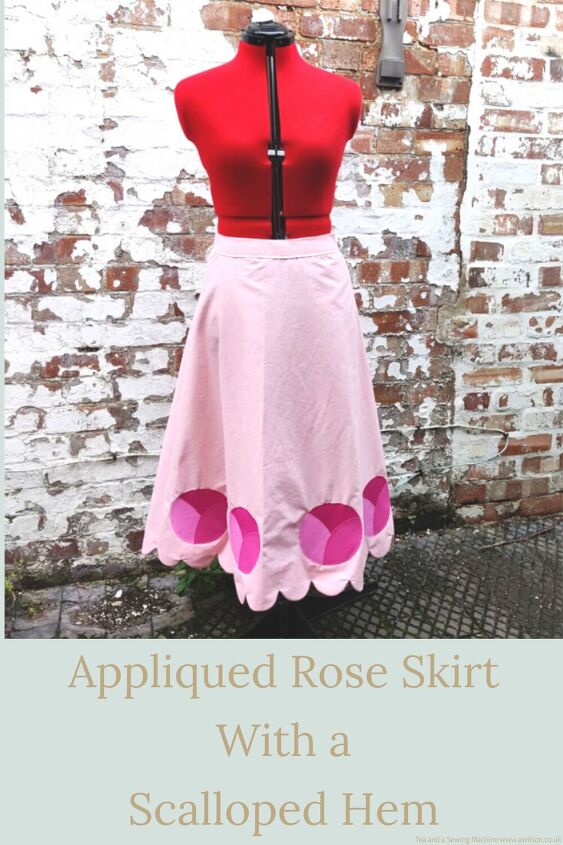
Appliqued Rose Skirt With a Scalloped Hem
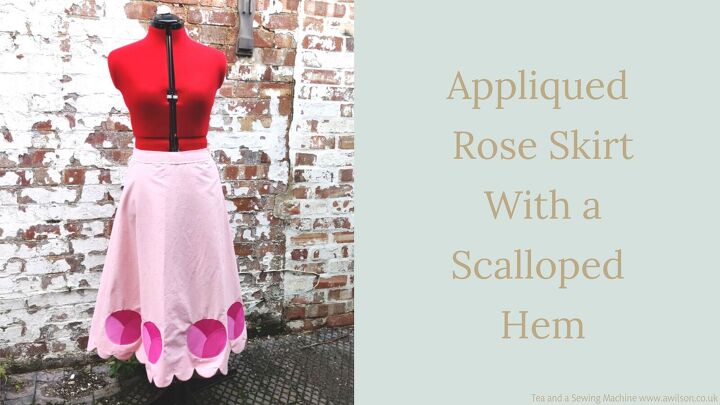
I love my circle skirts, but it’s nice to have some variety.
A line skirts are also quite easy to make from your own measurements. And like the circle skirt, once you have the pattern piece, you can adapt it to make skirts of different lengths and even add a bodice to make a dress.
One of the advantages of an A line skirt is that it uses much less fabric than a circle skirt! I’ve added a scalloped hem to this one, and the appliqued roses I made a while ago.
In this tutorial, I’ll talk you through drafting the pattern, sewing the skirt, making the scalloped hem and adding the appliqued roses.
The skirt has a zip, the idea of which might give you the heebeejeebies, but there is a nice, easy of sewing zips which I’ll explain when we get there!
Drafting the Pattern
Drafting the pattern for an A line skirt is super easy, so it’s a good first project if you’ve never drafted a pattern from your own measurements before. Hopefully you’ll feel encouraged to try some other things once you’ve done this!
You Will Need
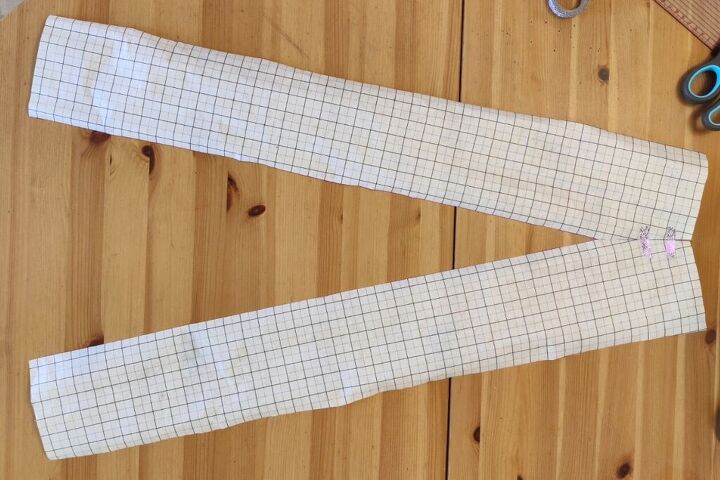
Pattern paper. I like to use the sort with the grids because it makes things so much easier! If you don’t have pattern paper, you could use some large sheets of newspaper instead.
Ruler
A pen or pencil
A tape measure
Somewhere to jot down your measurements
A French curve is useful, but if you don’t have one, a plate will do.
Taking Your Measurements
If you haven’t done this before, I’d recommend reading this post here.
You will need to measure:
Your waist
Around your hips at the widest point
The length from your waist to where you would like the hem of the skirt to be. Mine was 78 cm as I wanted it to be a mid calf kind of length.
The skirt is made up of 2 pieces, plus waistband and extra pieces for the hem. Both the front and back of the skirt are the same, and each piece will be cut on the fold. So the main skirt pattern piece is a quarter of the skirt.
To draft the pattern piece you will need to divide your waist measurement by 4, and your hip measurement by 4. Then work out the difference between them.
So if your waist measurement is 80 cm and your hip measurement is 100 cm, dividing them by 4 will give you 20 cm for the waist and 25 cm for the hips. The difference is 5 cm.
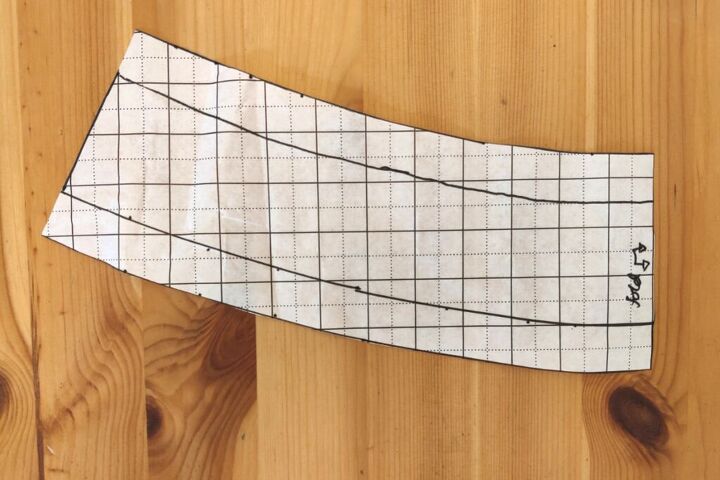
Drafting the Main Skirt Piece
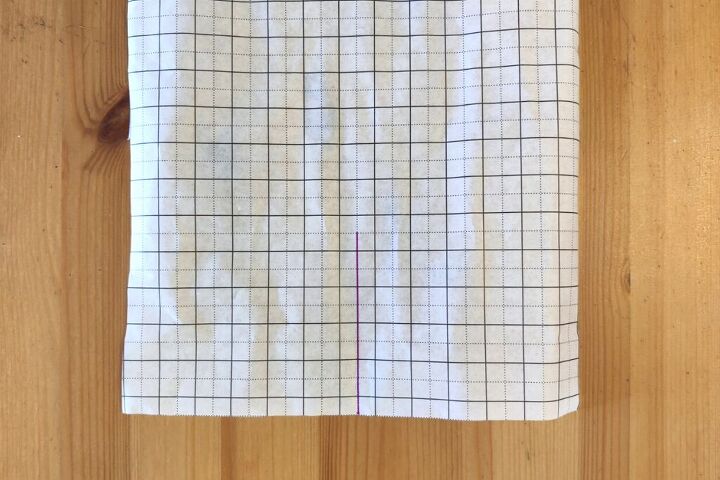
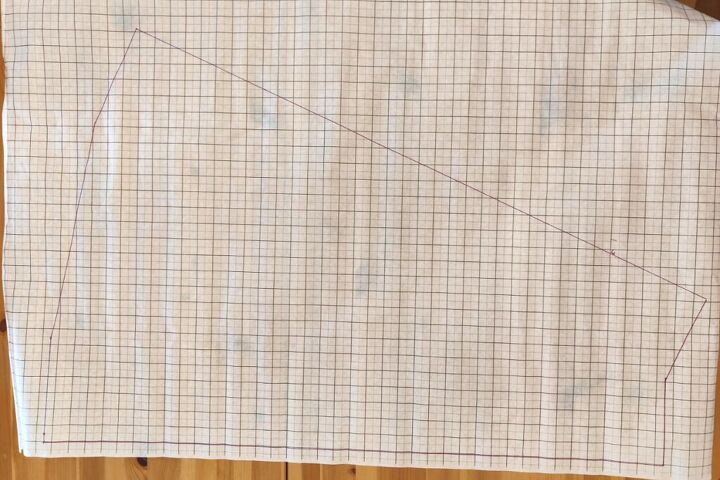
Now grab your pattern paper and draw a rectangle that is your measurement divided by 4 times the length you want the skirt to be.
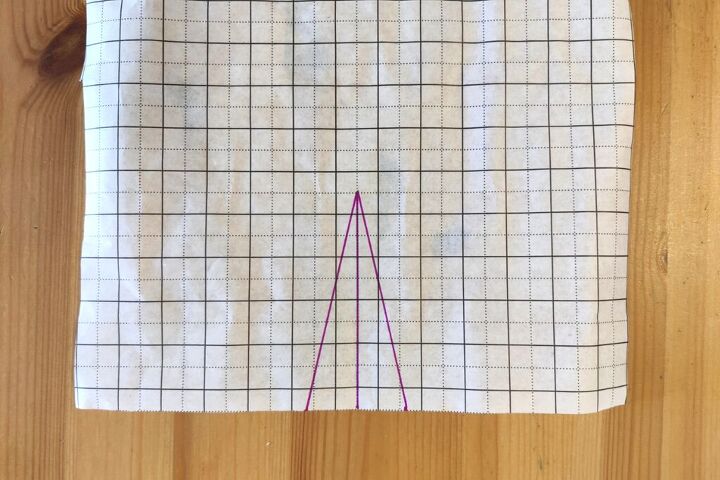
Along the top edge, find the centre and draw a line 10 cm (4 inches) downwards. Now take the difference between your waist measurements divided by 4 and your hip measurement divided by 4. In the example above the difference was 5. Mark off either side of the line so that the total difference between the marks is the difference between the waist and the hips. So in the example, there would be 2.5 cm either side of the line.
Now draw from these points to the other end of the line to form a triangle.
If you were making a straight skirt, this would become a dart. You would also need to make a separate pattern piece for the back because the darts would need to be longer at the back.
But for an A line skirt, just having the one pattern piece will do, because we’re going to do something different with that little triangle.
From the bottom point of the triangle, draw a line downwards to the hem.
Cut the triangle out.
Now cut along the line you drew from the hem until you almost get to the bottom of the triangle. If you go a little bit too far and the pattern piece ends up in 2, it doesn’t matter, but it is easier if you can keep it as one piece.
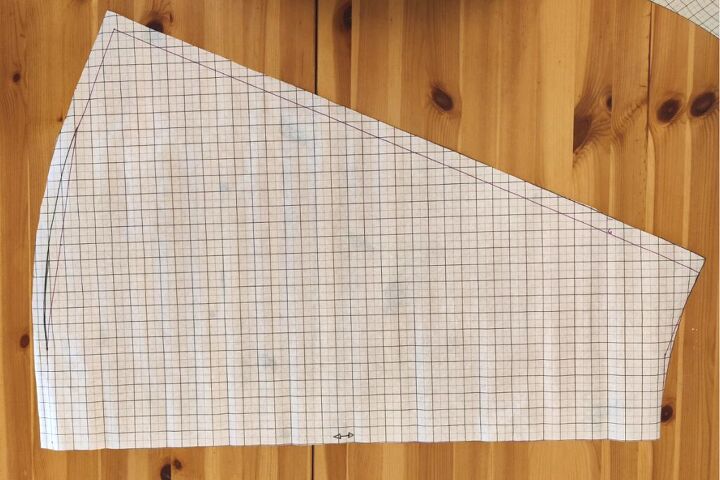
This is where the magic happens! Push the 2 halves of the triangle together. The line that you cut should open up. Stick the sides of the triangle together with some tape. This gives you the shape that you need!
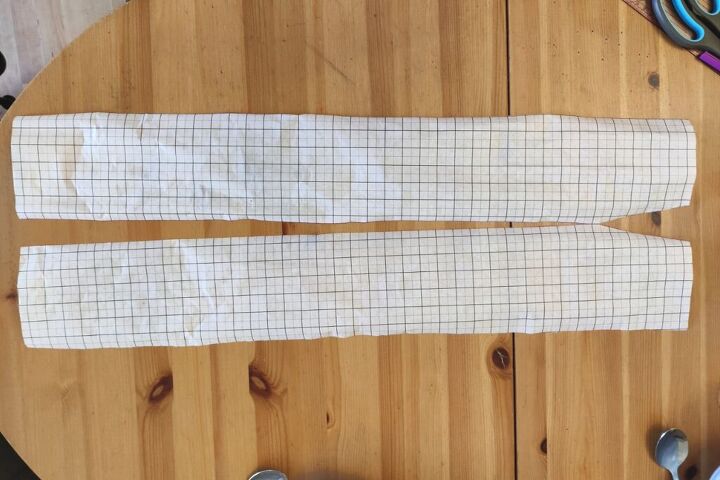
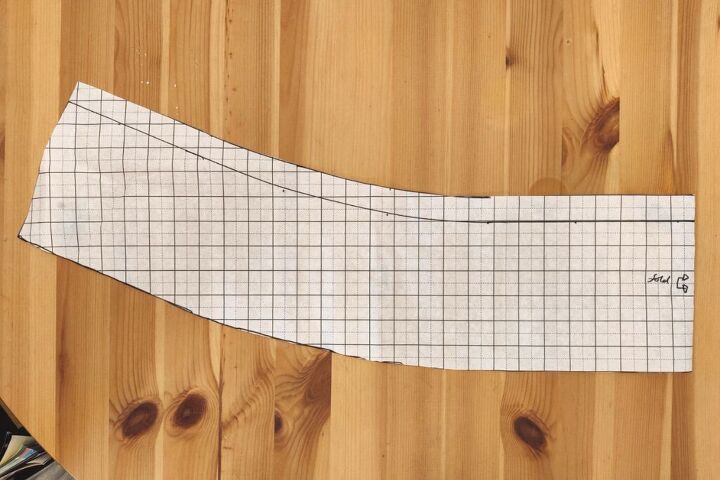
It will need redrawing, so take another piece of pattern paper and trace the piece you just made. You can add a curve to the waist and the hem. This is where having a French curve can be useful, but if you don’t have one, a plate will do just fine.
Add a seam allowance to the sides and the bottom, then cut it out.
Drafting the Waistband
You’ve done the most difficult bit now, and you can use the pattern piece you have drafted for the 2 remaining pieces.
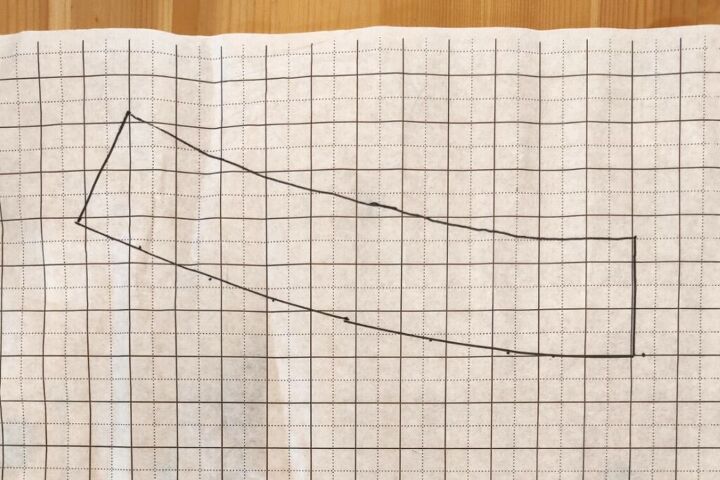
To draft the waistband, trace the top of your skirt pattern piece from the top to about 5 cm (2 inches) down. Identify which side will be cut on the fold, then add a 2 cm (3/4 inch) seam allowance to the top and the bottom.
Drafting the Hem Pieces
Making the scallops will require extra pieces of fabric instead of a hem, but you could use different fabric if you find you don’t have enough.
To make the pattern piece for the hem, trace the bottom edge from the hem upwards about 12 cm (5 inches). Add an extra 2 cm (1 inch) along the top for the hem.
Cutting Out
Cut 2 skirt pieces on the fold.
Cut 2 hem pieces on the fold.
For the waistband, you will need 4 pieces, so cut 4 waistband pieces on the fold.
Sewing the Skirt
With the right sides together, pin one of the side seams. Pin the other side seam most of the way, but leave a bit open so that you can get into it.
Pop the skirt on. Pin the open bit of seam and check that that both side seams are more or less the same. Mark where the pins are with a pencil.
Take the skirt off and sew the side seams.
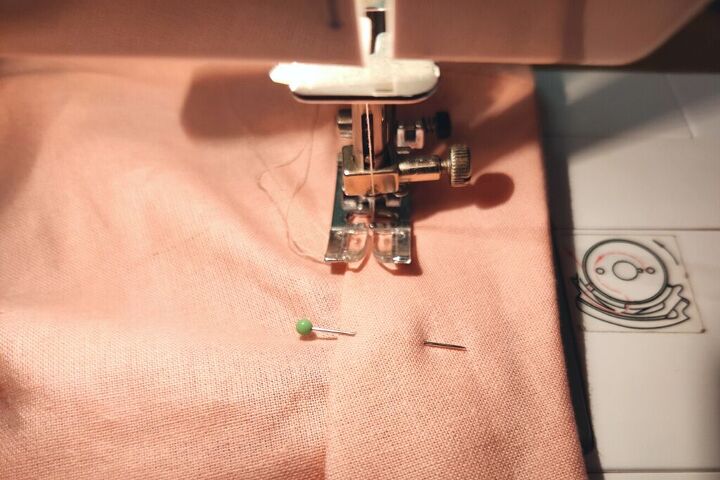
Sewing the Zip
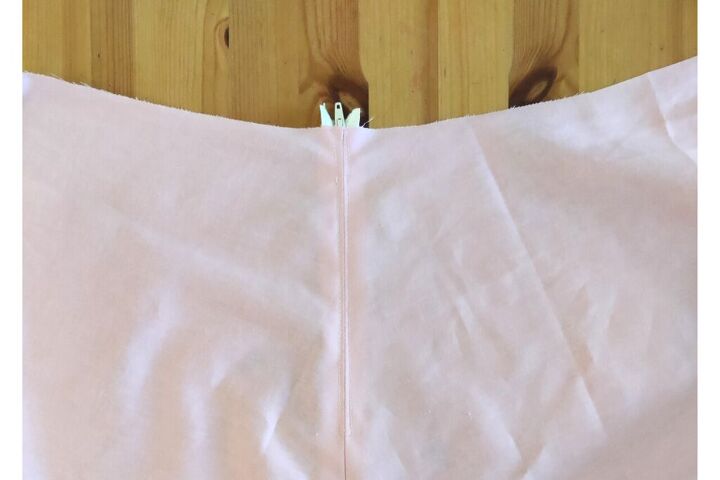
Over the left hand side seam, pin the zip to the wrong side face downwards.
Pin the zip, checking that the teeth are lined up with the seam.
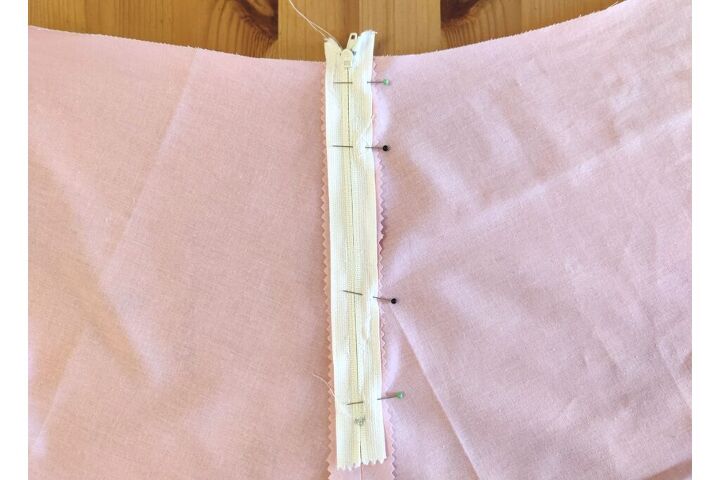
Tack the zip to the skirt, then sew. I find it easiest to start below the zip pull, and sew one side and then the other.
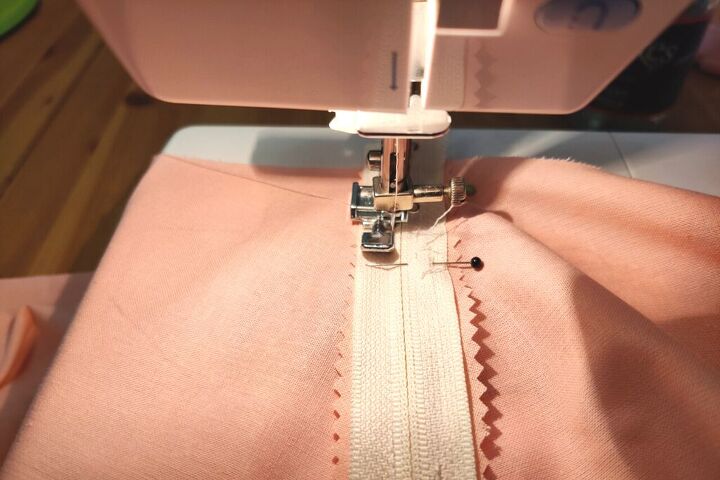
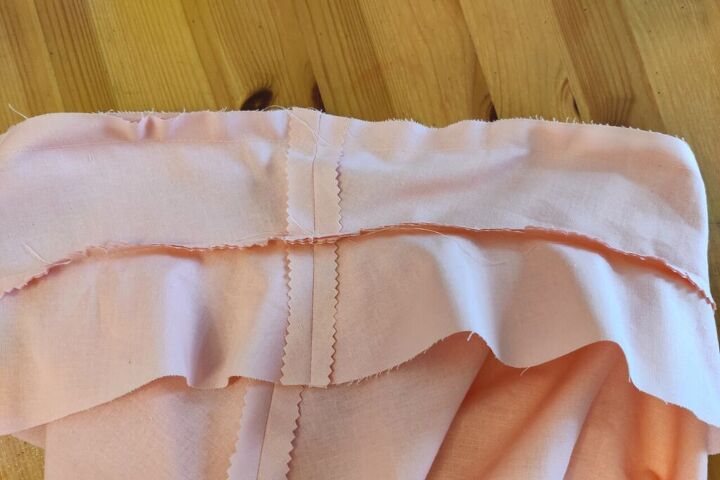
Unpick enough of the seam to allow the zip pull to be moved down. Then sew the rest of the zip to the skirt.
Unpick the rest of the seam that is covering the zip teeth.
You can find a more detailed tutorial for sewing a zip using this method here.
Sewing the Waistband
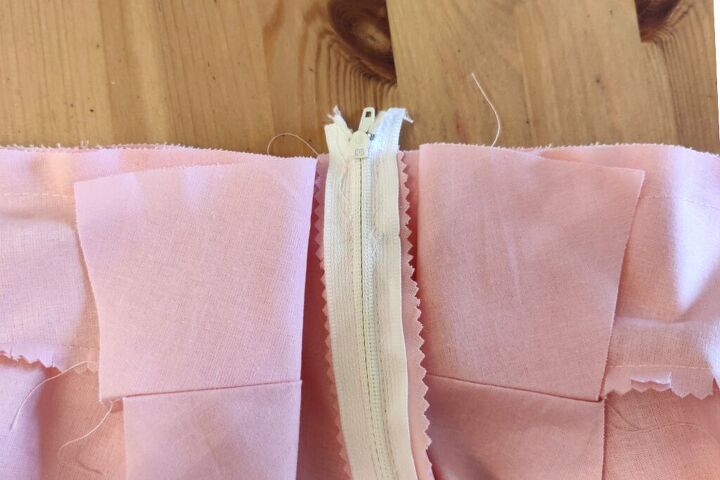
Take 2 of the waistband sections. Pin them together at the short end, then sew.
Do the same with the other 2 waistband pieces.

Put one on top of the other with the right sides together. Pin along the top edge, ie the waist edge rather than the skirt edge.
Sew and trim the seam. Clip the curves. Turn the waistband the correct way out and press.
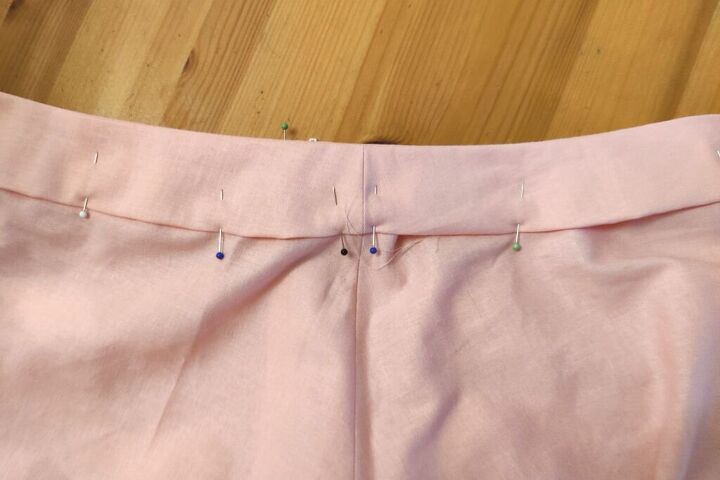
To attach the waistband to the skirt, find the side seam on the waistband, and the seam opposite the zip on the skirt. The side seams are the best place to start, because you can make sure they are lined up neatly, then you can deal with the zip side when you get there.
Open out the waistband. You’ll be pinning the waistband, wrong side up, to the wrong side of the skirt.
Pin the waistband to the skirt so that the edge of the waistband is about 2 cm (1 inch) down from the edge of the skirt.
Start at the side seam and work towards the zip, then back to the side seam and round to the other side of the zip.
Sew in the same way. It’s easier to get it neat if you start at the seam, than by starting at the zip and sewing all the way round. Stop sewing a couple of cm (an inch) away from the zip.
Press the waistband up towards the top of the skirt.
Fold it over the raw edge of the skirt and tuck the raw edge of the waistband underneath. You might find it easiest to pin the waistband to the skirt before folding the raw edge underneath. Pin, then topstitch along the bottom end of the waistband. Stop sewing a couple of cm before you reach the zip.
Fold the ends underneath so that the ends of the waistband match the seam. It can be hard to get this neat, so don’t worry if it’s not perfect. We won’t tell Patrick and Esme!
Making the Scallops
Take the hem pieces and pop one on top of the other. Pin along one of the short edges and sew. Press the seam open.
With the right sides together, pin the bottom edge of the hem piece to skirt, then sew.
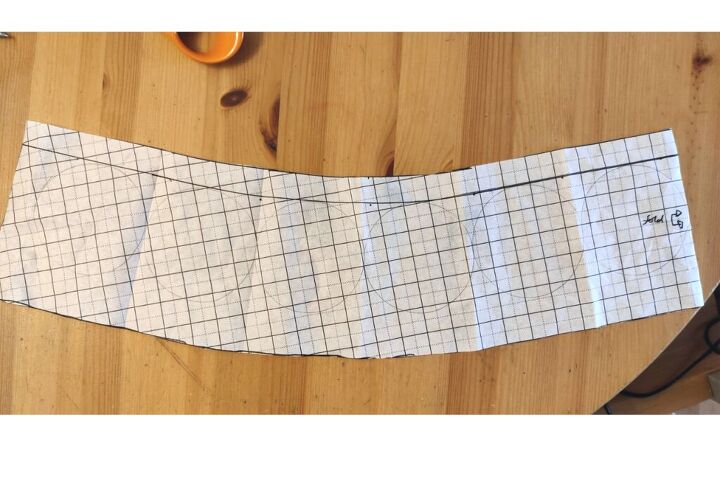
To make the scallops, find the pattern piece you made for the hem section.
This might not be the official way to make a scalloped hem, but this is what I did!
Check that the hem pattern piece is the same size as the bottom of your skirt. This especially important if you had to adjust the width or if you ignored the seam allowance or eyeballed it instead of measuring! Make adjustments if necessary.
Fold the pattern piece into 6.
Now find something circular that will fit into one of the sixths. I used a glass.
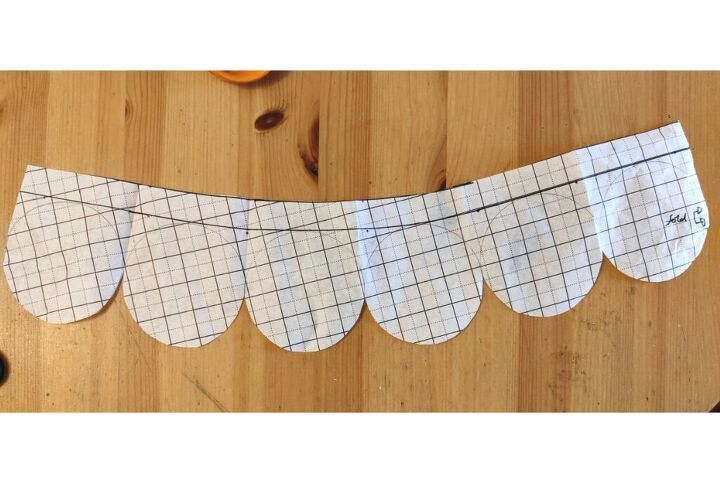
Open out the pattern piece and draw around the glass in each one, being careful to line them up against the edges and the hemline along the top. Cut it out.
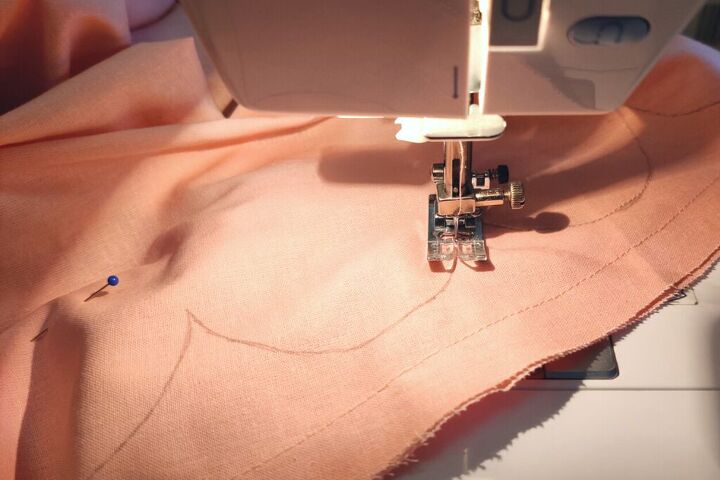
Pin the pattern piece to the skirt. Start at one of the side seams and pay attention to where the fold is marked on the pattern piece. This will need to be on the opposite side to the seam.
Draw around the scallops with a pencil.
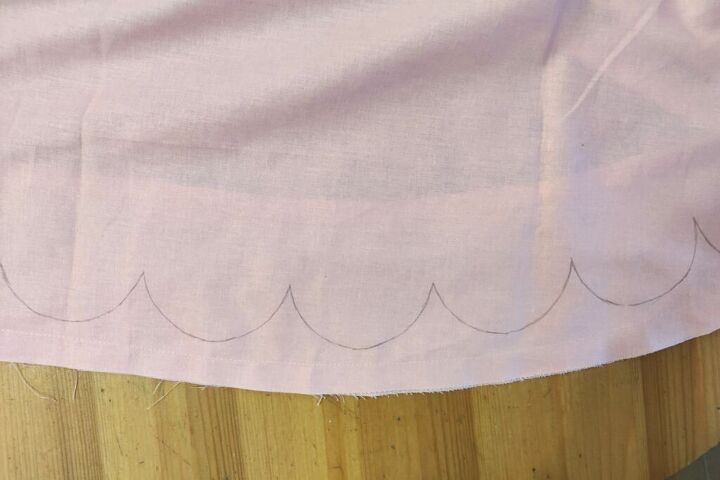
Flip the pattern piece, pin it to the skirt and continue to draw the scallops onto the skirt.
Do the same on the other side of the skirt.
If they don’t quite fit, move the pattern piece around a bit until it does. The scallops can overlap a little bit without it being too noticeable.
Sew along the scallops where you have drawn.
Trim the edge of the scallops to about 1 cm (1/4 inch).
Clip the curves and, where the scallops meet, snip right into the v, but be very careful not to cut the stitches!.
Turn the hem the right way out. Use something blunt, like a wooden spoon, to push the scallops out. Run the iron over them. You might need to push the tip of the iron into the scallops first.
Appliqueing the Roses
Check out how to create the applique roses here
Pin the roses to the skirt, checking that they are evenly spaced.
Then applique them to the skirt.
How you do this is up to you. You could use a straight stitch or a zigzag.
Bear in mind that even with interfacing, the edges will probably fray a bit. If you like this kind of look, then a straight stitch is fine. A zigzag will give a neater finish if that is what you prefer.
Unfortunately summer was over by the time I finished mine, but I’m looking forward to wearing it next year!
The author may collect a small share of sales from the links on this page.


Comments
Join the conversation