You’ll Be Surprised How Easy It is to Make This DIY Wrap Skirt

Want to sew a DIY wrap skirt but don’t know where to begin? Don’t worry; this DIY wrap skirt tutorial has got you covered. Perfect for beginners and any sewing enthusiast! Learn how to make this gorgeous and mesmerizing DIY wrap skirt without a pattern. You will love the ruffled edge and how it sits nice and snug on your body. So, go ahead, measure your waist and let’s get sewing!
Tools and materials:
- Fabric
- Pen
- Paper
- Measuring tape or ruler
- Pins
- Sewing machine
- Serger- optional
- Thread

Make the pattern
On a piece of paper, measure your total waist + half of your total waist.
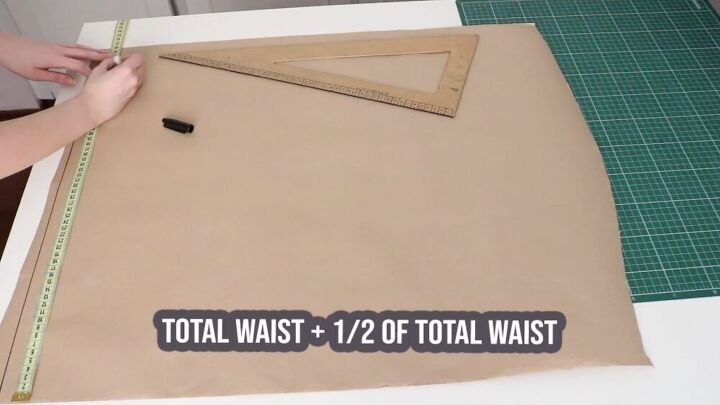
Then, divide this measurement by half and mark this on your pattern paper. You will only be using half of this measurement since you will fold the fabric to cut out the pattern.
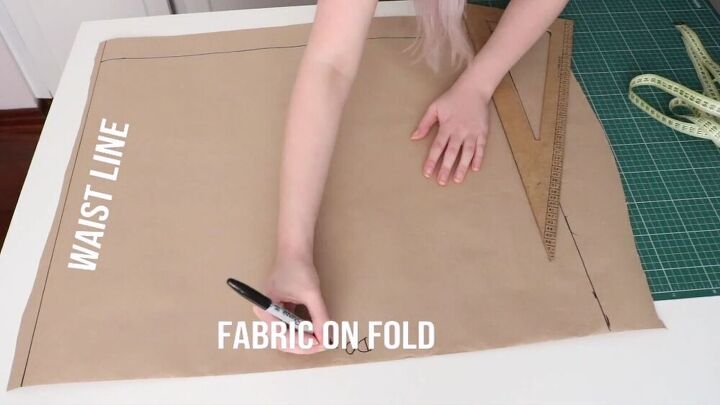
Now, mark your desired length of the actual skirt ( excluding the ruffles). This is the layout of the pattern for reference.
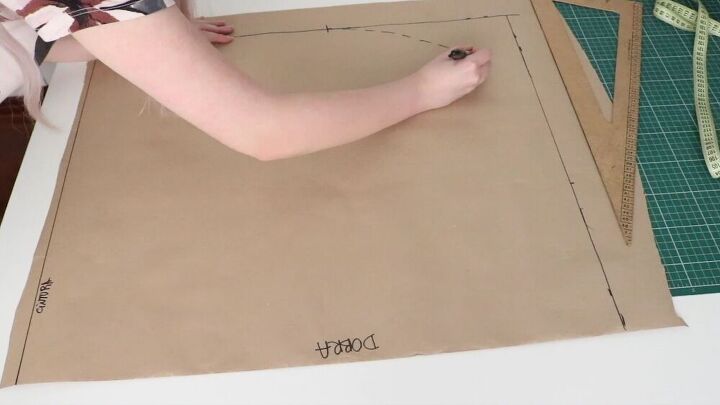
Now, with a measuring tape, measure the length that you’d like your skirt to open and start curving. Mark this on the paper on the side and draw a curved edge from the side to the bottom of the skirt, as shown.
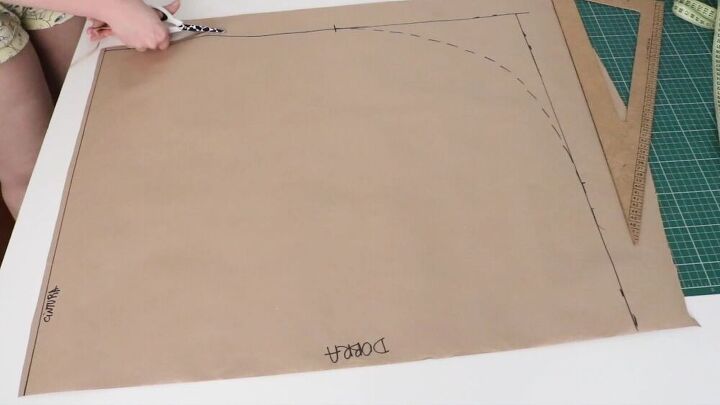
Now cut around the pattern, leaving ½ and inch seam allowance.
TIP-
Watch my video from 0:10 seconds to see the pattern-making process.

Cut the fabric
Fold the fabric, place the pattern on top, and carefully cut around the edges.
TIP-
Make sure the fabric is straight when cutting. Use pins to hold it down.
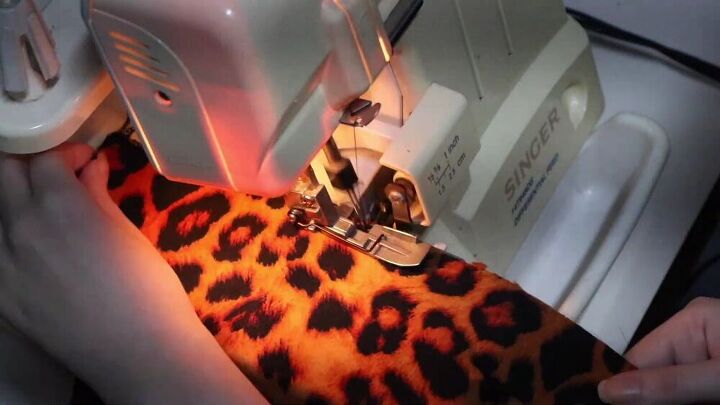
To prevent your fabric from fraying, go ahead and serge the raw edges. If you don’t have a serger, you can use a zigzag stitch, too.

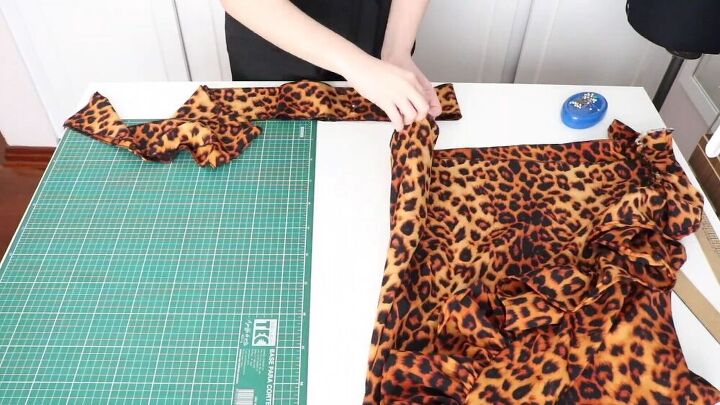
Make the waistband and ruffles
Cut out your waistband. The measurement for this is 4 x 102 inches. You will need to do this in strips( you’ll connect it later). Yes, it is a really long strip but remember that you’ll need extra fabric to tie and secure the DIY wrap skirt around your waist.
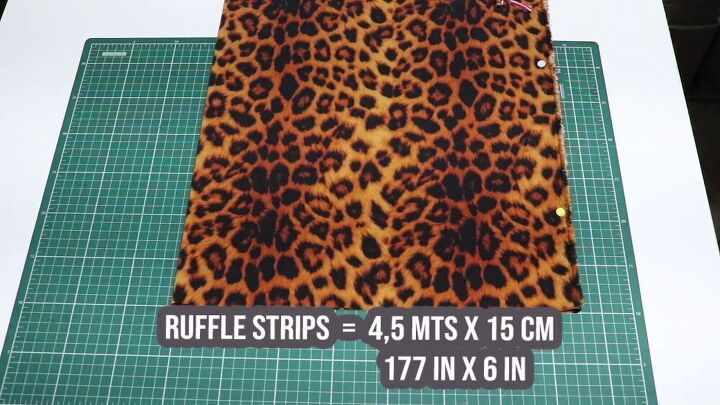
Just like the waistband, go ahead and 6 inch wide strips. Make sure the total length is around 177 inches. You can use any size or length that you want.
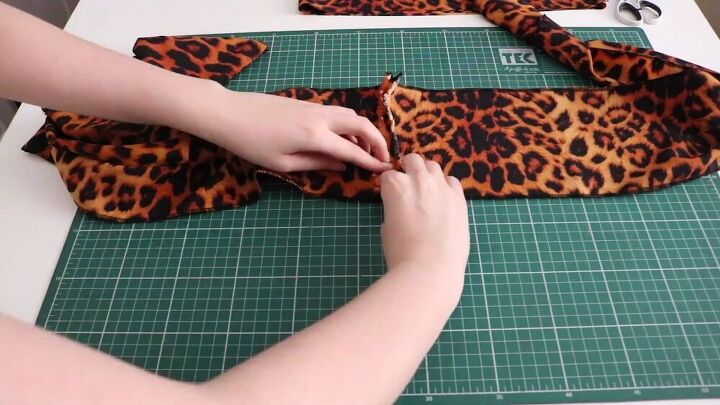
Now, serge the edges and connect the strips at the short ends.
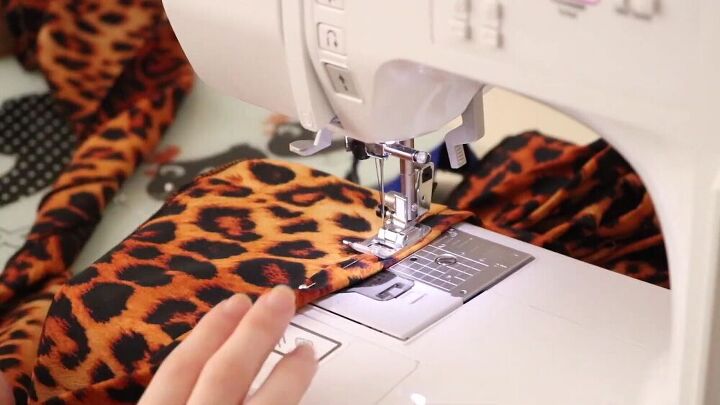
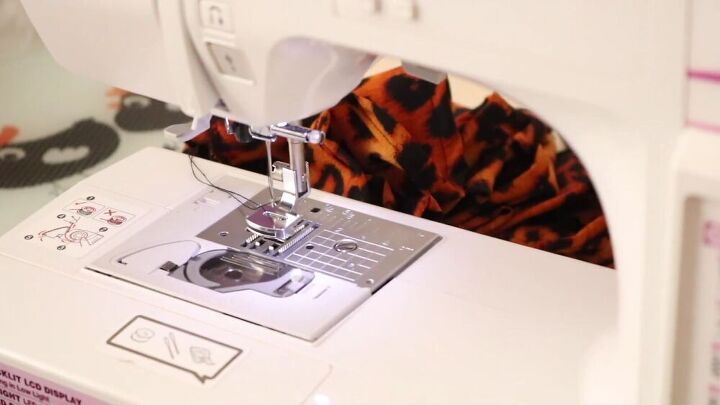
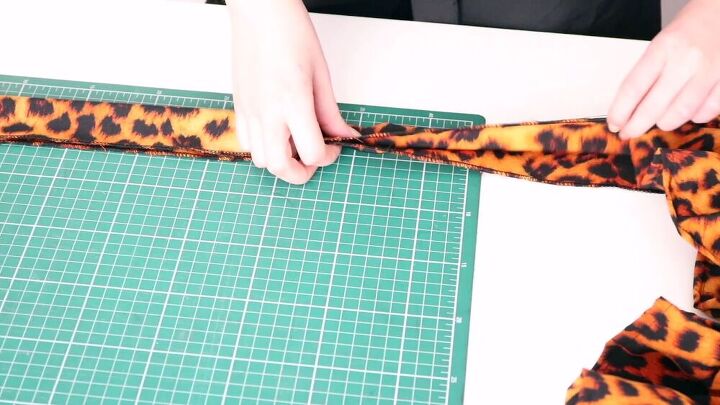
Fold one side of the long strip that should now be connected and hem one side of the strip for the ruffles. Fold the hem twice by about ½ an inch and sew the edge of the fold with a straight stitch.
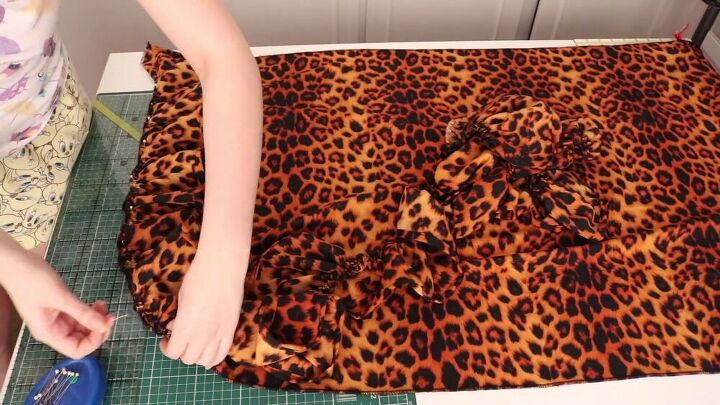
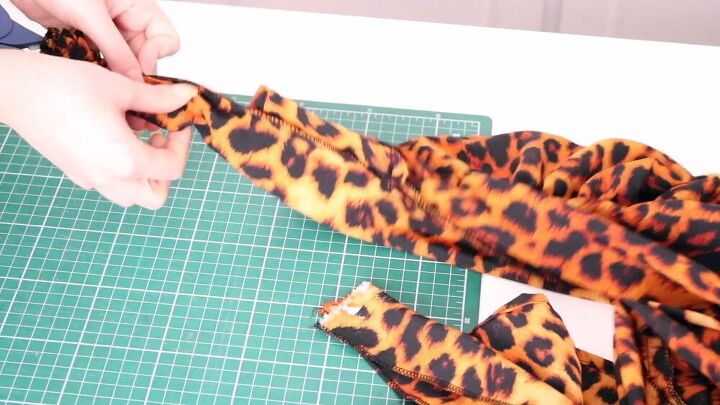
Make the ruffles
To make the ruffles, use a gathering foot on your sewing machine. Set your machine with a longer stitch and change the tension button accordingly.
Sew along the edge of the strip to create the ruffles.
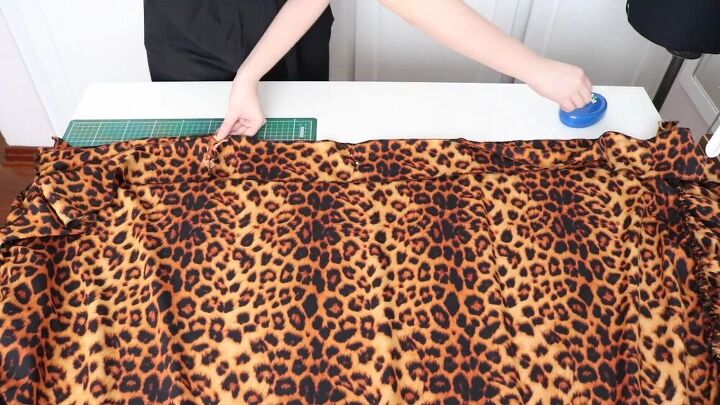
Sew on the ruffles
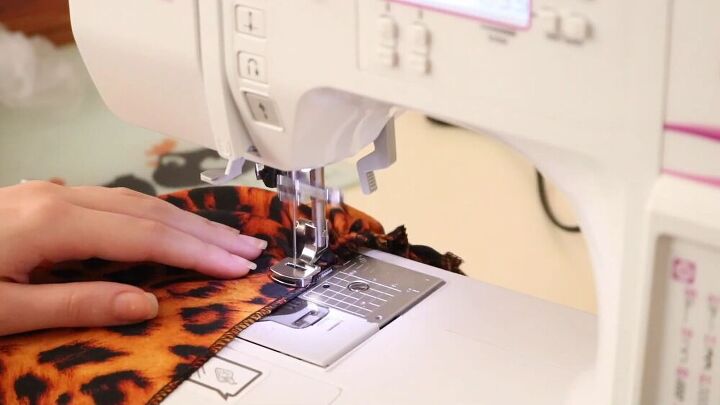
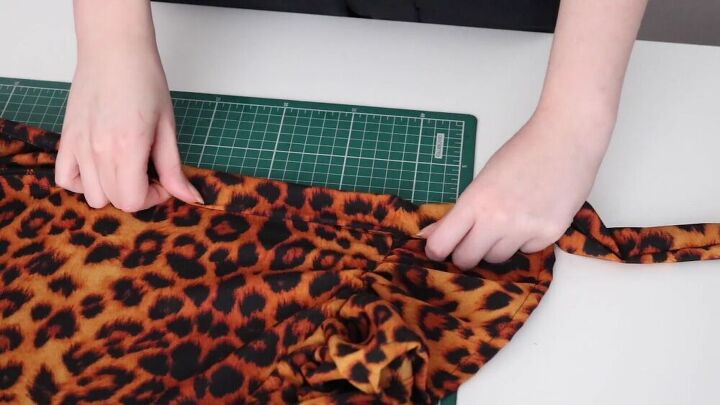
With your DIY wrap skirt’s fabric facing up, go ahead and bin the ruffled edge to the edge of the skirt. When pinning the ruffles, make sure the ruffled strip is facing right sides down.
Now, sew the ruffles to the skirt with a straight stitch.
TIP-
While sewing the gathered stitch to the skirt, push the fabric down so that you have a nice, clean stitch.
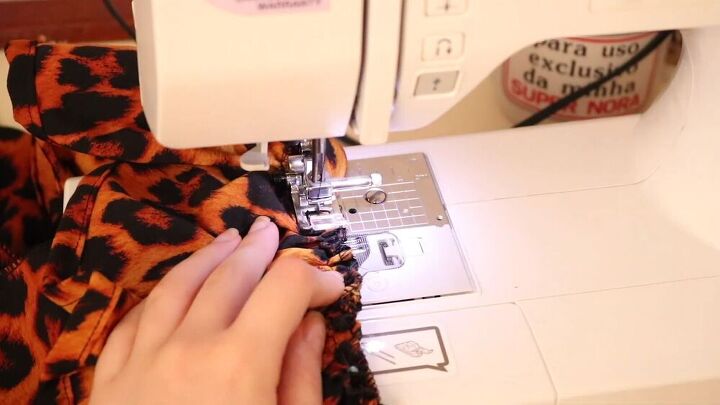
Attach the waistband
Mark the middle of your skirt with a pin and then, mark the middle of your waistband, too. Then, lay your skirt wrong side out and pin the waistband right sides down. Sew the waistband afterward.
To stitch the loose ends of the easy DIY wrap skirt, fold the extensions right side together and sew with a straight stitch until you almost reach the edge of the DIY wrap skirt, leaving around 5 inches open. Repeat on the other end
Now, turn the tails of the waistband right sides out.
Fold over the waistband twice and pin all around. Place the fold in the front part of the skirt. Finish it off with a straight stitch to secure.

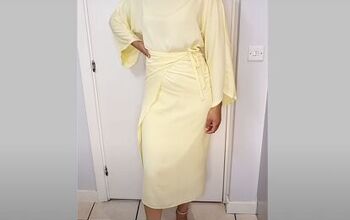
Yes! We are done! Look how lovely this DIY wrap skirt is. I love how the ruffles fall in place and that it fits my waist snugly. Now that you know how easy it is to sew a DIY wrap skirt go ahead and make your own! It’s a lovely addition to your skirt collection!
The author may collect a small share of sales from the links on this page.


Comments
Join the conversation
Can you show the skirt with a different top? I can’t see how the waistband sits. Thanks