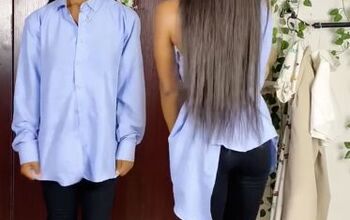
How to Make a Quick & Easy DIY Wrap Shirt You Can Style 5 Ways

Let’s make a quick and easy DIY wrap shirt! You only need a few materials to make this DIY wrap-around shirt, and the best part is, it’s totally beginner-friendly since all you need to do is make one slit!
I’ll also show you five fabulous ways that you can wear this versatile DIY wrap-around shirt. So, let’s get the show on the road!
Tools and materials:
- 2 yards fabric
- Scissors
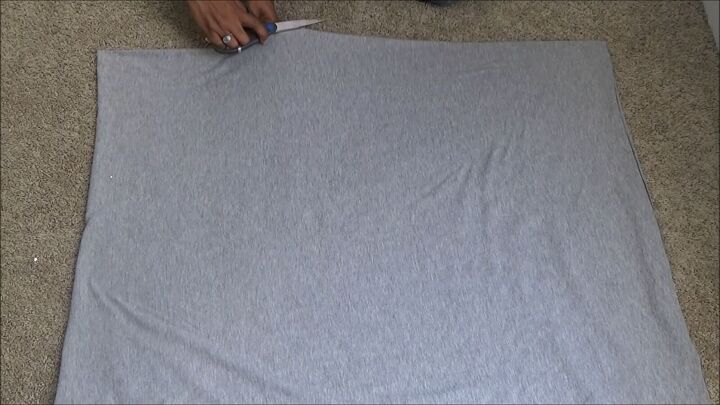
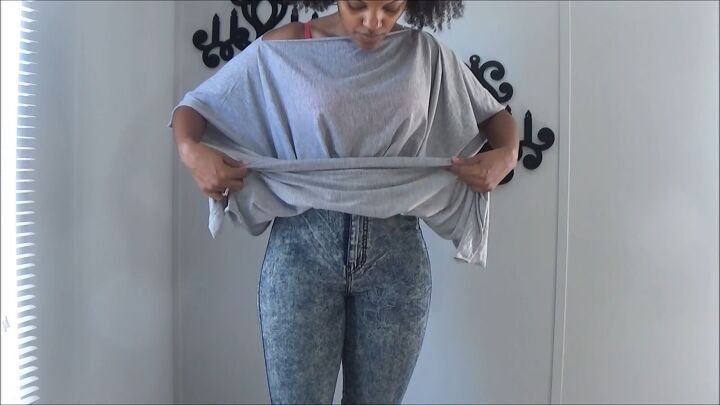
1. Cut the DIY wrap shirt
Fold your fabric in half. Then, cut a slit along the fold; this will be for your neck hole. You can make the slit as long or as short as you want. Your head should be able to fit through it, of course.
And…that’s it! Now it’s time to style the DIY wrap-around shirt.
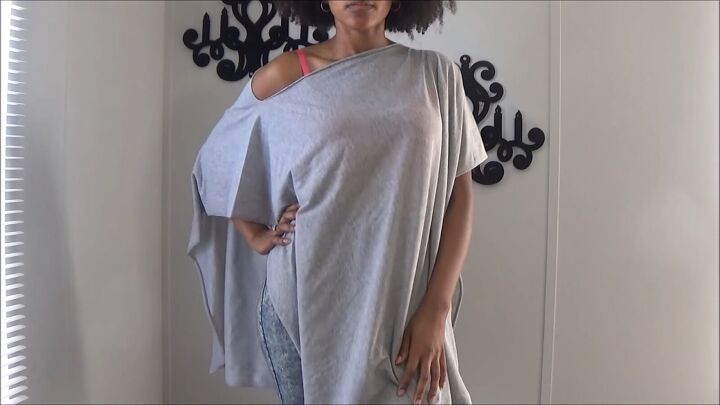
DIY wrap shirt style 1
Here’s the first simple style: simply placing a little of the shoulder on the side. I suggest wearing a tank top or cami underneath. I also wore a pink strap to give the whole look a fun pop of color.
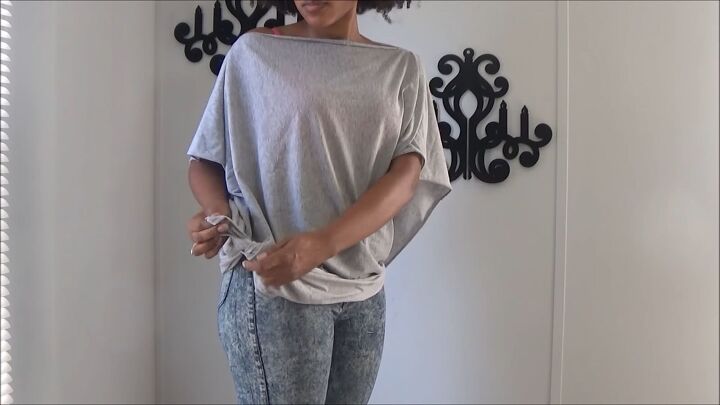
DIY wrap shirt style 2
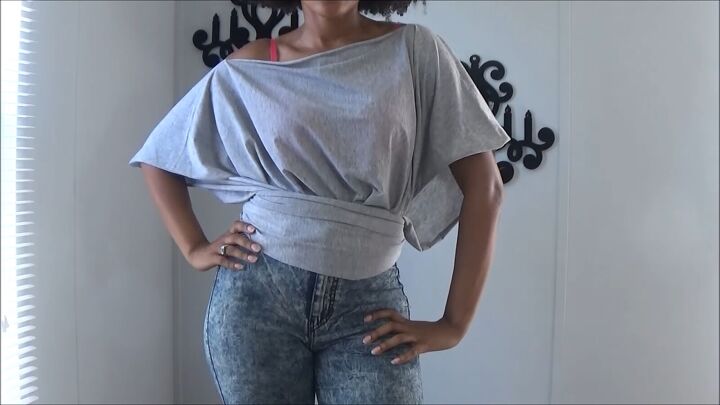
For the second style, I tied the bottom sides together on each side of the DIY wrap-around shirt. I then placed one side a little off my shoulder.
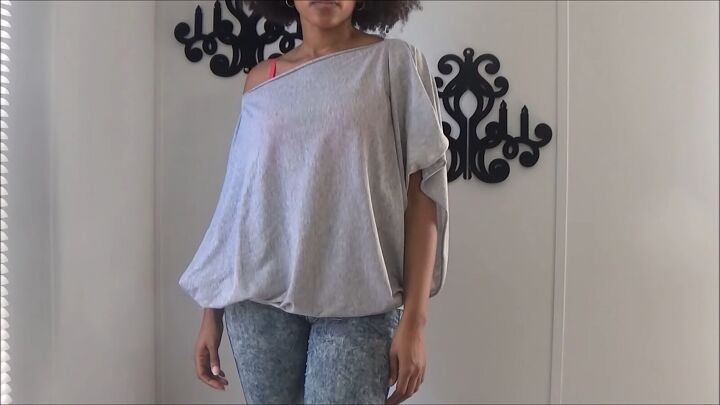
I love how fun and casual this look is! The top sits snug around my hips and creates an oversized effect, too.
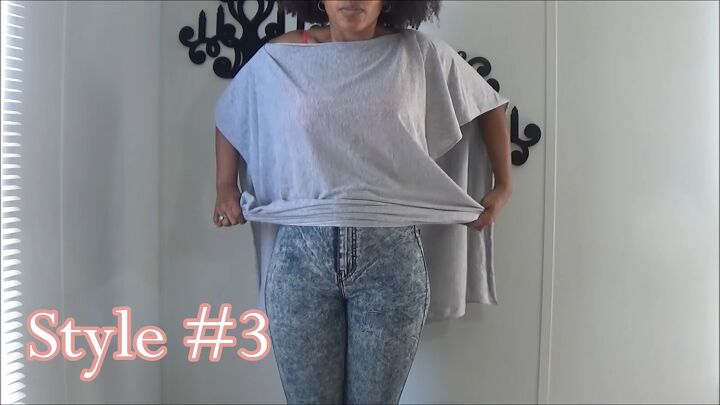
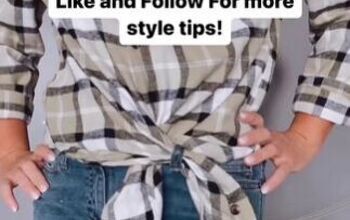
DIY wrap shirt style 3
For this style, simply roll the front part of your DIY wrap shirt until your waist.
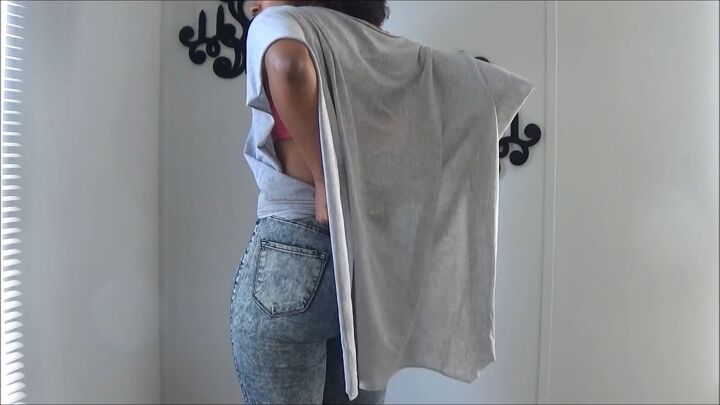
Then, tie the short ends around your waist, at the back.
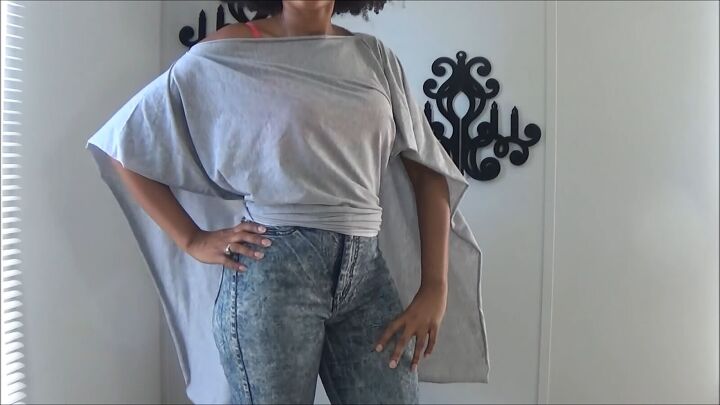
Now, you have a beautiful cape-like poncho that’s cropped in front and long at the back; a perfect layered look!
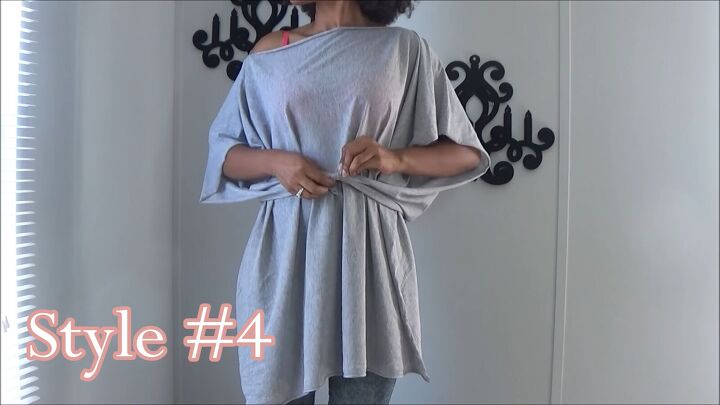
DIY wrap shirt style 4
In this style, you’re going to be doing the same as the third style, but this time, roll the back part until your waist, wrap the ends around, and tie the ends in the front.
Now, fold the fabric in front upward so that you create a belt-like style, wrap the fabric around your waist to the back, and tie a knot.

Tuck the knot into your pants, so it’s not visible, and you’re done!
I love this look, it’s super trendy, and the cropped style cinches the waist, perfect for those who love showing off their curves!
DIY wrap shirt style 5
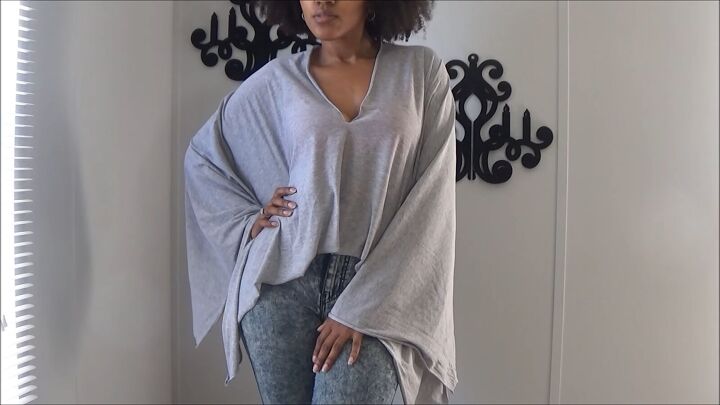
For the final style, move your DIY wrap-around shirt so that the longer bottom pieces sit on your sides and drape over your arms. This is another way to get a little cropped effect!
DIY wrap shirt tutorial
That’s it; you now have 5 gorgeous DIY wrap shirt styles that you can flaunt for almost any occasion! You can dress it up with a pair of pants and heels or even wear it out while running errands.
Now that you know how to make a wrap shirt, what color and style will you go for? Let me know in the comments below. Thanks for joining me, and good luck!
The author may collect a small share of sales from the links on this page.


Comments
Join the conversation
Yep!
Since you’re not sewing the edges, what fabric would you suggest?