How to Make a Long DIY Half-Circle Skirt: Pattern Drafting & Sewing

In this half-circle skirt DIY, I am going to show you how to make a half-circle skirt. We are going to start off by drawing the half-circle pattern, then we'll sew the skirt step by step. Let's get started!
Tools and materials:
- Pen
- Paper
- Fabric
- Lining fabric
- Tailors wax
- Measuring tape
- Weights
- Pins
- Scissors
- Sewing machine
- Zipper
- Zipper foot
- Iron
- Needle and thread
- Hook and eye closure
- Optional: sewing mannequin
1. Take your measurements
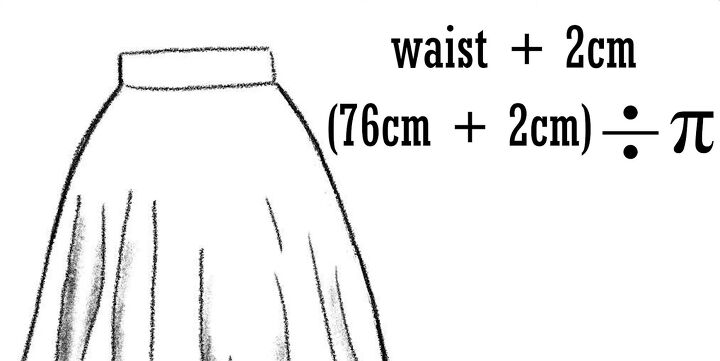
To draft the pattern, we need two measurements - the waist and the length (top of the waistband to the bottom of the hem).
Take your waist measurement and add 2cm (0.8 inches) for wearing ease. For me, it is 76cm (30 inches) + 2cm (0.8 inches) ÷ Pi (3.14), which is 25cm (10 inches)
.
Next, take your length measurement with the seam allowance included and add it to the waist radius to get the hem radius. I wanted my skirt to be 93cm (36.6 inches) long, so with a 2cm (0.8-inch) seam allowance, it’s 93cm (36.6 inches) + 2cm (0.8-inch) + 25cm (10 inches) in total.
For the lining, I decided to go for 60cm (23.6 inches) in length.

2. Draft a waistband
Draw a rectangle with the length of your waist plus a 2cm (0.8 inches) seam allowance.
For me, it would be 78cm (30 inches) + 2cm (0.8 inches), so 80cm (31.5 inches).
But I decided to add an extra 3cm (1.2 inches) because I want a hook and eye closure before the zip. So the waistband measurement is 83cm (32.6 inches) in length and 8cm (3.1inches) in width.
3. Draft the design
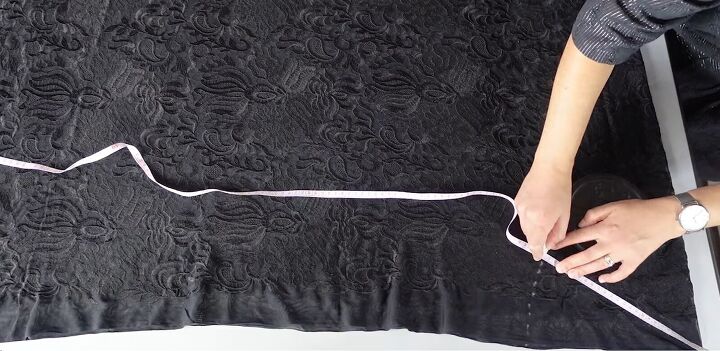
Fold the fabric in half and place it with the fold going along the selvage edges running down each side.
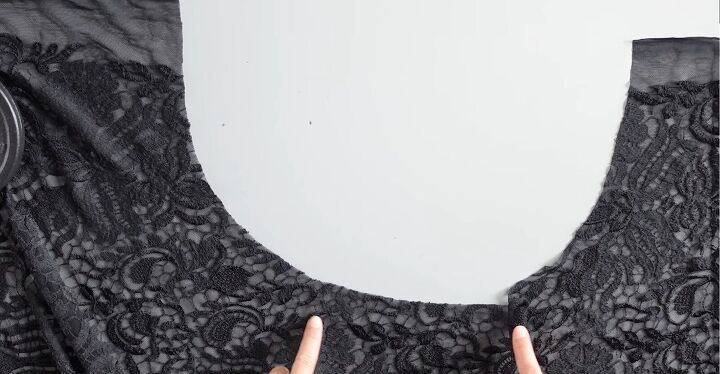
Measure out from the top corner using the waist radius, moving the measuring tape down, and marking right at the radius number to create a curve.
Do the same thing with the total length measurement of the skirt. Then, repeat the process for the lining. Once done, cut the fabric out.
Tip: When you prepare your waistband pattern, just draft half and place it on the fabric by the fold. Once you cut it, you will have the full length.
4. Cut the lining for the waistband
Prepare the lining for the waistband to make it stronger.
5. Make a basting stitch
Set the sewing machine to the longest stitch length and do a basting stitch on the curved part of the waist of your outer fabric and lining fabric.
You can use these basting stitches later to fit the skirt to your waist by gathering this part.
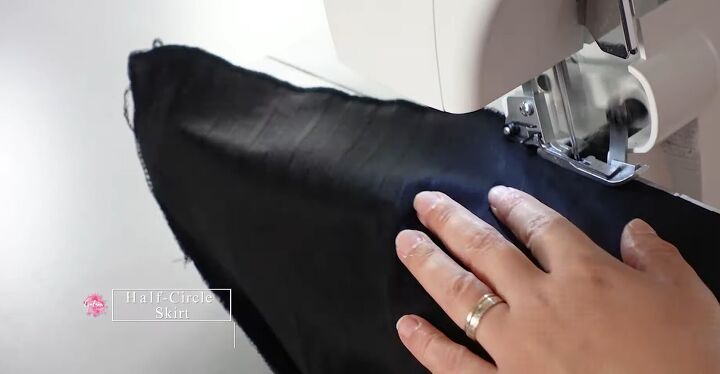
6. Overlock
Now overlock the edges.
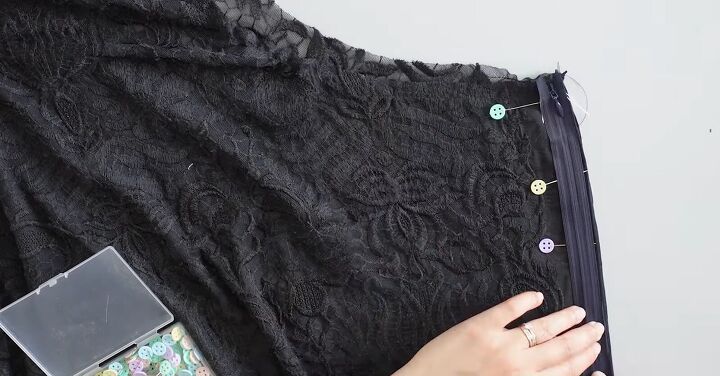
7. Sew the zipper
Pin the sides right sides facing each other, put the zip on top, and mark with a basting stitch where the zip starts and ends. Then do the same for the lining.
Using a long stitch, sew until the end of the zip, where we marked with the basting stitch. Then, change the settings of your sewing machine and sew as you do usually. Remember to secure the beginning and the end of your sewing.
Iron the seams open. Place the zip right side down and do a basting stitch by hand to secure it in place. Sew only to your outer layer of fabric and not your lining.
Then, pick open the basting stitch that you did earlier with the sewing machine using a needle.
Go ahead and sew the zip using a zipper foot.
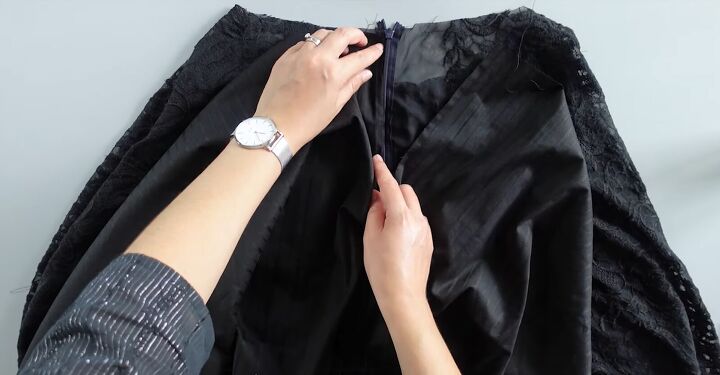
8. Attach the zipper to the lining
Open the basting stitch on the lining. Place your outer fabric right side down so that the right side of the zipper is facing down.
Take your lining, right side facing up, and place it on the zipper. Slide your outer fabric inside the lining. Place your lining along the zipper and pin it. Then, hand-sew the lining to the zip.
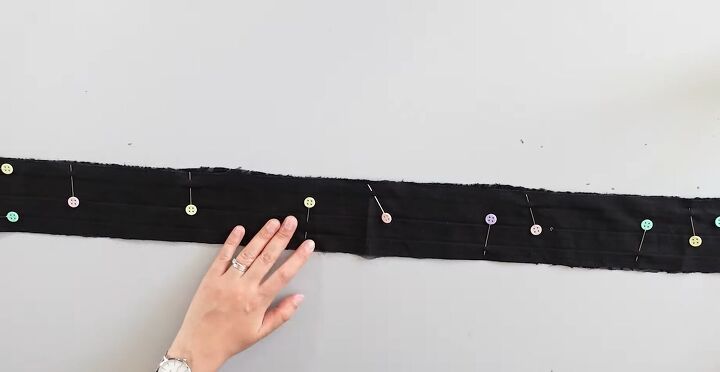
9. Sew the waistband
Place your outer fabric with the right side facing down and the lining on top. Pin all around and sew really close to the edge.
When done, fold all of the corners right side up, 1cm (0.4 inches) from the edges, and iron.
10. Attach the waistband to the skirt
Open the zipper and take the waistband that you just ironed. Place the corner right to the edge where the zipper stops and pin.
Continue to pin the waistband all the way around with the right sides facing each other. Now you can sew by the fold.

You can now finish closing up the waistband. To do that, fold the sides in and fold once again lengthwise. Place the sewn raw edges inside the fold.
For the other edge, as you will add the hook and eye closure, fold it so that the right sides are facing each other and sew really close to the edge.
Continue to turn it the right way around and pin all around. Then proceed to sew.
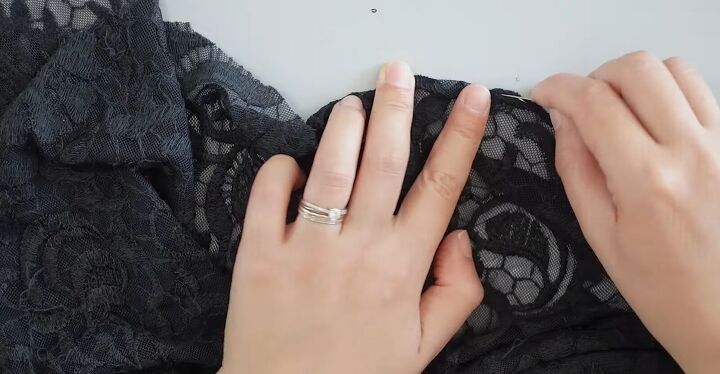
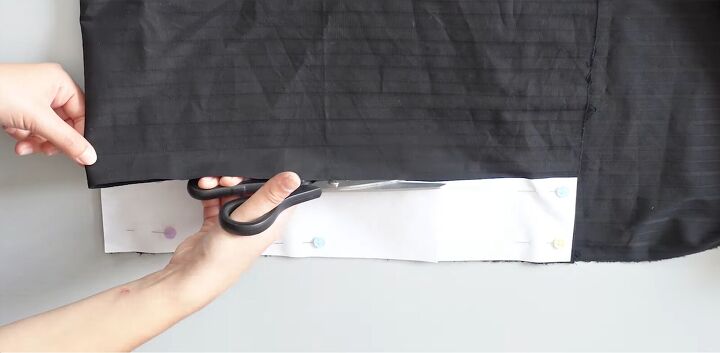
11. Hem the skirt
First, trim the bottom to align it. I like to place my skirt on the sewing mannequin, but you can put it on a hanger if you don't have one.
Check the length and cut where it’s not aligned. Then, proceed to sew a rolled hem all around.
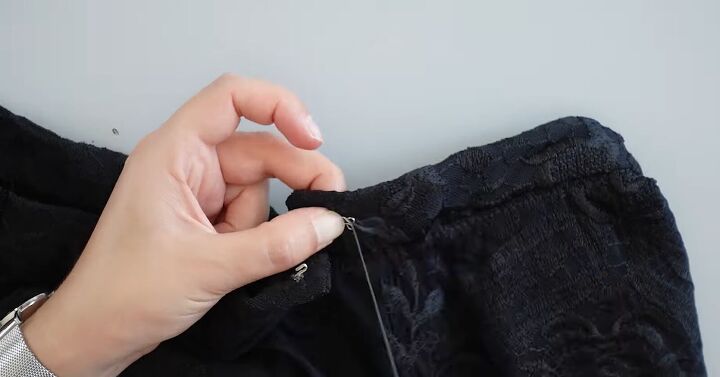
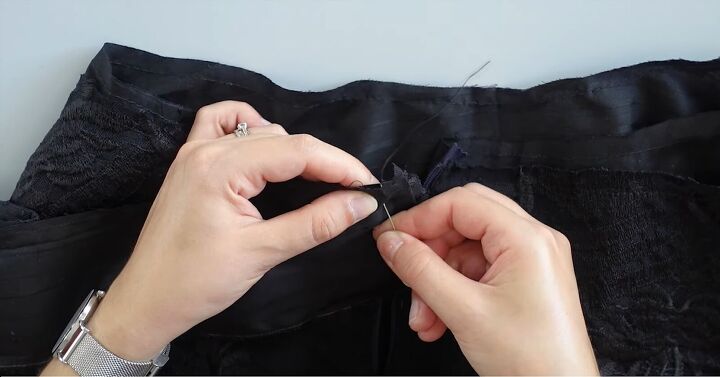
12. Sew on the closure
Finish the skirt by hand-sewing the hook and eye closure.
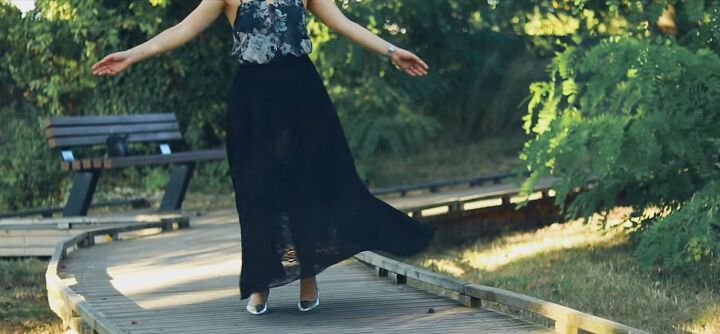
Half-circle skirt DIY tutorial
Here I am twirling around in the finished half-circle skirt. When you have invested so much time into a DIY, it is such a joy to wear your final piece. The skirt fits me perfectly and looks beautiful too!
Let me know what you think about this tutorial in the comments below.
The author may collect a small share of sales from the links on this page.


Comments
Join the conversation