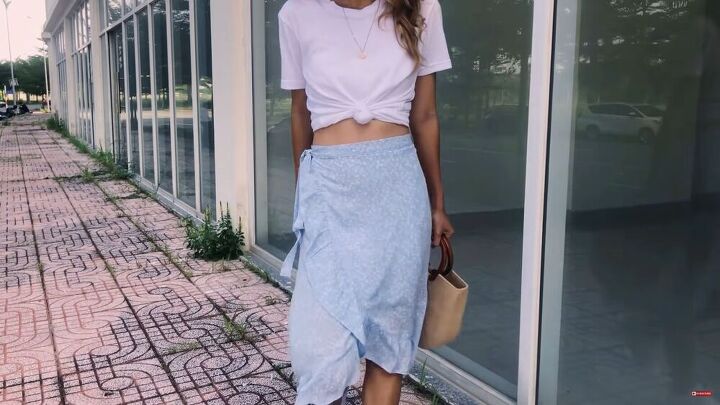
This Pretty Ruffle Wrap Skirt is the Perfect Summer Wardrobe Item

Let’s make a ruffle wrap skirt together! You’d be surprised how easy it is to make a cascading ruffle wrap skirt. I have the perfect step-by-step DIY long wrap skirt tutorial, including how to make the ruffle wrap skirt sewing pattern to your own measurements. Even if you’re a beginner, you’ll be able to make this like a pro!
Tools and materials:
- 1.5m Soft cotton fabric (1.64 yards)
- Paper
- Pen
- Measuring tape
- Ruler
- Sewing machine
- Matching thread
1. Make the ruffle wrap skirt pattern
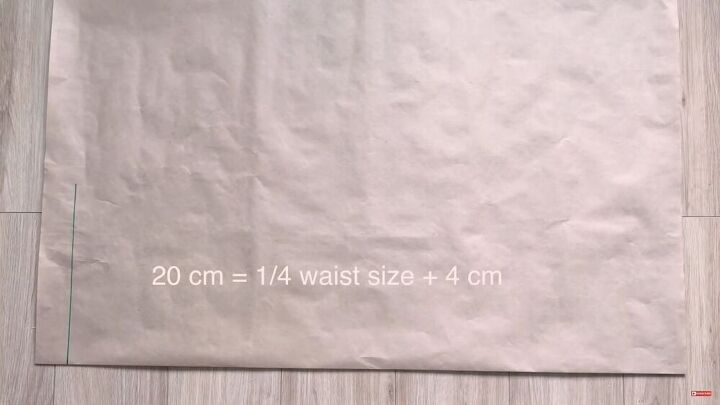
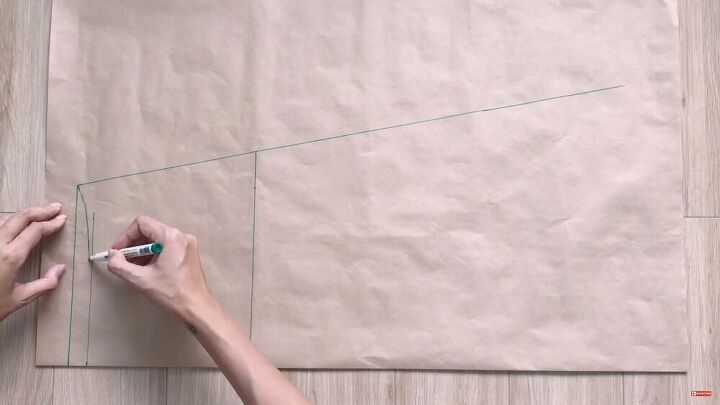
First, start drawing the ruffle wrap skirt pattern on paper. Draw the waistline measurement. This is a quarter of your waist size plus 4cm (1.57 inches).
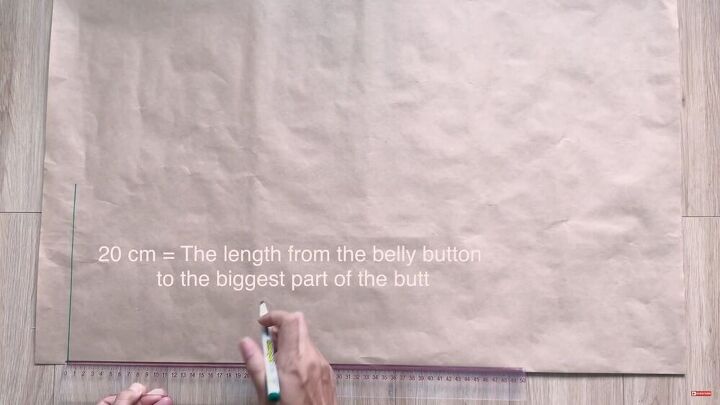
Then, draw another straight line at 20cm (7.87 inches). This is the width from the belly button to the widest part of your backside.
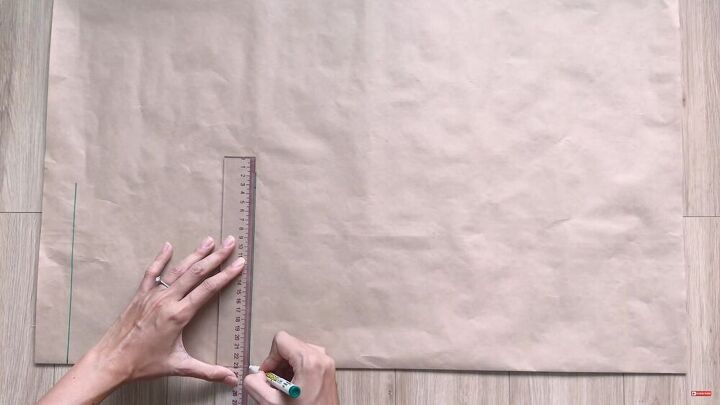
The length of the second straight line is 24cm (9.44 inches). This is a quarter of my hip measurement, plus 1cm (0.39 inches).
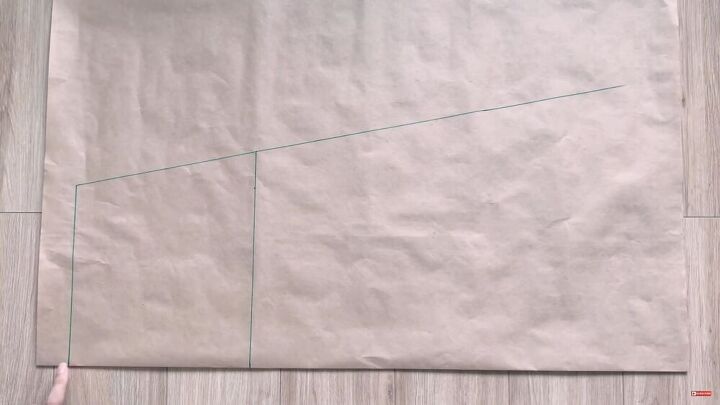
Draw a line to connect the two sidelines, as shown.
From the first line, measure 2cm (0.78 inches) and draw a curved line.
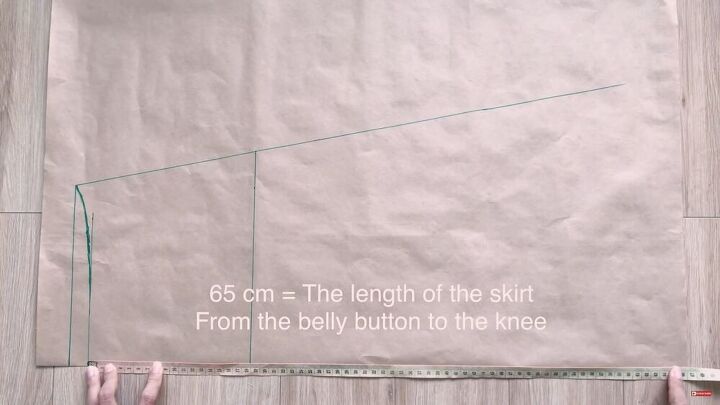
Now, measure and draw the length of the DIY wrap skirt. Draw this on the folded line. The measurement of your skirt should be from the belly button to the knee.
On the adjacent line, make a 60cm (23.62 inches) mark (5cm or 1.96 inches shorter than the length). Then, draw a curve downward to connect to the original folded length line, as shown.
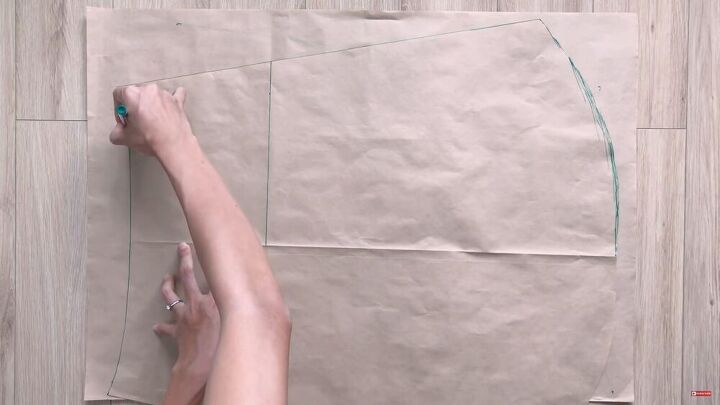
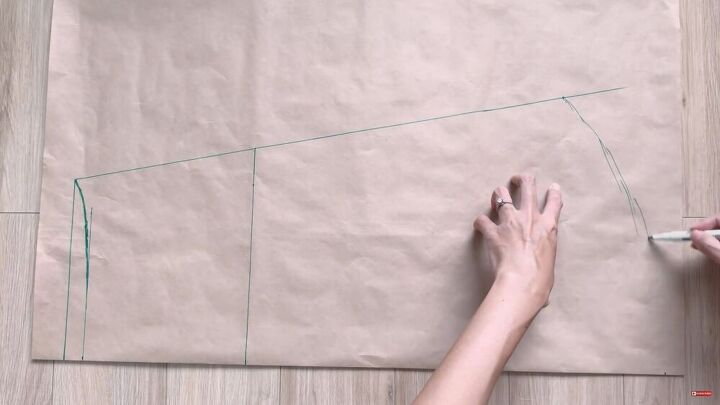
Now, cut the skirt. This is the back part. To make the front part, simply trace the back piece on paper.
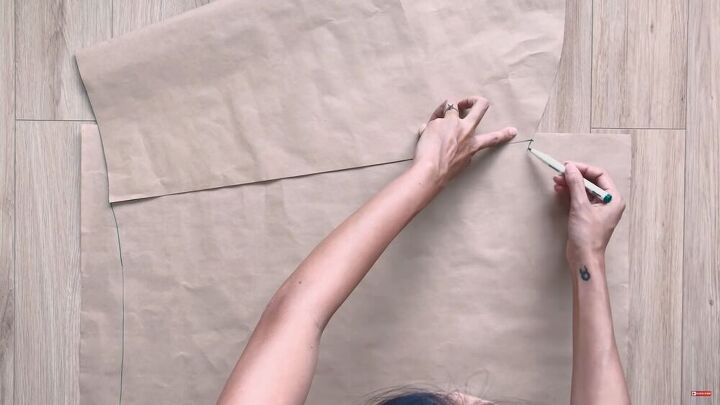
Hand draw to continue the curved line from the back to the front. I measured the front waistline to 32cm (12.6 inches, half my waist size) and put a mark, to gauge how to draw the curve.
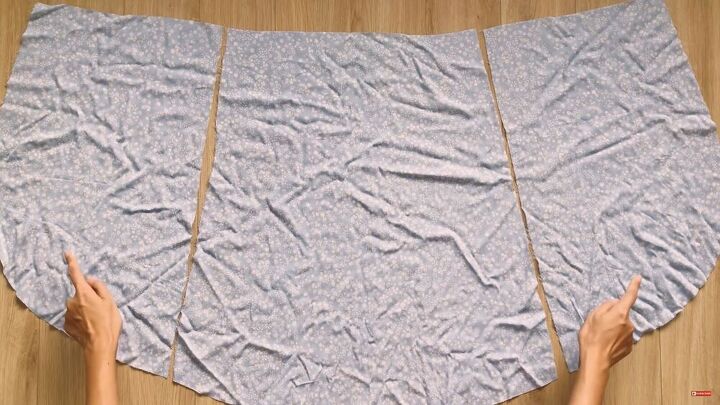
After you have both patterns, apply them to the fabric. You should have one big back piece and two front pieces.

2. Assemble the wrap skirt
Now, pin each front piece to the side seams, as shown.
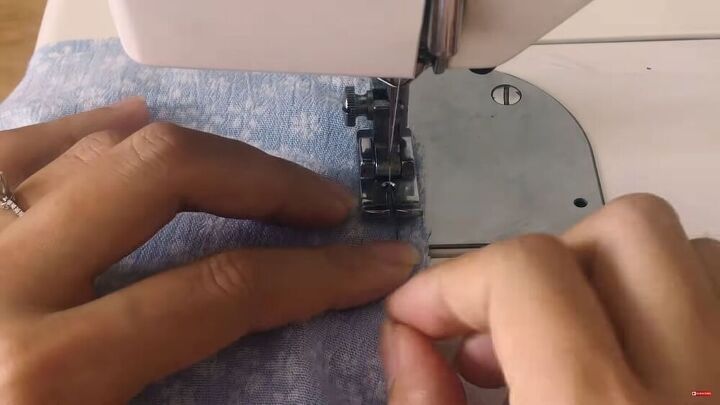
Then, carefully sew the side seams.
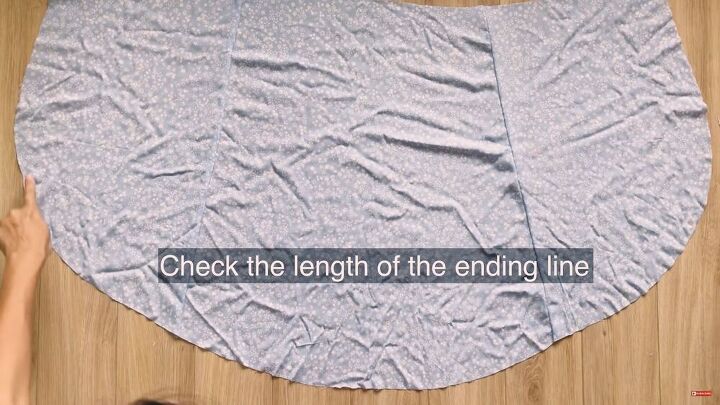
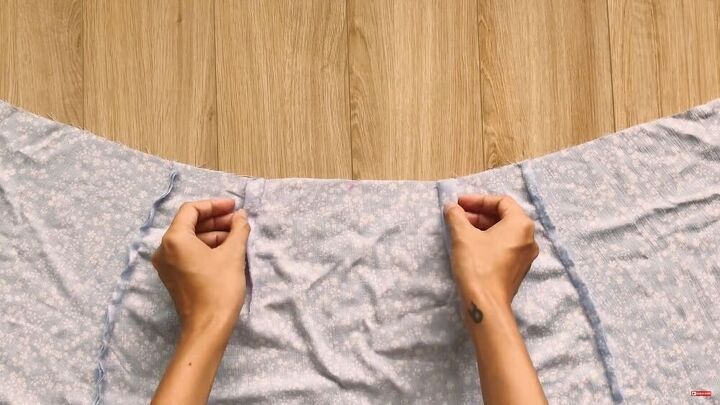
Now, measure the length of the skirt. Start from the top, and measure the side curves to the other top side. This will be for your ruffles.
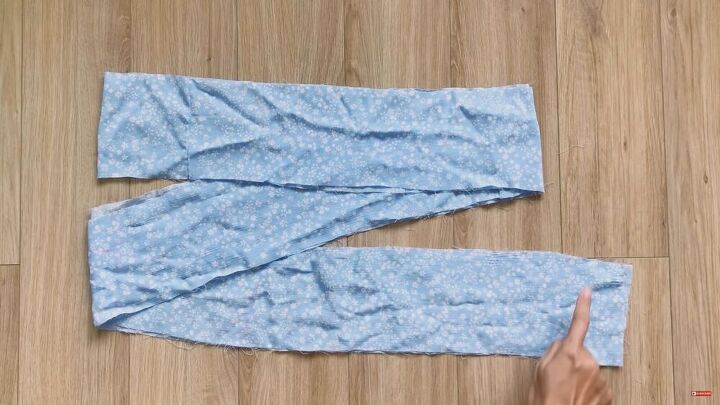
3. Make the ruffles
Cut a long rectangle at 14cm (5.51 inches) wide and twice the length of the skirt. You can even join the strips, should the length not fit in one entire piece.
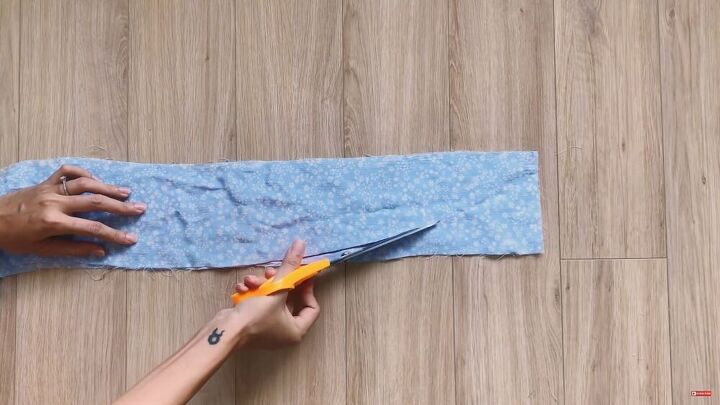
Now, cut some curves at the short ends of the strip.
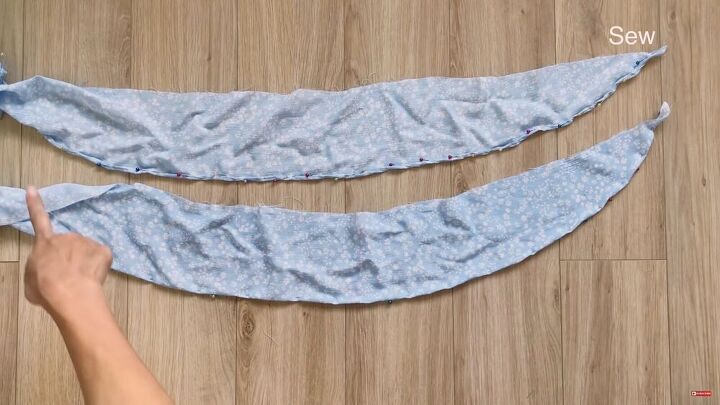
On one end of the strip, fold the raw edge over twice, and pin. This may take a while, but to ensure a neat finish, it’s totally worth it. Then, go ahead and sew the fold as close to the edge as possible.
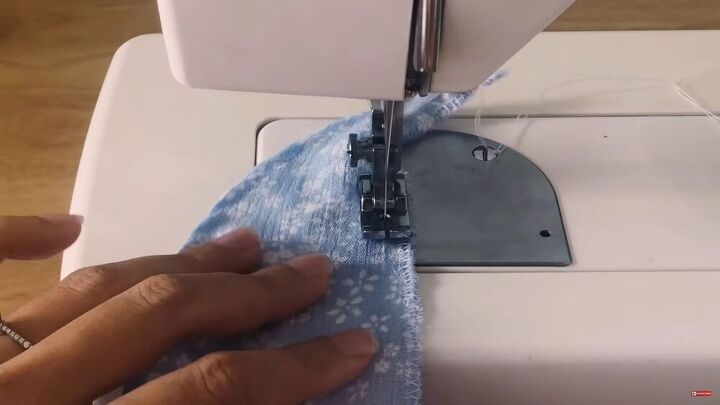
On the other side of the strip, sew a loose seam.
Now, gather the fabric to create small ruffles. Make sure that the length of the strip is the same length as the outer skirt.

Go ahead and connect the gathered side to the side of the skirt. First, connect the two ends on either side and then the rest after.
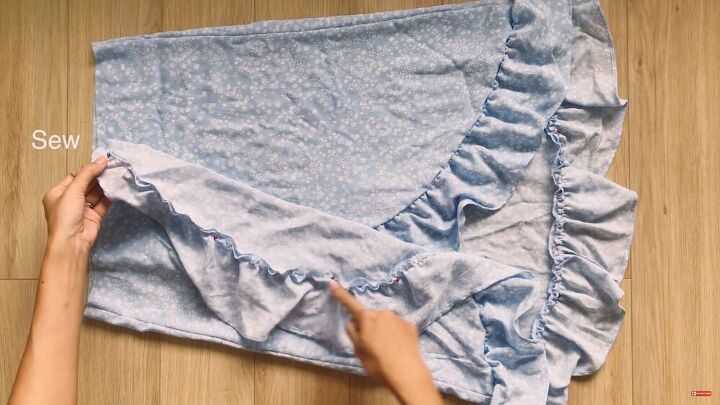
Now, sew to secure both layers.
5. Make darts (optional)
The waist turned out a little big for me, so I decided to make some darts on the back piece of the DIY long wrap skirt. To see how I do this, go to 6:06 minutes on my video tutorial.
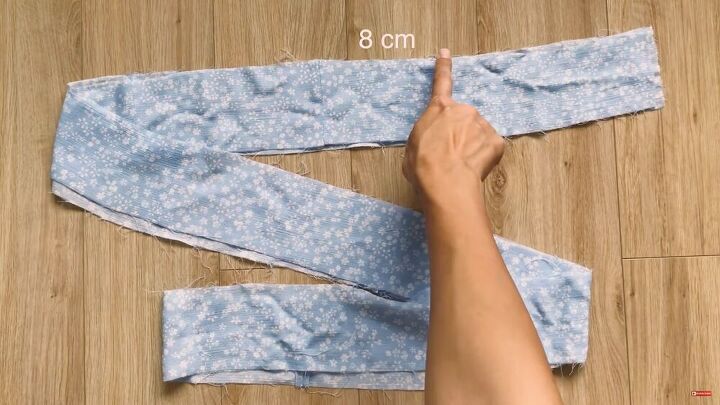
6. Make the waistband
To make the skirt waistband, cut a long rectangle that measures 6cm (2.36 inches) in width and approximately 200cm (78.74 inches) long.

Connect the middle of the rectangle to the side of the fabric that will be placed on top of the other side.
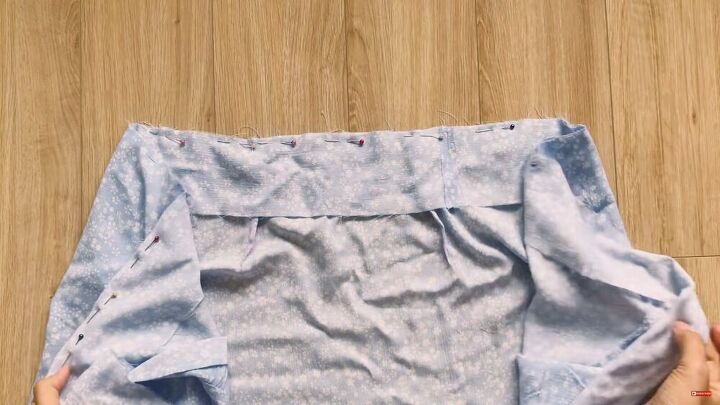
Now, pin the whole waistband, right sides touching, as shown. Then, sew to secure.

Now, fold the top edge of the waistband over by 1cm (0.39 inches) and again over the bottom seam. Pin all around and sew.
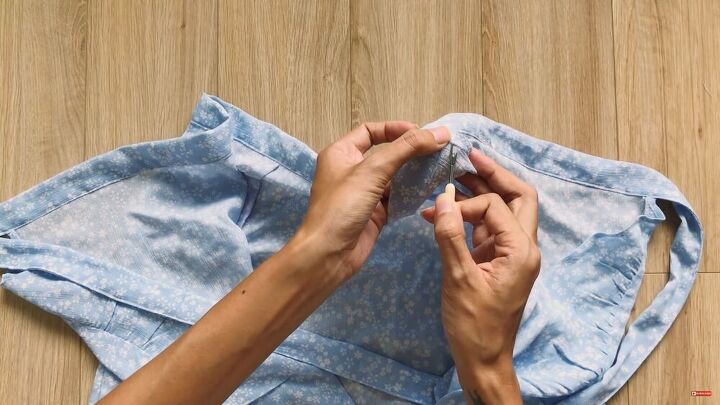
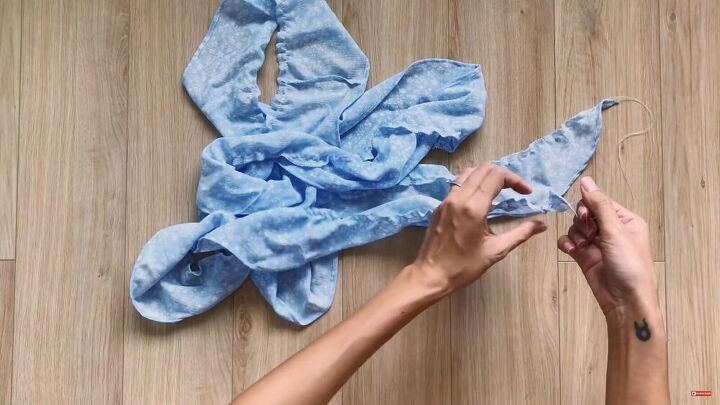
7. Make a small hole
Now, the last step is to make a small hole to insert the side strap. Make this hole on the side where the flap overlaps the other. Use a seam ripper for this part. Be sure only to do this right under the waistband.
Ruffle wrap skirt tutorial
Woohoo, you’re ready to strut your new DIY ruffle wrap skirt! This is a great versatile item to have in your summer wardrobe. I hope you found this tutorial on how to make a ruffle wrap skirt easy to follow and that you'll try and make your own DIY wrap skirt too.
The author may collect a small share of sales from the links on this page.


Comments
Join the conversation
👍️Great directions!! Thanks - My next project