Easy Slicked-back Braided Bun Tutorial

In this tutorial, I’m going to show you how to create a slicked-back braided bun.
If you love braids and are looking for something new, this is perfect for you. Let’s jump on in!
Tools and materials:
- Hair gel
- Comb
- Hair ties
- Bobby pins

1. Gel back hair
First, rub hair gel or hair cream onto your hands and smooth it into your hair, starting at the roots and working your way down.
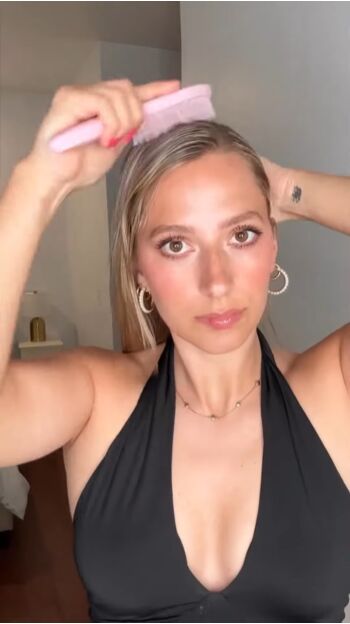
2. Brush gel in
Proceed to brush the gel or cream into your hair so that your hair is well covered.
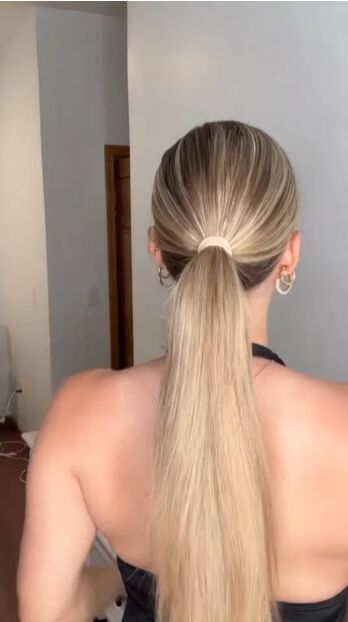
3. Tie hair in ponytail
Proceed to brush your hair back into a ponytail and tie it into place.

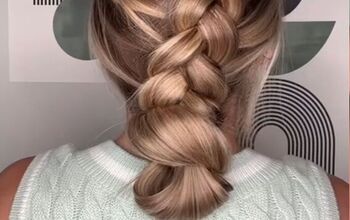
4. Braid hair
Divide your ponytail into two and braid each section, tying them off at the bottom.
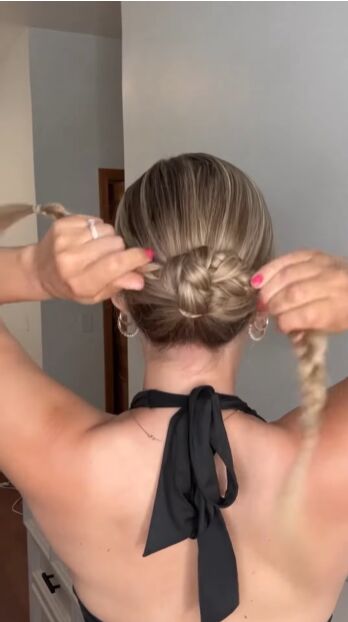
5. Tie braids together
Tie the two braids into a knot and pin the knot so it doesn’t wobble around.
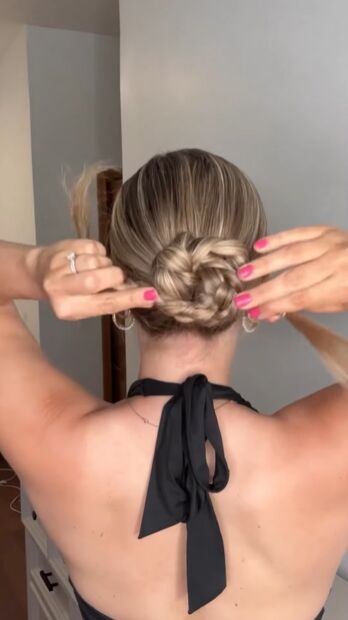
6. Repeat
Continue to tie the two braids together until you reach the end.
Tuck the ends under the bun to conceal them.
Add more bobby pins to secure it.
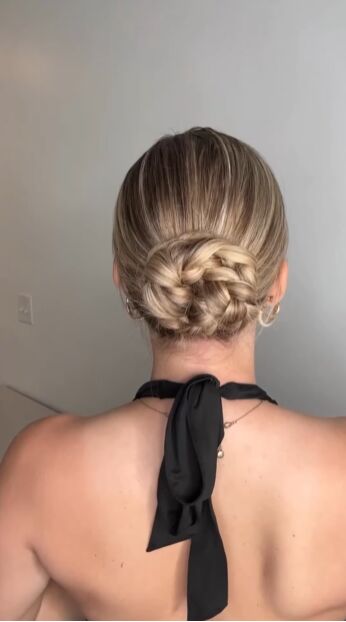
Slicked-back braided bun
Here is the finished slicked-back braided bun, which is perfect for summer.
I love how neat it all is at the top and then the gorgeous braids that are tied with one another to create a circle.
For more hair inspiration, check out How to Do 2 Easy Twist Updos.
The author may collect a small share of sales from the links on this page.


Comments
Join the conversation