How to Create a Festive Snowflake Nail Design in 8 Easy Steps

In this tutorial, I’m going to show you how to make a snowflake nail design on your nails.
We’re going to create a sparkly purple base that looks like the nighttime sky, and then we’ll be drawing on some lovely stars and snowflakes. Let’s jump on in!
Tools and materials:
- Nail polishes
- Top coat
- Dotting tool
- Long liner brush

1. Paint nails purple
Start by painting your nails with a dark purple nail polish.
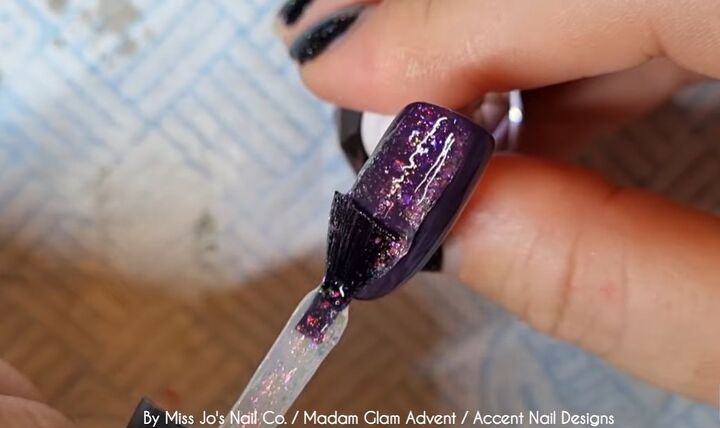
2. Apply glittery polish
Once the first layer is dry, apply some clear glittery polish on top.
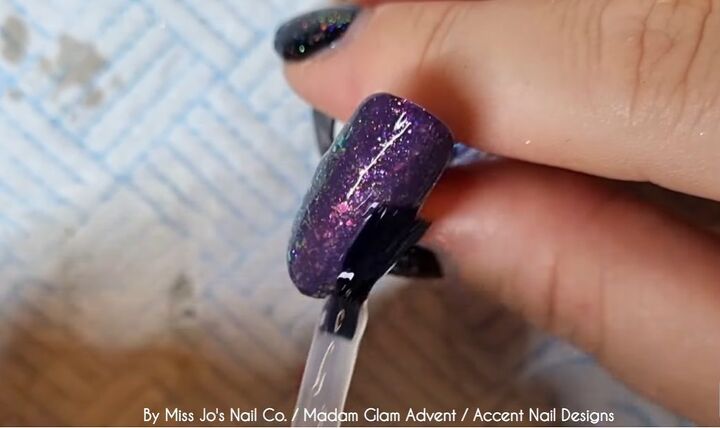
3. Apply top coat
When the glittery polish is dry, apply a top coat on top.
We are going to add more nail polish, so the top coat will help to smooth out the glittery nail polish to create a nice smooth surface.
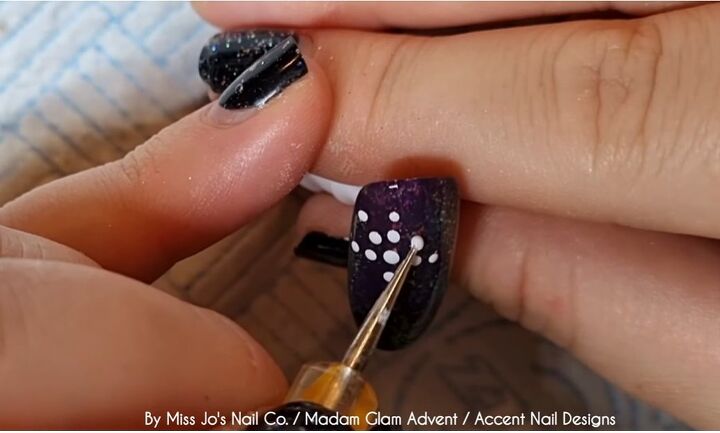
4. Draw some dots
Now we’re going to create some snowflakes. Take some white nail polish on a fine dotting tool and make one dot.
Then, draw two dots going out horizontally, vertically, and diagonally from the center one, as shown.
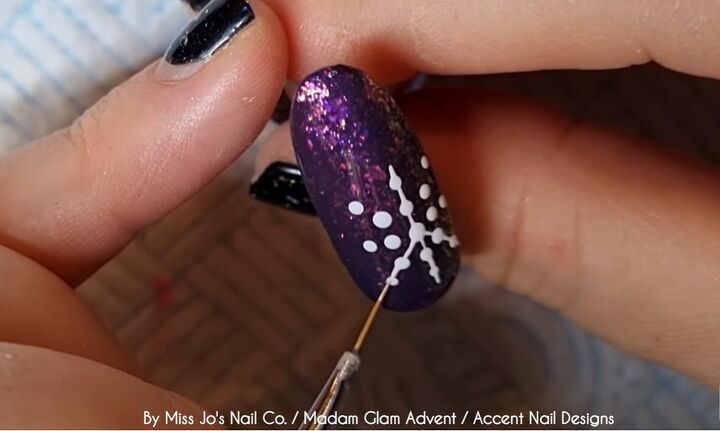
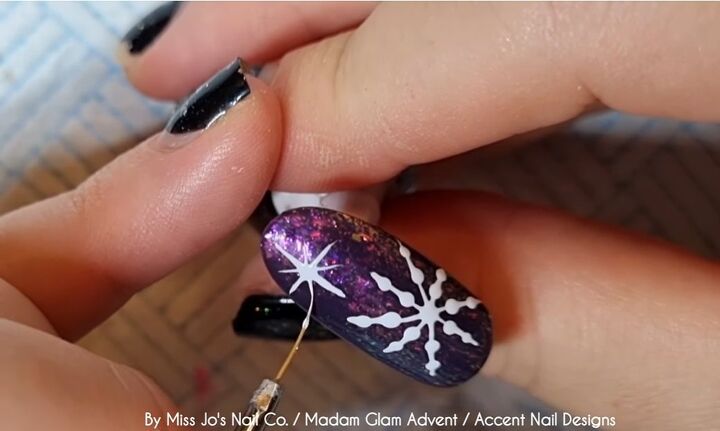
5. Join the dots
Next, take a long liner brush and just pull out from the center in each direction, going through the center of each circle.
Go a little bit beyond the center of each outer circle to create a tip at the end of each snowflake.
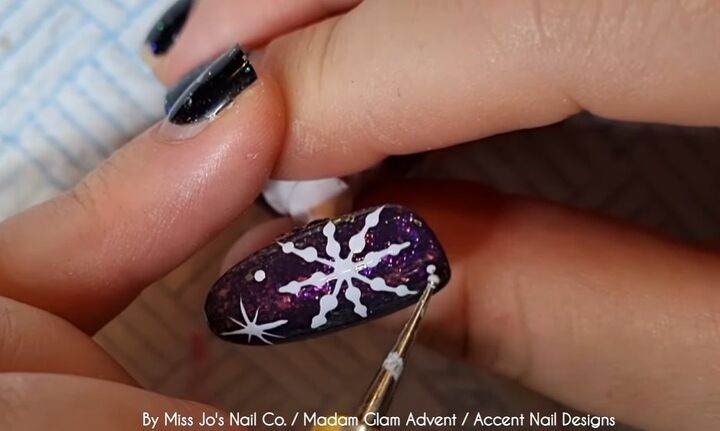
6. Draw a star
At the top of the nail, draw a twinkly star.
To make the star, draw a dot with the dotting tool and then drag it out with your long brush in each direction. The horizontal and vertical lines should be thicker and longer than the diagonal lines.
You can vary the sizes and placement of your snowflakes and stars.
Another way to do the snowflakes is to draw little 'v's between the dots as well, but do be careful as this could end up looking like a spider's web.
7. Make some dots
Make some dots in the background to look like snow is falling.
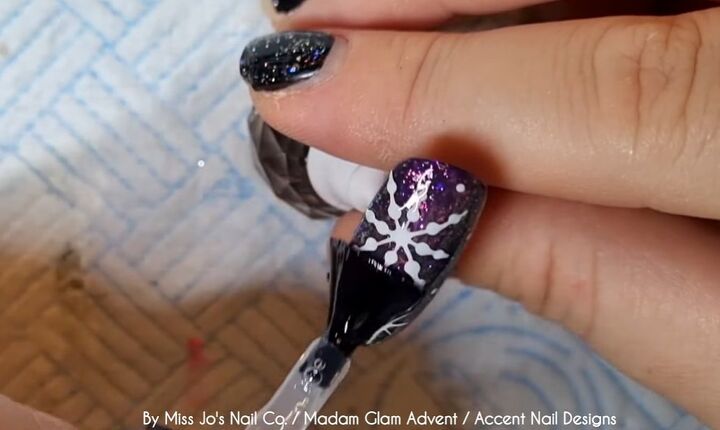
8. Apply a top coat
Finish up the nails with a top coat.
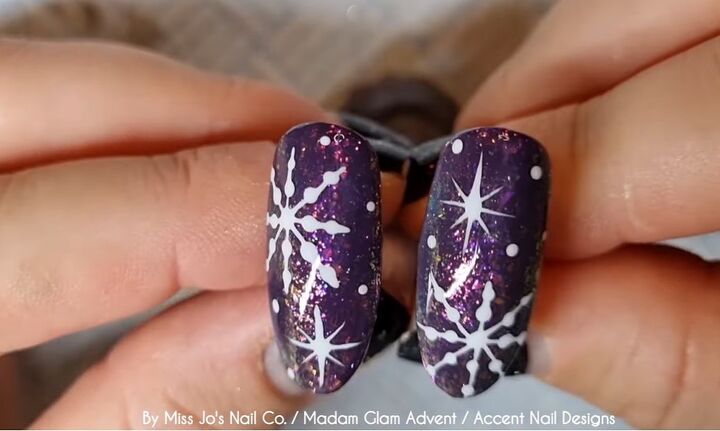
Snowflake nail design
Here is the finished nail art look. I just did it on two fake nails, but obviously, you can paint this design on your real nails.
I love how the glittery purple background looks like the night sky, and then we have our stars, falling snow, and snowflakes.
The glitter glimmers as it catches the light, and this is such a lovely nail design for the winter.
If you enjoyed this tutorial, leave a comment!
The author may collect a small share of sales from the links on this page.


Comments
Join the conversation
Pretty! Thanx for sharing!