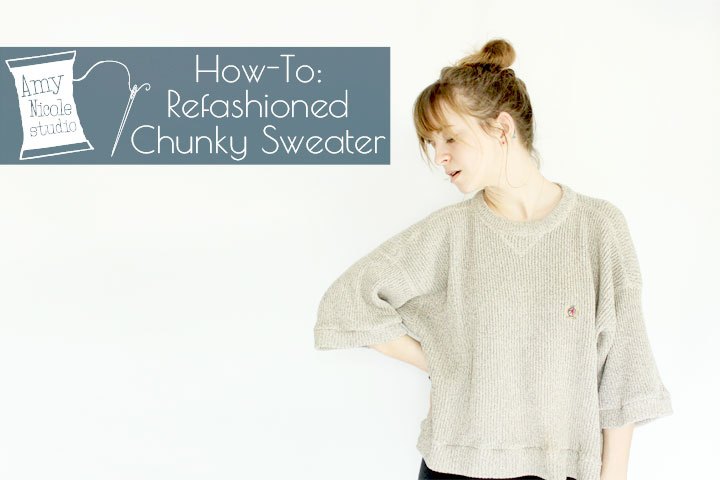
Refashioned Chunky Vintage Sweater How To
This is a great project for those keepsake sweaters you have buried deep in your closet. This particular sweater belonged to my late grandfather. I usually just wear it around the house but even still its a little too chunky and I’m constantly fighting with the sleeves. I wanted to do something that would make it a little easier to wear. Read on to see the full steps on how to transform an old cozy vintage sweater to a cropped swingy sweater.
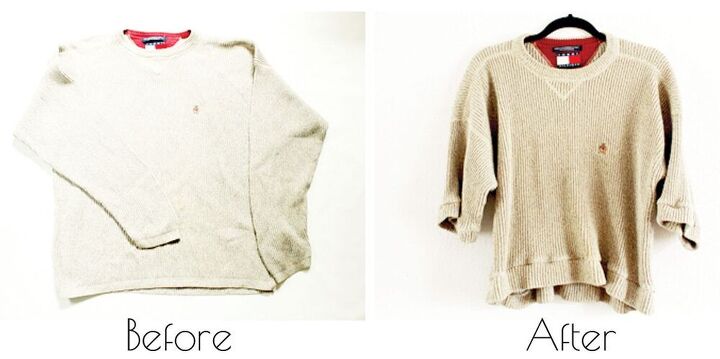

I am mostly pretty happy with the turn out of this project. The hem and sleeve bands turned out a little more rippled than I would have liked. I’m not sure how I would have combatted this, maybe I could have cut the bands a bit smaller? Might be something to think about if you embark on this project. I think it also depends on how the stretch recovery of your sweater is.

Materials:
- Serger or Sewing Machine
- Oversized sweater
- Fabric Scissors
- Fabric Chalk
- Corresponding thread

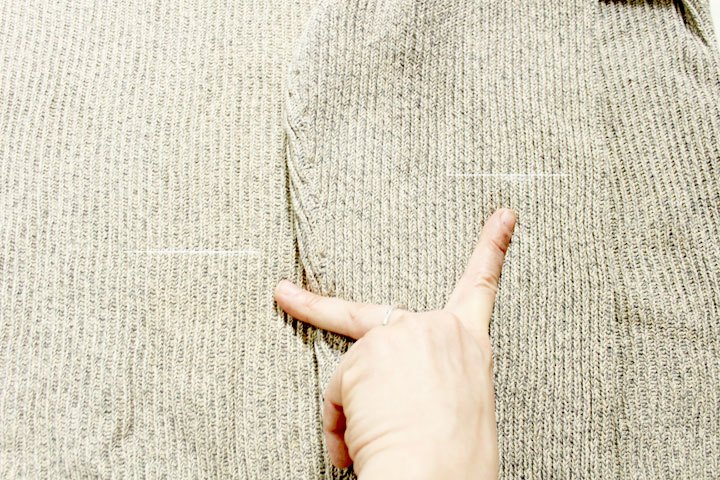
Try the sweater on and mark the sleeves and hemline where you want it using fabric chalk. Determine how wide you want the bands to be (take into consideration how much extra fabric you are going to have once you cut off the excess). Measure up from your original marks the same distance of the width of your bands. For instance, my bands were 2″ wide once folded, so I measured up 2″ and put a new mark.
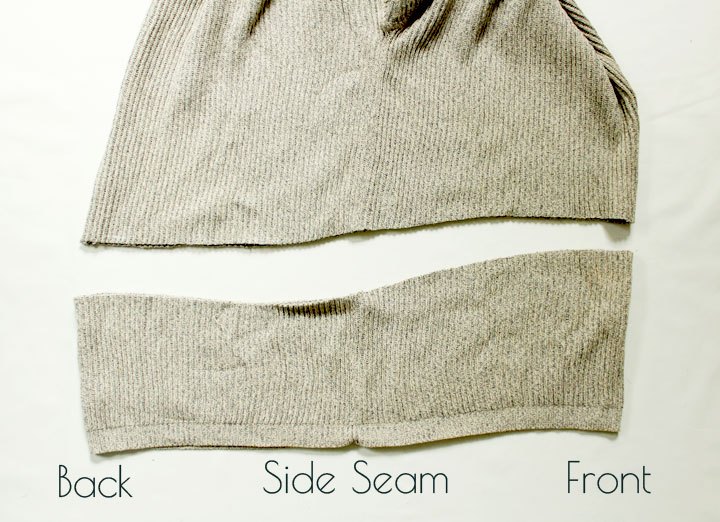
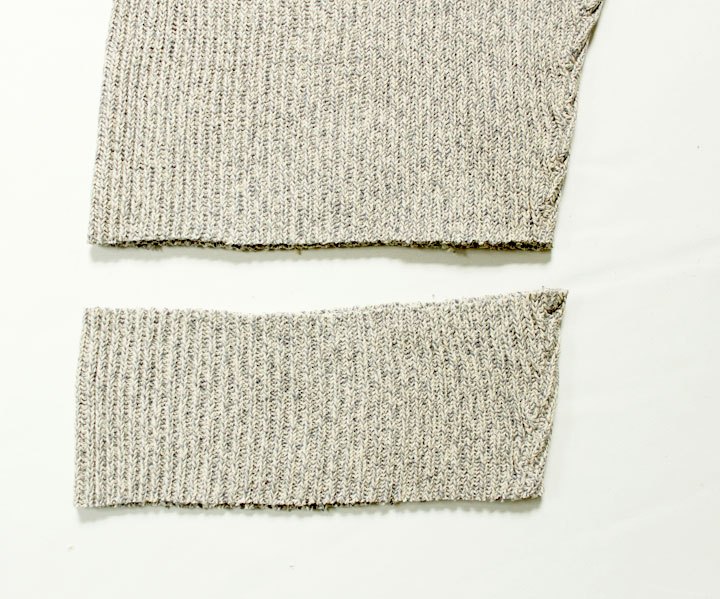
Lay the sweater flat, folded at center front and center back with side seams matching as pictured below. Cut off the bottom of the sweater at the second mark you made. If desired, make the back of the sweater slightly longer than the front as pictured below.
Repeat the same process with the sleeves. Cut off straight across at the second mark you made.
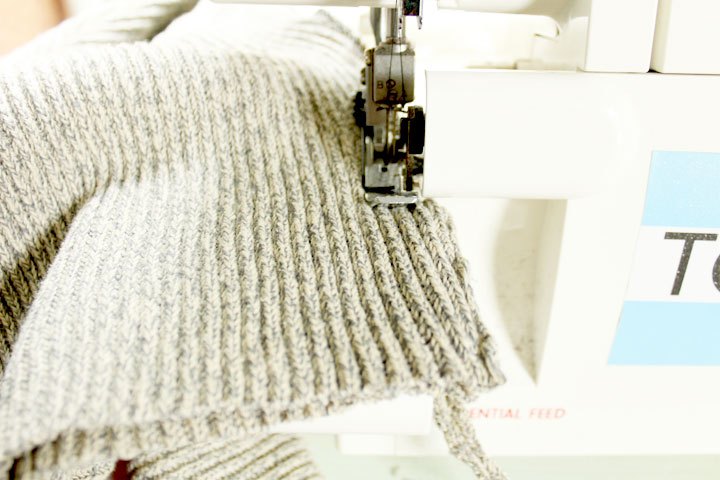
If desired, slim down the sweater at the under arm and side seams. I did just estimated roughly how much I wanted to remove from the width of the sweater and ran it through my serger. Using a serger I was able to cut and sew at the same time. If you don’t have a serger, sew a new side seam using a zig zag or serging stitch on your machine and cut off the excess as close to the stitching as possible without cutting into the stitches.
Cut out the band pieces using the excess fabric you removed from the hem and sleeves. You will need to cut strips twice as wide as the desired finished band plus seam allowance (for instance, I cut a 4 1/2″ wide band for a 2″ finished band.) If you removed a decent amount from the side seams of the sweater you will need to cut down the length of the band accordingly. Sew up the short ends of your new arm and hem bands.
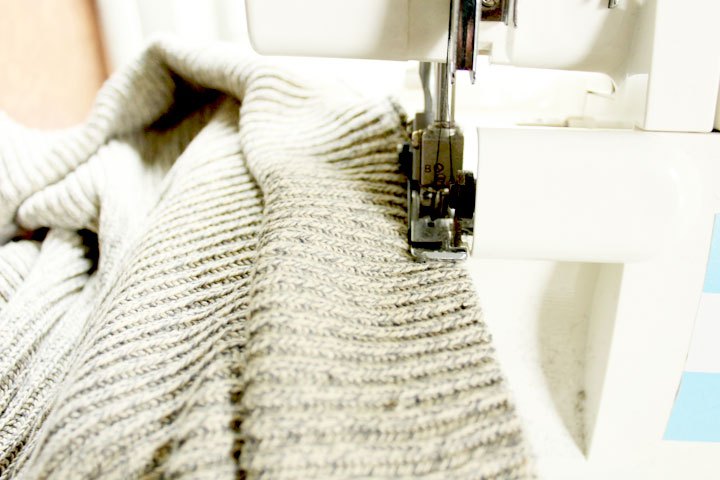
Fold the bands in half with wrong sides facing. Lay the band on the right side of the sweater, matching up the raw edges and the side seams. Serge or sew the bands to the sweater. Press the seam allowances toward the body of the sweater and voila! You’re done!!

Original: Chunky Vintage Sweater
Adjustments: Slimmed down side seams, cropped, added sleeve and hem bands
Final Product: Cropped chunky sweater
Difficulty: Easy
Finishes: Serged seams
Time: Less than 2 hrs
Do another like this? I’d love to try this again and experiment with different stretches for the hem bands.
If you try this project be sure to link back, I’d love to see it!
Happy Refashioning!
The author may collect a small share of sales from the links on this page.


Comments
Join the conversation