Alexander Wang Dupe: How to DIY a Cute Safety Pin Sweater

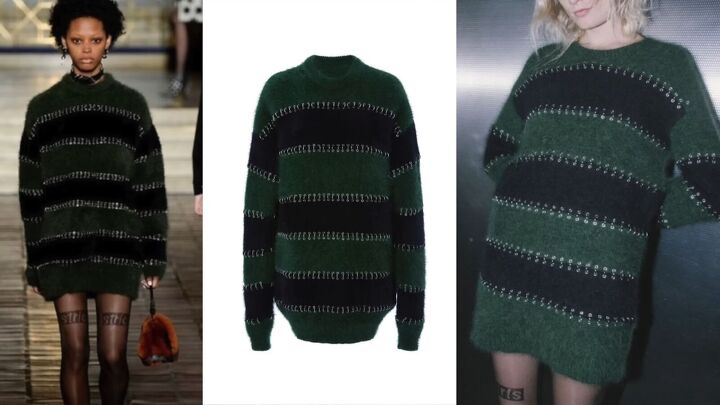
Join me as I create a totally custom safety pin embellished sweater. The inspiration behind this upcycled sweater is a $1000 Alexander Wang piece that I’ve recreated for just dollars! Follow along with this step-by-step tutorial and make one for yourself!
I’ll be DIYing two different safety pin sweaters. My main tip for this DIY is to buy way more safety pins than you think you’ll need.
The more pins you have, the more dense and intentional the pattern will look. I got 500 pins but I wish I had bought more!
Tools and materials:
- Cable knit sweater
- Seam rippers
- Fabric scissors
- 1.5” safety pins
- 0.75” safety pins

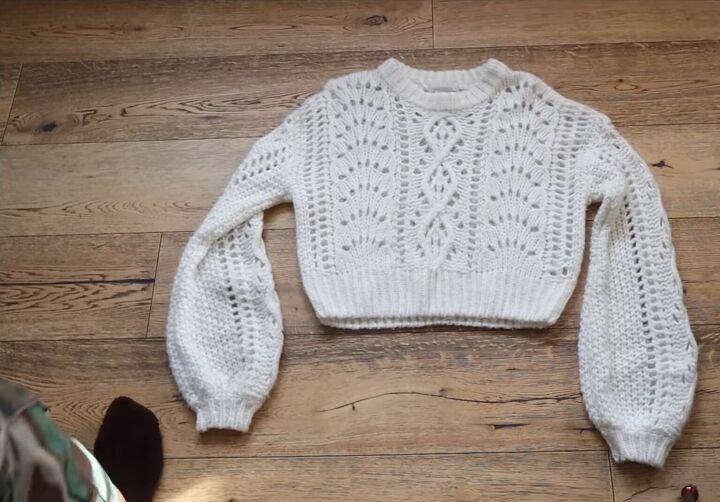
Style inspiration 1: The cable knit sweater
Here is the actual cable knit sweater I used. I decided to remove the sleeves for my upcycled sweater design.
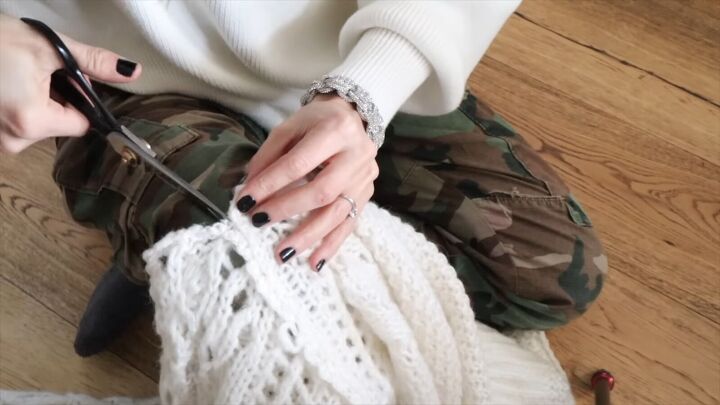
1. Remove the sleeves
If you decide to remove the sleeves, turn the sweater inside out and with a seam ripper, detach the sleeves at the connection.
Then, pull the sides apart as you cut the seam with scissors.
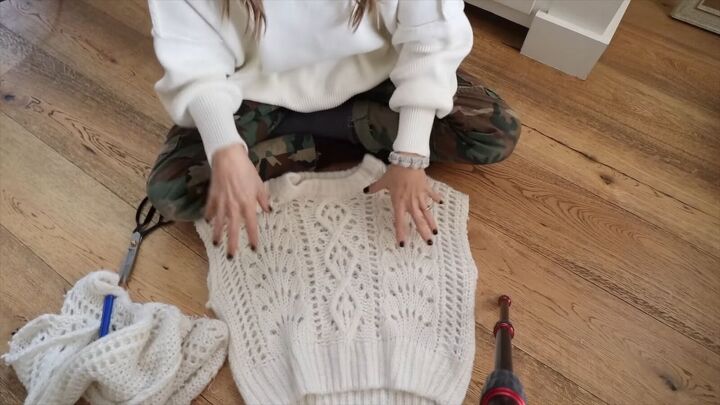
The result is a sleeveless sweater that you don’t need to hem. You can reattach the sleeves later or use them in another DIY.
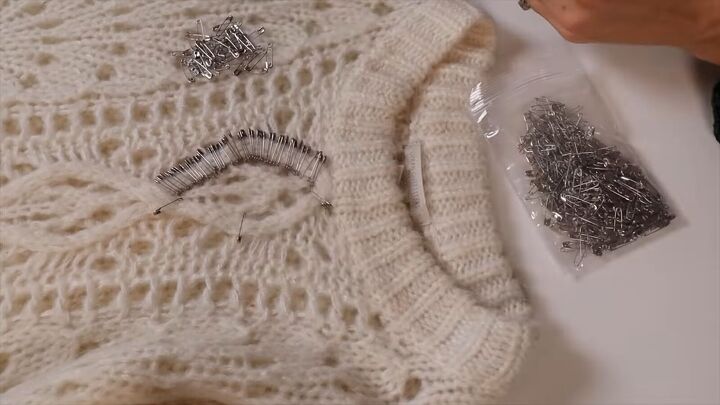
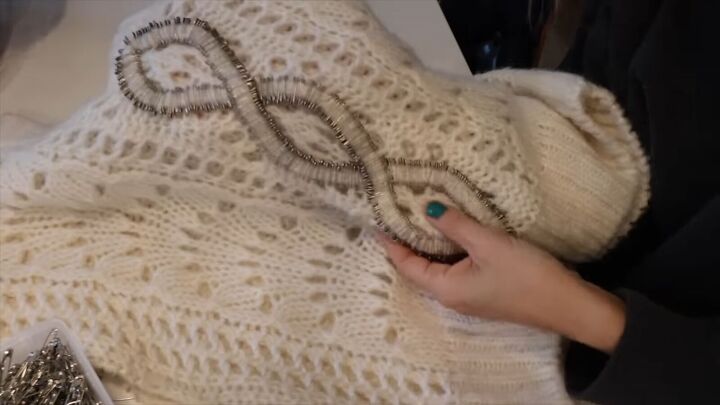
2. Attach the 0.75” safety pins on part of the pattern
Find a section of the cable knit pattern that you want to stand out and just attach the safety pins carefully, following the shape.

I placed 3 safety pins as anchor points at the top, middle and bottom of the shape to make sure that when I fill in between the pins, it will look even.
Keep in mind what side the ball-head of the pin will be on, and flip your sweater when needed to maintain the correct configuration.
Keep an open mind about where you place the safety pins.
At first, I started lining the neck but ended up not liking it. What’s great about this sweater upcycle is that if you don’t like the placement, you can remove the pins and try something else.
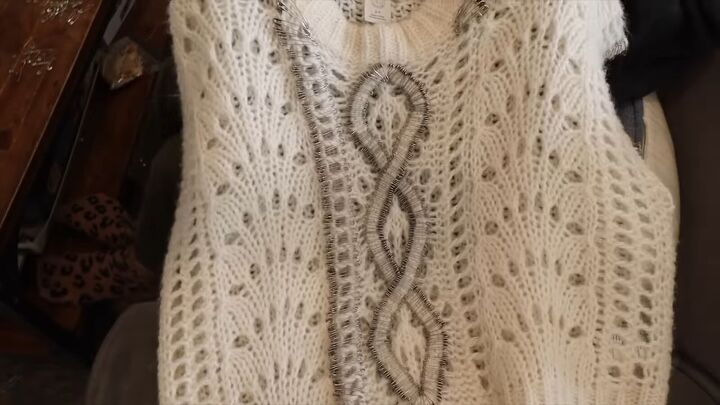
Here’s the finished look of this upcycled, cable knit sweater:

Style inspiration 2: The striped sweater
1. Make the first X
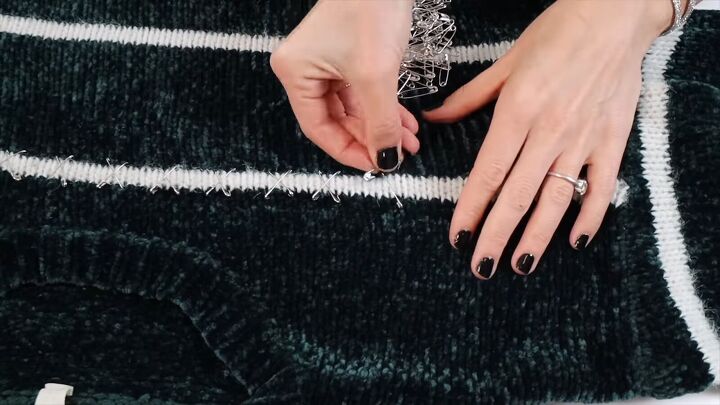
Lay your striped sweater out on a flat surface. Pick a stripe and begin making an X pattern using about 0.75” safety pins.
The first X will probably take you the longest since you’ll be figuring out the angle and how you want the pins to overlap.
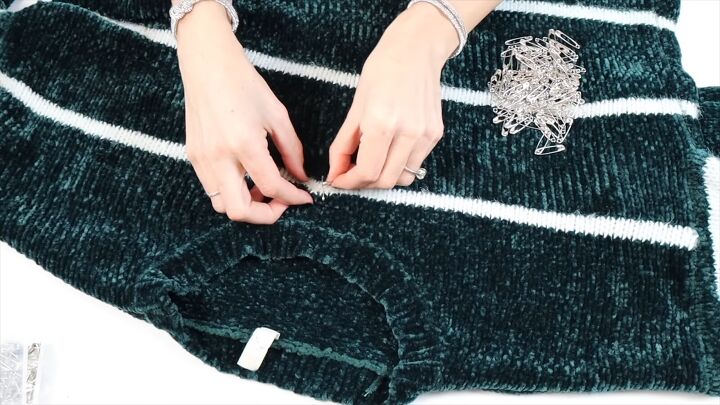
2. Continue making Xs
Then, simply continue making Xs along the stripe, with whatever distance you like between each X.
Side note: I wish the white stripes on this sweater were black because then the safety pins would stand out more.
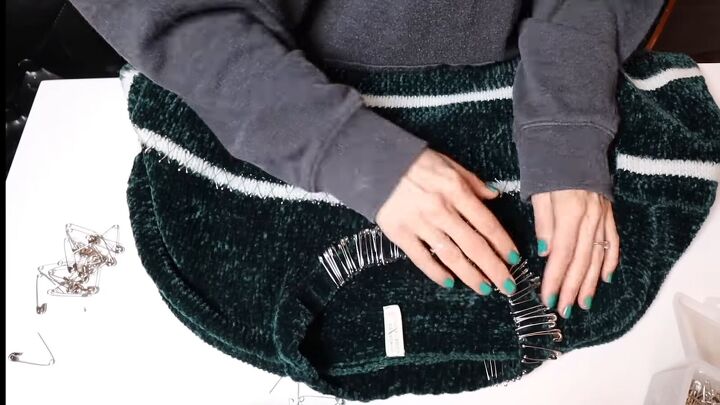
3. Embellish the neckline
I embellished every other stripe, mostly because I didn’t have enough safety pins. I also added safety pins around the neckline. Originally, I did the entire collar.
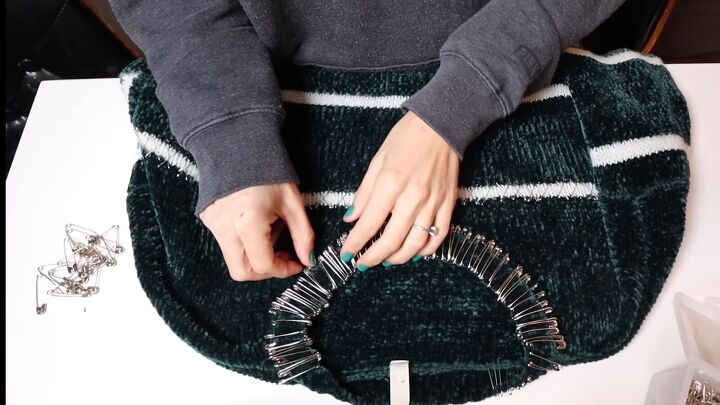
But, I decided I didn’t like how that looked.
So, I removed the pins on the back as well as about ¾ of the pins in the front for an intentional, asymmetrical neckline.
Here’s the final look of this edgy, striped upcycled sweater:

DIY safety pin sweater
I really hope you guys try this really fun, super easy upcycled sweater DIY. If you do, show us your original safety pin sweaters in the comments below!
For more unique, upcycled sweater ideas, check out my post on Cute and Easy Ways to Upcycle Old Sweaters.
The author may collect a small share of sales from the links on this page.


Comments
Join the conversation
You ar sooo smart!!!!