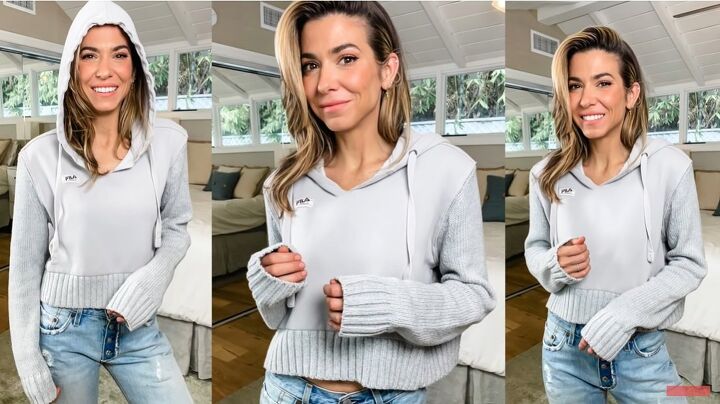
Cute and Easy Ways to Upcycle Old Sweaters

In this DIY, I’m going to show you lots of different ways to upcycle a sweatshirt.
Grab yourself some sweaters from your local thrift store or take some that are sitting around in your closet. Let’s get going with these transformations!
Tools and materials:
- Sweaters
- Scissors
- Chain
- Tube top
- Sewing machine
- Elastic
- Sweatshirt
- Pins
- Trim
- Fabric glue
- D-ring tape
- Ribbon
- Black elastic

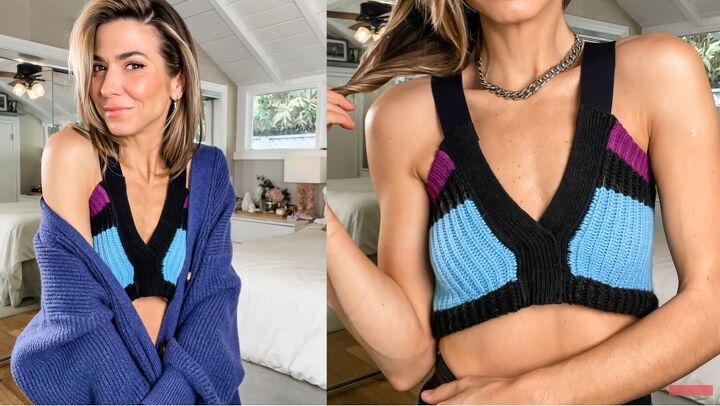
1. Cropped shrug bolero
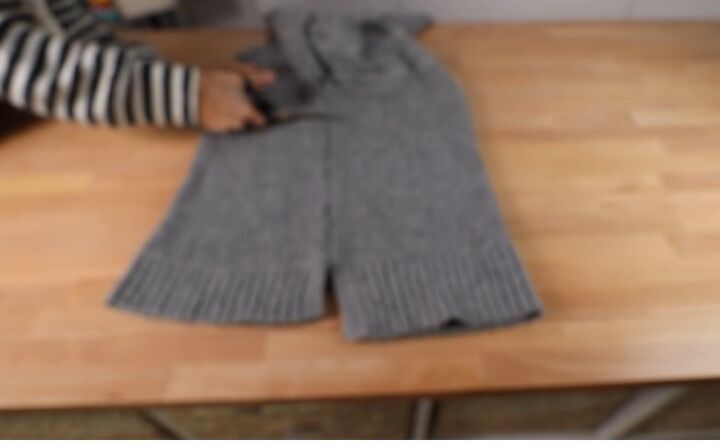
1. Cut the sweater
Instead of cutting with the shirt folded in half, fold it the other way so that you're cutting your fronts at the same time and your backs at the same time.
That allows you to slope the back and have it a little longer than the front.
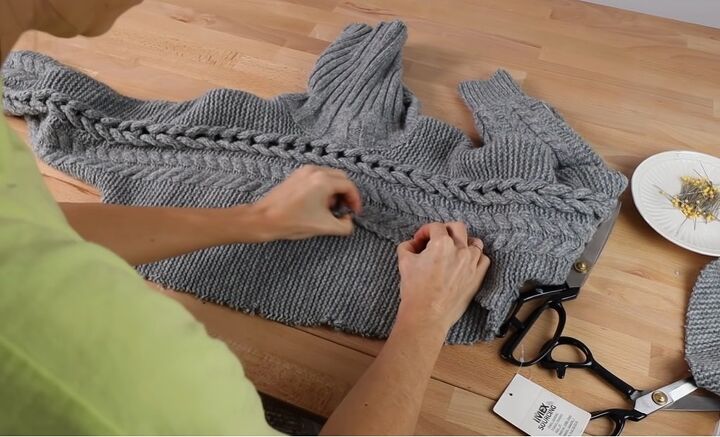
2. Shred
Use your fingers to shred the bottom.
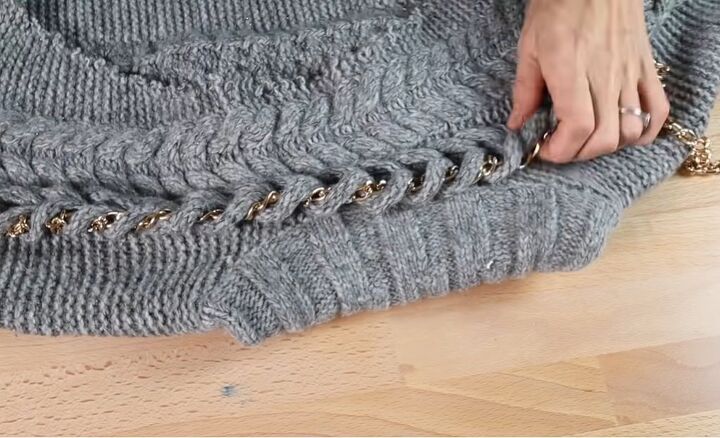
3. Weave the chain
Weave some chain through the braiding in the front.
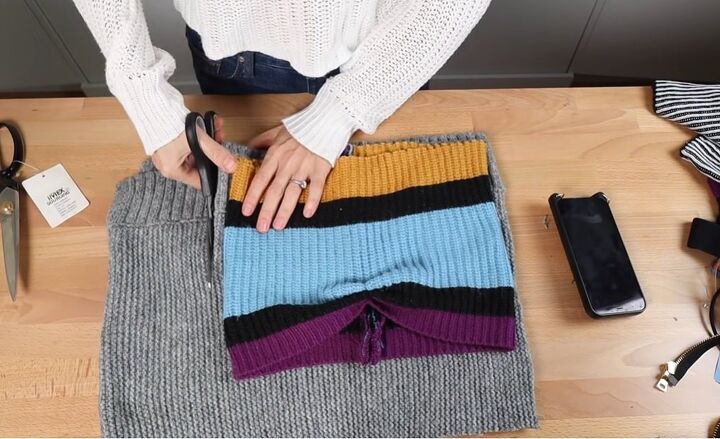
4. Cut the bottom of the top
Use the bottom half that you cut off to create the top. Place a tube top on the sweater as a guide and then cut around it.
Sew the side seams closed.

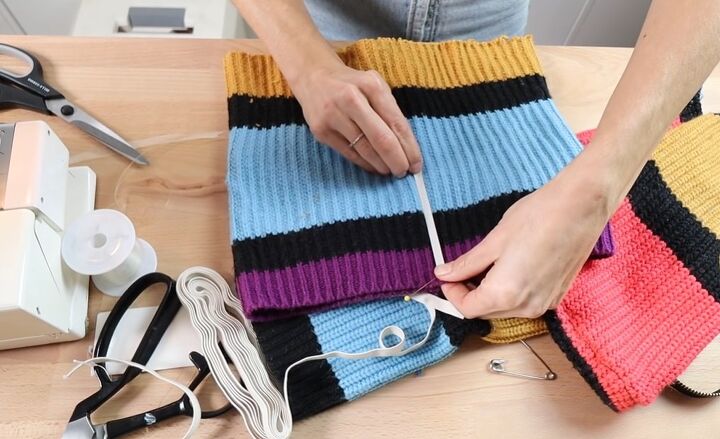
5. Add elastic
Fray the top part of it so that it will match the top part, and add some elastic, so it stays up.
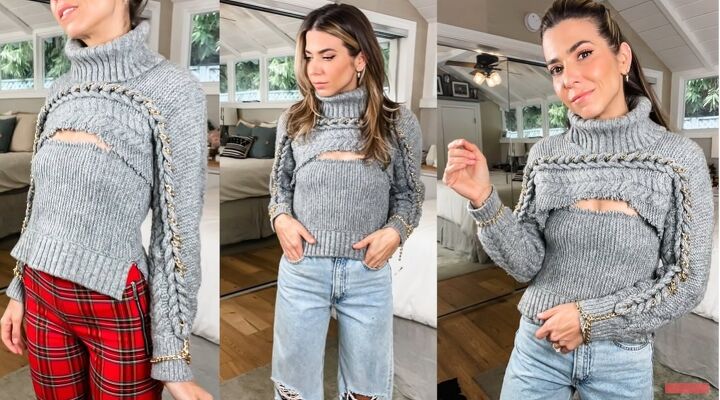
You can wear these pieces together as one matching sweater set, or you can separate them.
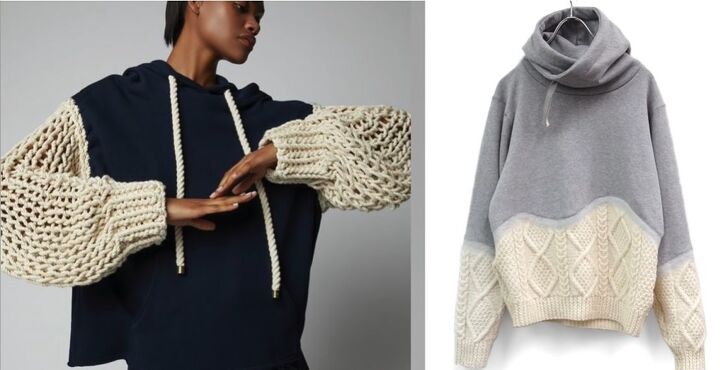
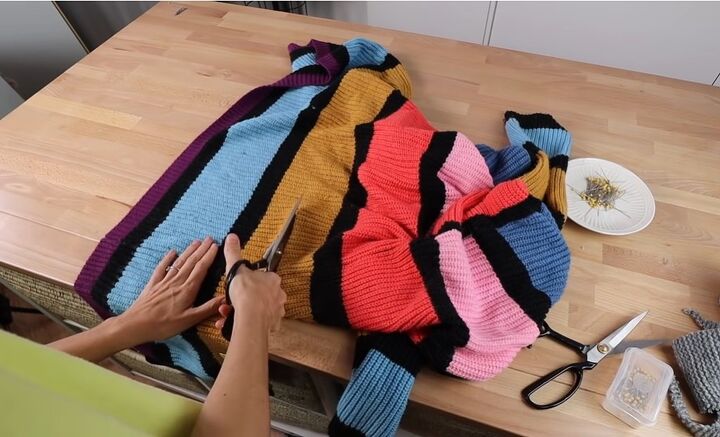
2. Sweatshirt-sweater mashup
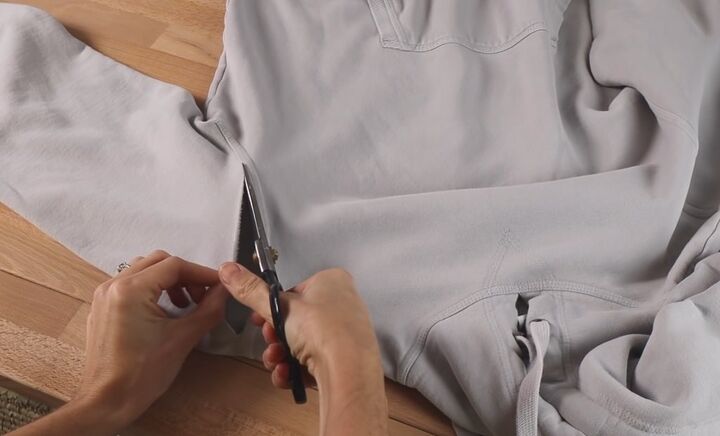
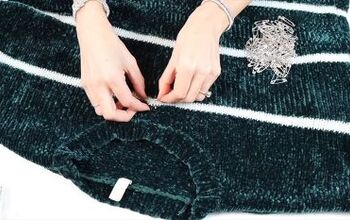
1. Cut the sweatshirt
Cut off the sleeves of the sweatshirt while keeping the seam line intact.
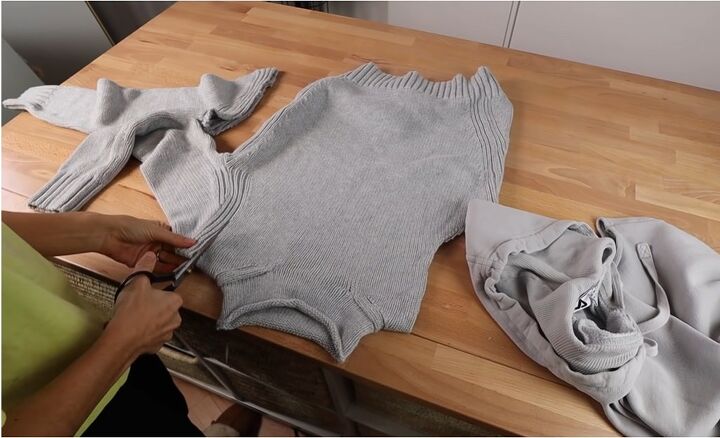
2. Cut the sleeves
Cut the sleeves off the sweater.
Also, cut off the ribbing at the bottom to use later.
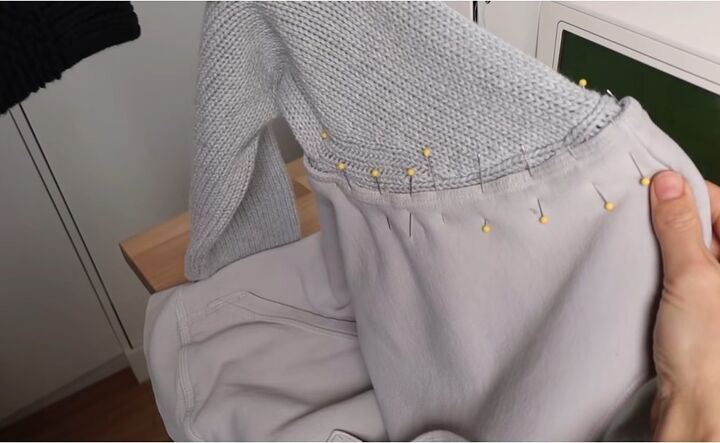
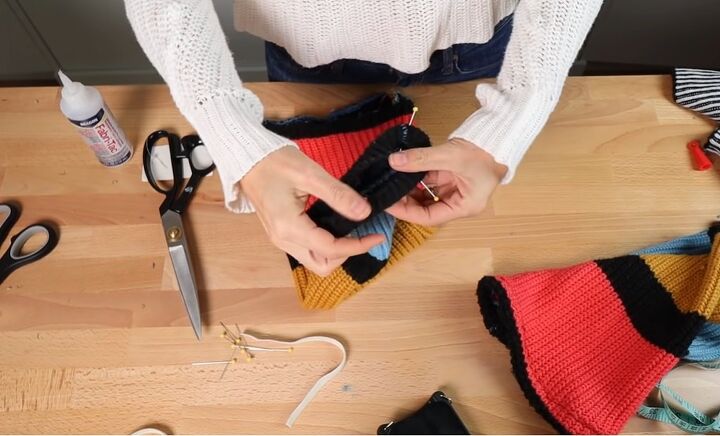
3. Pin the sleeves to the sweatshirt
Pin the sleeves in, maintaining one row of the knitted detail on the sweater.
4. Take the sweatshirt in
The sleeves were a little too small for the sweatshirt, so I turned the sweatshirt inside out and took it in by about 1.5 inches to remove some bulk.
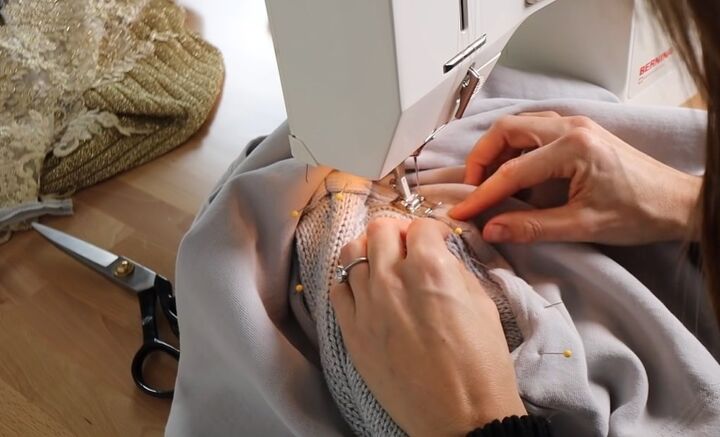
5. Sew the sleeves
Sew the sleeves on.
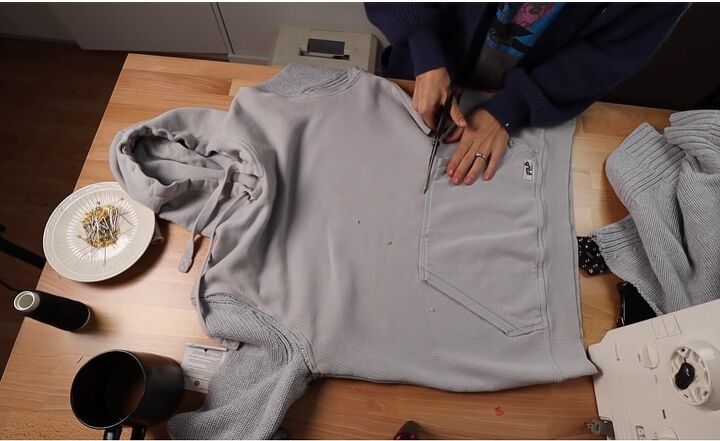
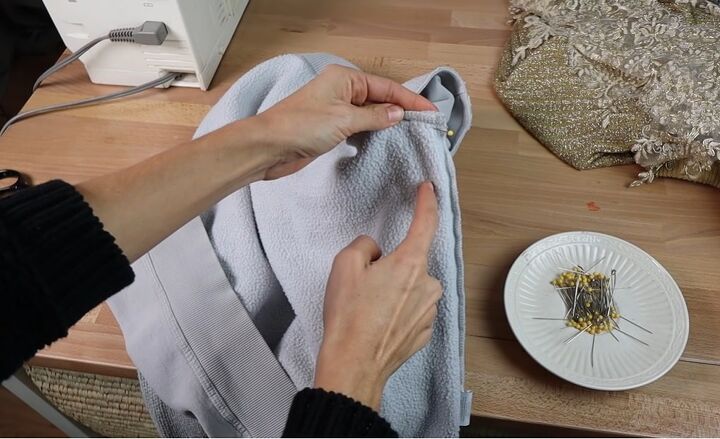
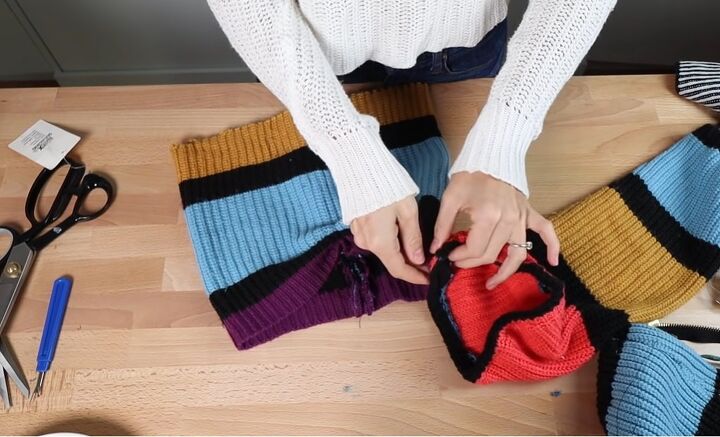
6. Cut the sweatshirt
Crop the sweater above the pocket.

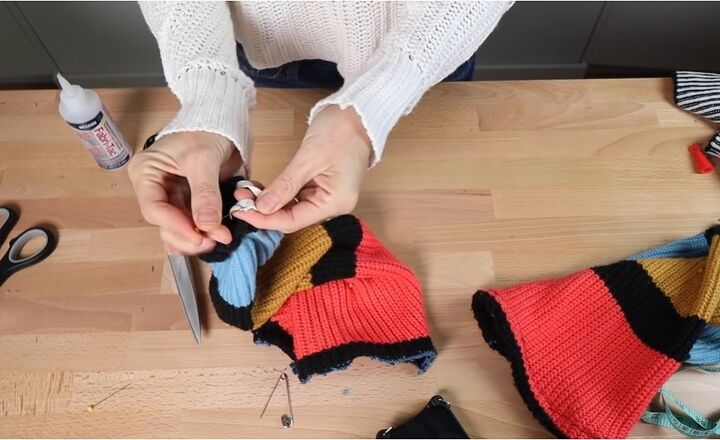
7. Attach the knit ribbing
Flip the knit ribbing piece inside out and upside down.
Then pin it all the way around to the sweater and stitch it down.
Here we have the ribbed bottom and the sleeves of the sweater, and everything else is the sweatshirt. I added a few little details to finish off the piece.
3. Sweater dress
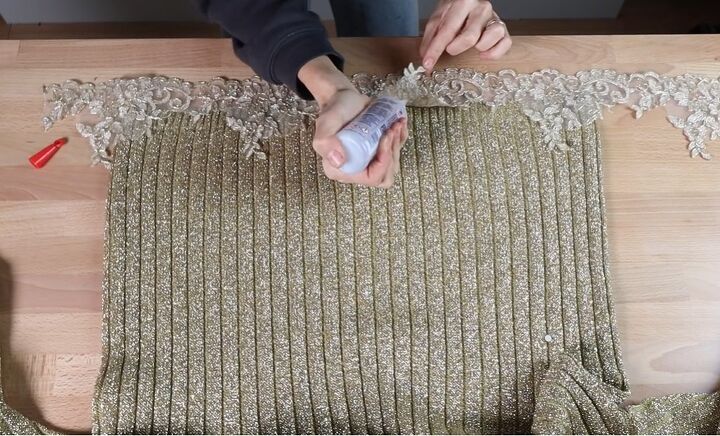
1. Glue lace onto sweater
Take an oversized sweater that's almost long enough to be a dress and find a cool trim to add as an extension, turning it into a dress.
Lay your trim down, apply fabric glue to the solid parts of your lace trim and glue it onto the sweater.
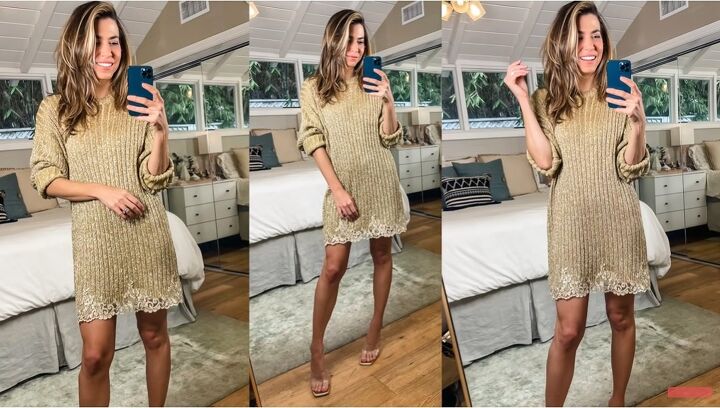
The detail on the bottom takes it from looking like I'm wearing a sweater as a dress to looking like I'm wearing a sweater dress. I love the detail. I think it's beautiful.
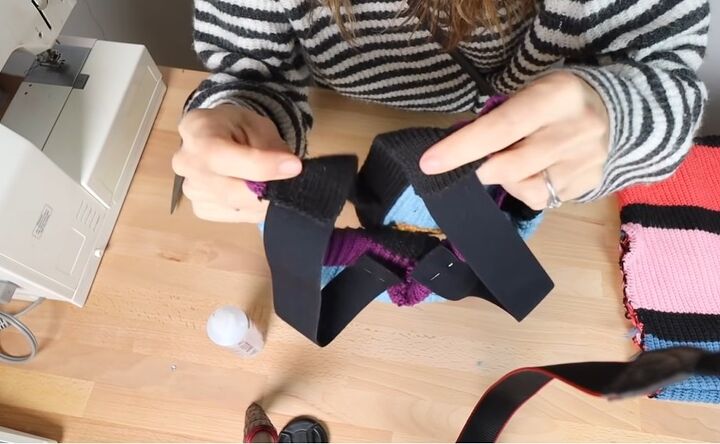
4. Lace-up top
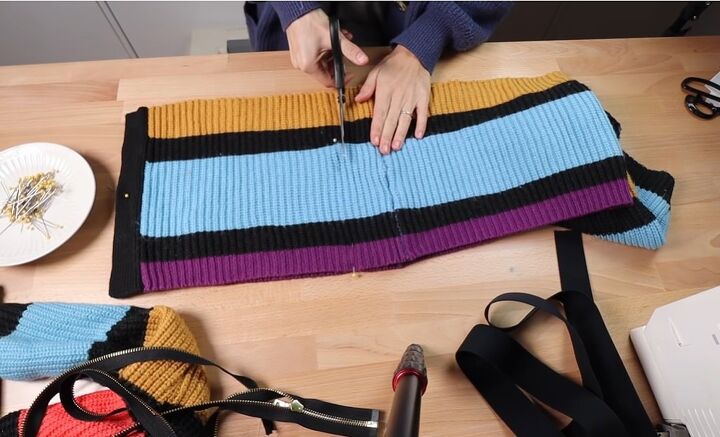
1. Cut the sweater
Cut your sweater not quite in half.
Make sure that the top section is long enough to be a top, but that there's enough fabric on the bottom section that you'll be able to turn it into a bra top as well. Detach the sleeves.
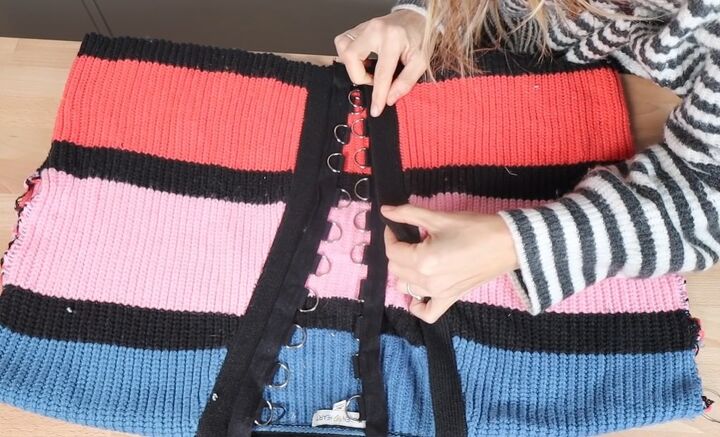
2. Attach D-ring tape
Take some D-ring tape and add some fabric glue in a nice thin line right to the edge of the D-ring.
Then, take the binding, the center front of your sweater, line it up, and use your fingers to press it into place.
Make sure that everything is lying flat. Glue it all the way up to the neckline.
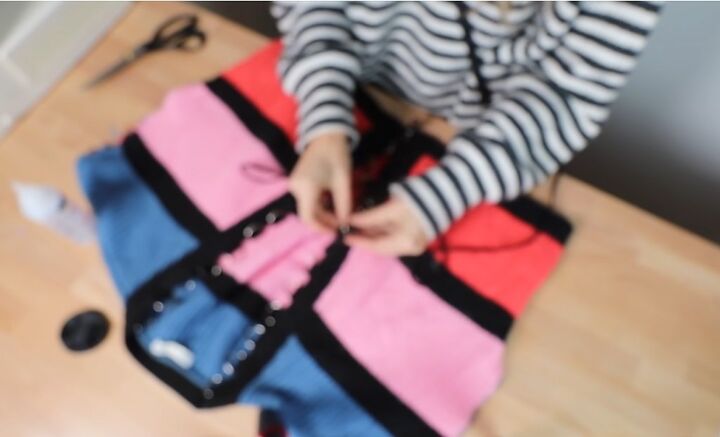
3. Add lace
Lace the top up.
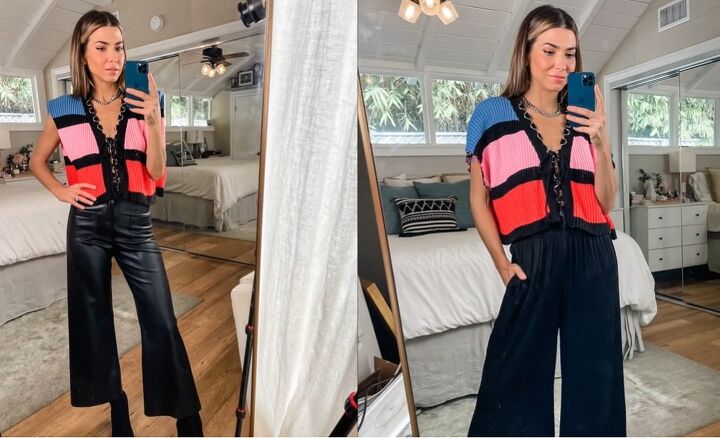
Here is the finished look!
5. Puff sleeve top
1. Cut the material
Cut the remaining material in half widthways and sew up the sides.
2. Make the neckline
To make a sweetheart neck, take some elastic center front, stretch it as far as it will go, and then stitch it down.
3. Create the puff sleeves
To create the puff sleeves, add elastic to the cuff so you can push it up over your elbow, and it will stay.
4. Add elastic to the sleeves
In the shoulder part, fold it over and create a casing.
Then feed the elastic through it and tighten the elastic on the shoulders so that it will gather on the shoulders.
Then, stitch them down so they can’t move.
5. Attach the sleeves
Attach the sleeves to the underarm.

I adore the sweetheart neckline and the puffy sleeves.
6. Bra top
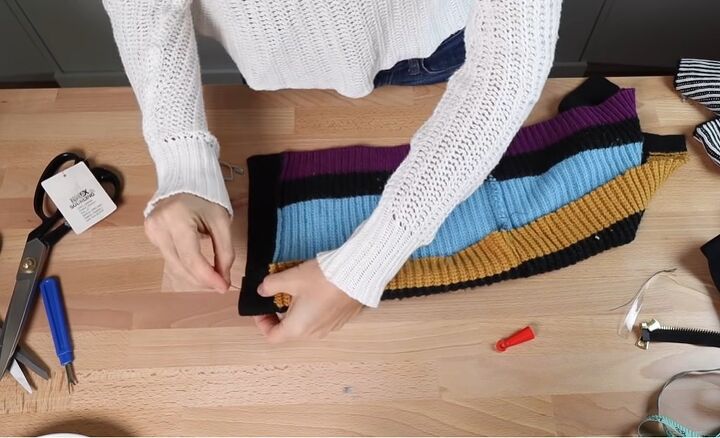
1. Hem
Hem the remaining material.
2. Make the straps
Take some black elastic and pin them at the front.
Then put the top on, make the straps as tight as you want, pin them in the back and stitch them down.
This bra top is really fun and a great layering piece.
Upcycle sweatshirts
There we have a whole bunch of different ways that you can transform sweaters.
I hope I’ve inspired you to give these methods a try, I’ve definitely inspired myself to keep looking for more creative ways to upcycle sweaters.
Which upcycle is your favorite? Let me know in the comments down below.
The author may collect a small share of sales from the links on this page.


Comments
Join the conversation
the dress idea is very cute :-)
Did I miss it…? How do u keep the cut sweater from unraveling please. And thank you! Love ur style 💗