How to Easily Make Your Own Color-Block Hoodie With Patchwork Pieces

Follow this tutorial to make your own color-block hoodie. It's super easy to do! Then, if you love the color-block look, use the same patchwork techniques to make more color-blocked clothing, like t-shirts, pants, and sweatshirts.
Tools and materials:
- 2 or 3 old hoodies in different colors
- Scissors
- Thread
- Sewing machine
- Serger
1. Make your color blocks
Cut the sleeves, pockets, and waistbands off your old hoodies.
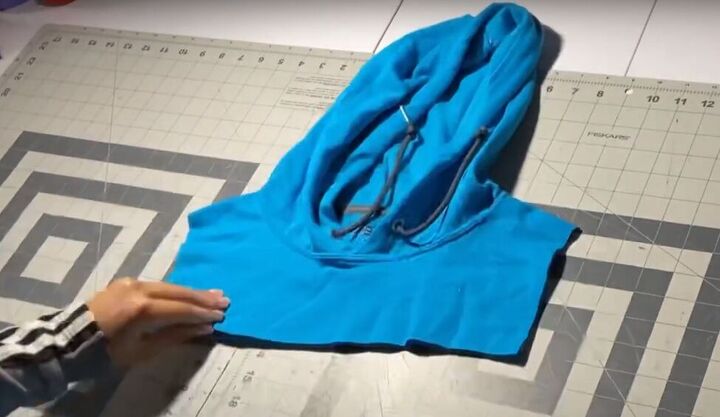
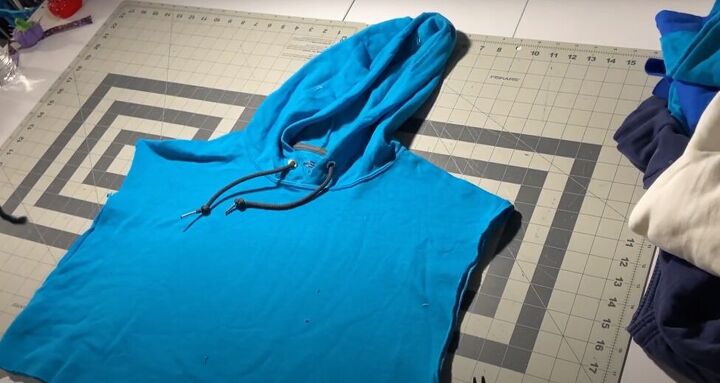
Next, cut off the sides and bottom of the hoodie so you are left with just the hood and a few inches of fabric below and on either side of the hood.
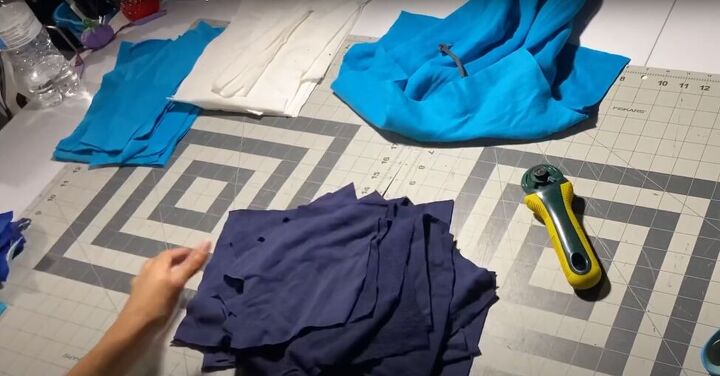
Cut the rest of that fabric, and fabric from more hoodies, into squares and rectangles that will make up your color blocks. Save the waistbands and pockets for later.
2. Make the body of the hoodie
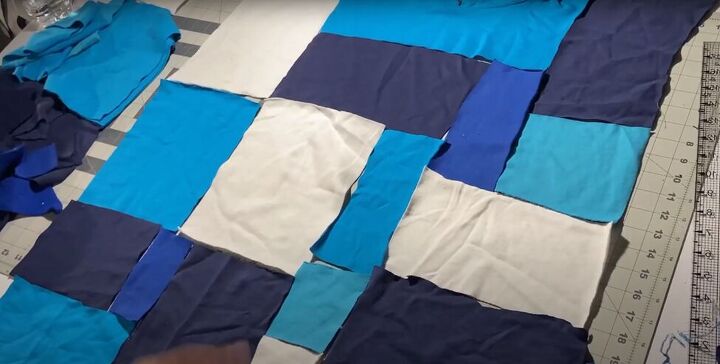
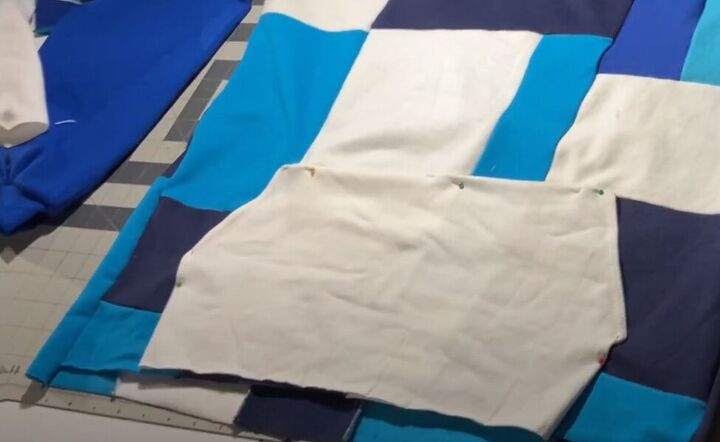
Lay out your color blocks in whatever pattern you like.
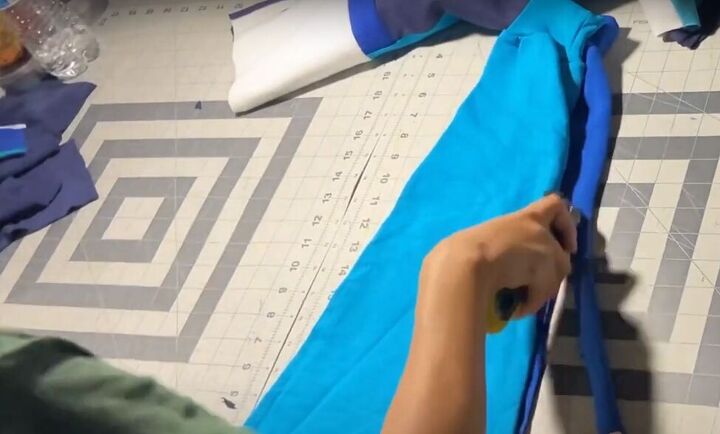
Sew the blocks together with right sides facing using a regular sewing machine or a serger. Work a few blocks at a time and iron them flat as you go.
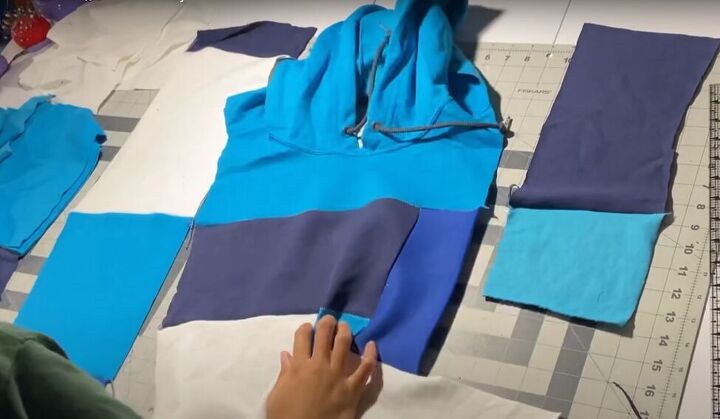
Next, sew the hood piece onto whichever block you want at the center front of your hoodie.
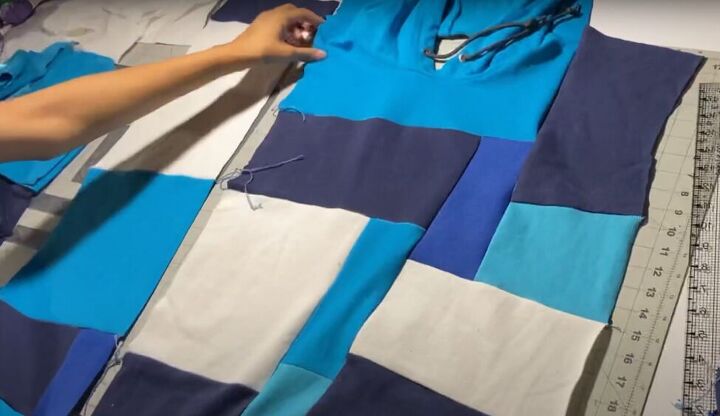
Sew the sides on to the hooded center piece.
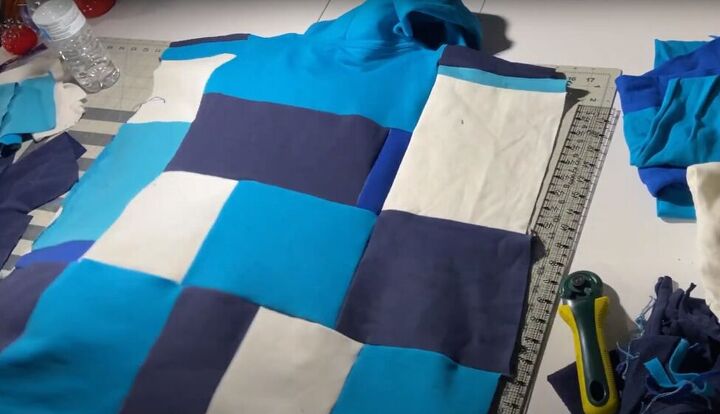
Make a color-block patchwork for the back of the hoodie, again mixing and matching block colors and sizes, and matching the final size and shape to the hoodie front.

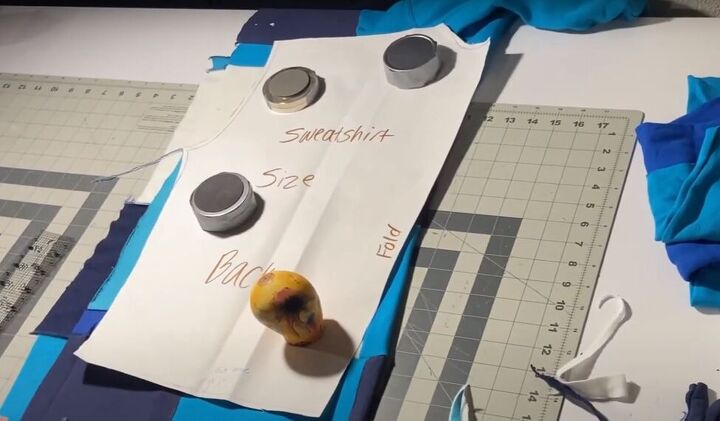
3. Trace a bodice pattern
Make a paper pattern by tracing the front of another old sweatshirt.
Fold the front piece of your hoodie in half and lay the paper pattern on top of it along the fold of the sweatshirt.
Trim the hoodie to the width and length of the pattern and trim the armholes of the hoodie according to the pattern as well.
Make a similar pattern for the back of your hoodie and trim to shape it as well.
4. Attach the sleeves
Choose the color sleeves you want from your disassembled old hoodies. If you have sleeves from two different hoodies and they are not exactly the same size and shape, trim the larger one as needed so both sleeves match.
You will then need to re-sew the sleeve seam with your serger.

Turn the hoodie inside out and sew the two side seams from the underarm to the bottom. Then insert the sleeves with right sides facing and sew them into place.
5. Add a front pocket
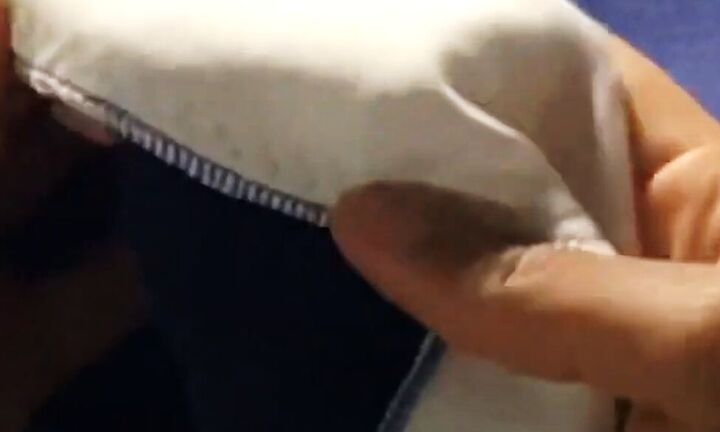
Choose a pocket from one of your disassembled hoodies and trim off the seams from the pocket. Lay the pocket on your hoodie matching the bottom of the pocket with the bottom of the hoodie.
Fold under the top and side edges of the pocket and pin the pocket to your hoodie. Topstitch the top and both sides of the pocket to your hoodie.

6. Attach a waistband
Choose a waistband from one of your old hoodies and trim off the seam. Lay it below your hoodie and trim off any extra waistband from one side so that it will cinch in the hoodie a bit.
Sew back a new side seam on the waistband to make it one round piece again.

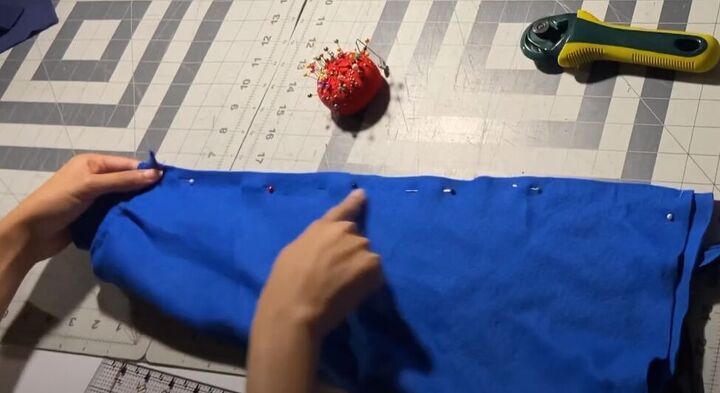
Pin the new waistband to the bottom of the hoodie, matching the side seams and raw edges. You will need to stretch the bottom of the hoodie a bit to fit the slightly smaller waistband.
Sew the waistband in place using both regular stitches and your serger to make sure that seam is extra tight.
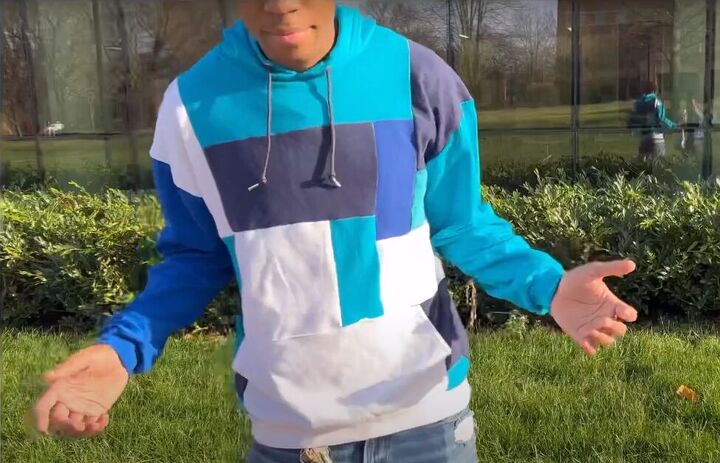
Make your own color block hoodie
You’re done and what a great color-block hoodie this is! And a great way to use those old hoodies that are taking up space in your dresser.
I’d love to hear how your DIY patchwork color-block hoodie turned out, so please leave a comment for me.
The author may collect a small share of sales from the links on this page.


Comments
Join the conversation
Cute! And a good way to recycle a hoodie with stains or other issues.
WOW! I love this so much! Excellant job!