You’re Going to Love The Fit of These Sweatpants

Welcome to Sheer Stitchery! Today I'm going to show you how to sew sweatpants. These sweatpants are the trendy kind; they have a nice fitting shape! Before you go out and invest in a pair of sweatpants, try to sew these beauties on your own! This sweatpants tutorial is super easy, and you also don't have to spend endless hours scouring the internet for the perfect pattern. This pattern is tried and tested, and I know that you will love the result!
Tools and materials:
- Fabric ( I used a ponte knit fabric)
- Clear elastic
- Elastic for your waistband
- Pins
- Sewing machine
- Pattern- find the Hudson pattern here
- Fabric scissors
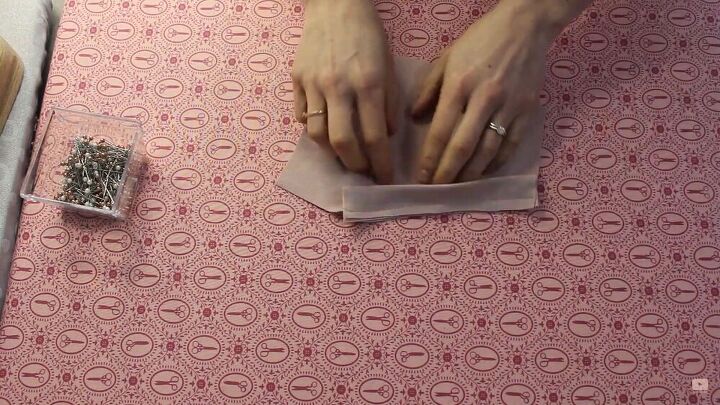
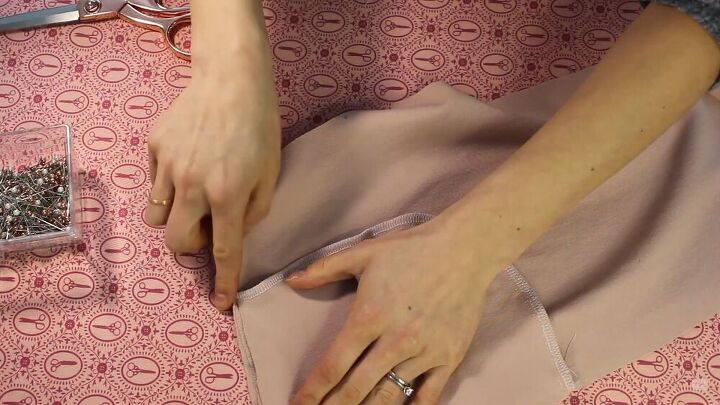
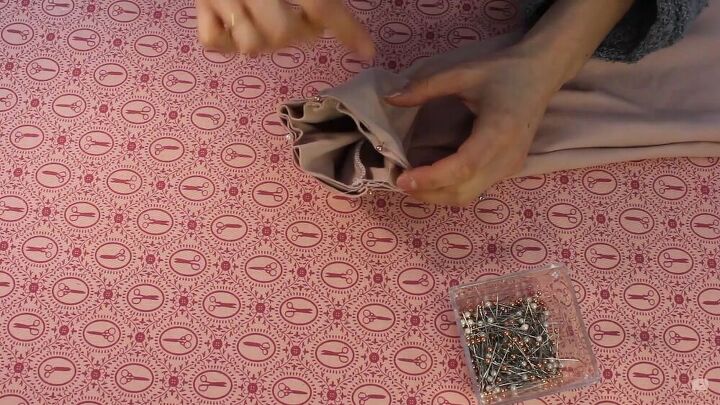
Make the pockets and attach accordingly
Let's start with pieces 4 and 5. Cut the corresponding patterns. Place those together as shown in the image and stitch the curved side.
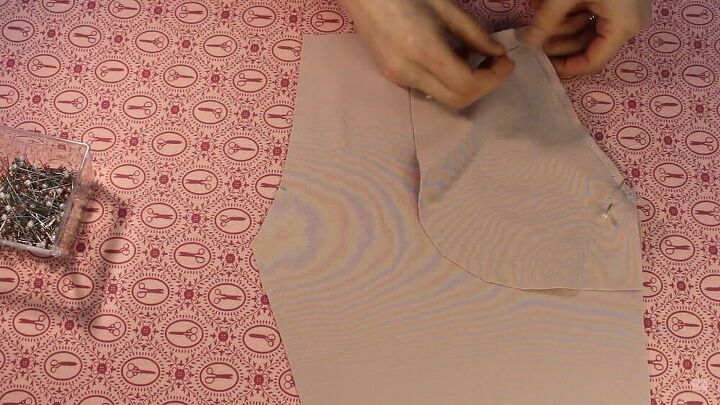
Next, stitch the pocket to the leg pant. Match your notches, pin, and stitch in place along the same stitching line you did before.
Give it a good press and flip it to the wrong side.
Next, pin the second pocket bag, making sure you don't pin the pants, too.
Stitch along the whole pocket piece and give it a serge so it has a cleaner look at the edges. Remember to repeat the process on the other pant piece.

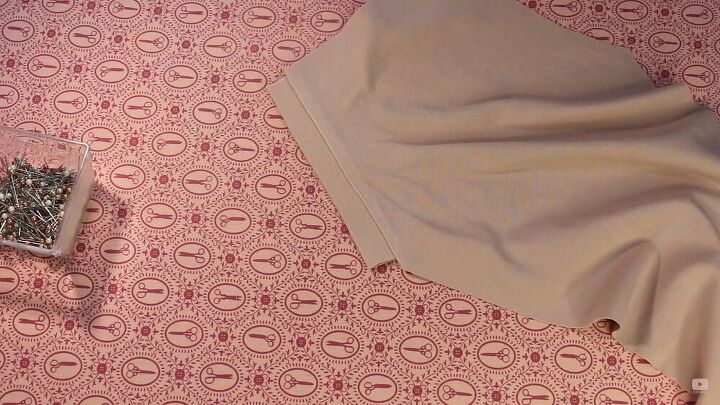
Assemble the side and crotch seams
Match up the front and back section of the pant pieces. Pin the side seams, all the way down, and stitch. Do the same on the inner leg seam, too.

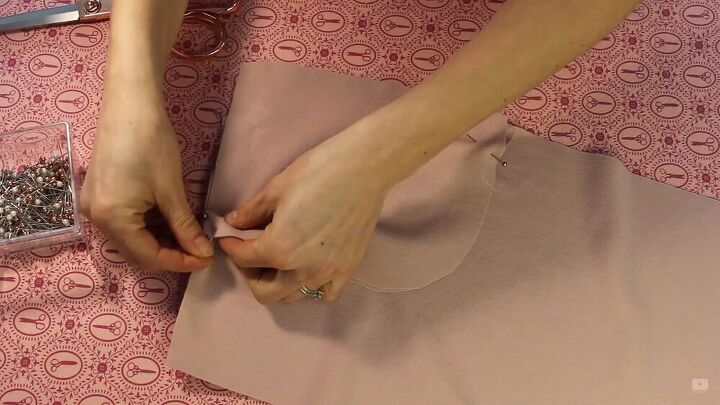
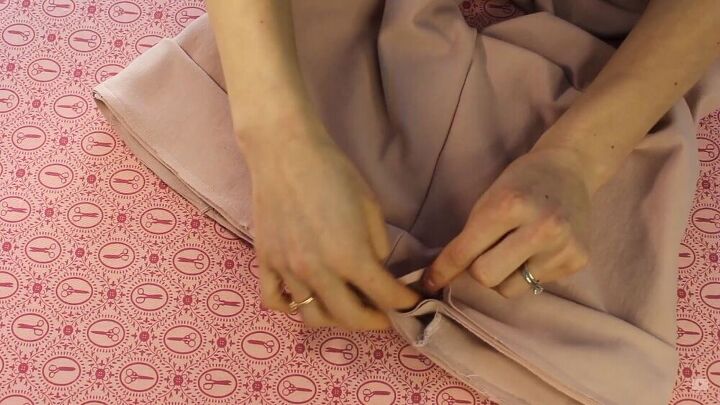
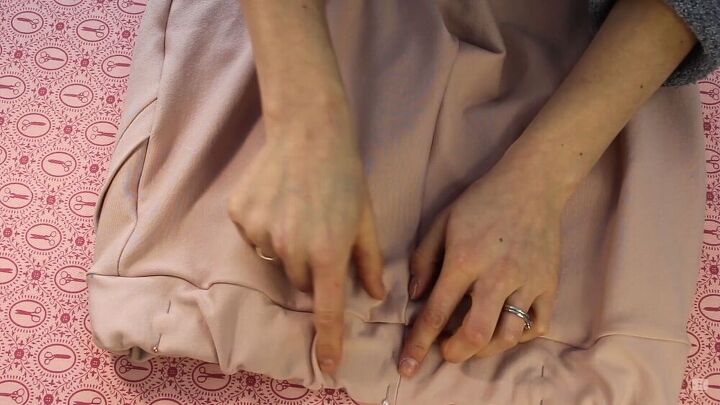
To stitch the crotch seam, turn one of the pant pieces right sides out and place both pant sections right sides together. Once they are kind of 'sandwiched" together, go ahead and pin the crotch seam.
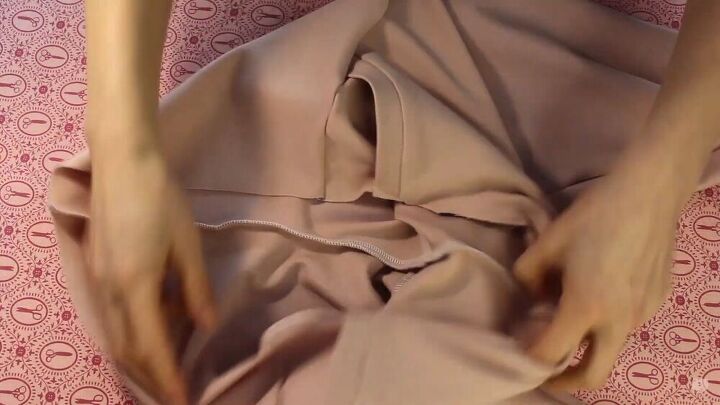
Stitch all around the crotch seam. This is how it should look.
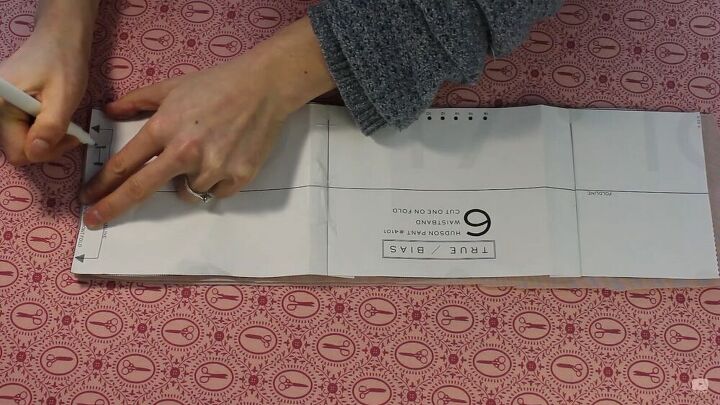
Make the waistband
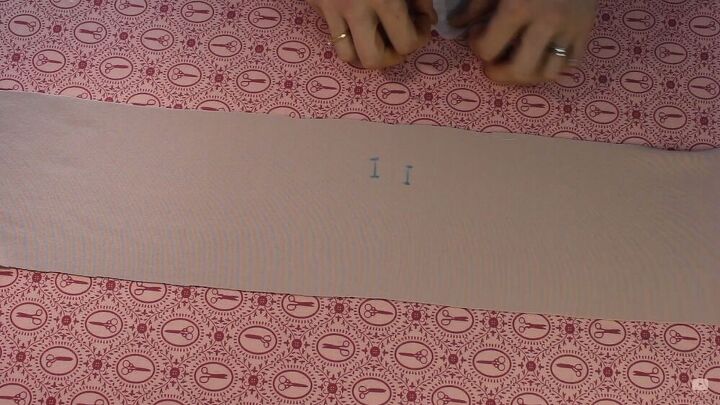
Mark your buttonholes in the center. You can use a fabric pen for the markings.
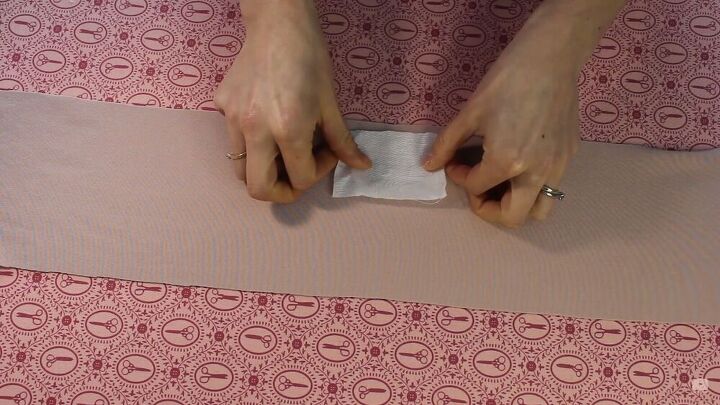
Add a piece of interfacing on top of the marked buttonholes on the pattern piece's wrong side. Press to secure the interfacing in place.
Fold it in half and right side up. Mark the buttonholes again on the right side of the fabric using your pattern piece as a guide. This will help you locate the notches and buttonholes.
Stitch the buttonholes on your sewing machine. I used a white thread but even a matching thread will do.
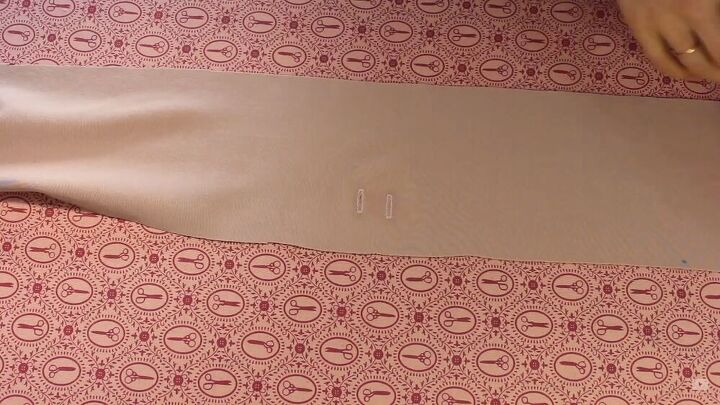
Place your waistband right sides together and sew the short ends together. Press the seams once the short ends are stitched.
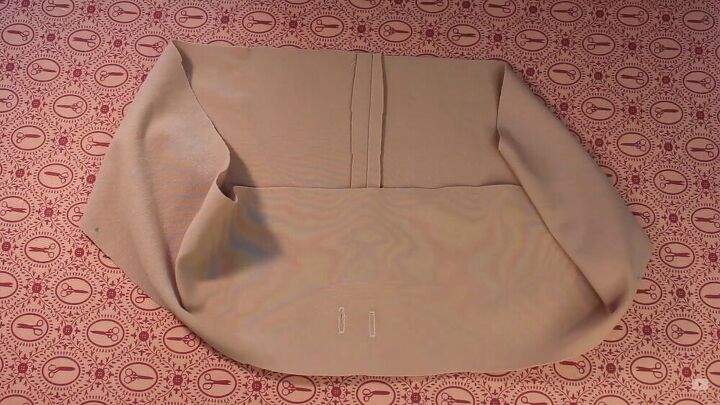
Now, turn your waistband right sides together, and fold it in half. Pin it all around, starting from the center back and then moving to the center front. Basically, pin the waistband in quarters, ensuring an even distribution of the fabric's fullness.
Attach your pinned waistband to the pants. Again, start in a quarterly manner; starting from the center -back, center-front, and then the side-seams. Then add a few more pins in between, too.
Stitch the waistband all around, leaving a gap to insert the elastic.
Make the drawstrings and attach the elastic
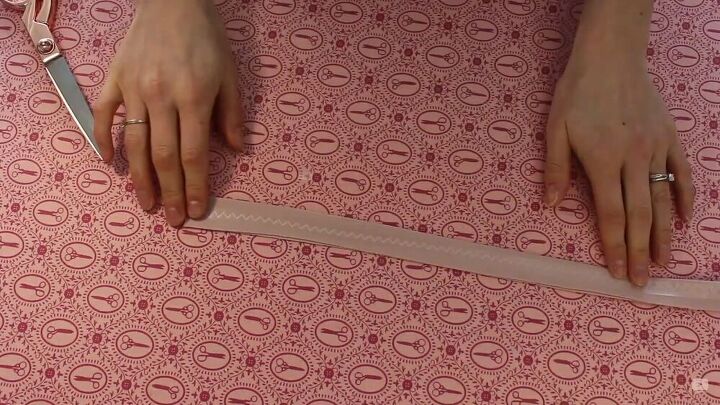
Now, it's time to make the drawstrings for the waistband. You can totally skip this step and buy a ready-made one, but I decided to make my own so that the fabric matches the sweatpants. I took some fabric and cut it to size. Here, I am using clear, stretch tape and doing a triple zigzag stitch.
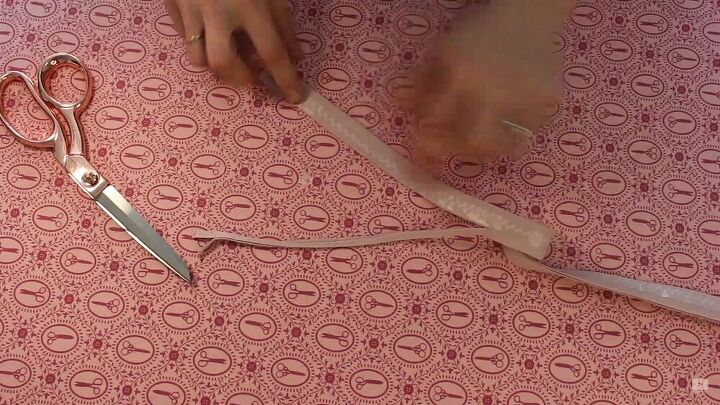
Cut off the excess fabric and turn it inside out using a safety pin.
Insert the waistband
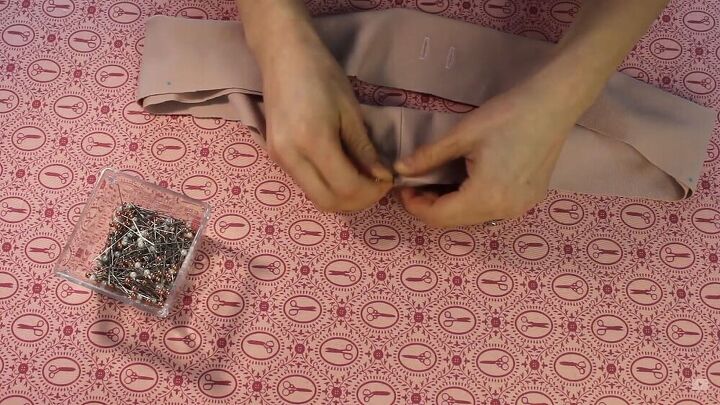
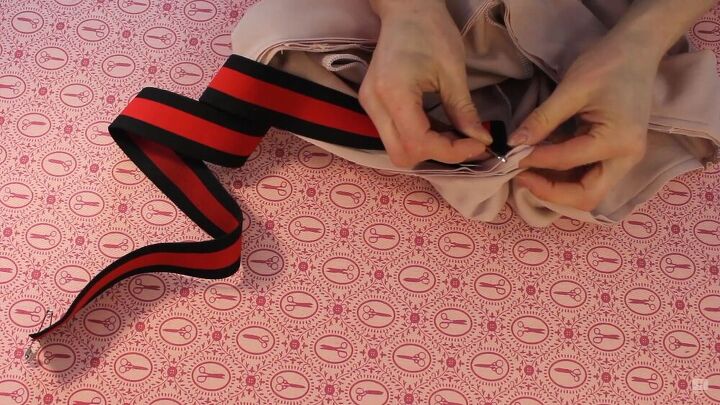
You are going to need two safety pins for this process—each on either end. Pin the one end to the back of the waistband so it doesn't slide in while you feed through the elastic. The safety pin attached to the other end will help you feed through and guide the elastic all the way around the waistband.

Stitch the ends with a zigzag stitch and stitch the little gap closed so that your waistband is secured with no openings.
Next, pin the elastic around the waistband and stitch it in place. Sew around the top and bottom of the elastic. This will prevent the elastic from twisting and creates a neat design feature.
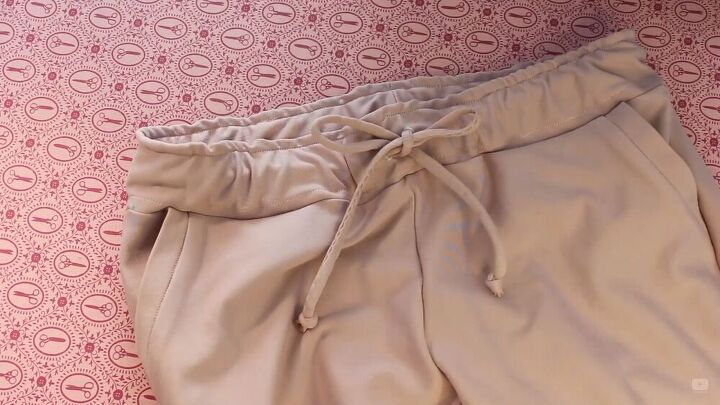
Once the elastic is secured in place, feed through your drawstring.
Step 6- Make the bottom cuffs
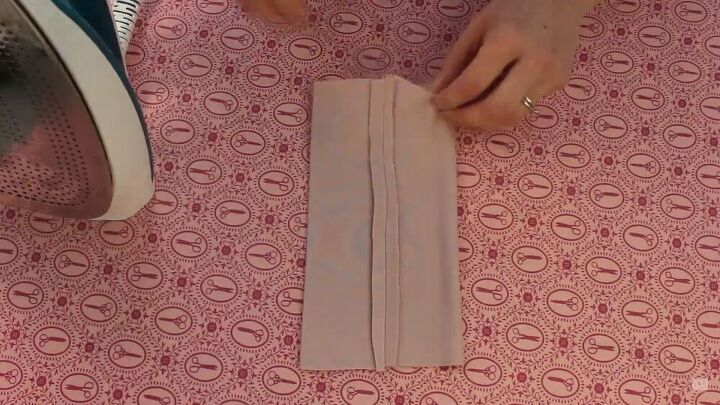
Fold the bottom cuff part lengthwise and stitch it along the edge. Give the seams a good press, so the seams lay flat.
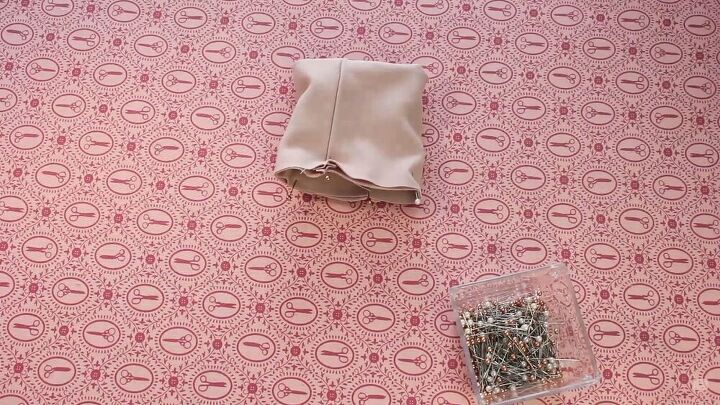
Next, fold the wrong sides together. Match the edges and notches and pin the cuff all around the edge.
Grab the pant bottom and attach the cuffs. Pin the cuff's seam to the inseam of the bottom of the pants. Distribute the fabric evenly, again matching up the notches accordingly.
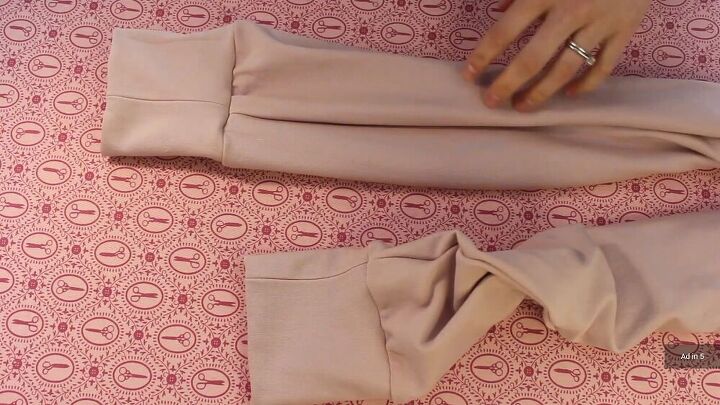
Head on over to your sewing machine and stitch. Finish it off with a serge all around. Be sure to repeat this step on the other side.

You're done! This pattern is one of my favorites. Not only is it easy to follow, but the actual cut is so stylish and comfy. Did I mention that this pattern also comes in both a men's and lady's size? That means you can sew a comfy pair of DIY sweatpants for a significant male in your life. I love how these sweatpants make me look a little more sophisticated, even if I'm at home. Also, if you have scraps leftover, you can make a cute matching crop top. I hope you enjoyed this tutorial!
The author may collect a small share of sales from the links on this page.


Comments
Join the conversation
So cute!