You’re Going to Love This DIY Box Pleated Skirt

Are you wondering what to sew next? Why not make this super easy DIY box pleated skirt? With only a few materials required, you can sew this easy DIY pleated skirt in no time! There's also no pattern needed, just a good measuring tape! It has an elastic waistband, so it will fit quite well as a mini or midi skirt. Let's get sewing and make a pleated skirt for your closet.
Tools and materials:
- 2-3 yards of fabric
- Scissors
- Measuring tape
- Scrap paper
- Tape
- 1 yard of 2 inch elastic
- Sewing machine
Measure yourself
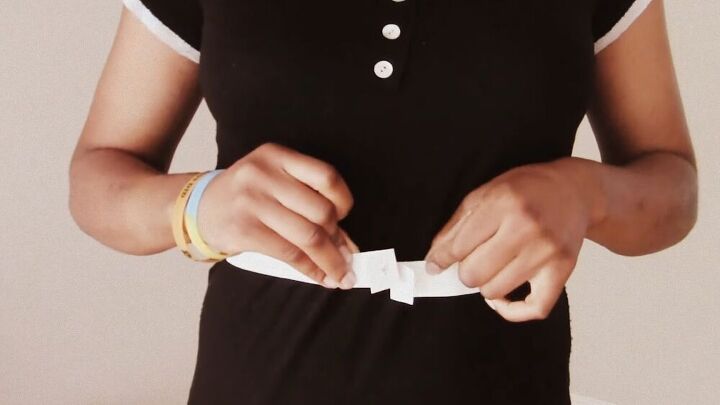
Start by measuring your waist and the desired length of your skirt. I used this foldable ruler to measure my waist with an inch of seam allowance on either side.
Cut the fabric
Let's start cutting! Measure out the length of your skirt. Also, if you want the waistband to blend in with the skirt, measure it to the nearest stripe (that's if you are using a striped print like me).
When cutting the width, you want it to be at least three times the measurement of your waist. In this case, you may need to cut two strips and sew them together.
Pleat the skirt
Now for the fun part! Place the first pin 4 inches into the fabric and another pin 2 inches to the right. Then, place a third pin 2 inches from the second.
Now, fold the third pin back to the first pin and pin the folded fabric together to create a pleat. Check that the stripes match up ( if relevant) and you've done your first pleat!
To create the second pleat, place your pin 2 inches to the right of the fold of the first pleat. Repeat so that you have two pins and then fold the second pin onto the first and pin, making sure the two folds touch. This time, fold it on the front, not the back. Now, continue pleating the rest of your waistline.
If you can't make a whole pleat at the end, simply make a mini pleat, as shown. You can also take out an existing pleat and make it smaller.
Also, the length of your pleats should match the length of your ruler.
TIP-
Watch the whole process in my video at 1:13 minutes in the video.
Cut the waistband
Take your waist measurement and take in 2-3 inches from that.
Sew the pleats in place
Do two parallel rows of basting stitches using the longest stitch length on your machine.
Check for extra fabric
Wrap the skirt around your waist and slowly pull it down towards your hips. Allow extra fabric to shift between your fingers. Once you get to the hips, mark the extra width as shown.
Sew on the elastic
Fold your skirt in half and find the halfway points. Pin the elastic in half and find its halfway point, too. Next, pin the halfway point of the elastic onto the skirt's halfway point. Find the quarter length of the fabric by folding half the length. Do the same for the elastic, match up the corresponding points, and pin it all around in a quarterly manner.
Use a zigzag stitch to attach the skirt to the waistband. On my machine, it worked best when I flipped the elastic on the bottom and the fabric on top.
TIP-
Test your machine and see what works best for you when it comes to zigzag stitching.
Cut the excess fabric
Remember we checked for extra fabric in step 6? Now, cut it off before we stitch the side seams. Just make sure that the last pleat is straight. Next, check the fit, exactly like you did in step 6.
Sew the side seams
If everything fits perfectly, go ahead and sew the side seams.
TIP-
Pin the last pleat of your skirt so that you don't sew over it.
Here's the finished pleated skirt! What do you think? I love how it effortlessly drops around my hips. It's fun, playful, and classic. Remember, you can either wear this as a pleated mini skirt or a midi skirt. The choice is yours! Thanks for watching, and I hope you enjoyed this easy DIY pleated skirt tutorial.
Enjoyed the project?
Suggested materials:
- Fabric
- Scissors
- Measuring tape
- Scrap paper
- Tape
- 2 inch elastic
- Sewing machine
The author may collect a small share of sales from the links on this page.


Comments
Join the conversation
Love it!
Nice classy skirt.