You’re Going to Love This Brilliant Thrift Flip

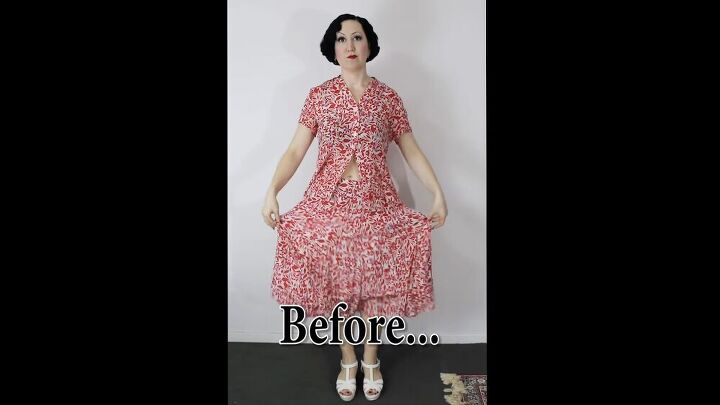
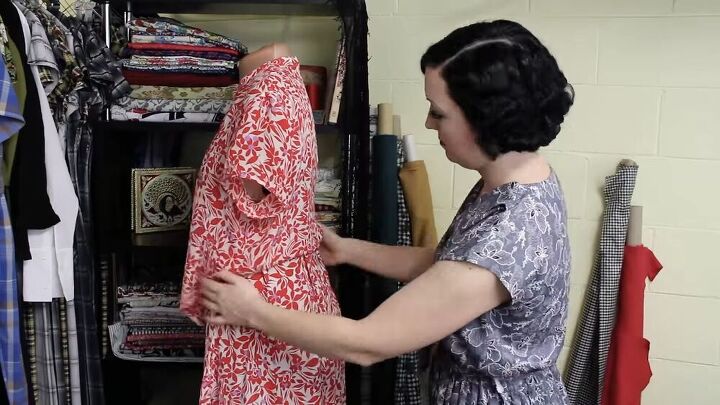
I get a thrill out of thrift store shopping. Do you love the idea of rummaging through a pile of unwanted clothes, finding a gem, and turning it into something out of this world? Join me as I take you along this amazing thrift flip where I'll be showing you how to thrift flip a "meh" kind of dress into a lovely vintage '40s style dress. I found a lovely silk printed shirt and skirt at my local thrift store. Check out how with just a few modifications, I managed to transform it into something extraordinary. Let's get started.
Tools and materials:
- Thrifted skirt and top
- Sewing machine
- Thread
- Buttons
- Pins
- Measuring tape
- Scissors
- Mannequin (optional)
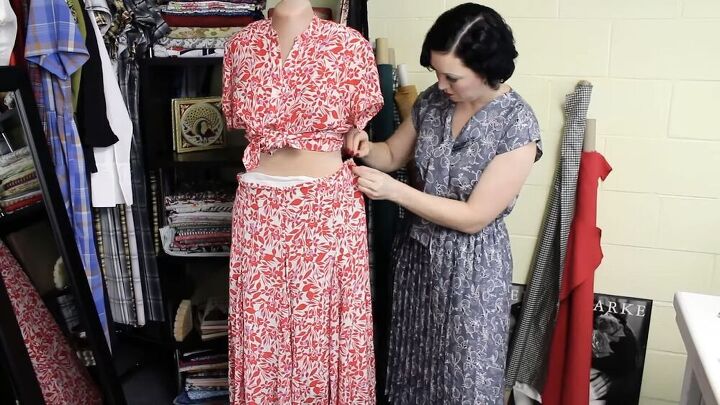
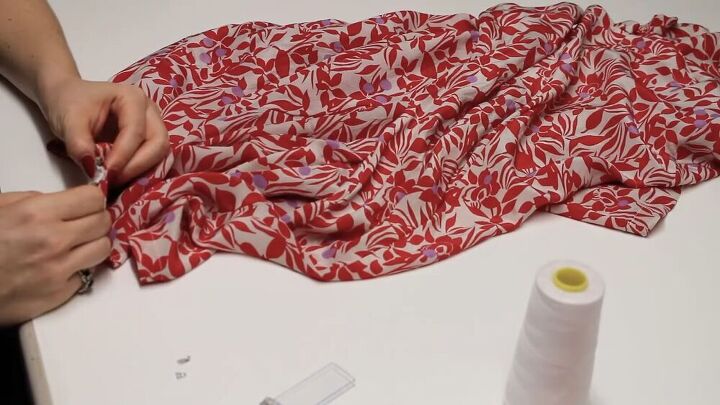
Take in the skirt
I fitted both items, and It definitely needed resizing. I had to take in the top and skirt. The best way to do this is to put the clothes on a mannequin, but if you don't have one, fitting on yourself will do just fine. Take in the skirt on the 8 gores, too.
Cut and modify the top
For the top part, it's best to pin this when it's not you or on the mannequin. Mark where you'd like to take in the fabric and pin accordingly. Also, be sure to angle the cut line. I want a short length at the back that curves down longer to the front.
Now that your desired length is pinned, cut the line, making sure it's curved around the front part. To make sure both sides are even, simply fold the shirt in half and check if the lines correspond.
Put the top back on your mannequin, and pin the side seams as this will also be taken in.
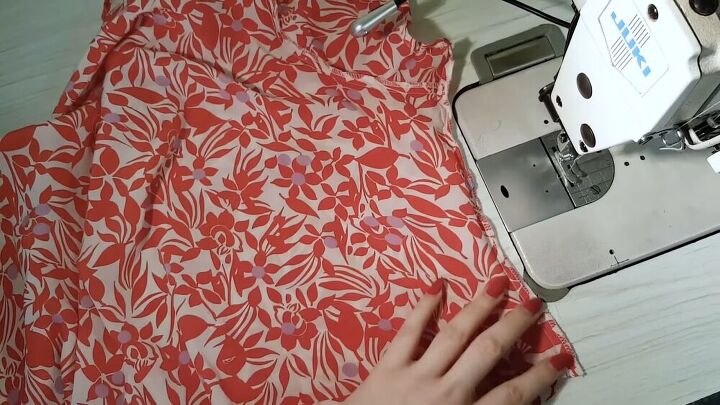
Sew the side seams straight down, and cut off any excess.
It's time to create the darts at the back, measure where you'd like them. Ideally, they should be placed on either side, more towards the center. Fold the fabric, creating a pleat-like structure and pin.
TIP-
To check that your darts are even, lay them on top of each other.
You'll want to readjust the hemlines again; since the shirt was taken in at the side seams, the flow may not be ideal. So fold your top together again and check the flow of the hemline. Cut where needed ( cut both layers). Make sure they are nice and even, cutting off any excess strings or fabric.
Hem the bodice by folding it over once and sewing down the fold. Next, fold it over again, and sew. Basically, you are folding it twice and sewing it twice. This is called a double turnover hem.
Modify the skirt
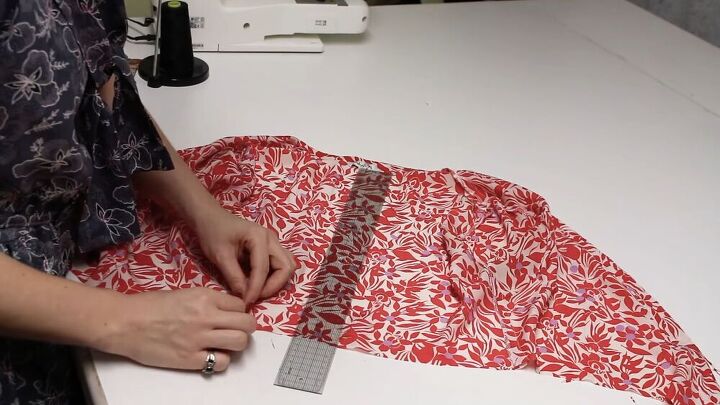
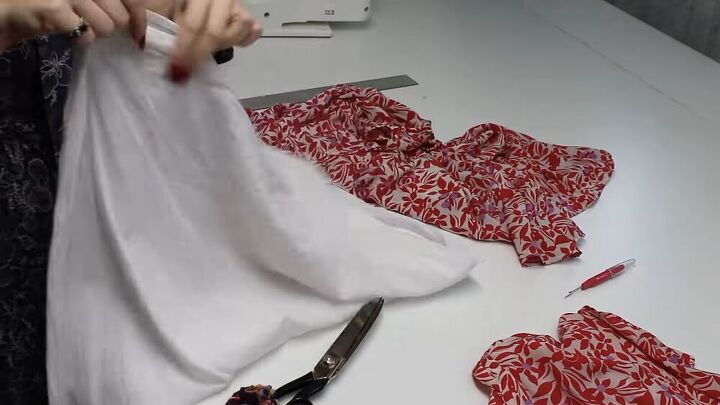
I took apart the skirt's lining from the skirt itself. You can take in the lining with a straight line down each side.
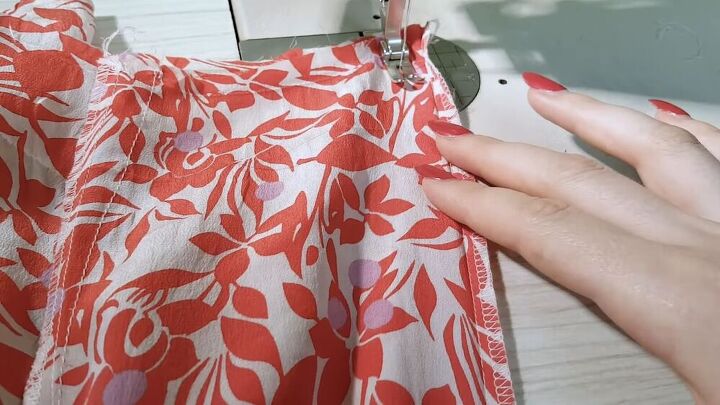
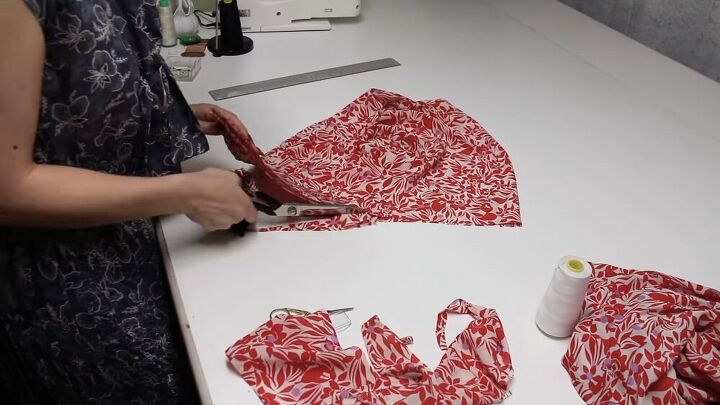
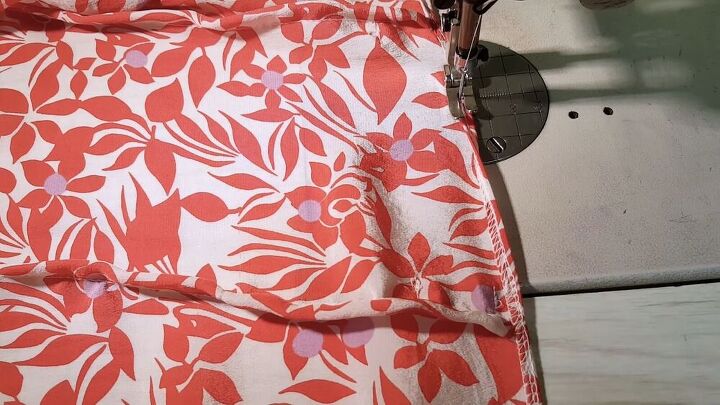
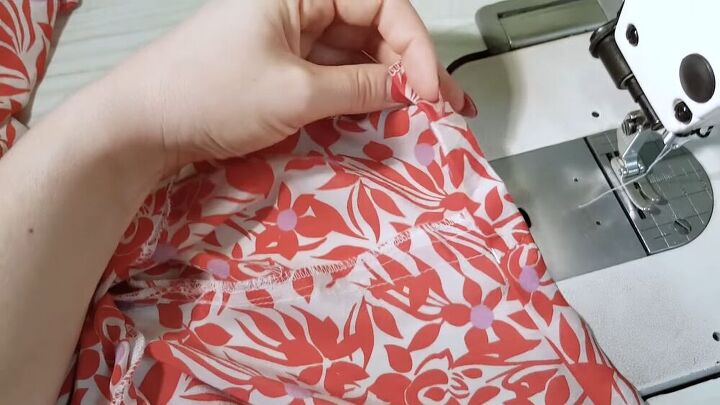
You'll notice there's 8 gores; each one will have to be taken in. Sew down each of the gauls evenly throughout each panel of the skirt. This is a very crucial step, so be sure to take your time on this. No rushing! When you're down, put on the skirt to see that it fits. If so, you can now start making the waistband.
Make the waistband
Create a casing on the top edge of the skirt for the waistband. Fold it over once, then fold should be 3cm (around 1 inch), and fold it again. Then, topstitch all around to secure in place.
Modify the zipper and hook & eye
I replaced the zipper and modified the hook and eye to have a nice, neat finish.
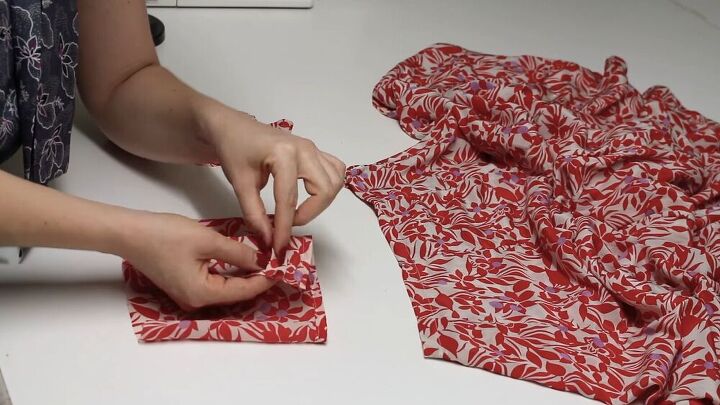
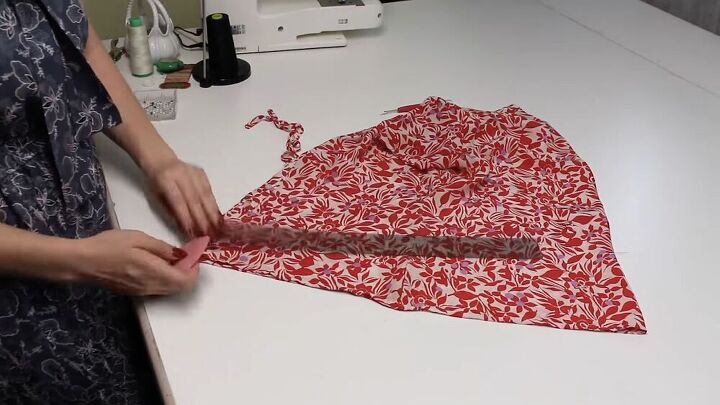
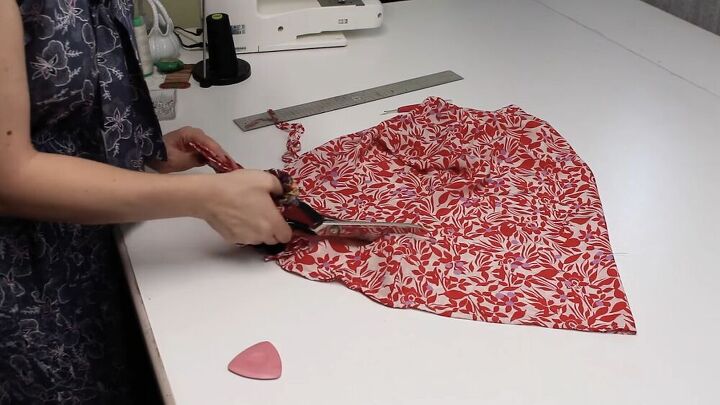
Make a puffy pouch
From the remaining fabric, make a cute puffy pouch. Do this by cutting out a rectangular shape, fold right sides together, and sew all around the side and bottom edges. Next, I placed a drawstring on the top. Check out my video from 5:19 minutes to see how it's done.
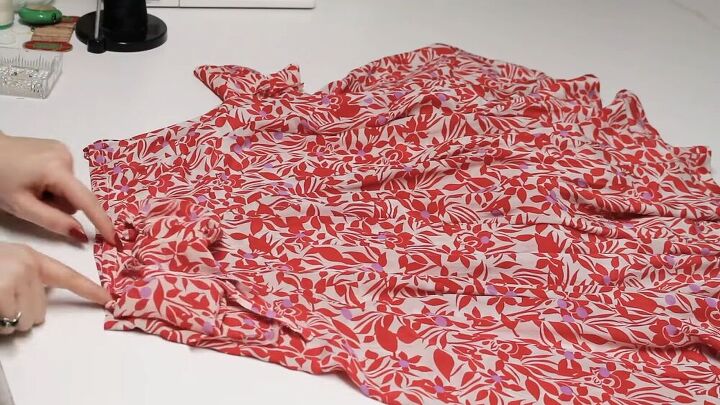
Place the pouch on your skirt. I placed mine on the side, as shown above. While you're at it, do a double turnover hem on the skirt's bottom and around the top's sleeves.
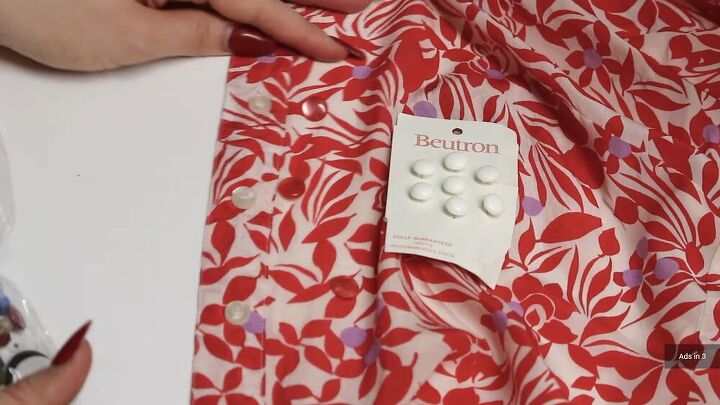
Change the buttons
I had to change the buttons since this top was super old; it needed a revamp. I had read and white ones, but I went for the white buttons. If you don't need to change the buttons, you are welcome to skip this step.
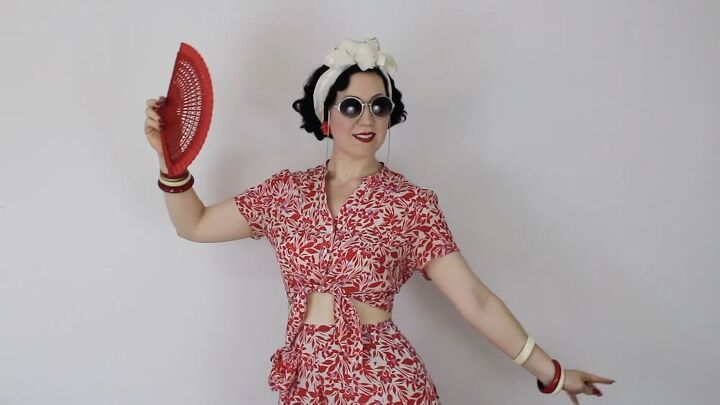
Ok, we are done, guys! Look how amazing this transformation is! Wasn't this an easy thrift? I love this vintage look; it's so feminine, flowy, and fun. Also, it doesn't have that mother-of-the-bride kind of vibe. Isn't it so fun to transform old items? This was definitely a successful vintage thrift flip. I hope you enjoyed this tutorial as much as I did. Good luck!
The author may collect a small share of sales from the links on this page.


Comments
Join the conversation
Well done I love it !
Wow! And it looks fabulous on you!