How to Make a Shirt Smaller: DIY Crop Top Tutorial

Do you have an extra large t-shirt that just isn’t flattering to wear? Follow along with my step-by-step tutorial to make a t-shirt smaller and cuter!
Tools and materials:
- Baggy t-shirt
- Chalk
- Ruler

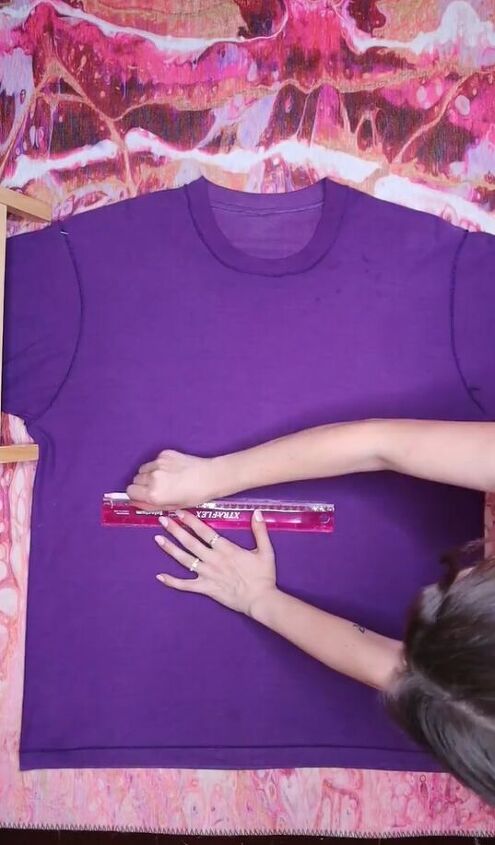
1. Mark measurements
Try on your oversized shirt. Use chalk to mark a few inches below your belly button.

Then mark your desired sleeve length.

Lay the shirt out flat and use a ruler to evenly extend the mark below the belly button point.
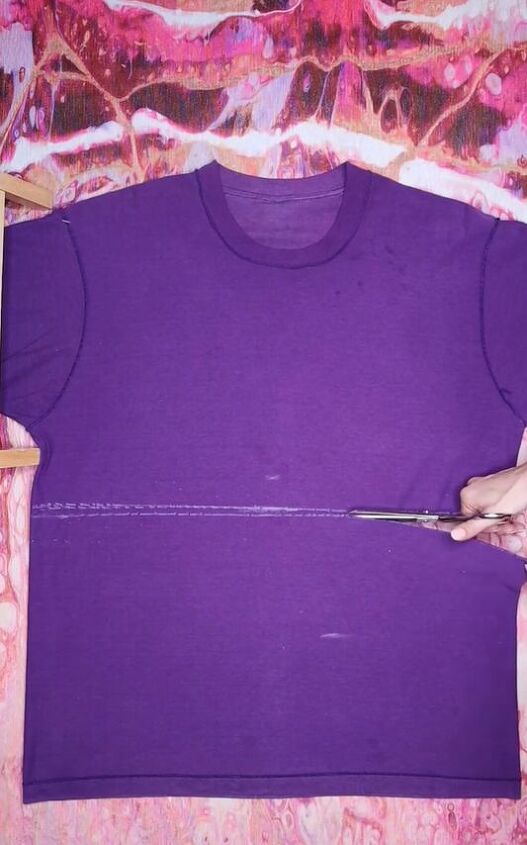
2. Cut
Use fabric scissors to cut across your marks to remove the excess fabric.
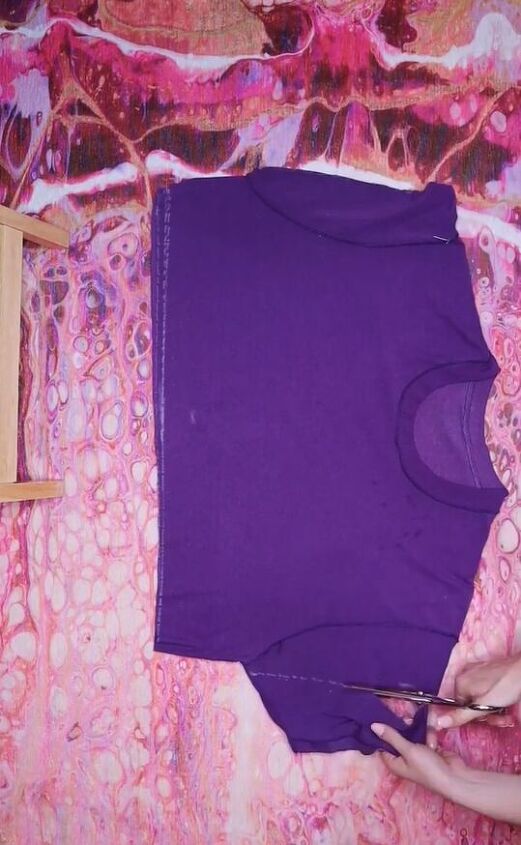
3. Finish marking sleeves and cut
Mark the top point of your new sleeve length and connect the dots with your ruler and chalk. Measure and repeat for the other sleeve.

Then cut off the excess.
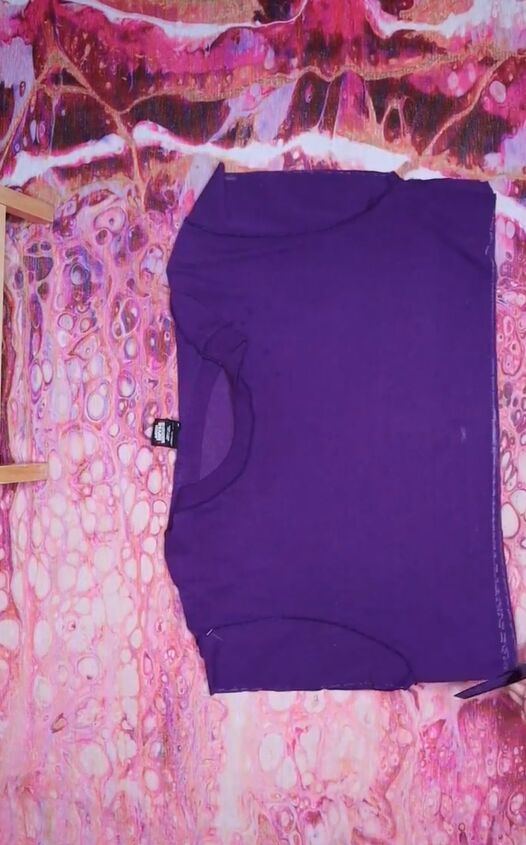
4. Cut slits
Cut slits up the sides of the shirt, being careful not to cut into the sleeves.
5. Wear and tie (2 ways!)
Try on your almost complete crop top.
Option 1: Grab the corners of the back panel and bring them to the front. Then tie them together so the fabric is comfortably flush to your body.

Next, grab the front 2 corners, pull them to the back and tie them.

Option 2: Pull the front corners to the back and tie them.

Then pull the back corners forward and tie them in the front.

Here are the 2 ways to wear your DIY crop top:

How to make a shirt smaller
Now that you’ve seen how easy it is to make a shirt smaller, will you try this DIY baggy shirt hack? Comment down below!
You might also like this 3-in-1 tutorial: How to DIY a cute t-shirt skirt set.
The author may collect a small share of sales from the links on this page.


Comments
Join the conversation