Make This Beginner-Friendly DIY Crop Top

Crop tops are the in thing right now, and I definitely understand why. They're cute and trendy and look great with a banging pair of jeans. If you want to add a DIY crop top to your stash, then you can make a DIY crop top from scratch without much effort. You'll love how easy it is to sew a DIY crop top with my easy tutorial. Scroll down, and let's get started!
Tools and materials:
- Non-stretch fabric
- Crop top as a guide
- Pins
- Sewing machine
- Ruler
- Chalk
- Thread
- Scissors
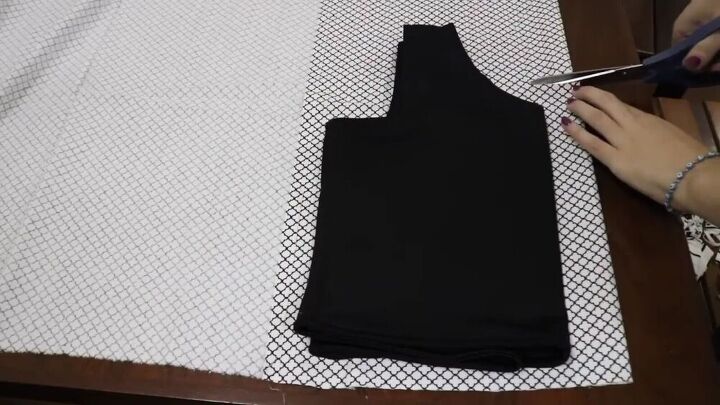
Make the pattern
Take a crop top that you already own and fold it in half. Next, fold your fabric in half, too. It's important to note that my top is stretchy, and the fabric is not, so I added a ⅓ seam allowance.
Also, the top I used as a pattern is very fitting. I wanted a more flowy crop top, so I added more fabric to the bust areas. I measured my bust and divided it by 4 to get the exact measurement.
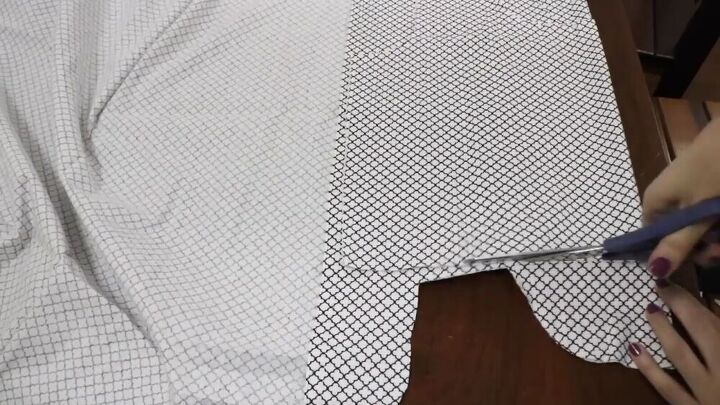
Once you have cut out one bodice piece, use that piece to cut out the second.
Assemble the DIY basic crop top
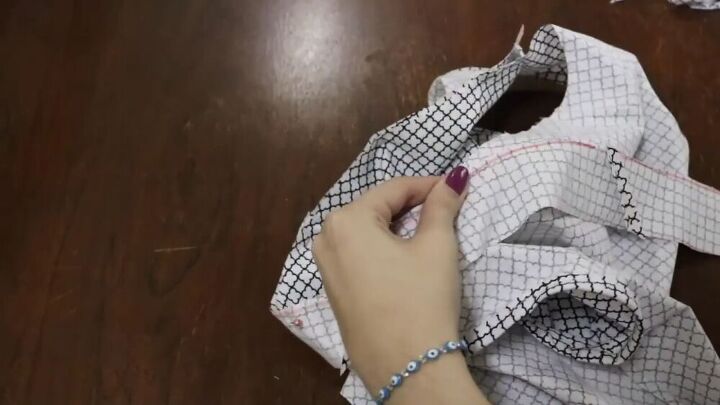
Layer the front and back pieces on top of each other, wrong sides facing. Sitch the shoulder and side seams and trim the excess fabric. Leave a little room on each side to don't have stitches so close to the edge.
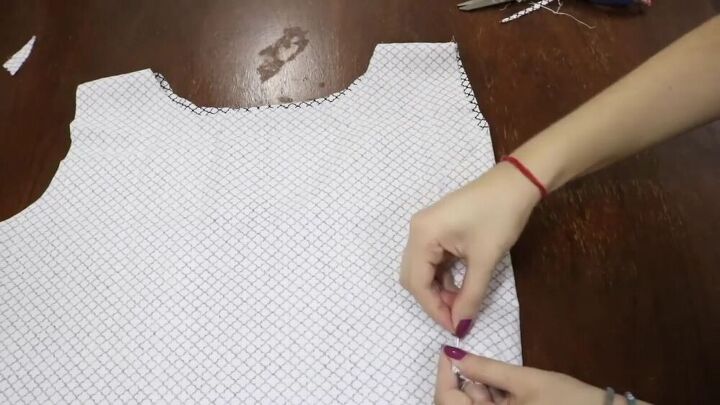
Then, turn the fabric inside out so that you have the right sides facing each other. Align the seams, pin, and sew. This will give your DIY crop top a lovely finished look without any visible stitches on the right side of the fabric.
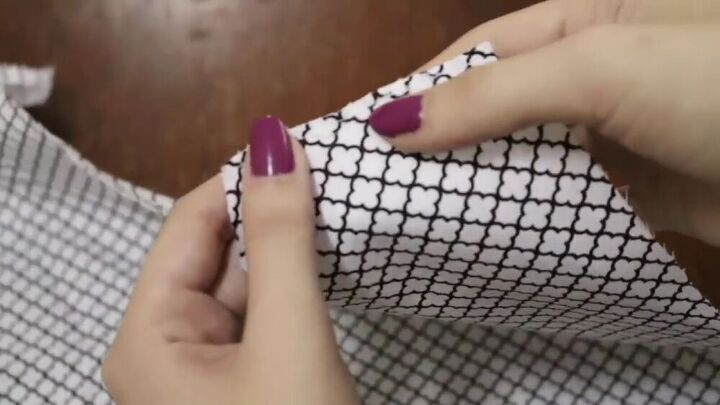
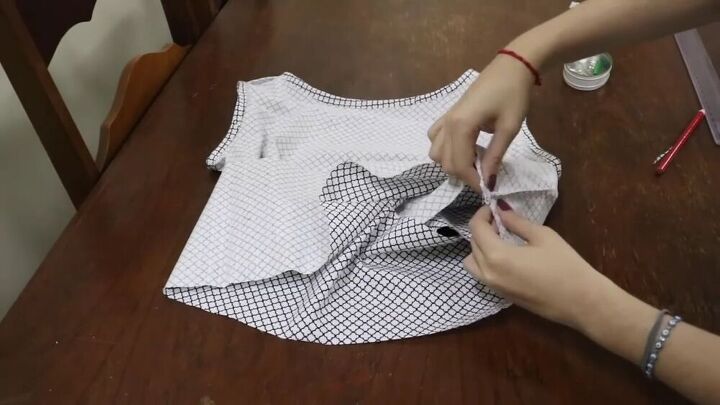
Make and stitch the bias tape
Cut a strip of fabric from the same fabric. Make sure the longer line is not cut straight but rather diagonally. Now, pin the edge around the neckline, with the right side of the bias facing the wrong side of the DIY crop top. You'll notice that cutting the bias tape diagonally helps align the rounded edges of the neckline.
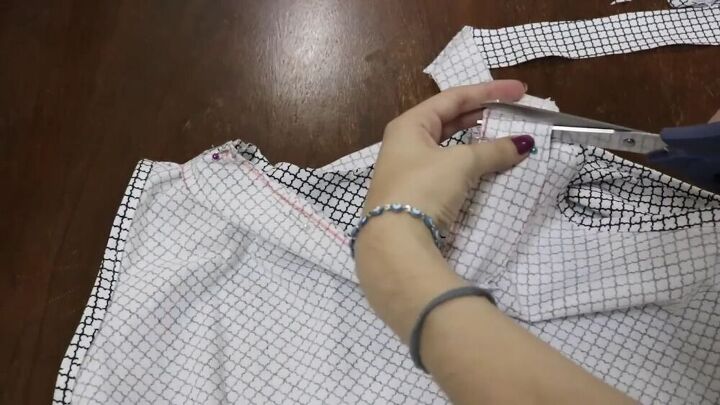
Cut off the excess bias and stitch around the edge, as shown.
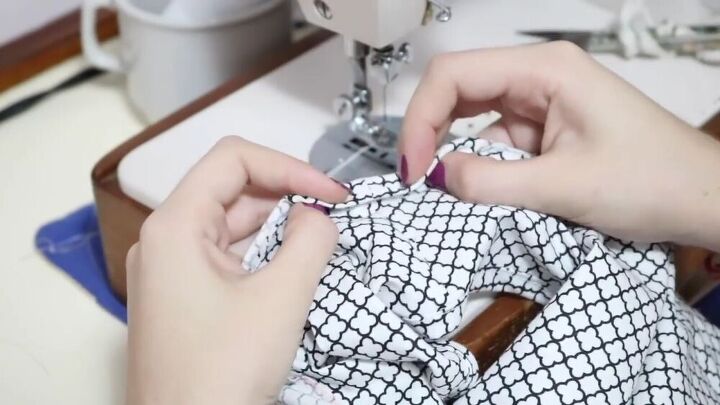
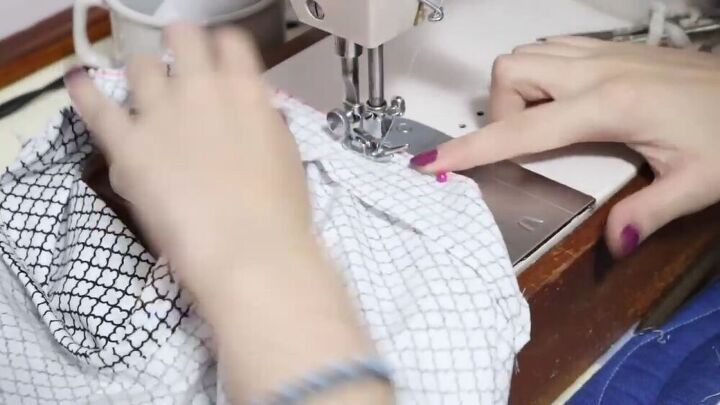
Fold the bias tape twice over, pin, and stitch all around. To see how I do this exactly, watch 4:09 minutes on my video. Folding over the bias twice ensures a clean, professional look with no raw edges visible.
Repeat the same process for the armholes.
Optional - Add more length
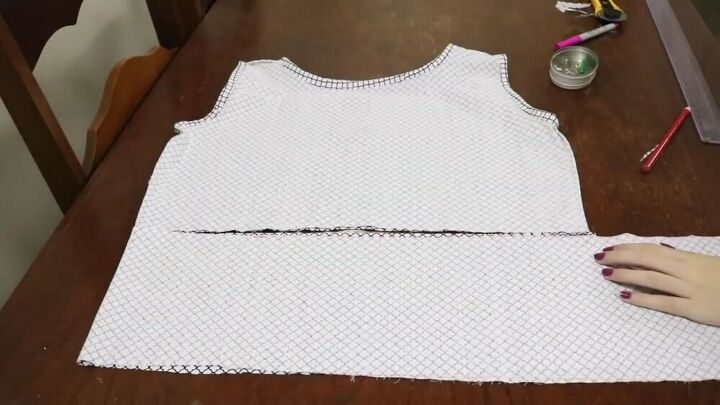
I felt that my easy DIY crop top needed more length. So I went ahead and added another rectangular piece to the bottom. I think it gives it a cool edge, too. If you are happy with your DIY crop top's length, then go ahead and skip this step. Just hem the bottom part, and you're done. If you feel you too could do with some extra length, then this step is especially for you.
Cut a panel to your desired length and encase it around the bottom of your crop top. So, the wrong side of the top is facing the right side of the panel. Align the side seams, pin, and stitch all around.

After stitching, turn the top inside out and fold the bottom layer up so that the right side of the fabric sticks out.

Fold the top edge, pin, and sew all around.

Woohoo! We're done. That was super enjoyable and easy. This beginner crop top tutorial looks so amazing; one could easily think it's store-bought. I love the oversize look and flare, together with the oriental pattern of the fabric- it's a well-rounded sewing project. Thanks for reading.
The author may collect a small share of sales from the links on this page.


Comments
Join the conversation