This DIY Button-Up Crop Top is Super Sexy & Really Easy to Make

I saw a picture of Bella Hadid wearing a little backless, button-up crop top. It seemed like a great summer piece, and very quick and beginner-friendly to recreate. In this tutorial, I'll show you how to make a DIY button-up crop top like this from an old button-up shirt.
You can also do this with hemming tape and hand-stitch the wraps on the back, but I’m just going to show you what I did. So if you're interested in seeing how I made this cute, white, cropped button-up shirt, keep reading.
Tools and materials:
- Button-down shirt
- French curve
- Measuring tape
- Fabric pen
- Scissors
- Pins
- Iron
- Sewing machine
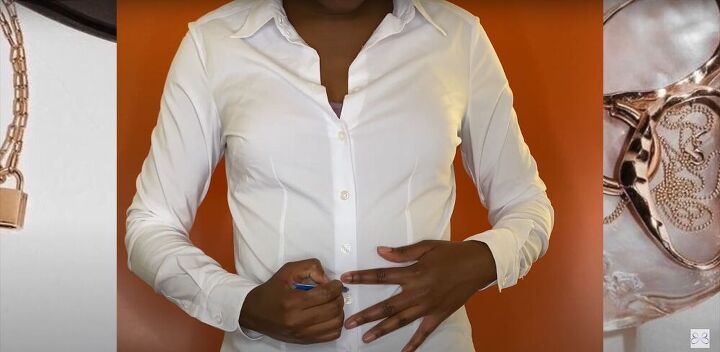
1. Mark the button-down shirt
The first thing I did was mark where I wanted it to be cropped.
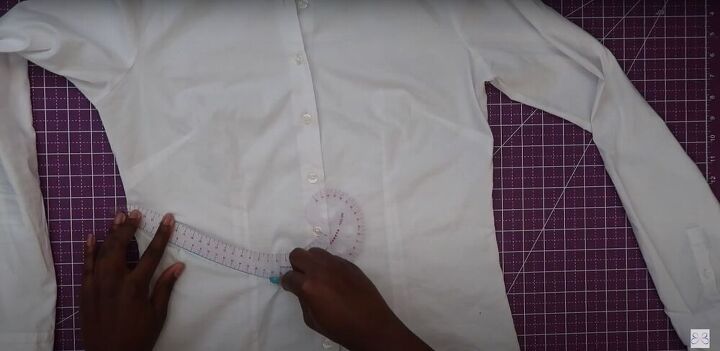
2. Measure and mark the shirt
Then, I took my curve ruler and moved it around from the point I marked, to figure out how I wanted the outer edge to be shaped. Once I was satisfied with the placement, I traced along the edge of the curved ruler on one side of the shirt.
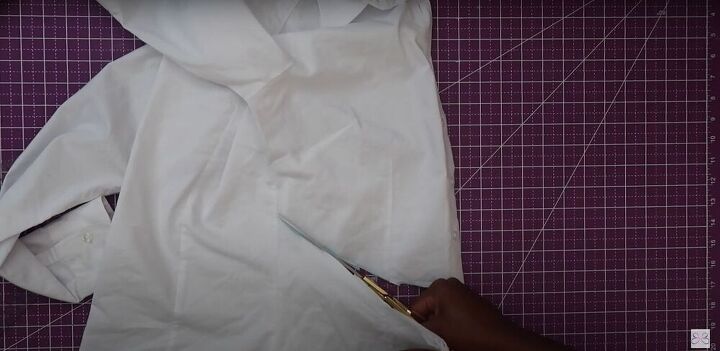
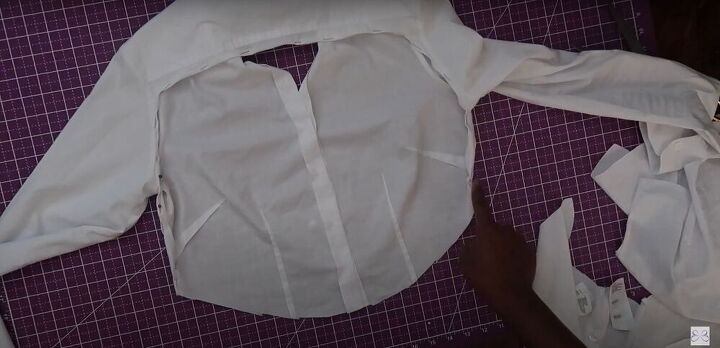
3. Fold and cut the shirt
To make sure the button-down crop top is as symmetrical as possible, I folded the shirt on its side and cut along the mark I made, stopping at the side seams.
Then, I cut off the excess fabric from the front of the shirt.

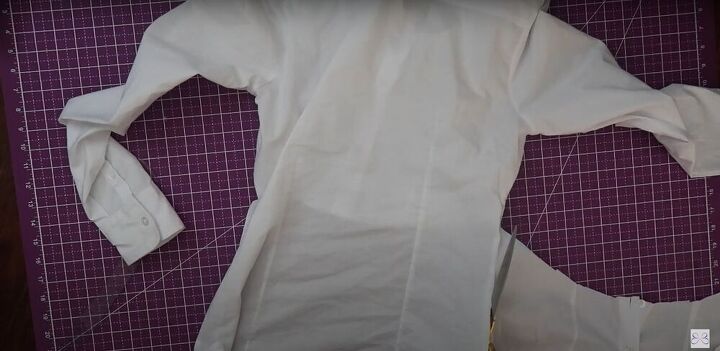
I also cut up the back, along the side seam, around the armhole in the back of the shirt, straight across the back of the shirt below the yolk, then back around the armhole, and down the side seam on the other side.
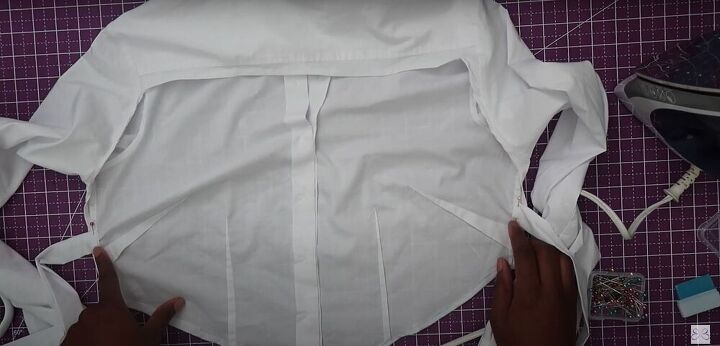
4. Pin and sew the raw edges
I decided to fold over twice and pin down the raw edges on the back of the shirt. You could also use bias tape or hemming tape, or whatever you please to get this look.
Whatever you use, make sure it looks nice and clean. If you use bias tape, I think it would look cool in a contrasting color.
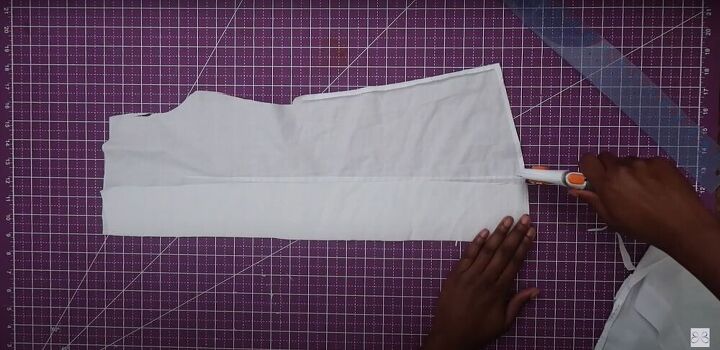
5. Cut the straps
I took the back piece of the shirt and cut two 2-inch wide strips that were about 21-22 inches long.

6. Pin and sew the straps
I folded both strips lengthwise, right sides together, pinned them and sewed them down with a straight stitch.
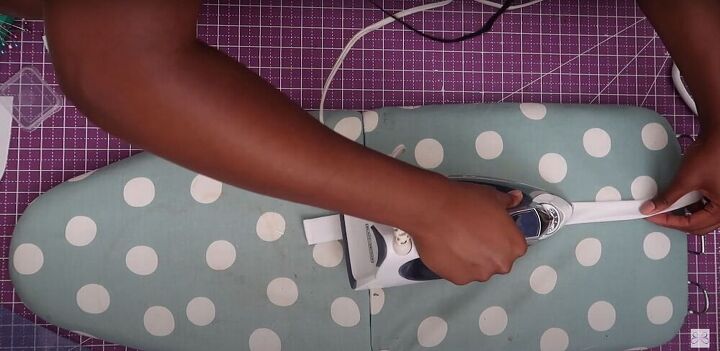
7. Press the straps
Next, I pressed both strips. Pressing is a very important thing to do. It just makes everything looks crisp, fresh, and clean.
8. Attach the straps to the shirt
After pressing, I pinned the straps right above the side darts that are on the front of the shirt and sewed them in place with a straight stitch.
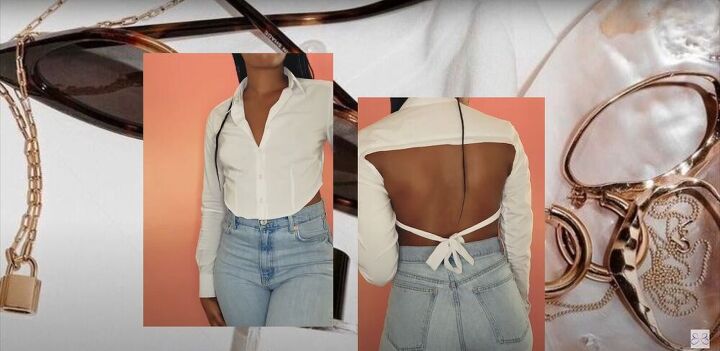
DIY button-up crop top tutorial
Here is the final DIY button-up crop top! Now that was super duper easy, right? So quick. So simple. I hope you guys enjoyed following along with this backless, cropped button-up shirt tutorial.
What do you think of the transformation?
The author may collect a small share of sales from the links on this page.


Comments
Join the conversation