3 No-Sew DIY T-Shirt Cutting Ideas That Will Give Your Tees New Life

Take three old t-shirts and try out these three DIY t-shirt cutting ideas, which are no-sew ways to achieve these cute t-shirt alterations. This is a super way to re-use t-shirts with a few simple cuts, demonstrated in this step-by-step t-shirt alterations tutorial.
Upstyle Recommends!
Want to save?
Get your 30-day free trial of Amazon Prime today before Prime big deal days on October 8-9th!
Tools and materials:
- Old t-shirts
- Scissors
- Fabric marker
- Ruler
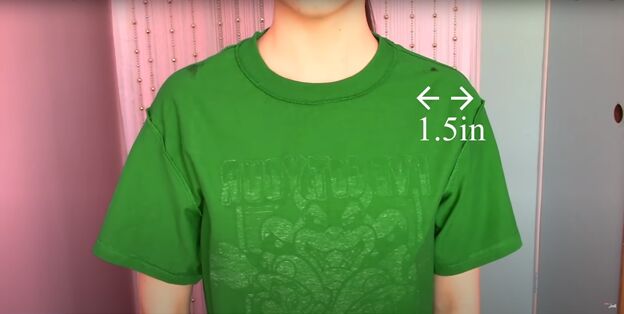
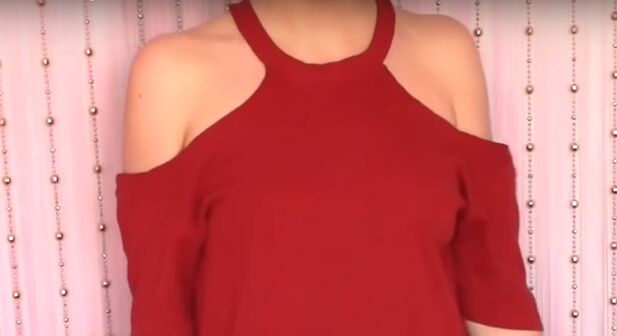
T-shirt alteration 1: off-the-shoulder
Put a t-shirt on inside out and use a fabric marker to mark the center of each shoulder, about 1.5 inches from the end of the shoulder.
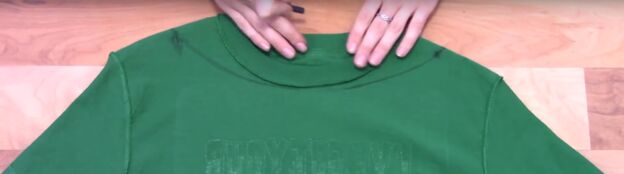
Draw a smooth curved line from the center of the front neckline out to each shoulder center.
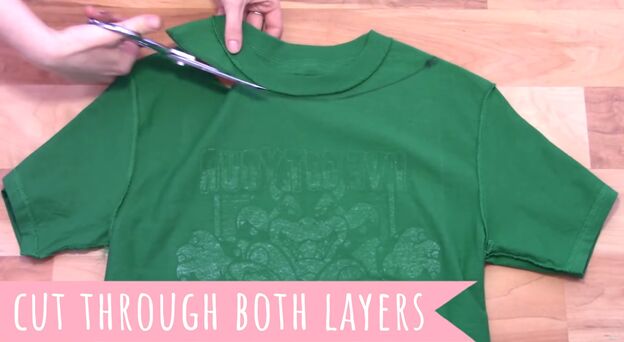
Cut out the neckline of the t-shirt, long the line you just drew, through both layers of the t-shirt.
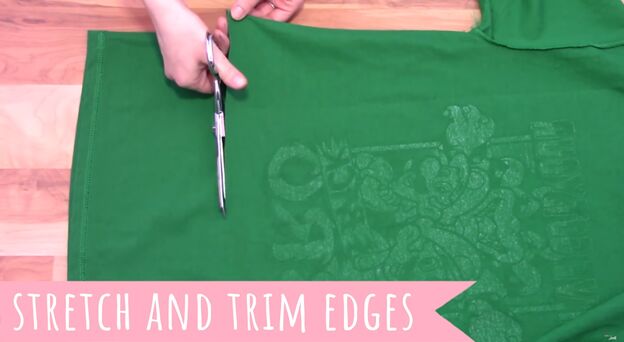
Stretch flat and trim the length of the t-shirt and length of sleeves to whatever you’d like for your new DIY off-the-shoulder t-shirt.

Pull the shoulders to one side to get the off-the-shoulder look.
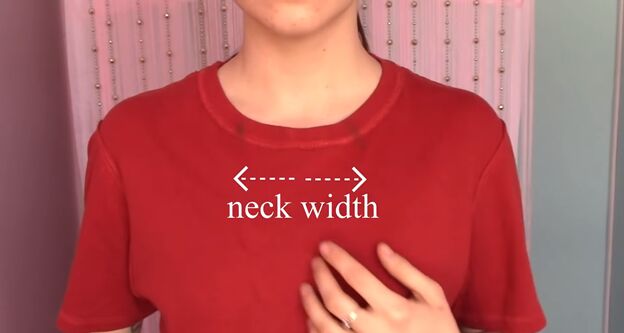
T-shirt alteration 2: the cold shoulder
Put a t-shirt on inside out. With a fabric marker, put two marks on the front neckband of the t-shirt at the distance of your neck width.
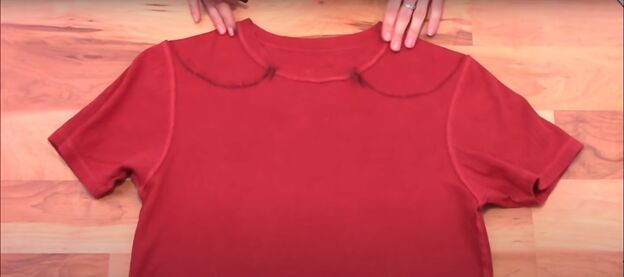
Draw curved lines from the marks you made on the neckband out to the top of the shoulders on the same side.
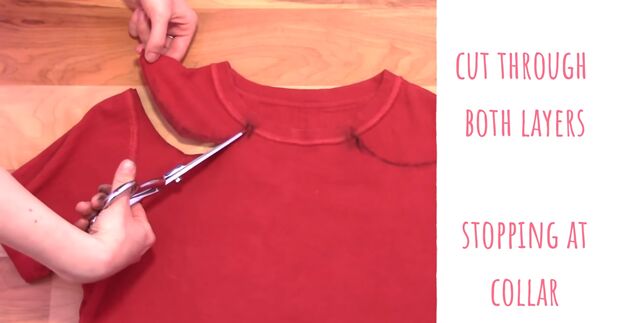
Cut from the outside of the shoulder, along the line you drew, ending at the mark on the neckband, going through both layers of fabric.
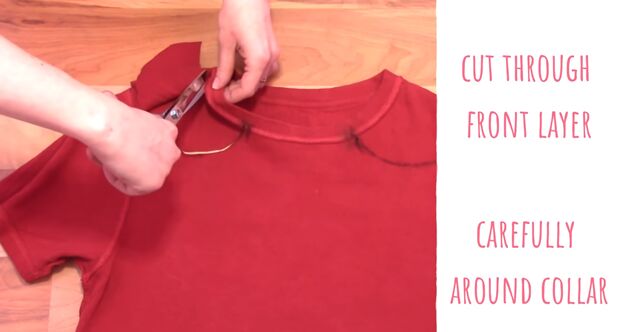
Then, on the front layer of fabric only, cut from the outside edge of the neckband at the top, along the edge of the neckband and down to the mark.
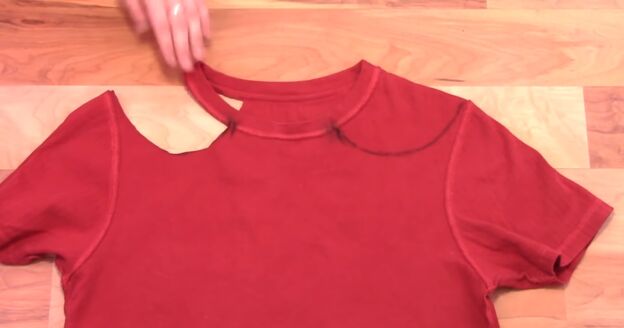
Flip over the t-shirt and continue to cut along the neckband edge for the back layer of the t-shirt, joining up with the back of the neckband a bit farther in than the front.
Repeat on the other side of the t-shirt.
You can see here how the cut-out neckline works.

T-shirt alteration 3: tie-up crop top
Put on a t-shirt and fold up the bottom to your desired crop top length. Mark that length on the inside of the t-shirt with a fabric marker.
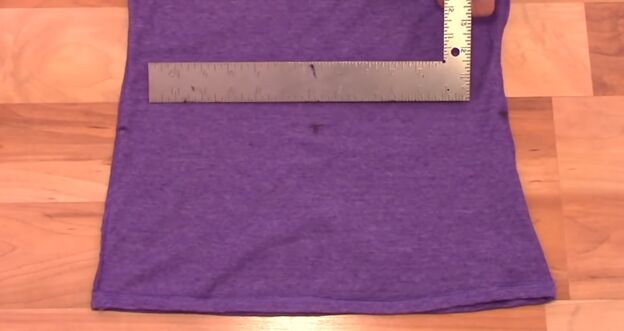
Take off the t-shirt and turn it inside out. Lay it flat and mark the center of the front bottom at your desired hem length.
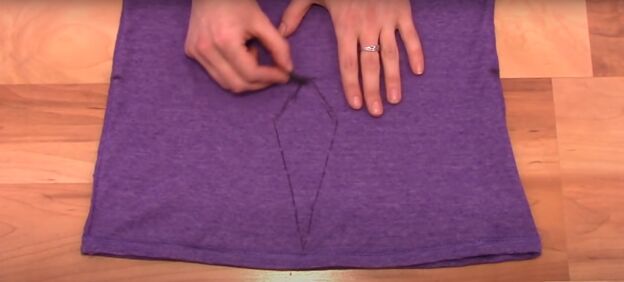
Draw a diamond shape with the center front hem point as the top of the diamond, extending the shape to the actual bottom of the original t-shirt.
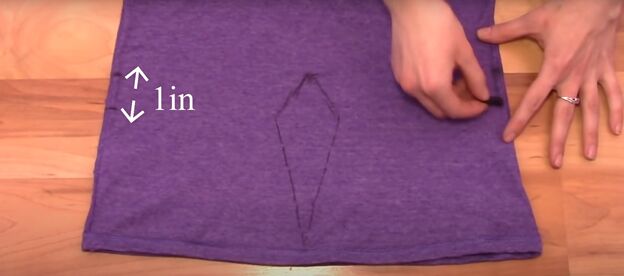
Add marks to each side of the t-shirt 1 inch below the crop top length marks.
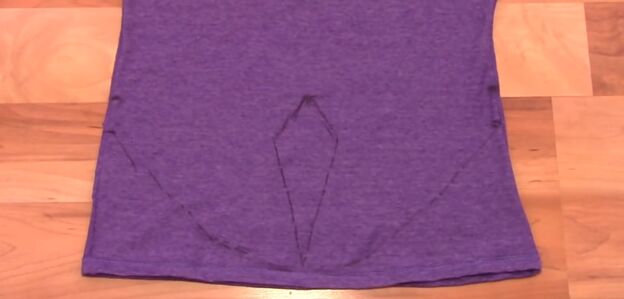
Draw slightly curved lines from the new side marks to the respective side of the bottom of the diamond.
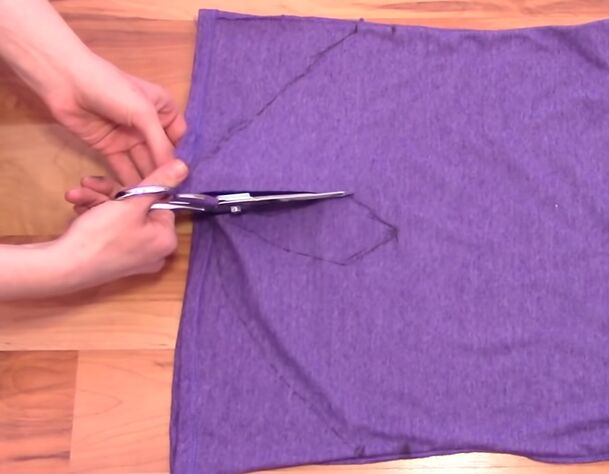
Cut out the diamond from the front layer of the t-shirt only.
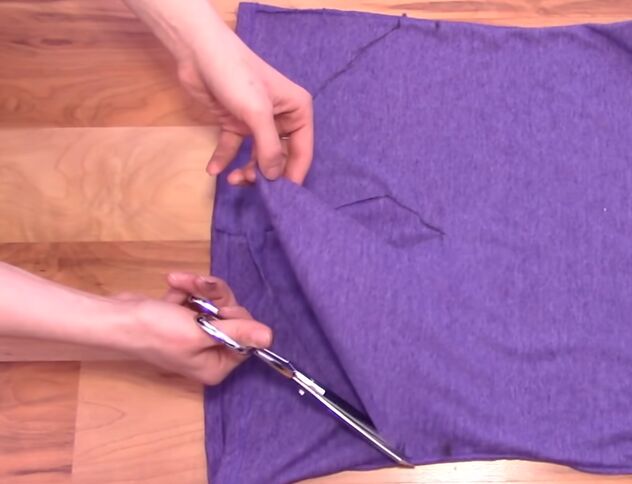
Cut along the curved lines on the front of the t-shirt only. These cuts make the ties for the crop top.
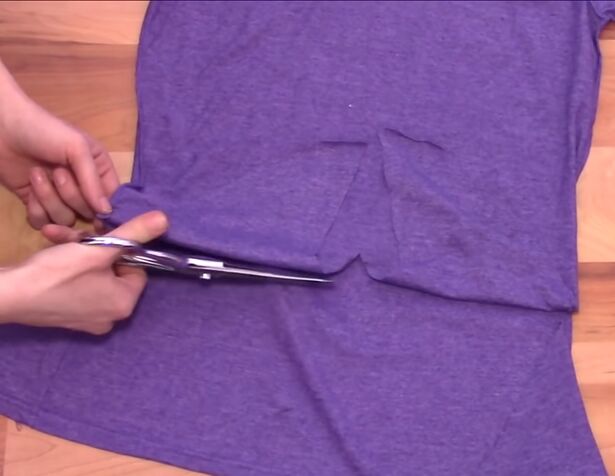
Turn up the ties so they are out of the way and cut straight across the back of the t-shirt at the marks you made for the crop-top length.
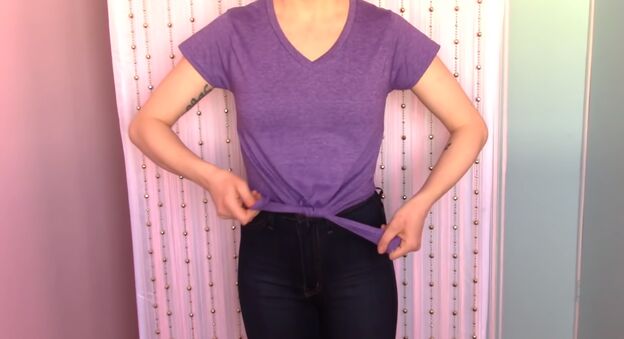
Wear your new DIY no-sew crop-top with the ties in front and tie them in a knot.

No-sew DIY t-shirt cutting ideas tutorial
Thanks for checking out this tutorial on how to cut a t-shirt three different ways. Try out all three t-shirt cutting techniques and leave a comment about which one you liked best!
The author may collect a small share of sales from the links on this page.


Comments
Join the conversation
Great styles… Love them! 😎
Love these no sew ideas. Do you have tips on how to make a V neck from original neckline?
thank you