Easy T-shirt Weaving Tutorial: How to Make a Spine Pattern T-shirt

Here, I’m going to show you how to make a spine pattern t-shirt weaving design that looks super cool, and best of all, it doesn’t involve any sewing or glue!
If you’ve never tried t-shirt weaving before, it’s much easier than it looks, and I’m going to walk you through all the steps. Let’s get started!
Tools and materials:
- T-shirt
- Scissors
- Cardboard
- Chalk
- Ruler
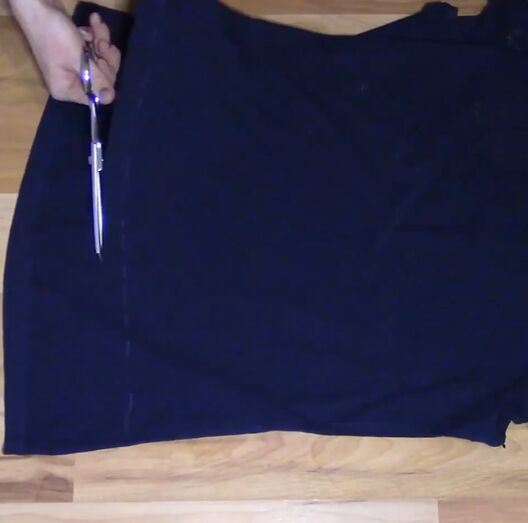
1. Trim shirt
Start by trimming the shirt to your liking if you want to.
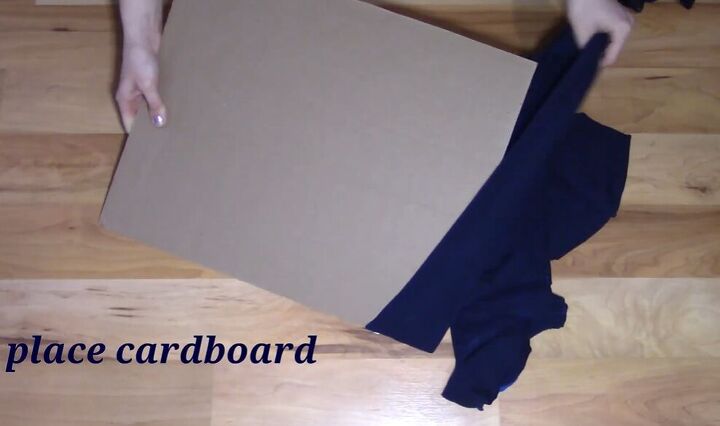
2. Put cardboard inside
Turn the shirt inside out and place it backside up. Then, place cardboard inside.
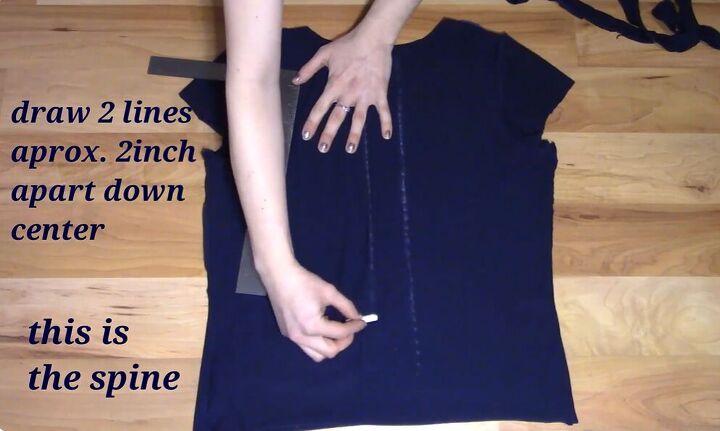
3. Draw lines
Using your ruler and chalk, draw two lines approximately 2 inches (5cm) apart down the center of the t-shirt - this will be the spine.
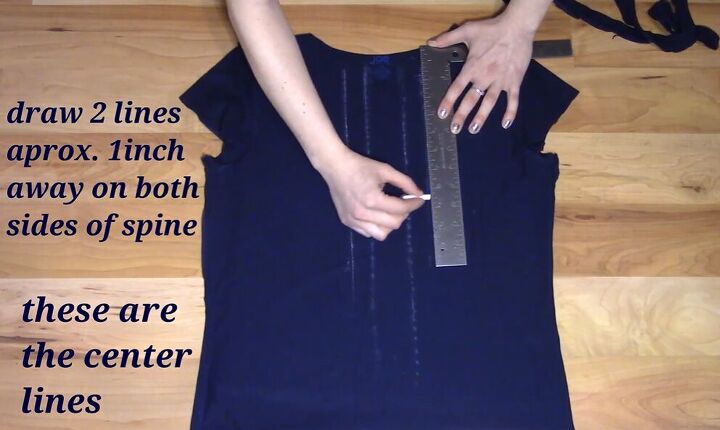
Then, draw two lines approximately 1 inch (2.5cm) away on both sides of the spine.

4. Draw ribcage
Draw the shape of the ribcage.
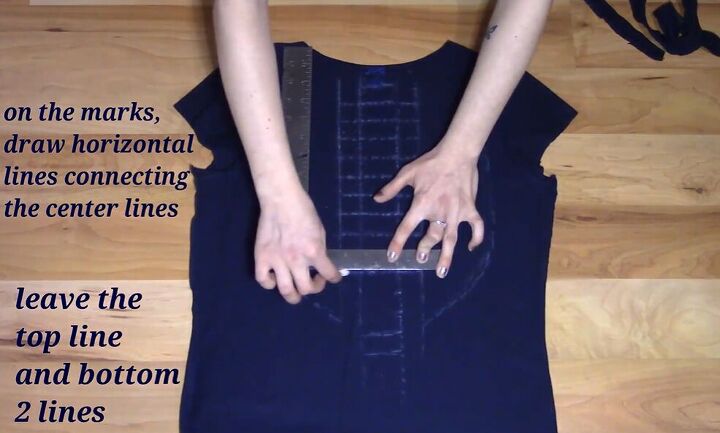
5. Draw horizontal lines
Draw a line the width of the spine.
Then measure and mark 1 inch (2.5cm) apart down the center two lines and draw horizontal lines connecting them - going all the way to the outer two vertical lines.
Leave the top line and bottom two lines just marked in the spine and not going all the way to the outer lines.
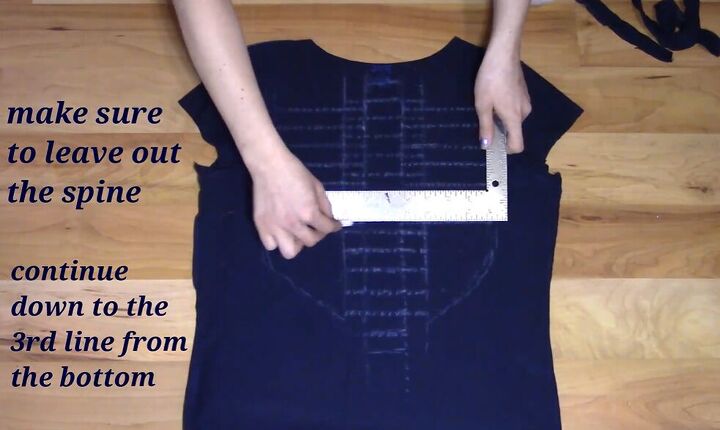
6. Draw across ribcage
Start between the second and third lines from the top - connect the outer lines of the ribcage to the edges of the spine without going into the spine.
Continue down to the third line from the bottom.
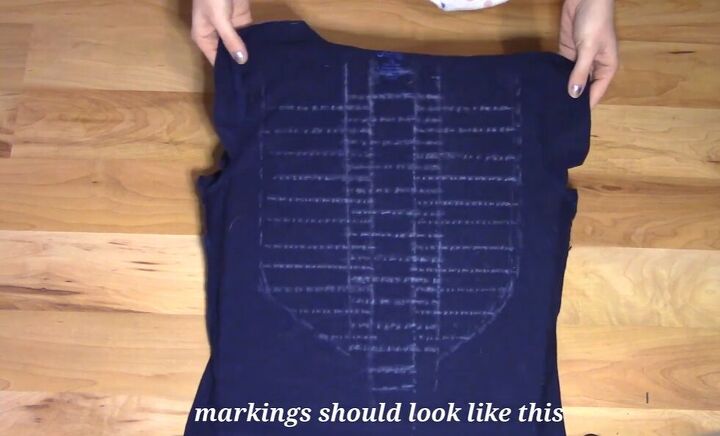
The markings should look like this.
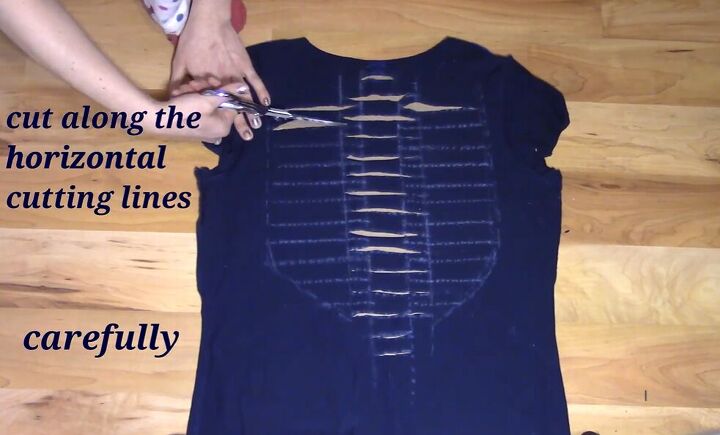
7. Cut horizontal lines
Cut along all the horizontal cutting lines carefully.
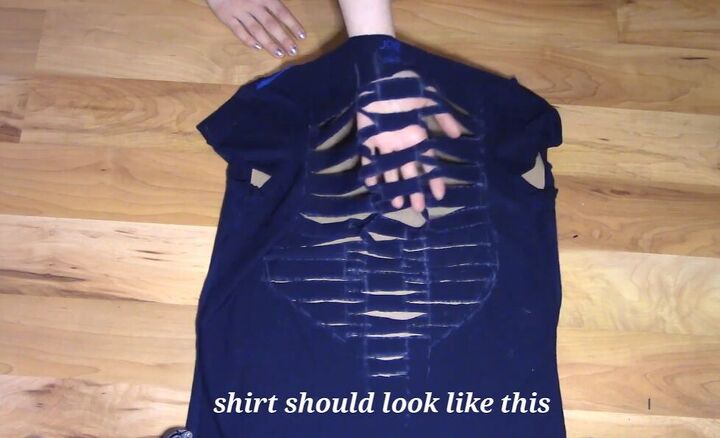
The shirt should look like this.
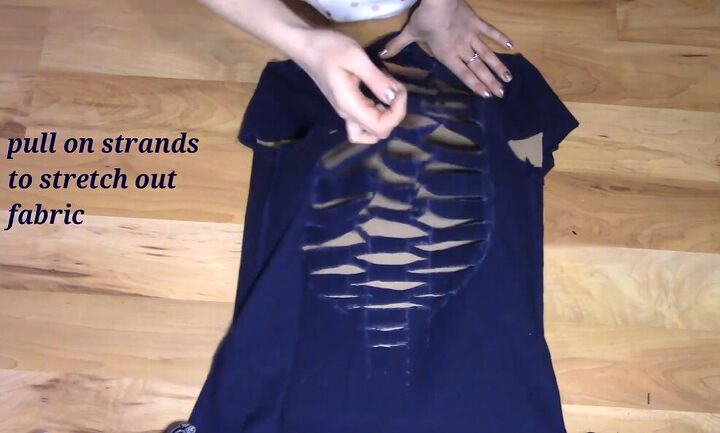
8. Stretch fabric
Pull on the strands to stretch out the fabric. Be careful not to tear anything.
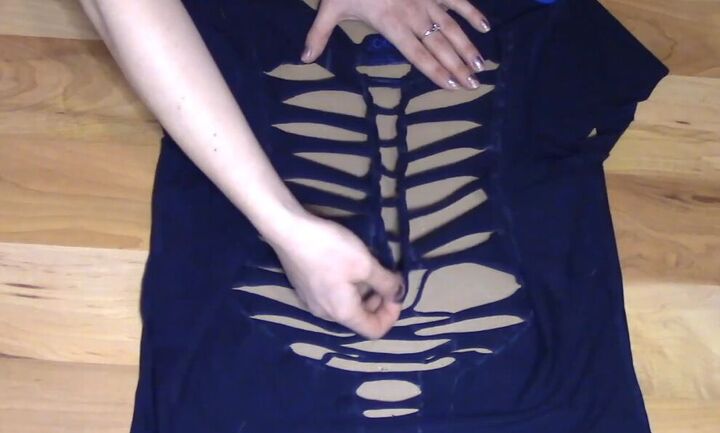
9. Weave fabric
Now, ladder weave down the center. To do this, grab the second strand and pull it under the first, creating a loop.
Pull the next strand through the loop and continue down to the second-last strand. Leave out the bottom strand.
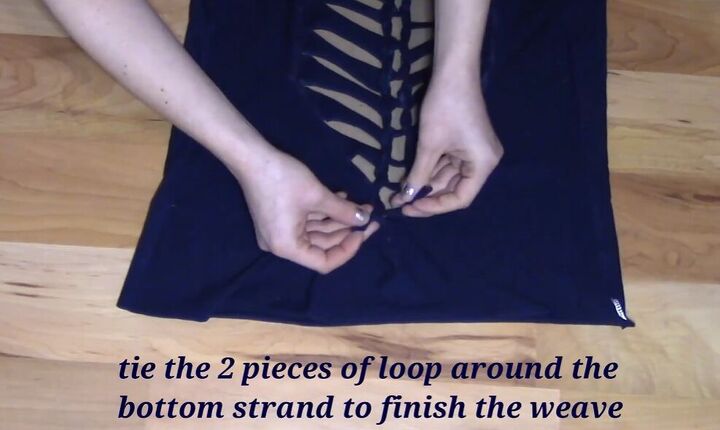
10. Tie bottom
Grab your loop and cut it in the middle. Then, tie the two pieces of loop around the bottom strand to finish the weave.
Turn the t-shirt right side out, and you’re done!
T-shirt weaving DIY
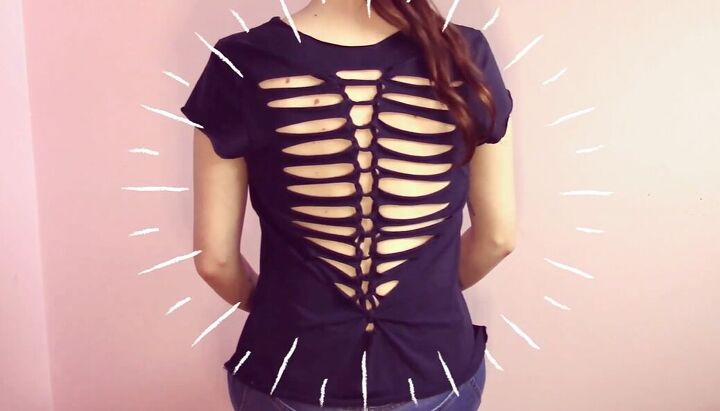
Here is the finished t-shirt, I love the spine running down the center with the ribs on either side.
The t-shirt weaving looks great, and you can either wear the t-shirt as it is or with an undertop in a contrasting color for more coverage.
If you’ve never done t-shirt weaving before, I hope I’ve inspired you to give it a go! Leave me a comment.
For another t-shirt weaving tutorial, check out these DIY t-shirt cutting ideas.
The author may collect a small share of sales from the links on this page.


Comments
Join the conversation