How to Make a Braided T-Shirt: Cutting, Weaving & Braiding Tutorial

This tutorial is going to show you how to use some amazing t-shirt cutting, weaving, and braiding techniques to almost magically turn a very plain t-shirt into an adorable one.
The t-shirt braiding used here is a basic ladder weave, which you’ve probably done tons of times before – but maybe never on a t-shirt! Best of all, it won’t cost you a penny!
Tools and materials:
- Old plain t-shirt
- Scissors
- Cardboard
- Ruler
- Fabric marker stick
1. Deconstruct your old t-shirt
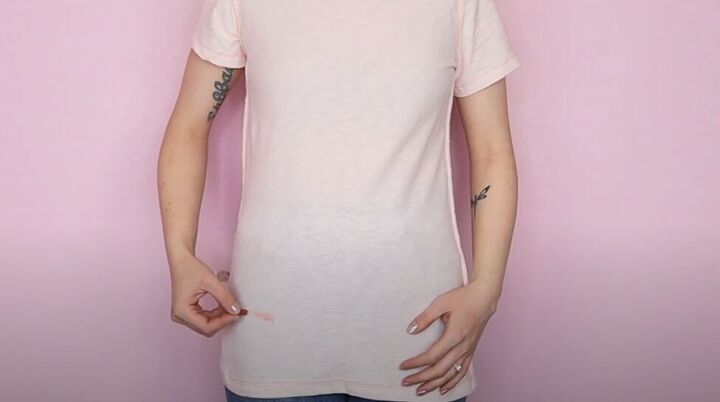
Put your old t-shirt on inside out and mark it about 3 to 4 inches below where you want your new shirt to end.

Lightly mark out where you want your braids to be on your new shirt.
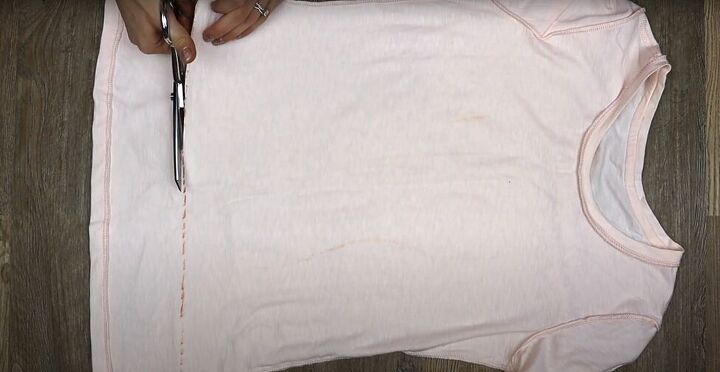
Remove your shirt and lay it flat on your work surface, still inside out. Cut off the bottom of the shirt.
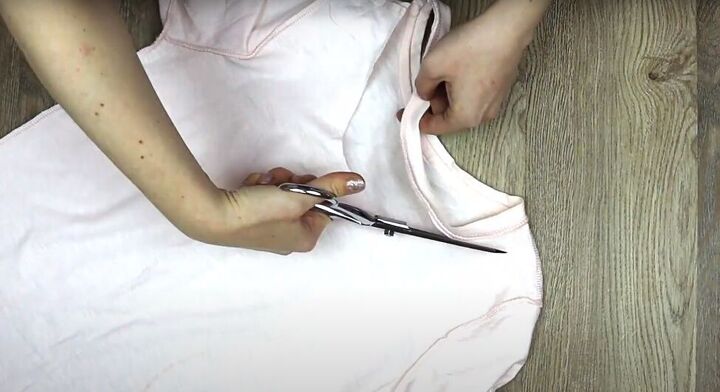
Also, cut off the collar of the shirt.

2. Create your ladder patterns
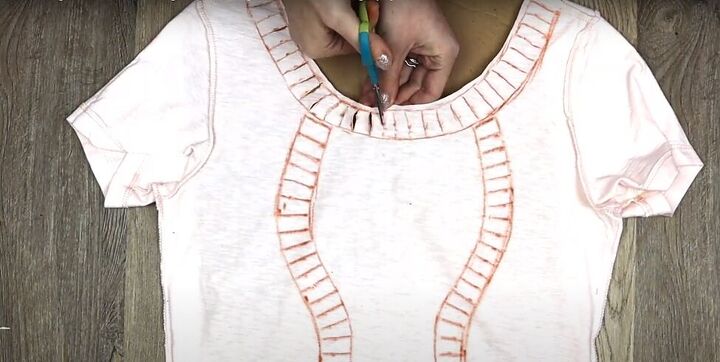
Mark a line around the neck hole of the shirt, about a half-centimeter (0.2 inches) from the edge.
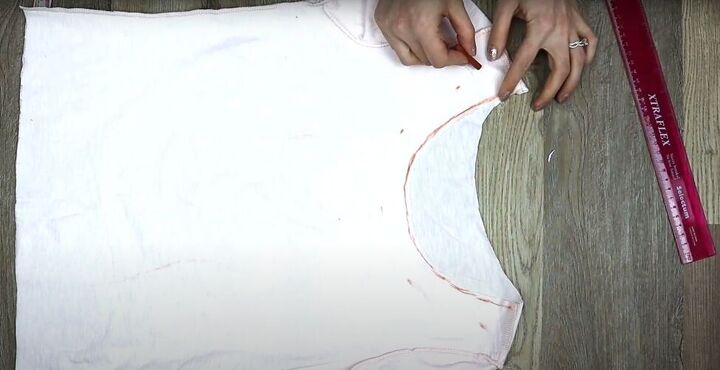
Measure and mark one inch down from that line, all the way around the front of the neckline, like a collar.
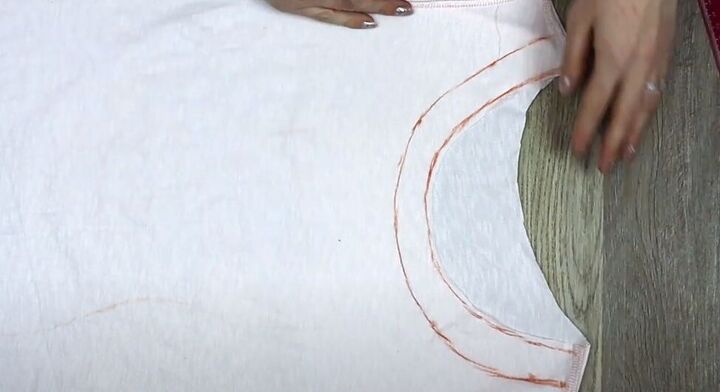
Connect those marks so you now have two lines around the front of the collar, one inch apart.
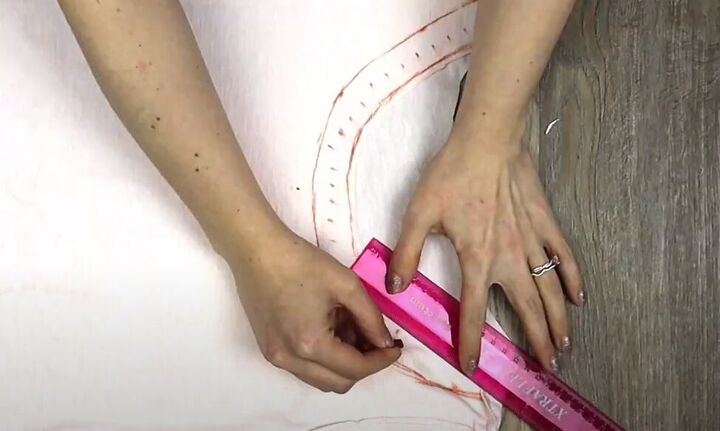
Measure and mark half-inch points between the two lines all the way around.
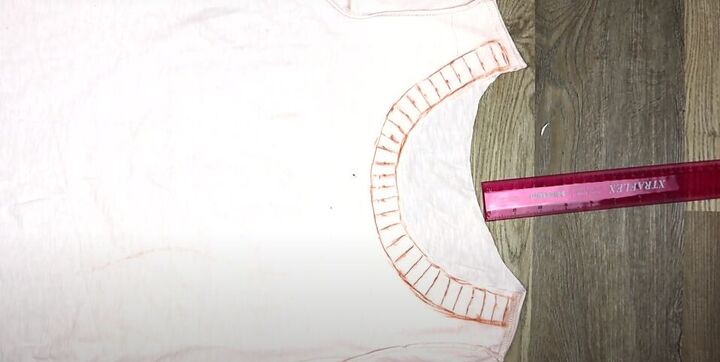
Draw lines connecting the outer two lines along the half-inch lines. Now your collar resembles a ladder.
Flip your shirt over and repeat the ladder-collar process on the back of the neck hole.
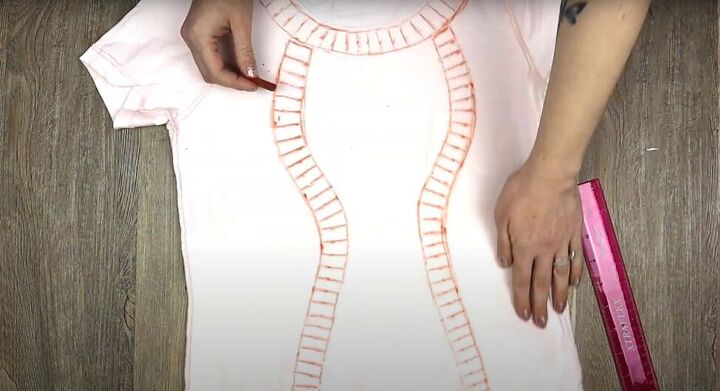
Moving back to the front of your shirt, draw two more ladder lines down the front in an hour-glass shape starting just below the collar ladder. Make sure to leave a space between the bottom of the collar ladder and the top of the hour-glass ladders.
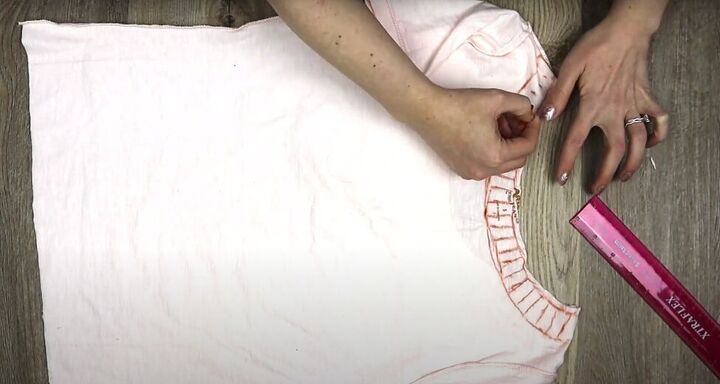
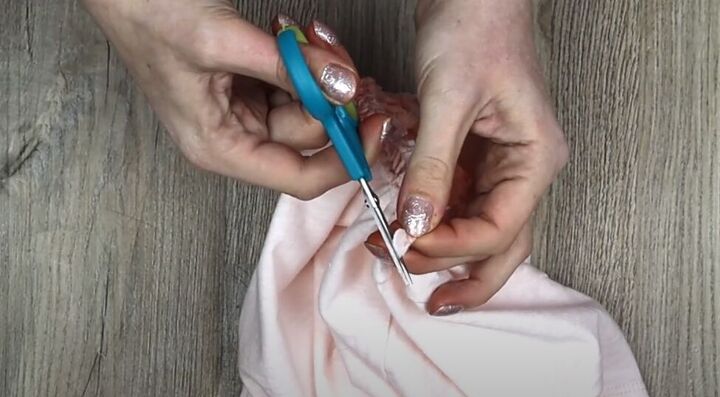
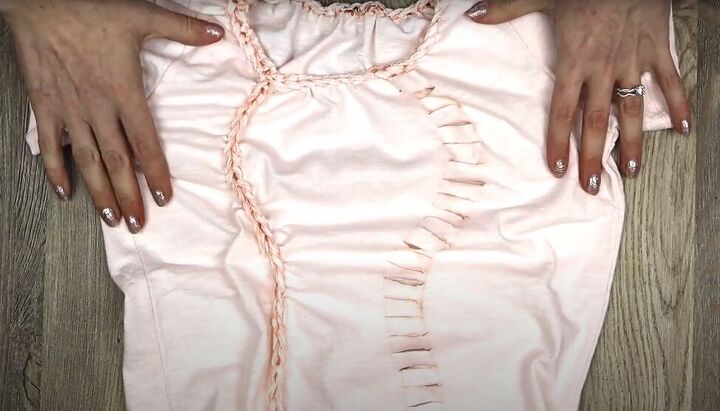
3. Cut into your ladders
Put a piece of cardboard inside your shirt before you do any cutting, to ensure you are only cutting one layer at a time.
You are only going to cut the small lines of the ladders, never the outer edges. Use small sharp pointed scissors to make a hole and then cut along each of the ladder rungs.
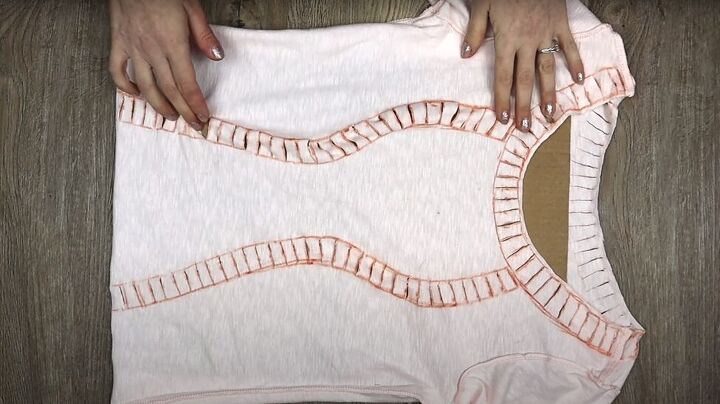
Do this for both the front and back neckline ladders and the two, front hour-glass ladders. Be patient, it will take a little while.
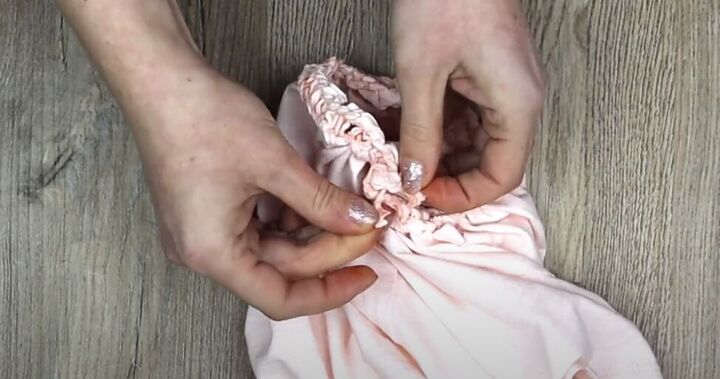
4. Weave the braids
Remove the cardboard from inside your shirt and turn the shirt right-side out. Start your weaving at one shirt collar.
With the first ladder rung, hold it near its edge. With your other hand, grab the rung below the first one and pull it up behind the first rung.
Now, grab the next rung down and pull it up and behind the last rung you wove.
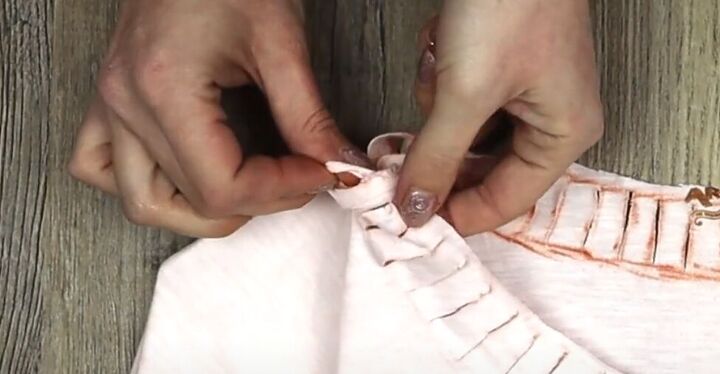
Continue this pattern all the way around the collar until you are back where you started. With the last rung, use your scissors to cut it in half.
Slip one end of the cut rung to the inside of the shirt and wrap the other end around the very first strip you wove. Tie the two ends together at the inside of your shirt and trim the ends.
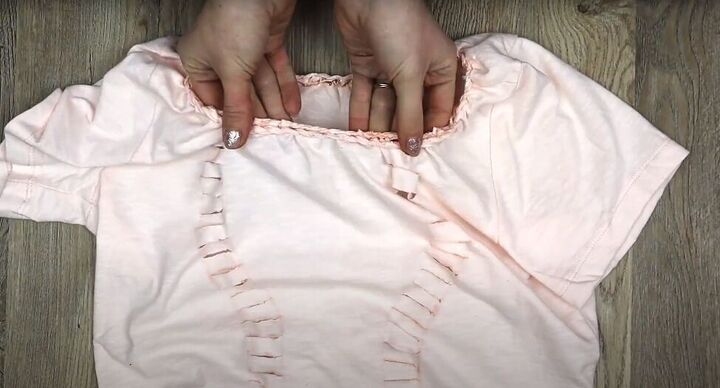
Stretch out the weave to make the neckline a normal size again.
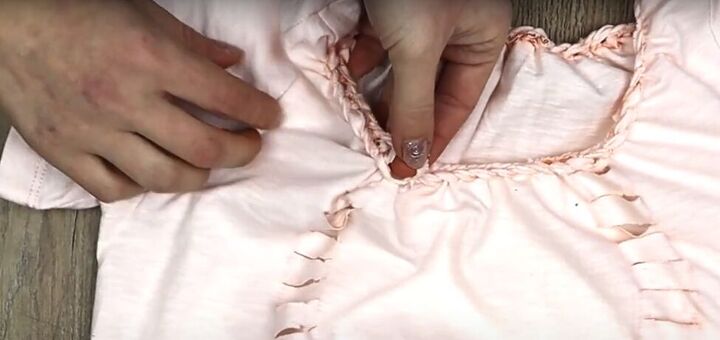
To begin weaving the braids at the front of your shirt, grab the first rung at the top and slip it up, behind, and through the edge of the collar weave just above it.
Then continue weaving as you did with the collar until you reach the bottom of the curve, stopping at the second-last rung.

Cut the second-last rung in half and tie it around the bottom rung.
Stretch the weave so it lies fairly flat.
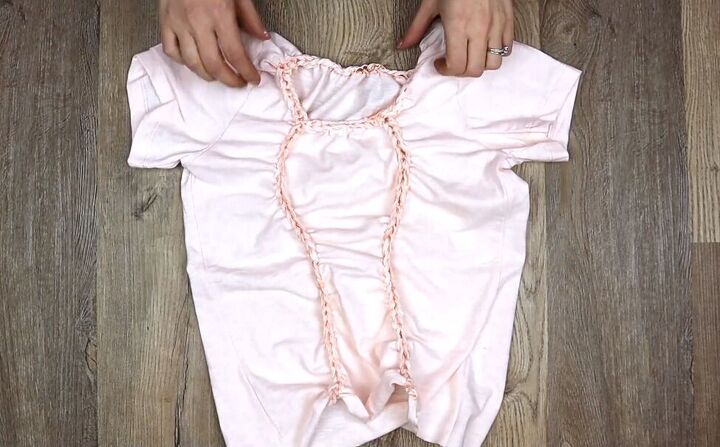
Repeat the same process on the other curved line.
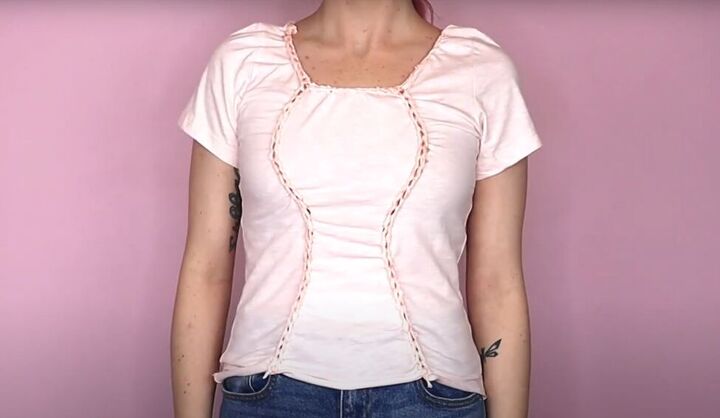
T-shirt cutting, weaving, and braiding tutorial
That’s it. It wasn’t nearly as complicated as you thought it would be, was it? It’s really much simpler than it looks, and aren’t you amazed that there was no sewing needed for this braided t-shirt transformation?
Leave a comment to let us know how you liked this t-shirt braiding tutorial.
The author may collect a small share of sales from the links on this page.


Comments
Join the conversation
Really cute idea !! Thanks for sharing !!